Draw Your Notes: Intro to Visual Note-taking
Class Description:
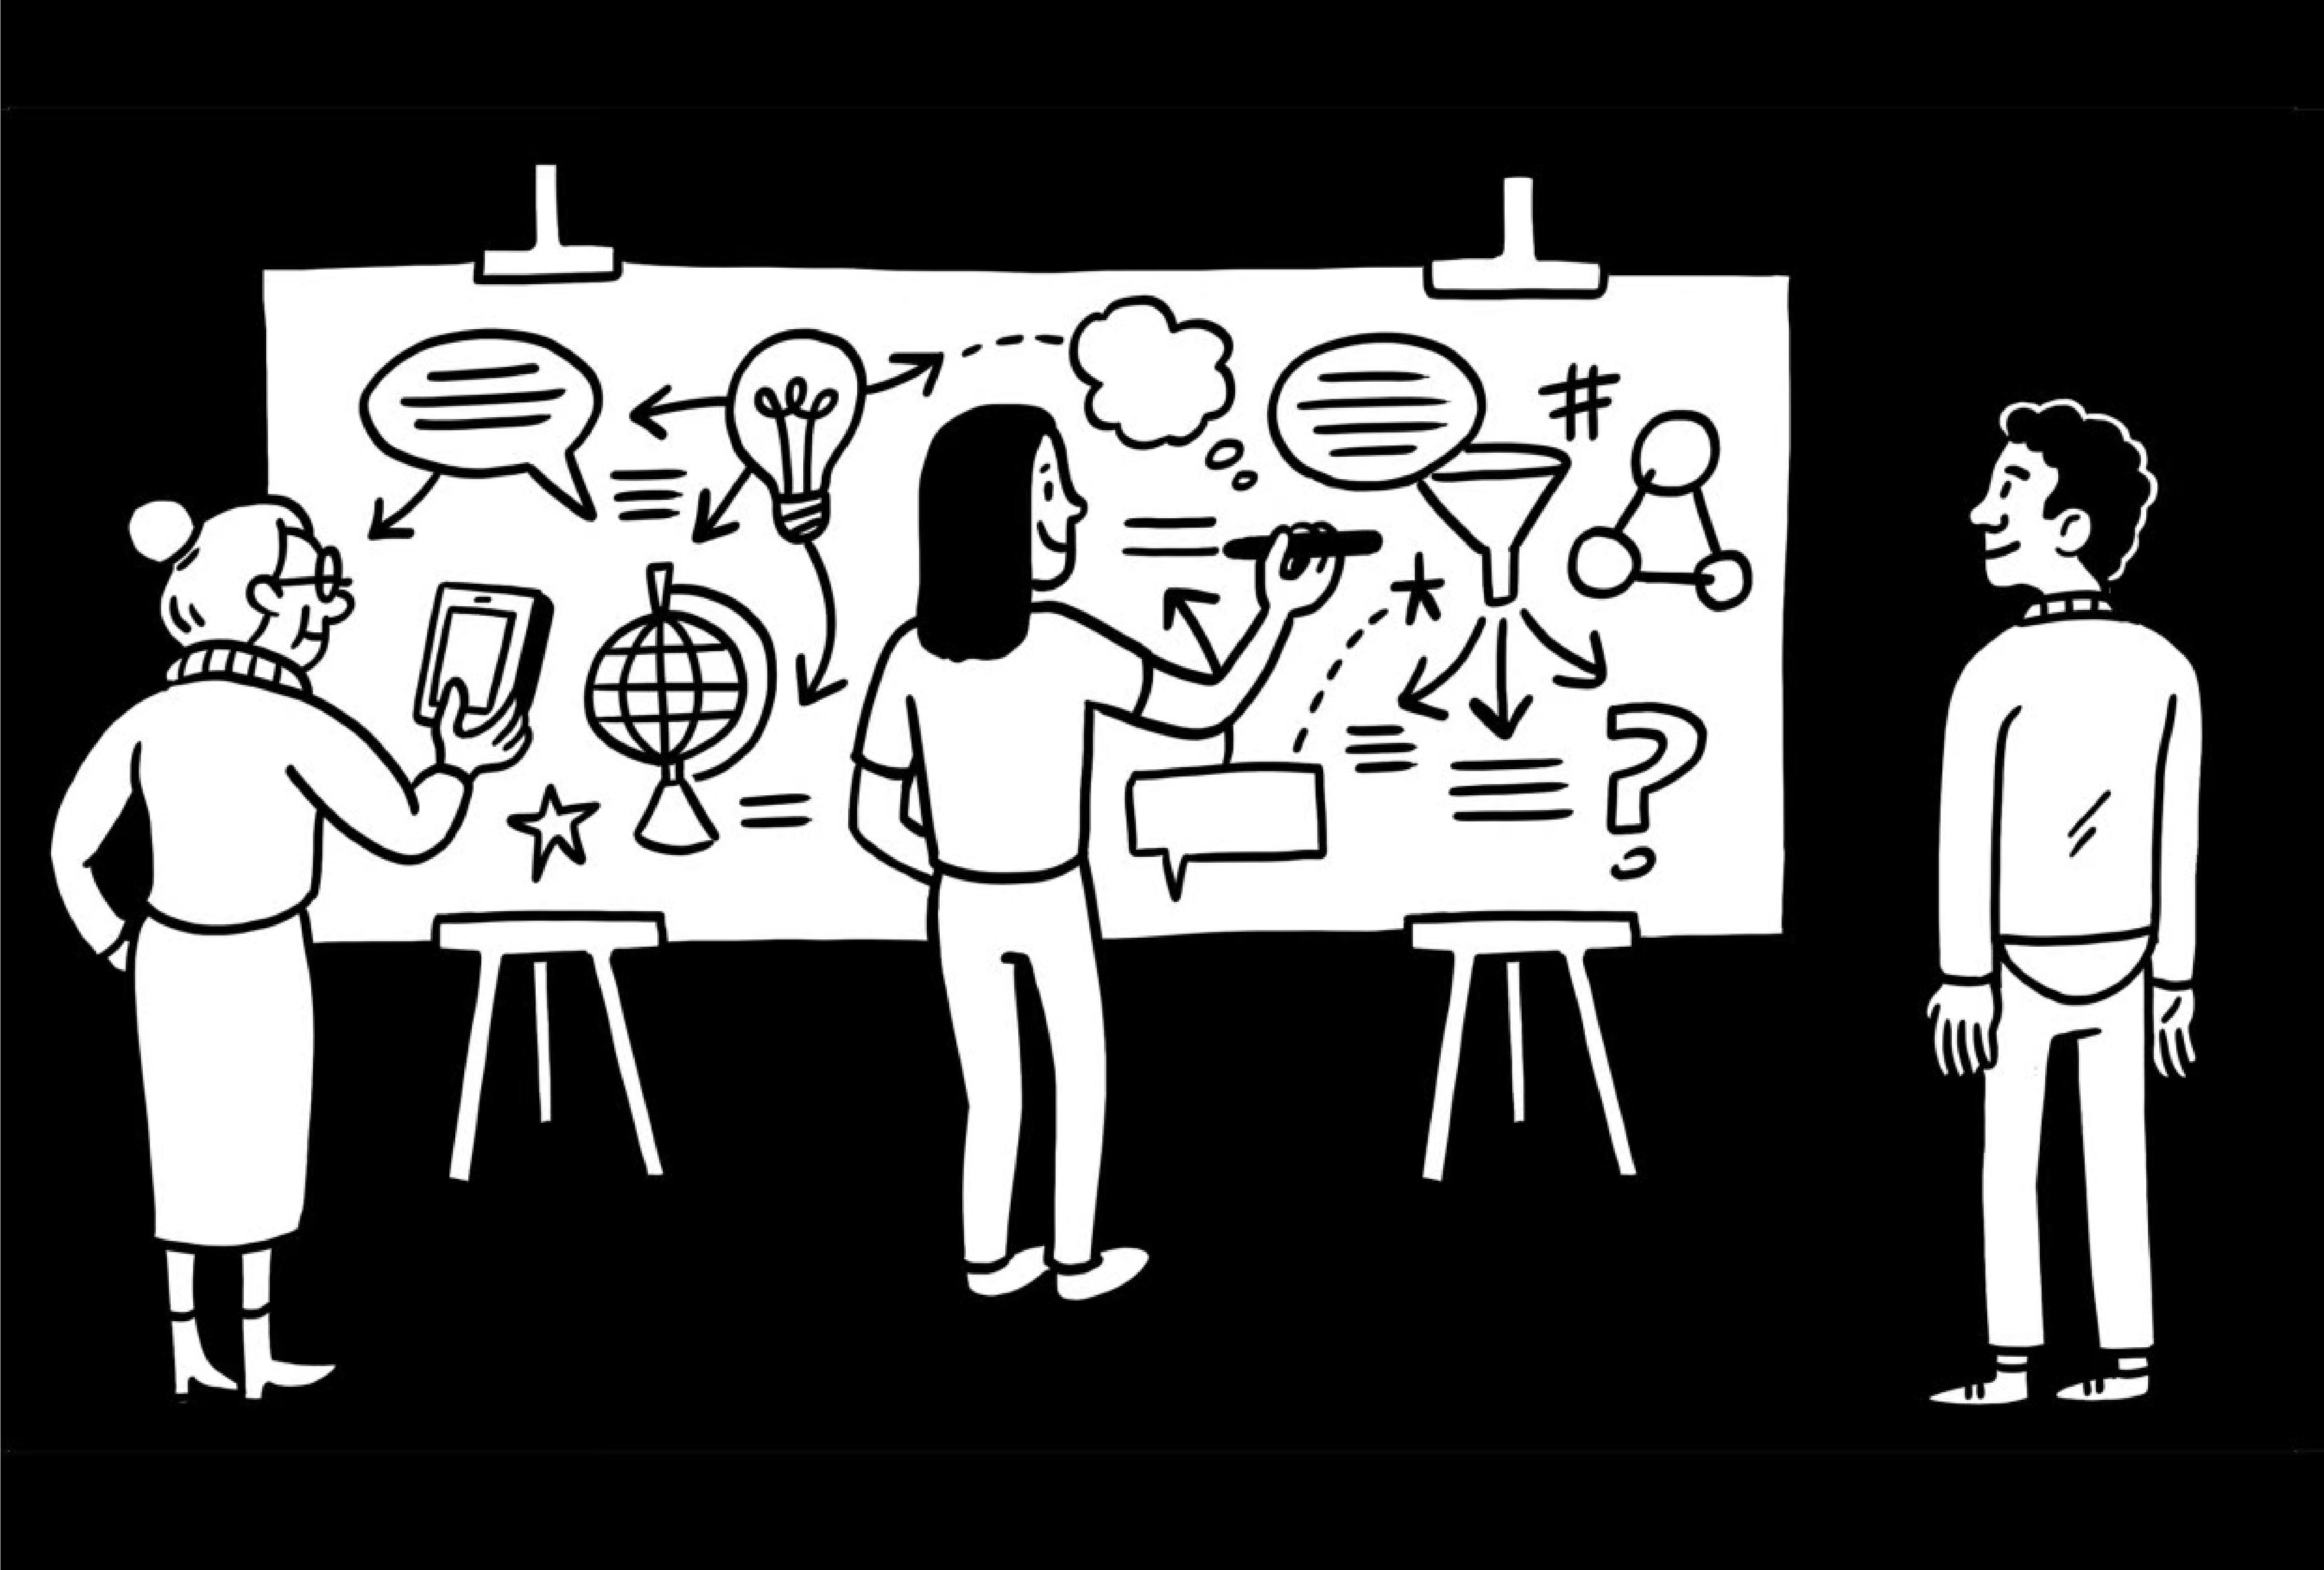
Are you a visual learner? Have you ever wondered why you learn better when doodling or drawing? Why seeing things laid out visually makes it easier to understand? Then this beginner’s class on visual note-taking is for you! Visual note-taking skills will give you the power to implement visual communication skills in your life and at work.
In this hour-long class, you will learn the basics of visual note-taking, which is the skill of organizing and capturing information through hand-drawn images and text in real time. Join the experts from the Ink Factory team to learn how to take notes in a way that will open your eyes to more engaging learning experiences. By the end of the class, you will be able to connect more thoughtfully with various types of information and will have discovered a universal way to communicate. We’ll discuss the rich history of the visual language, how it can be implemented in your everyday life, and show you techniques you can master for better organized and more thoughtful notes.
You will follow us behind the scenes as we show you how to create your first visual notes. You’ll learn the fundamentals of organizing ideas visually, how to identify the elements of design, how to capture content live, how to start developing your own visual library, and so much more!
Ink Factory and its artists have spent many years practicing the art of visual note-taking and have seen how beneficial it can be for yourself and the people around you. You’ll learn tips and tricks we use every day and how you can apply our best practices to the content in your own life and in a way that makes the most sense for you.
In step-by-step lessons and by seeing many different examples, you will learn:
-
- Why you should take visual notes
- How to create a visual hierarchy of content
- How to utilize various tools most successfully and our tried and true recommendations
- How to approach a blank canvas and eliminate any anxiety around your visual notes
- How to choose the right colors
- Tips and tricks for fast and legible handwriting and lettering
-
- How to convey the correct tone and mood for different kinds of content
- How to choose and create a composition for your visual notes
- How to listen, filter, and synthesize content in real-time
- How to find your unique visual language
- How to continuously improve by recognizing what works well and what doesn’t
- How to digitize and share your visual notes
Whether you’re an artist, working professional, student, teacher, or just a visual thinker, this class is a great place to start! We designed this course with accessible materials in mind and will provide our recommendations, but as long as you have something to draw on and draw with then you will be able to participate. These lessons are also applicable for any level of drawing skills, because we’re of the mindset that the actual act of taking notes visually is more important than how it looks.
What are you waiting for!? Get started on this visual thinking journey with us! Maybe you’ll gain a new perspective on how to process and understand information, or you’ll be able to easily get your ideas across to others in a way that impacts them, or maybe you’ll just explore another side of your creativity! Whatever your takeaways are from this class, we’re excited to hear about them and we can’t wait to see what you create!
The Ink Factory Team
We Talk. You Draw. It’s Awesome!
Project Description:
For the class project, you will be creating a full, live visual note! Follow along with us as we show you best practices you can then apply towards your personal visual note-taking journey.
Download our reference sheets!
Every video in this class will guide you through helpful exercises, so you’ll be learning and applying our teachings as you follow along. By the end of the class, you should feel comfortable with each element of visual note-taking, but we are also aware that it’s a skill that requires constant practice. While you continue to explore your personal visual note-taking style, our reference sheets can still be helpful to have on hand, especially when you go to complete your final assignment.
Final Assignment:
The class project is to create your first visual notes! We recommend choosing a 1 hour speech, discussion, or podcast to capture using visual notes.. The source of your content is up to you, but a few examples to consider could be a podcast episode on a topic that interests you, or an inspiring keynote speech from a conference you’re attending. Whichever topic you decide, we will set you up for success as you follow along with us through some helpful exercises, tips and tricks, and best practices so you can find your personal style and visual language that’s best suited to you.
Materials:
You can use whatever you have at hand to draw on and to draw with, but we recommend the following:
- Something to draw on:
- Can be a sketchbook or loose paper, but make sure you have a lot of blank pages to work with
- The bigger, the better, but make sure your page is at least 8.5”x11”
- Something to draw with:
- Black markers:
- Basics:
- A smaller, fine tip marker
- A larger, chisel tip marker
- A larger, bullet tip marker
- Water-based or water-resistant permanent pigment markers are best since they won’t bleed or smudge as much as some other markers
- Our favorites:
- Paper Mate’s Flair Pen
- Kuretake’s Zig Double Ended Writer
- Staedtler’s Pigment Liners
- Tombow’s Fudenosuke Marker
- Neuland’s FineOne Outliner
- Basics:
- Black markers:
- Optional, but encouraged:
- White out Correction tape
- Color markers that won’t bleed when used with your black markers
- Basics:
- One light color
- One medium color
- One dark color
- Water-based is best because it tends not to bleed through to the other side of your page
- A double-duty marker that has 2 different sizes you can switch between can be a super helpful time-saver
- A wide variety of colors will help you to fully reflect different moods, tones, and content
- Main color suggestions:
- Medium-light gray
- True red
- True blue
- True yellow
- True green
- True Orange
- Medium purple
- Magenta
- Cyan
- Medium brown
- Our favorites:
- Neuland’s No. Ones
- Neuland’s FineOnes
- Sharpie’s SNotes
- Zebra’s Double Ended Midliners
- Uni Mitsubishi’s Pure Color-F Double-sided Sign pens
- Tombow’s Dual Brush Pens
- Additional options:
- Dry-erase boards will work well in place of paper, but make sure you have enough markers with plenty of ink
- If you have experience with and want to use a drawing tablet, you are welcome to, but we won’t be speaking about how to draw with or use a tablet
Getting Started:
Review and choose a source to use in your first visual notes. Below are the different elements of visual note-taking that we review in class. You can download the reference sheet to print out as well.
Stuck or feeling nervous to jump in? You can look through some of our examples of our visual notes for some inspiration, but just making a mark on a blank page can put you at ease. We like to start by having our tool assignments in place, a simplified color scheme, and our title already drawn out–and we suggest you do the same. Once you have these things set in stone, you will free up your brain to focus on capturing the content rather than trying to simultaneously make decisions and take notes at the same time, which can be stressful and distracting.
Sharing Your Work:
Share your final visual notes and any progress shots from the class and our exercises with us! You can do this by uploading them to the “Your Project” section. If you have any questions or need more tips, please let us know–we’re happy to help! Here are some examples of visual notes created from our class.
- Main color suggestions:
- Basics: