Bathroom Mural
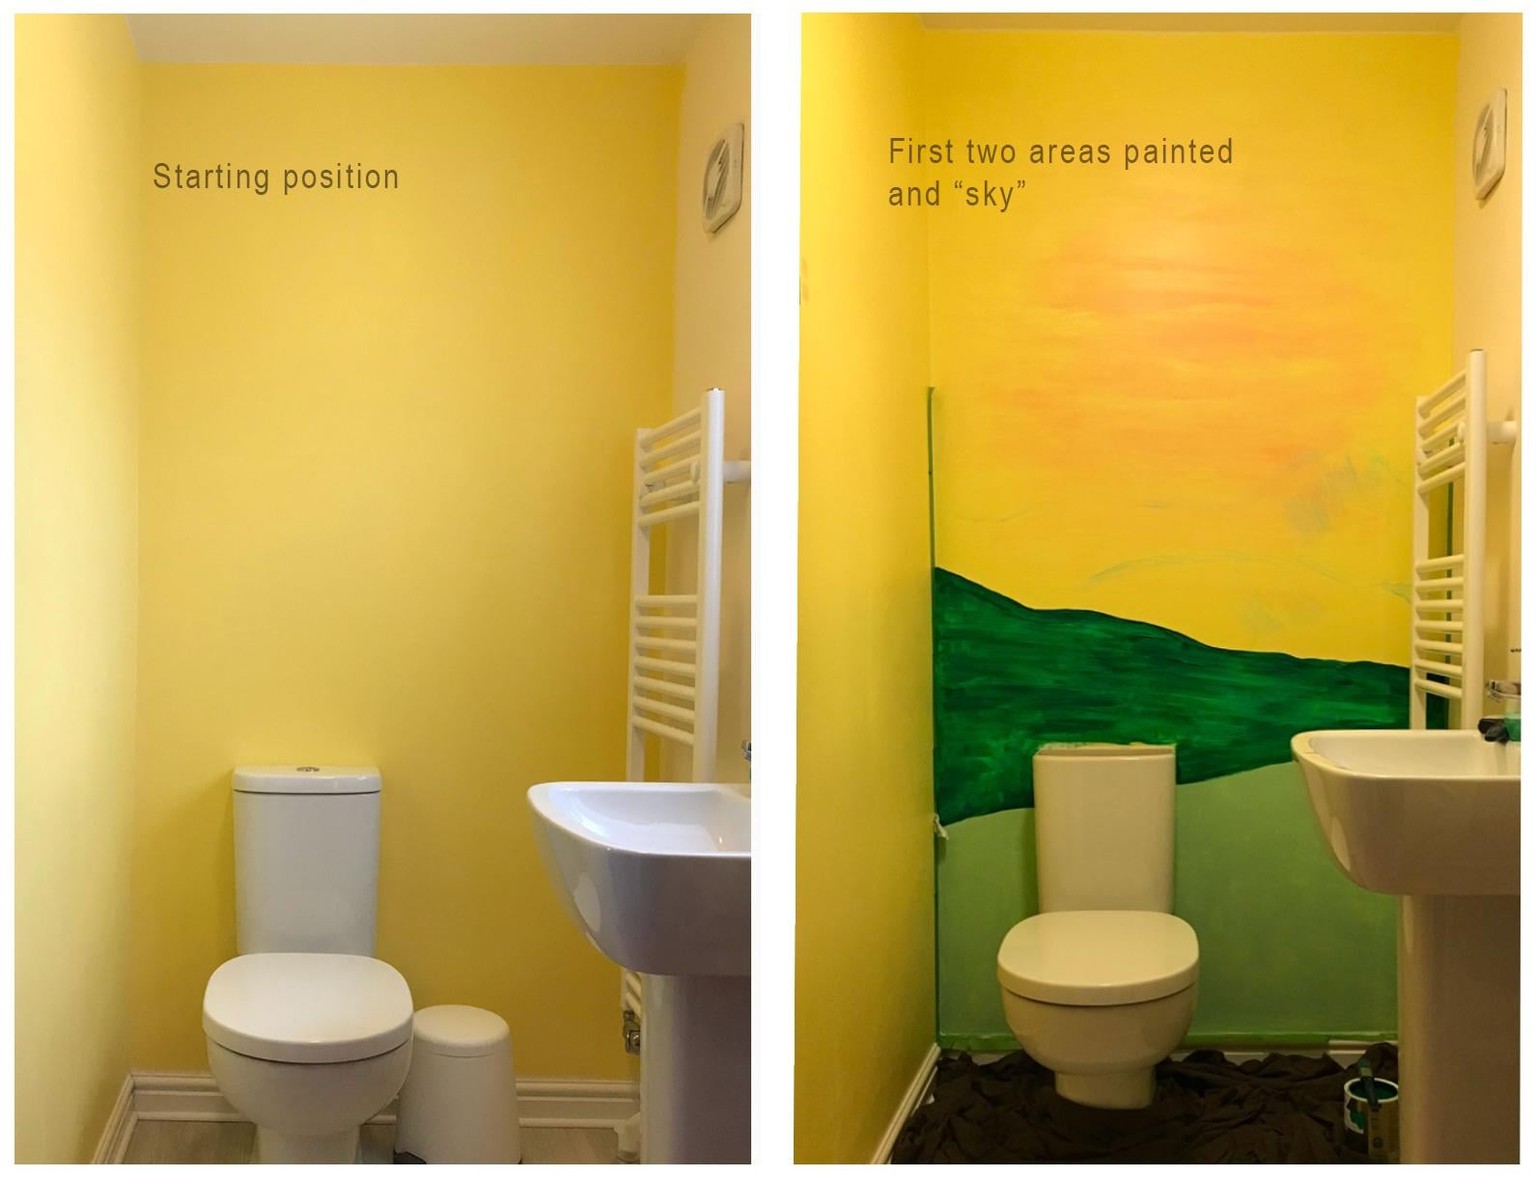
For my first mural I decided to play it safe and try out a small space - so the en-suite bathroom became my practice wall.
The back and side wall were already painted yellow, so this saved a bit of time.
My original design had the "sky" as the original yellow, but almost immediately I started smearing some orangey pink paint in with the yellow. I thought as all the other colours were going to be flat, this deviation wouldn't be too jarring.
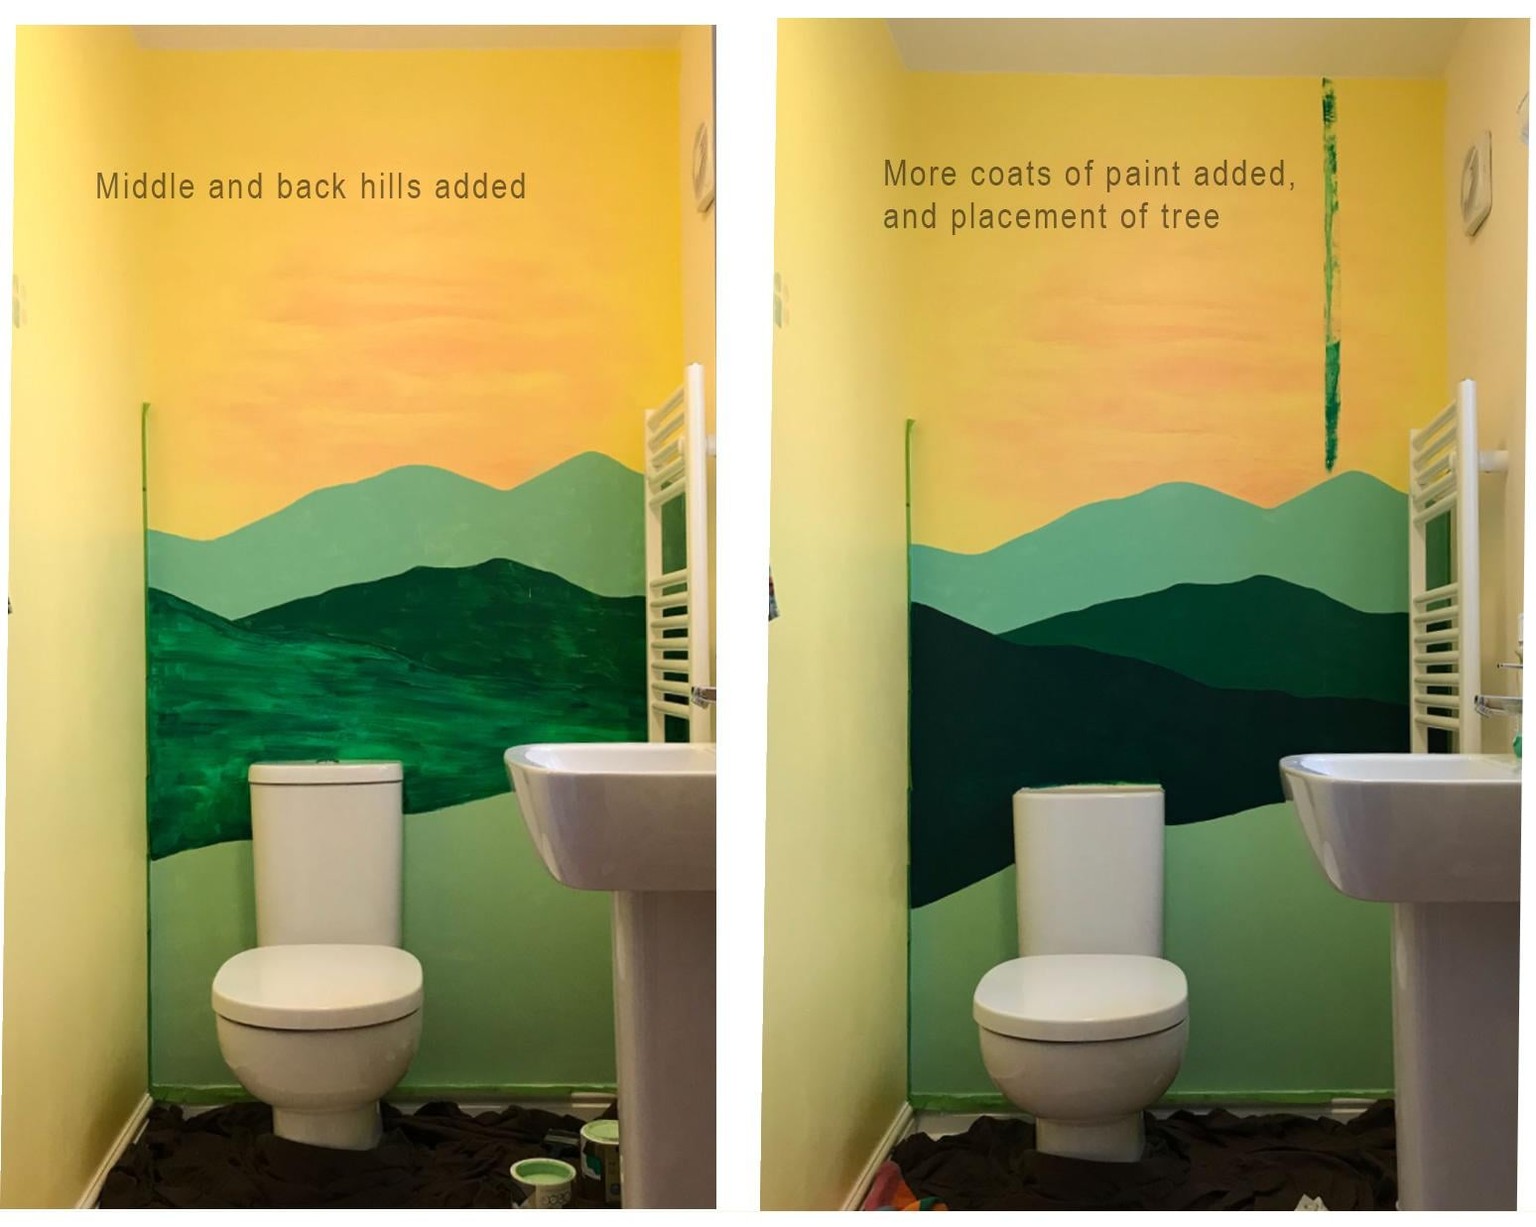
Shortly after the pretty abstract sky painting part, I entered the "oh crap" stage: The first hill that had the darkest green went on really patchy.
The second hill (the middle on) also went on quite patchy, and I was telling myself to stick with it. Surely if I just kept adding more layers it would work out...? Thankfully it did and I got the opaque look I was going for.
After many layers of all the hill colours I was ready to put the tree in. Swatting away the voice of doubt and fear I opened a fresh paint pad (essentially a square sponge attached to a handle) and delved in.
The paint pad worked a treat on the trunk of the tree, the paint went on thick and juicy first time, so just minimal re-touching.
In my original design I had a branch emerging near the towel rail, but that was a problem as I couldn't get into the space, so I just painted the branch further up the wall.
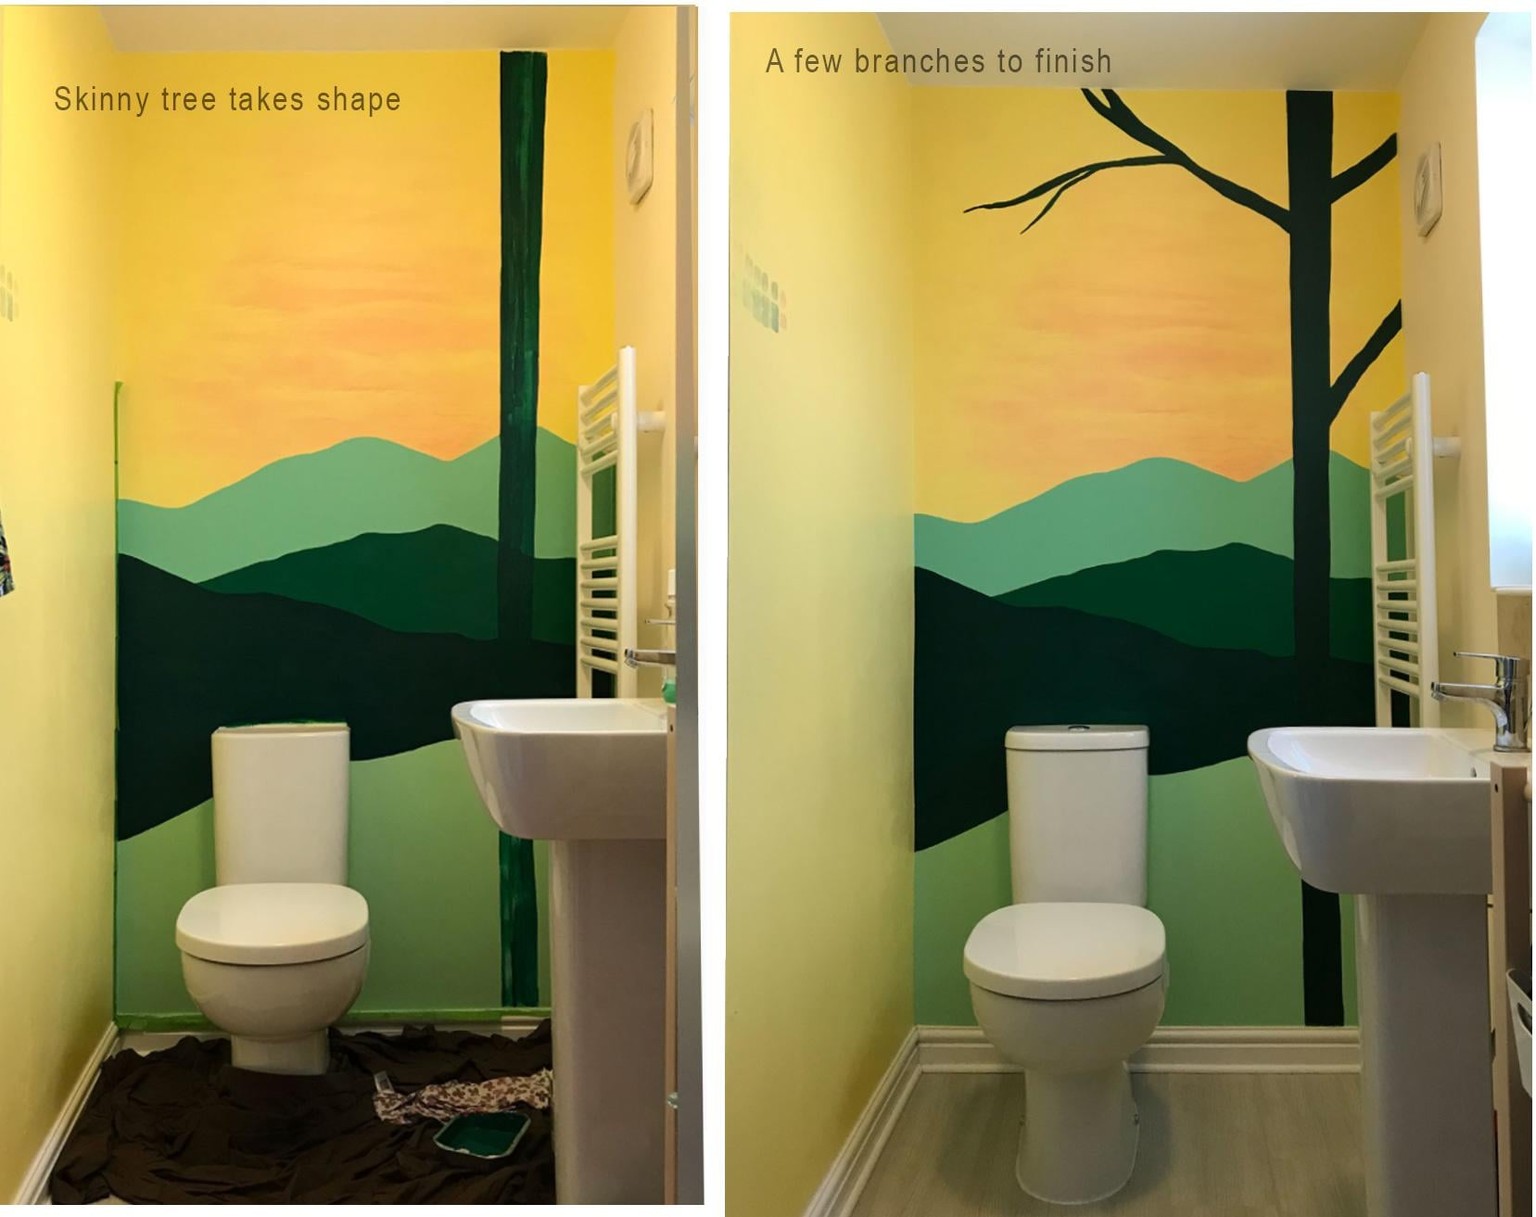
So, my first mural is done, and I'm grateful to Mimi for sharing her process and giving me the courage to go from idea to reality.