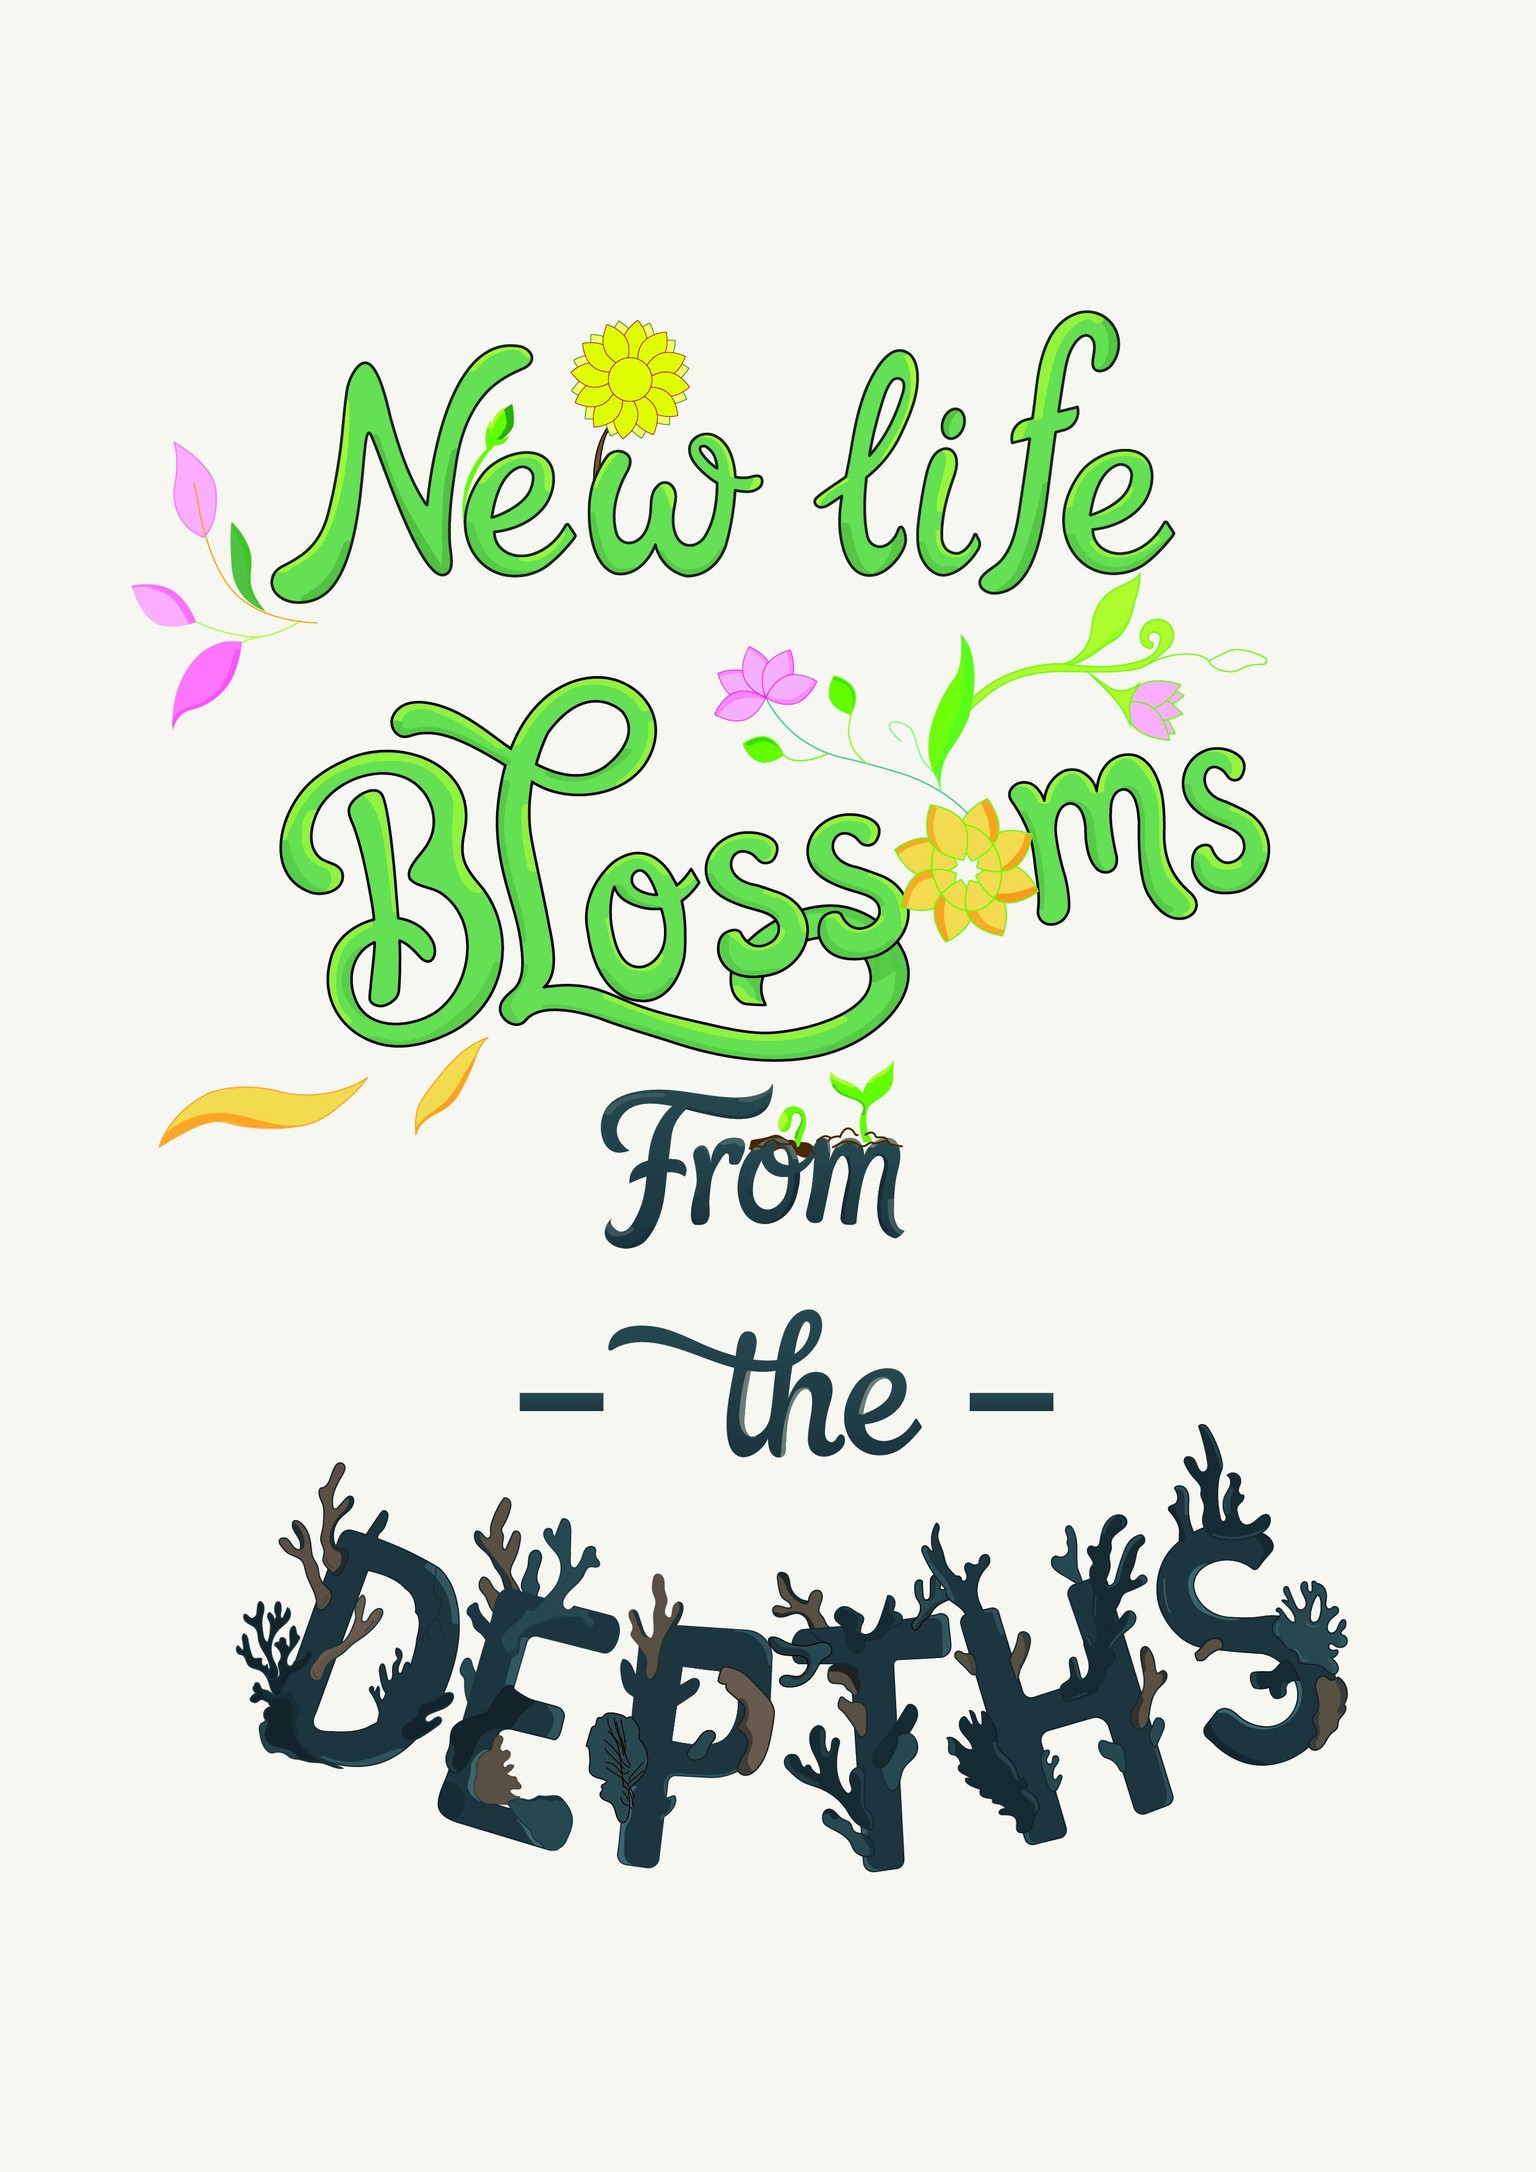
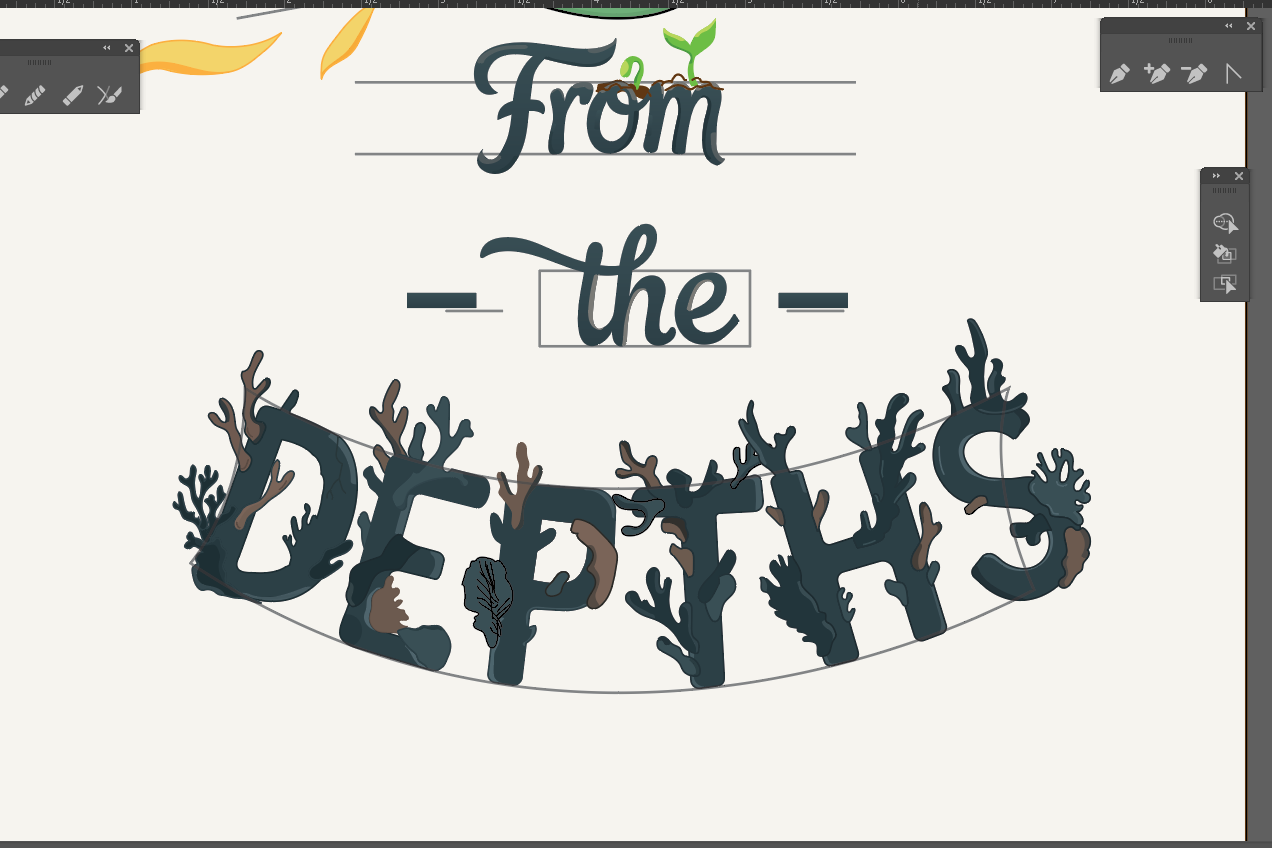
From the Depths, New Life Blossoms
I created this quote myself “From the Depths, New Life Blossoms". This piece is about renewal how the seeds of growth, and hope, can be sown in emotional depths and silence. The composition is designed to be read from the bottom upward. As I always I believe that even in the most difficult or "darkest" circumstances, hope and new life will always find a way to blossom brilliantly.

Supplies
– Pencil, pen and paper sketchbook for initial hand-drawn sketches & brainstorm ideas.
– Pinterest: Find images
– Adobe Illustrator for vector refinement, coloring, and final composition
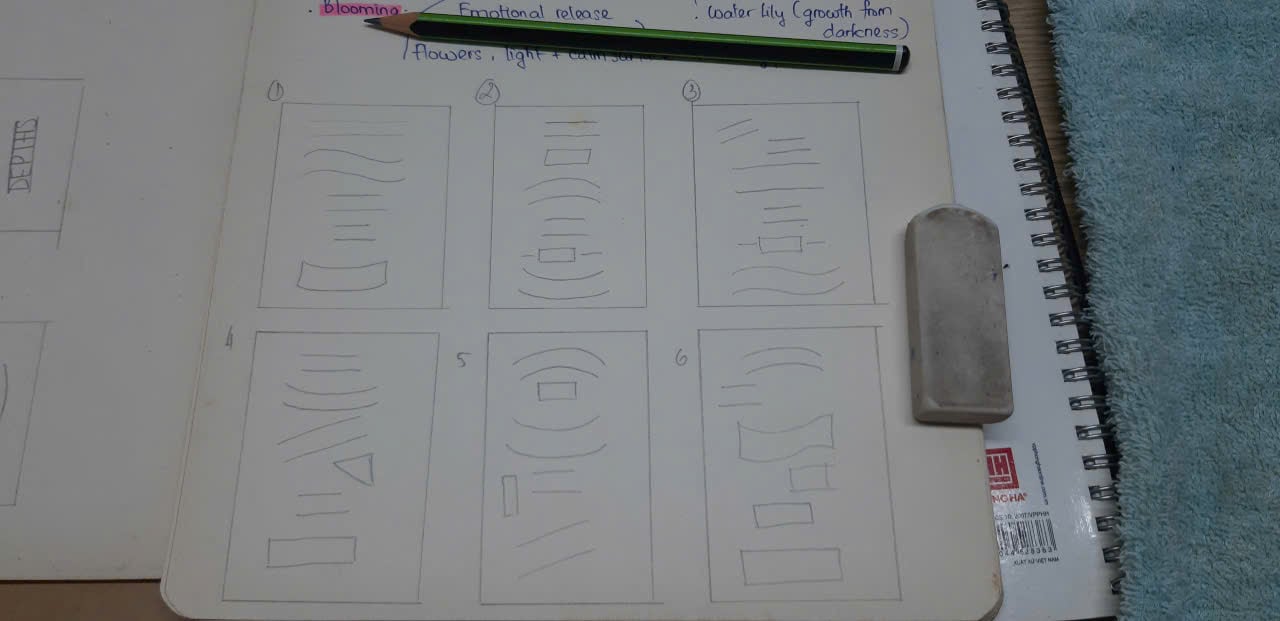
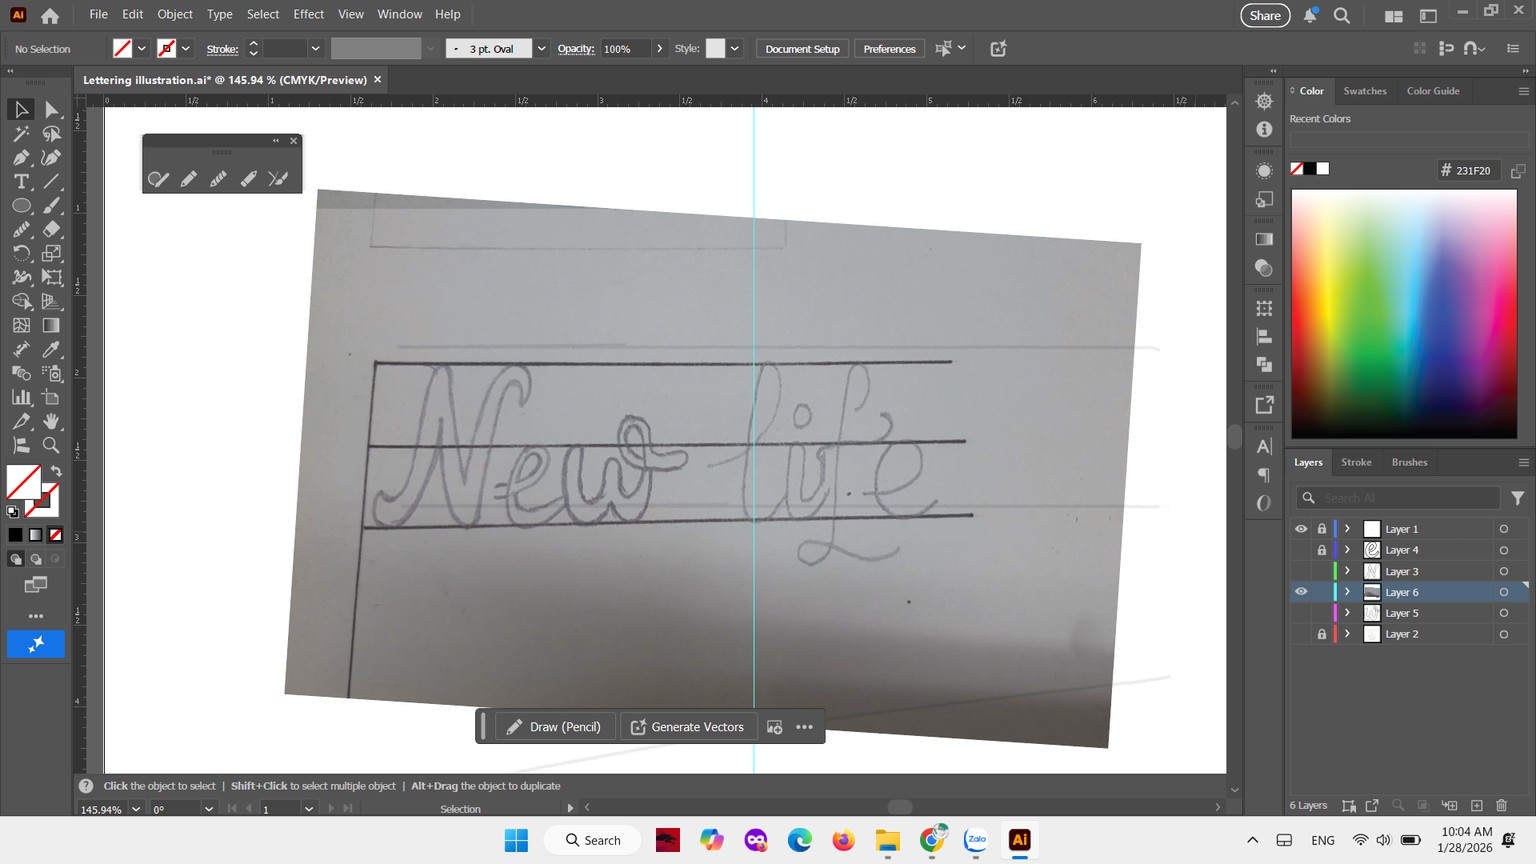
Step 1: Sketching ideas
At the first step, I'll start by sketching my ideas on paper and creating various lettering grid options. This step allowed me to experiment with many different styles that I wanted to bring into my design. It seemed a bit messy, but I found it quite enjoyable.

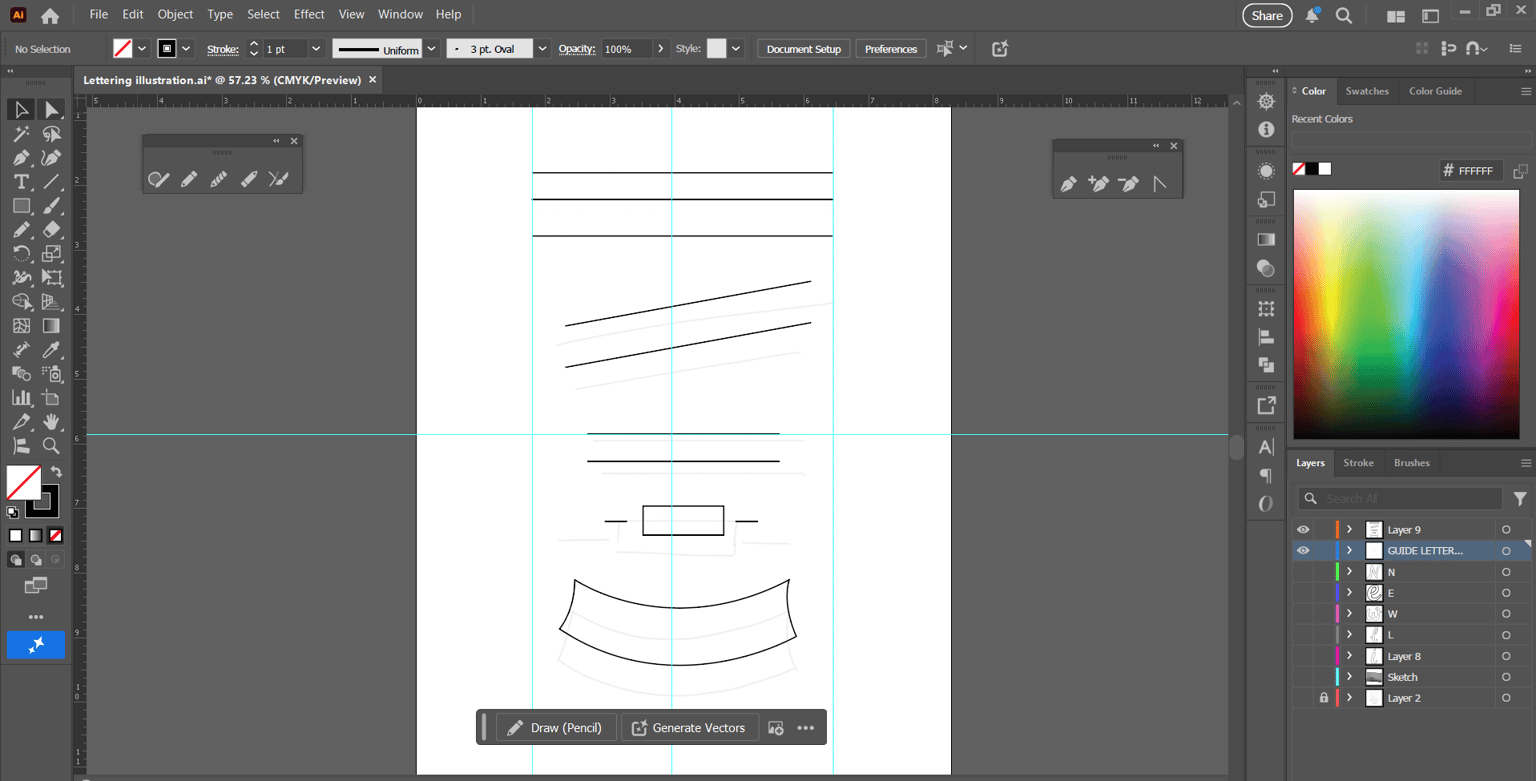
Step 2: Choosing lettering grid
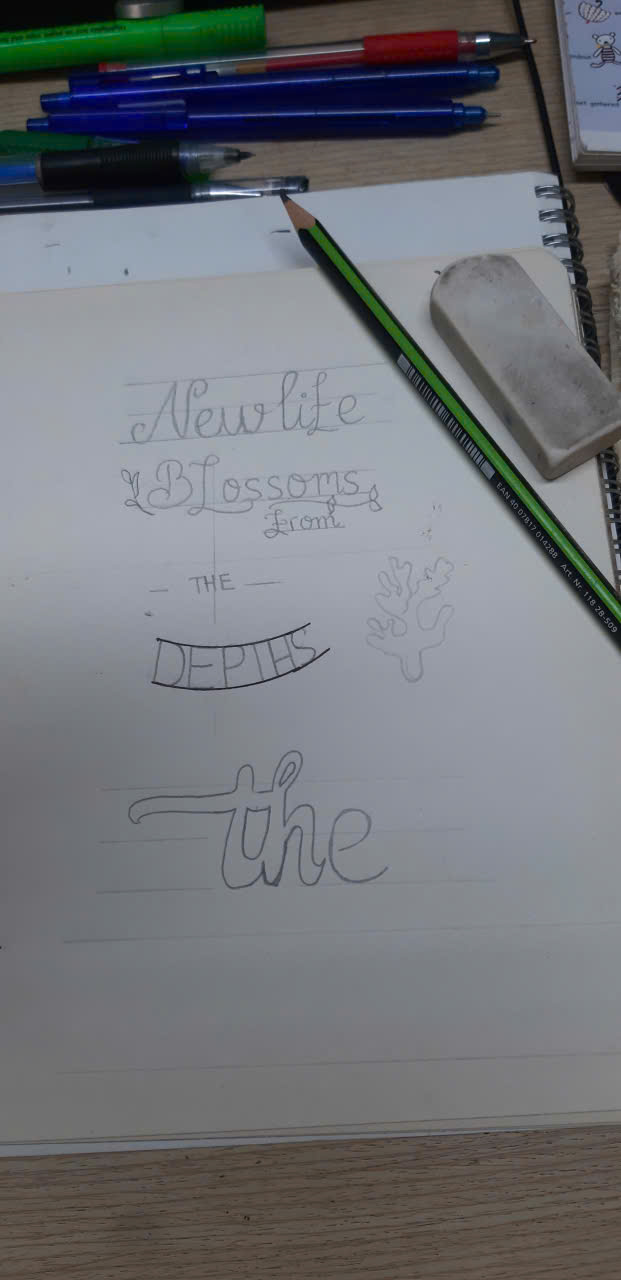
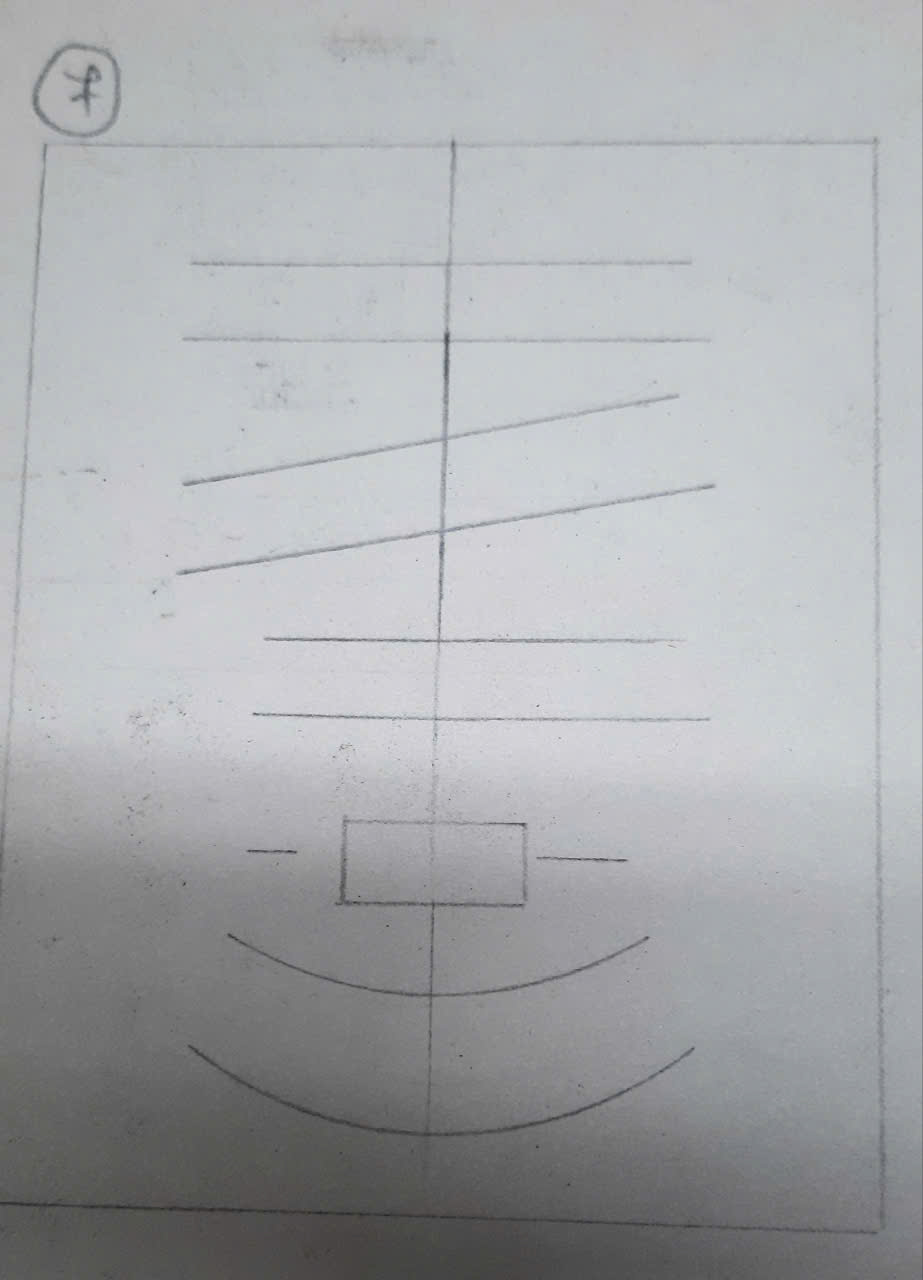
After completing the brainstorming phase, the next step is to choose the option I like best. Although I really like grid options 1, 2, and 6, I will ultimately choose option 7. Because I think I will work best with this
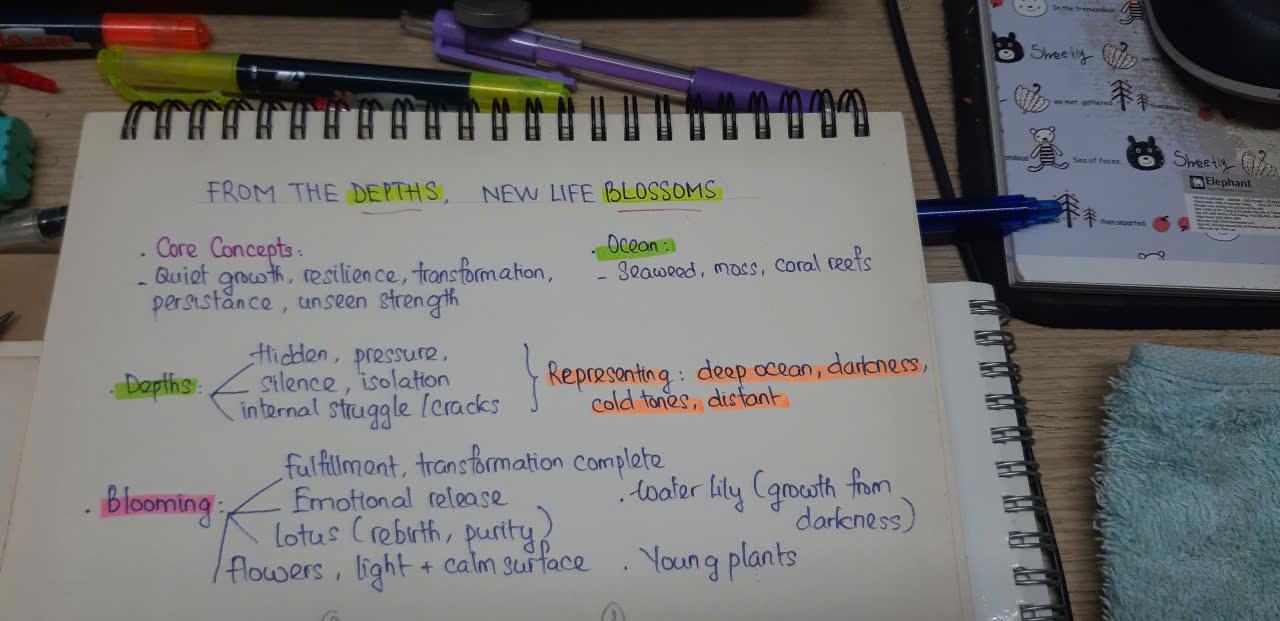
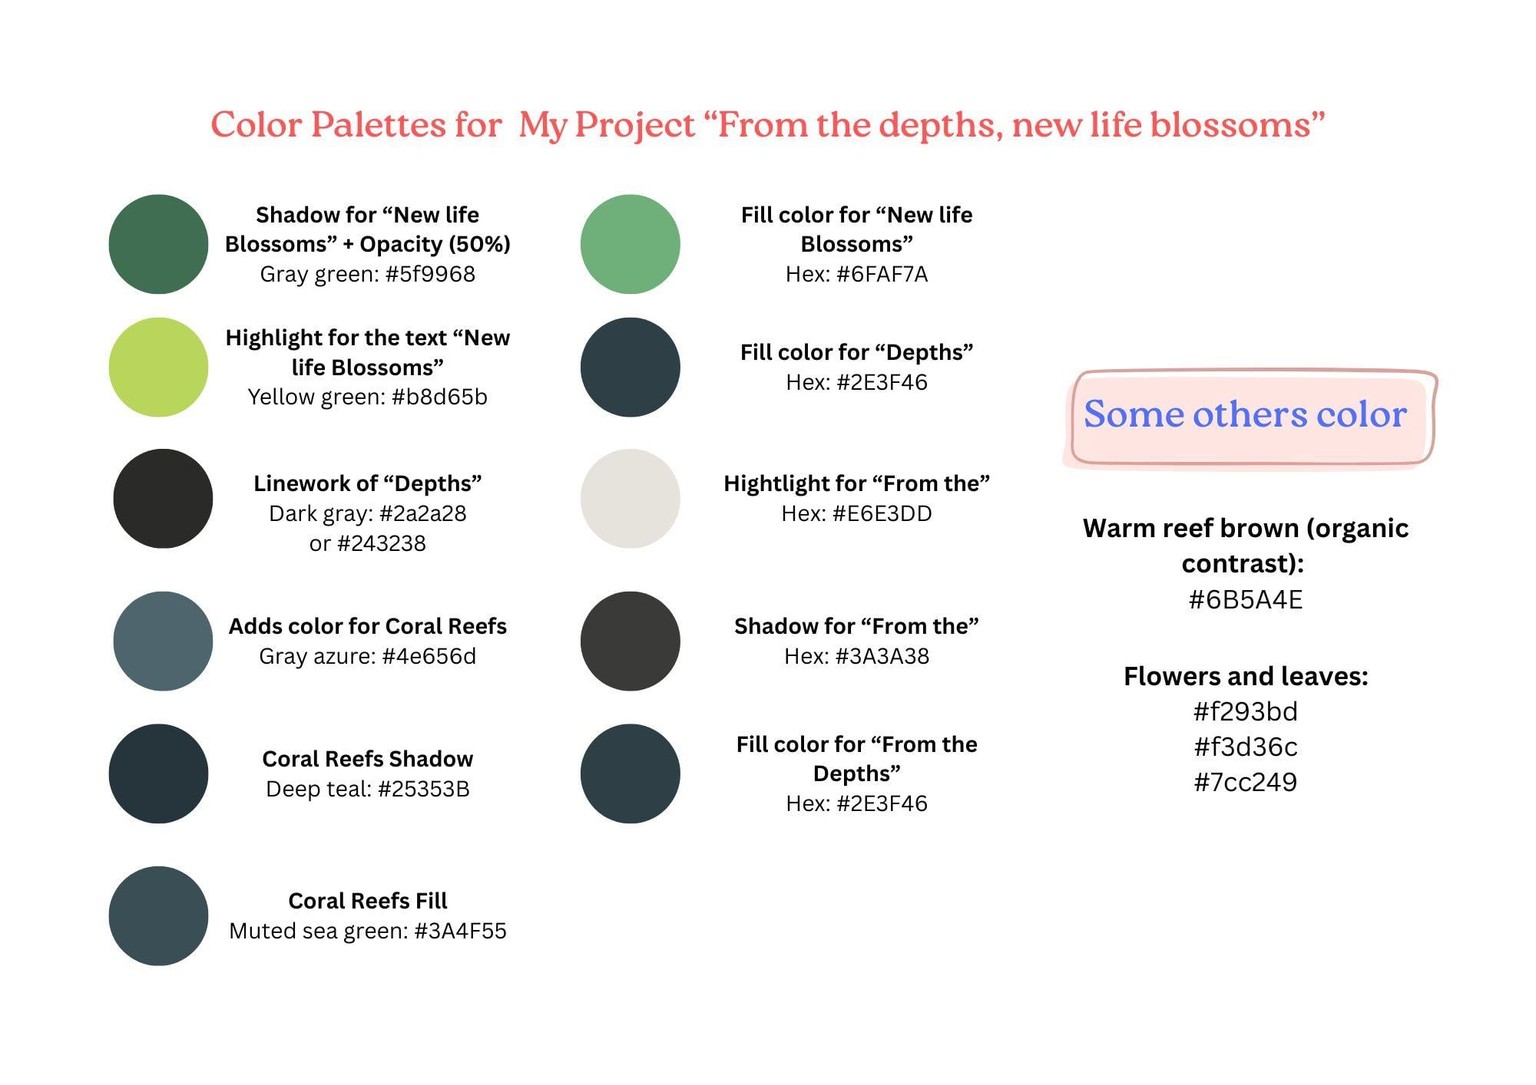
Step 3: Finding moodboard & color palettes
Now, I'll move on to searching for moodboards; I'll use Pinterest to gather images related to this theme. Next, I use the eye-dropper tool to pick colors from the image. The images I've collected will help me visualize more easily how to combine colors and place elements appropriately for lettering.

Step 4: Digital Lettering Development
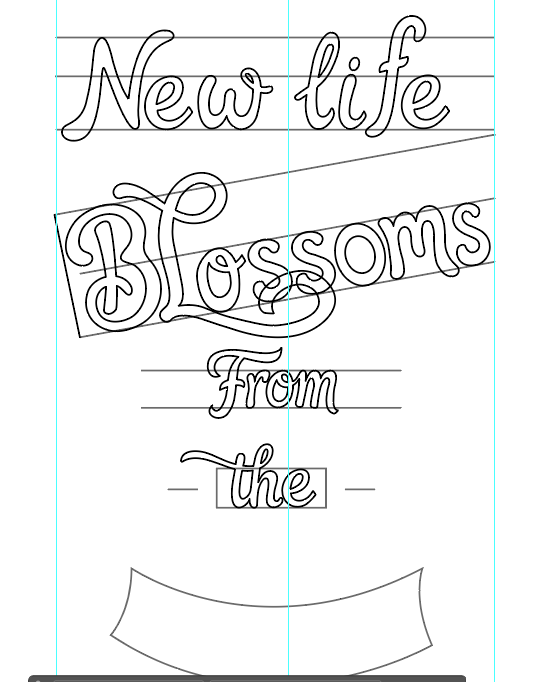
After collecting and brainstorming for my design project, at this step, I open Adobe Illustrator and place the sketches. I redraw the lettering grid as well.
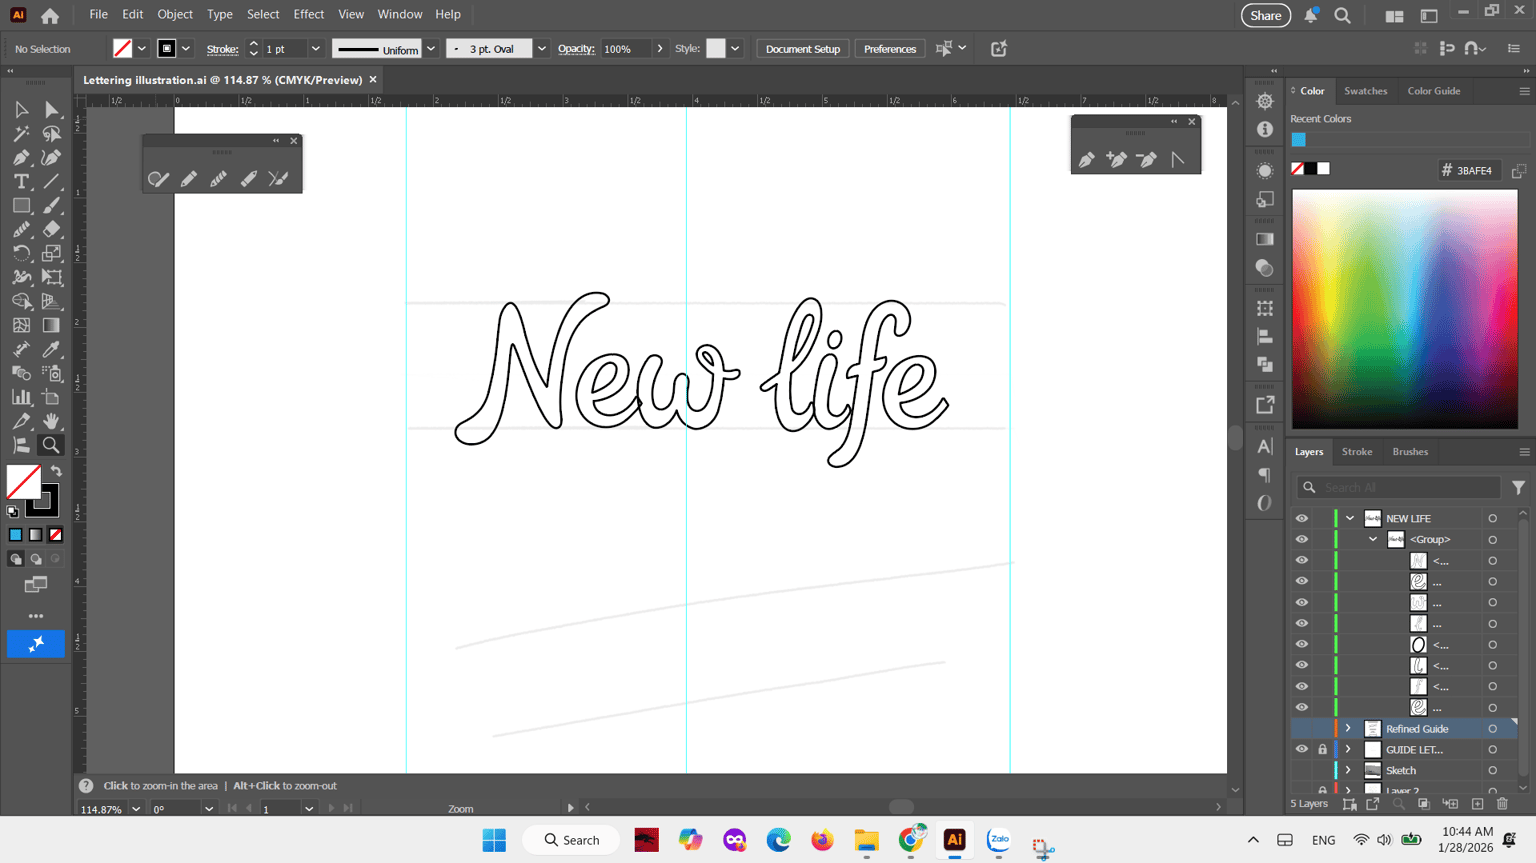
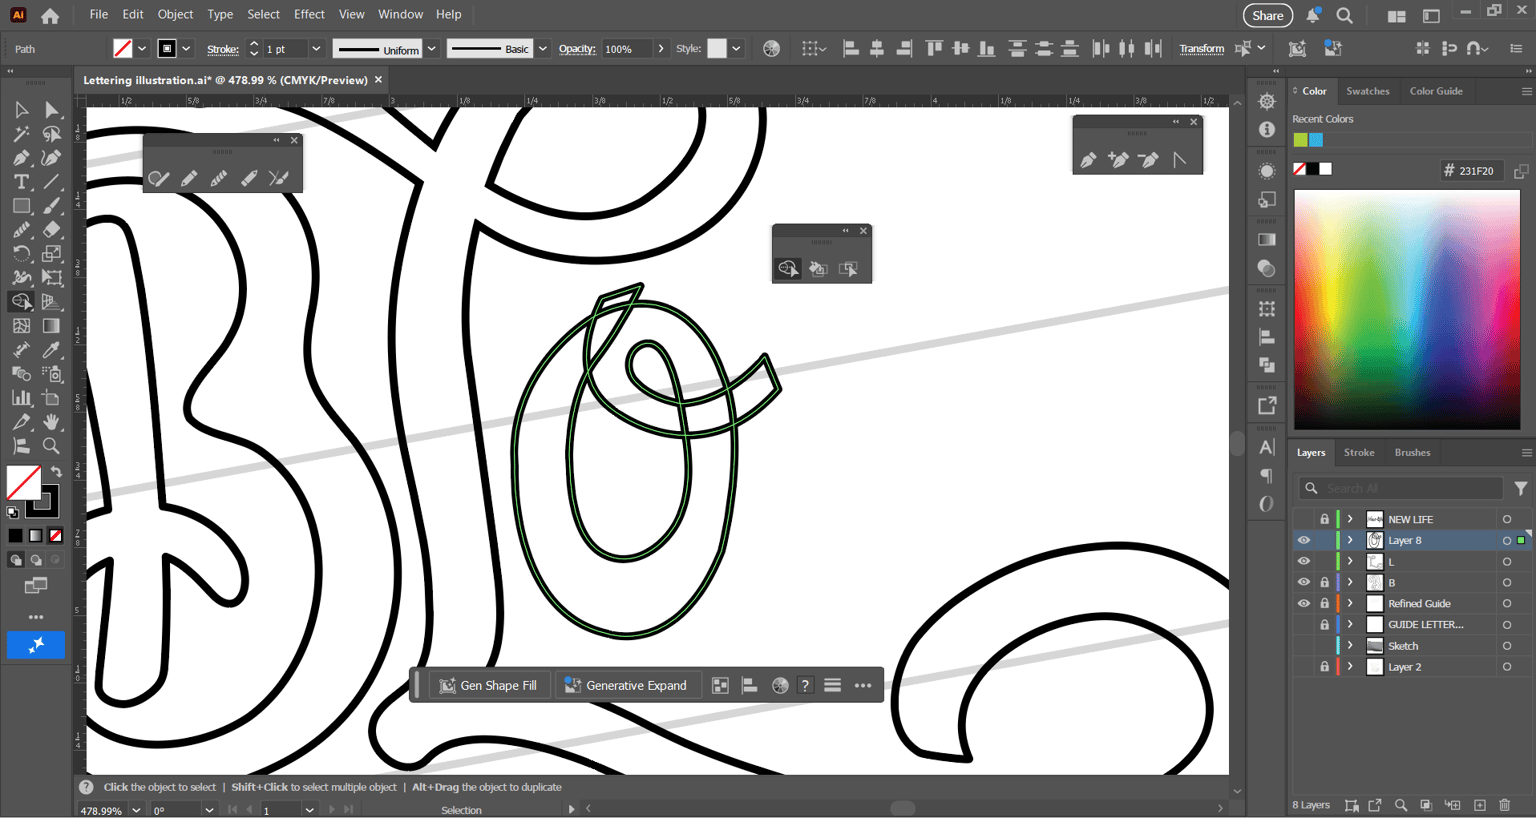
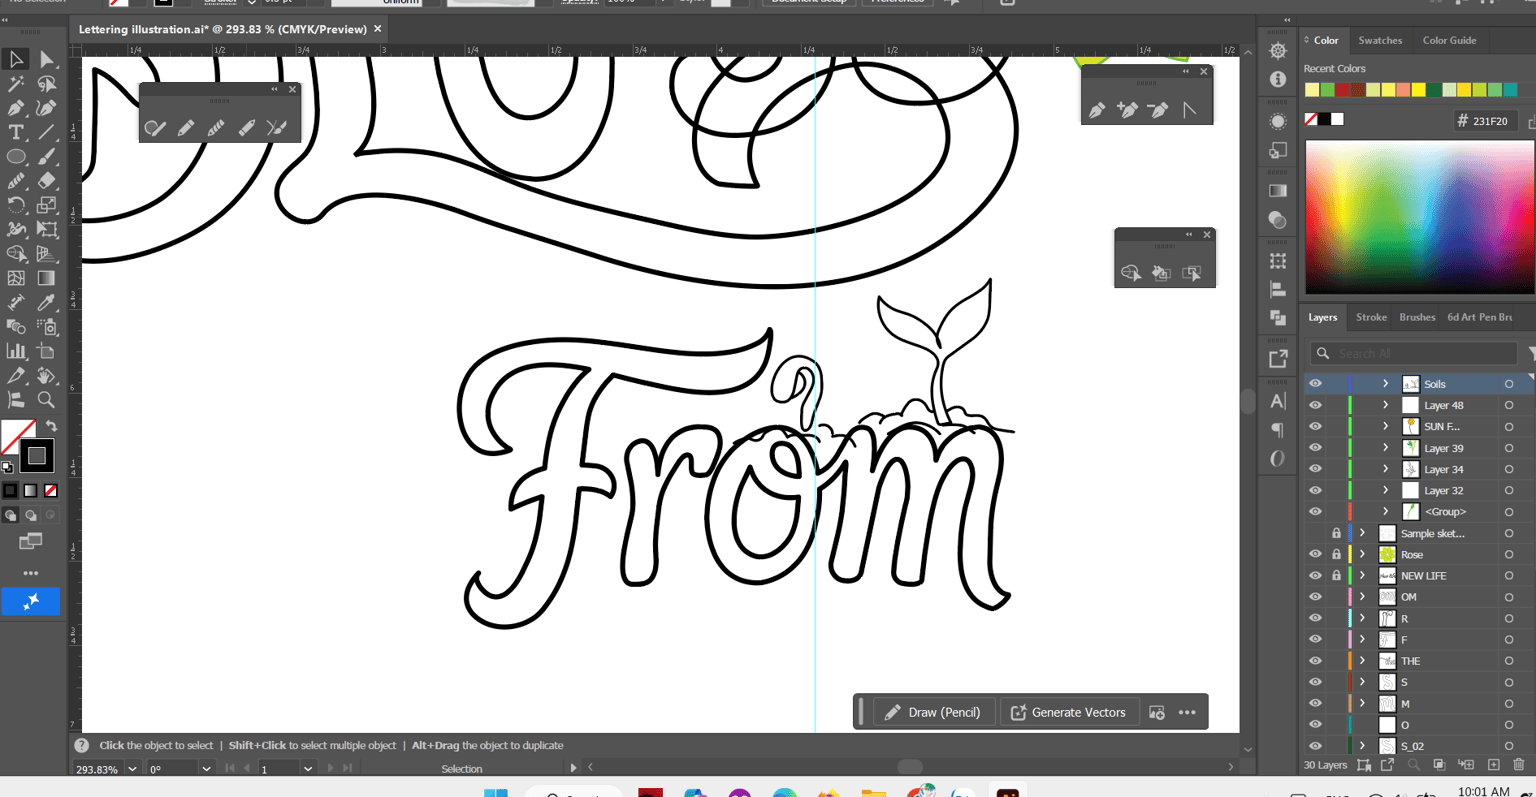
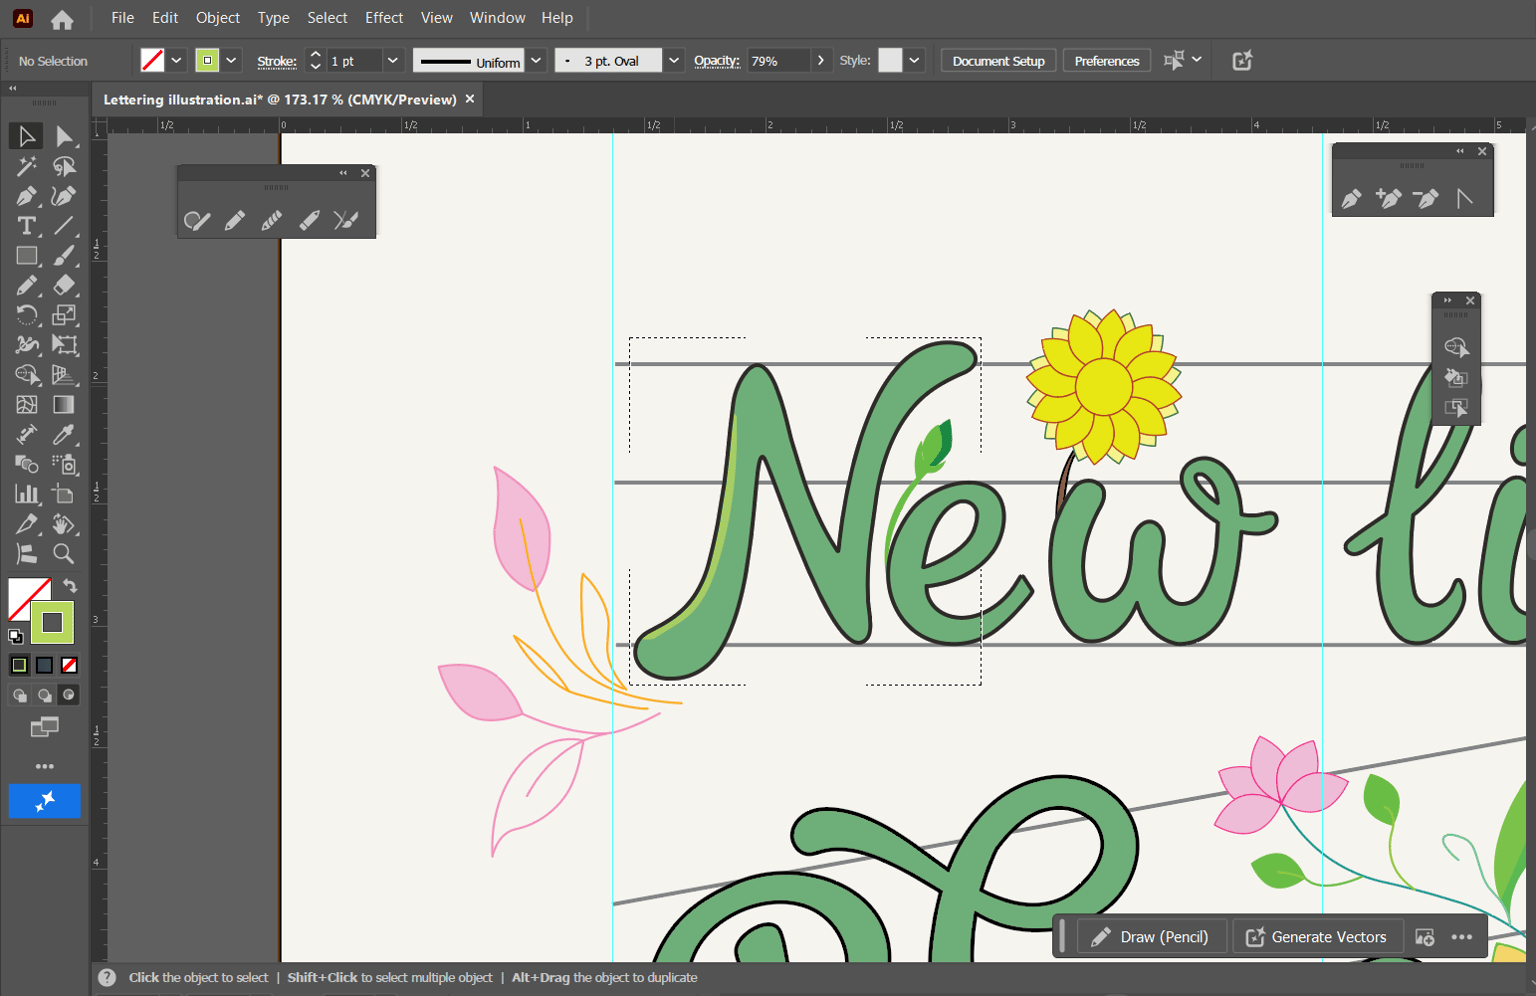
Step 5: Vectorization & Digital Refinement
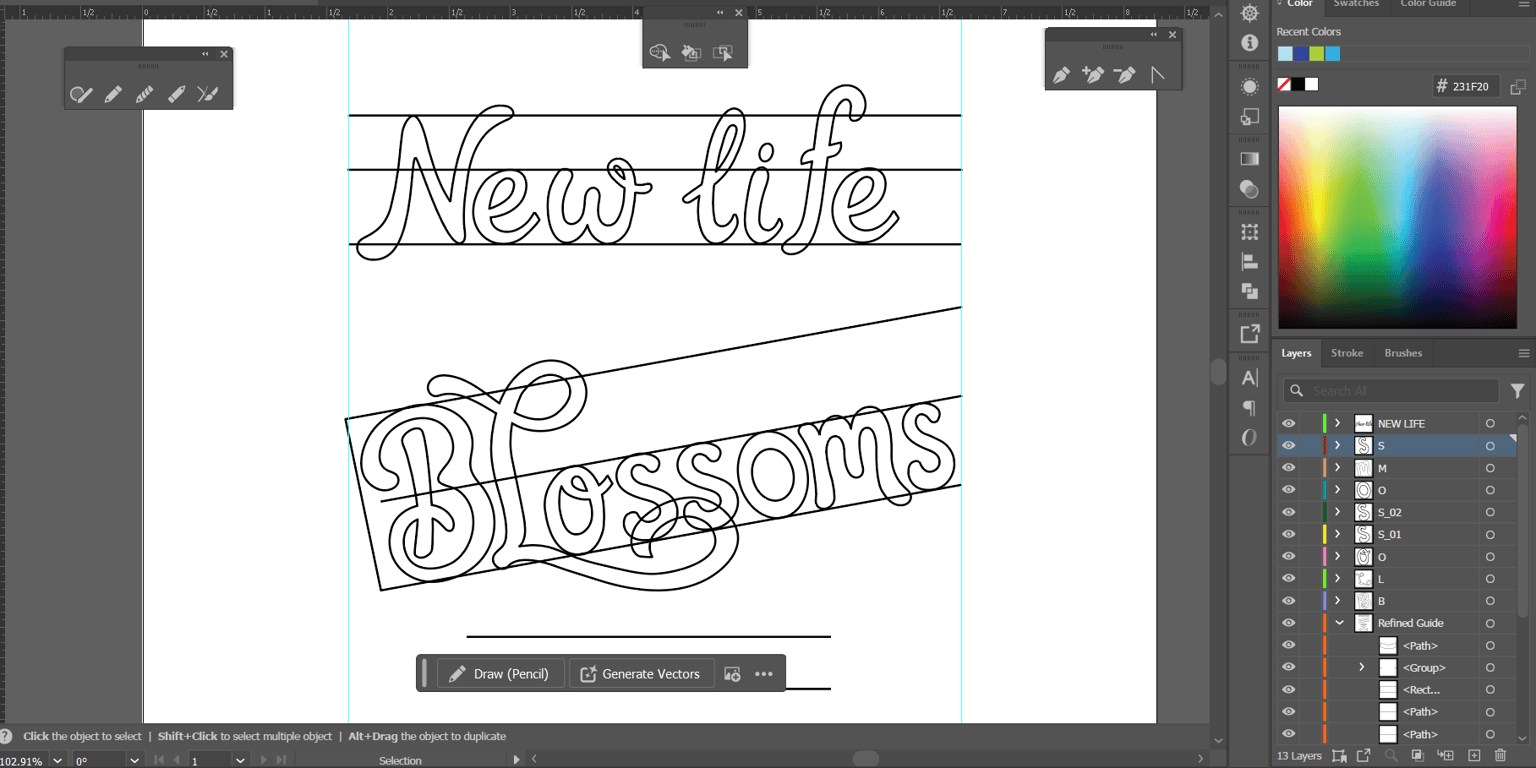
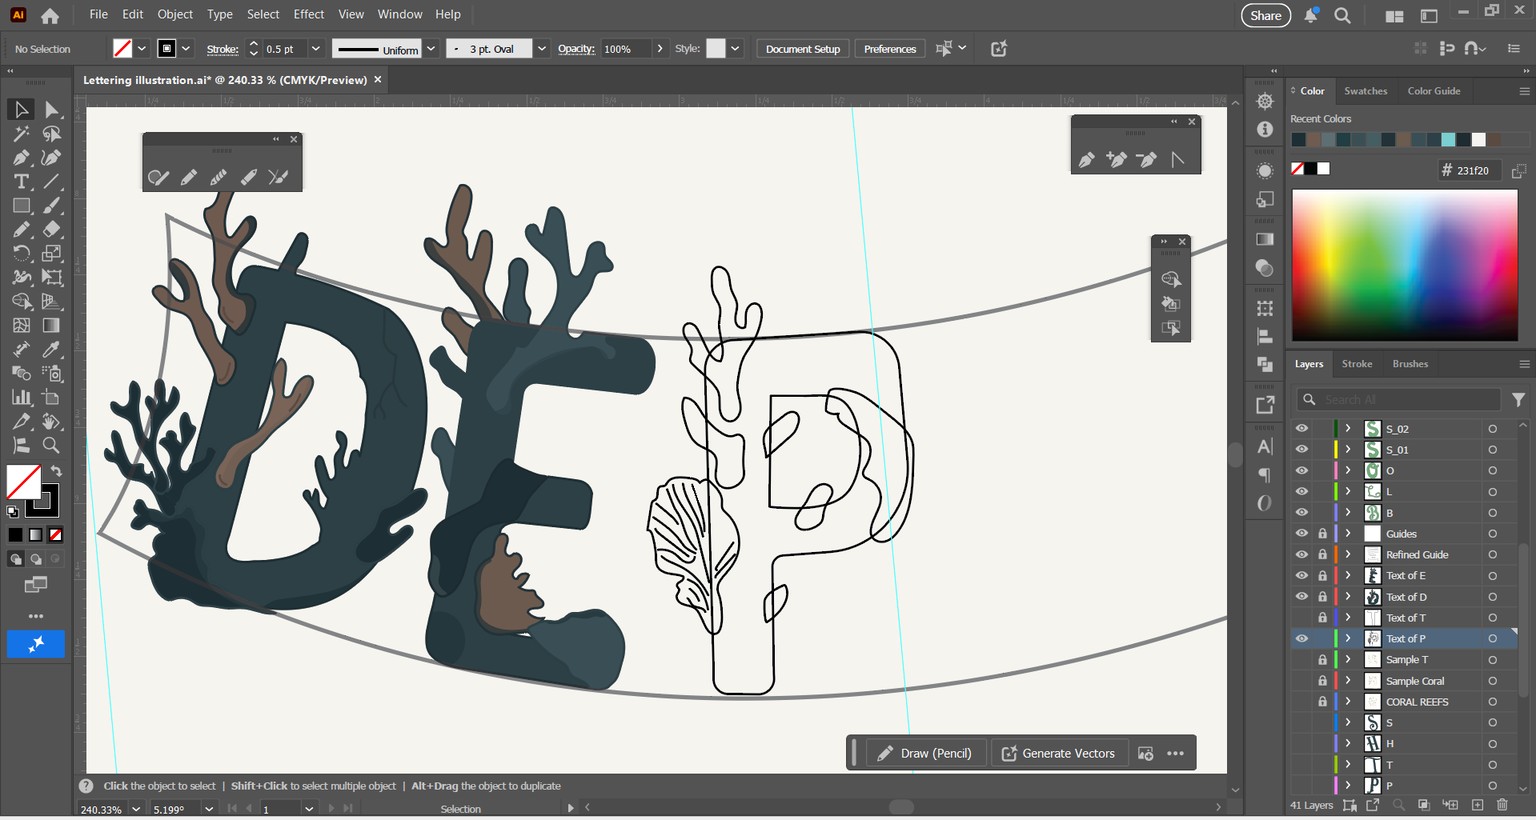
This stage, I used the pen tool to draw the lines, then used the smooth tool to adjust the lines to make them softer and neater. But, you still keep the grid lettering layer open so you can redraw the lines correctly. For the letter O in 'Blossoms', I select the object and use the Shape Builder Tool to add or remove it.
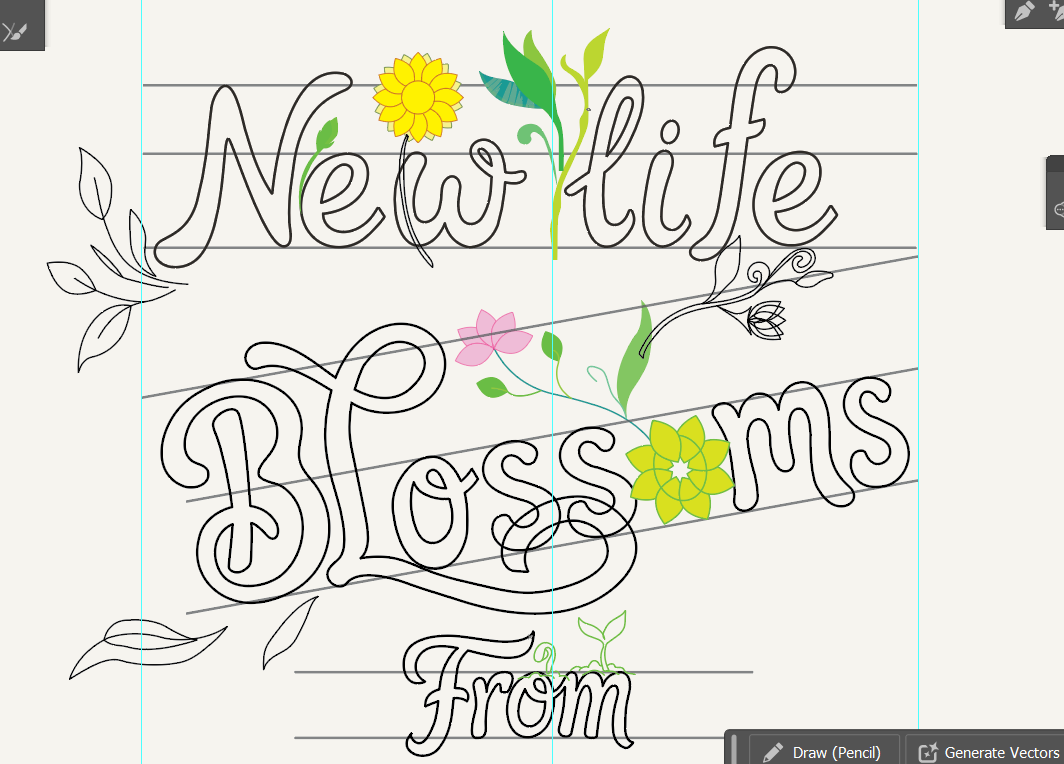
Step 6: Continue redrawing the letters until complete
Continue drawing and experimenting until you find which part you like most
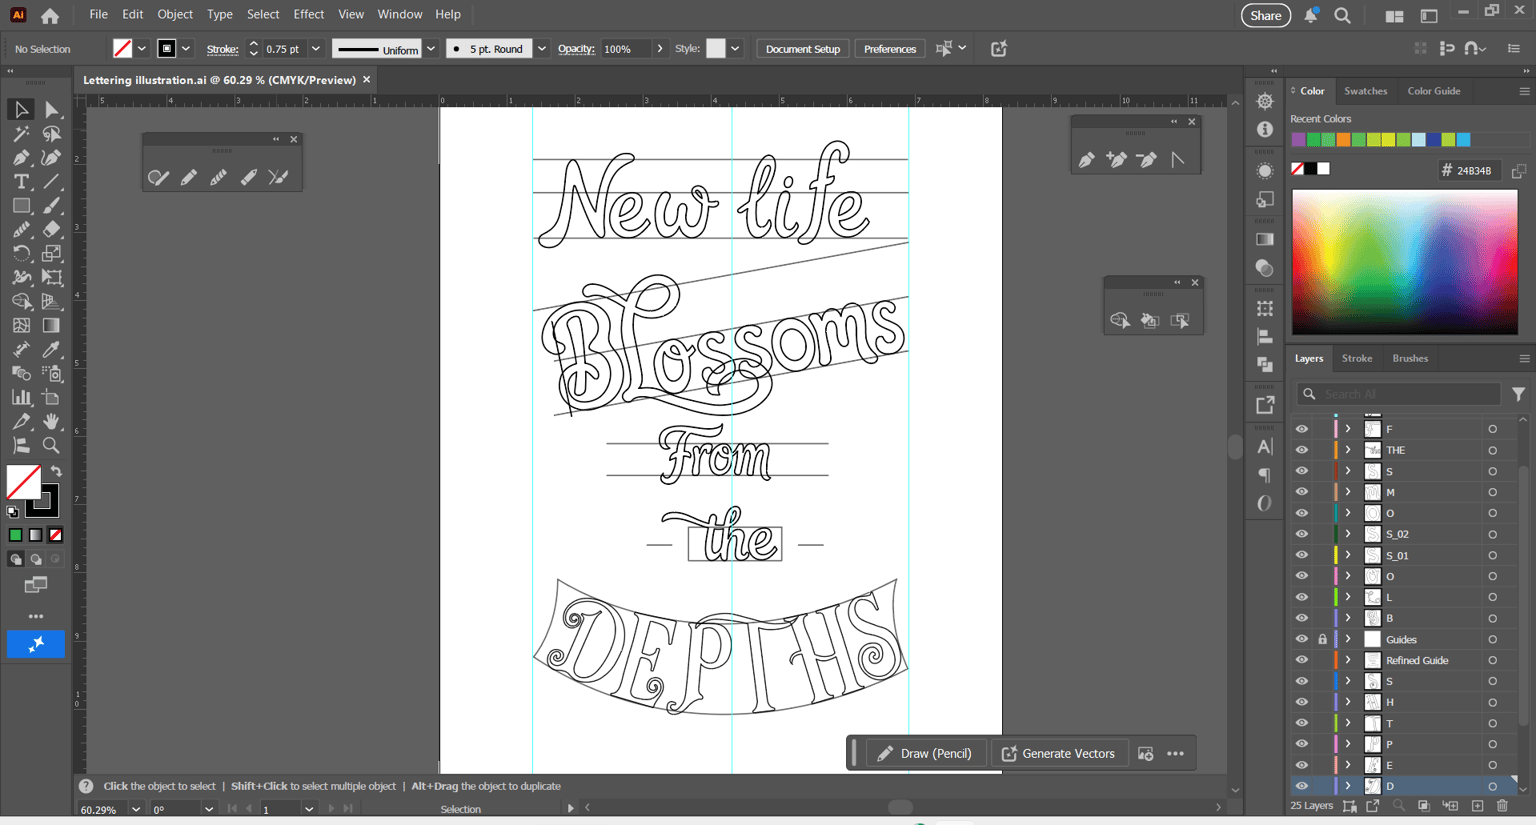
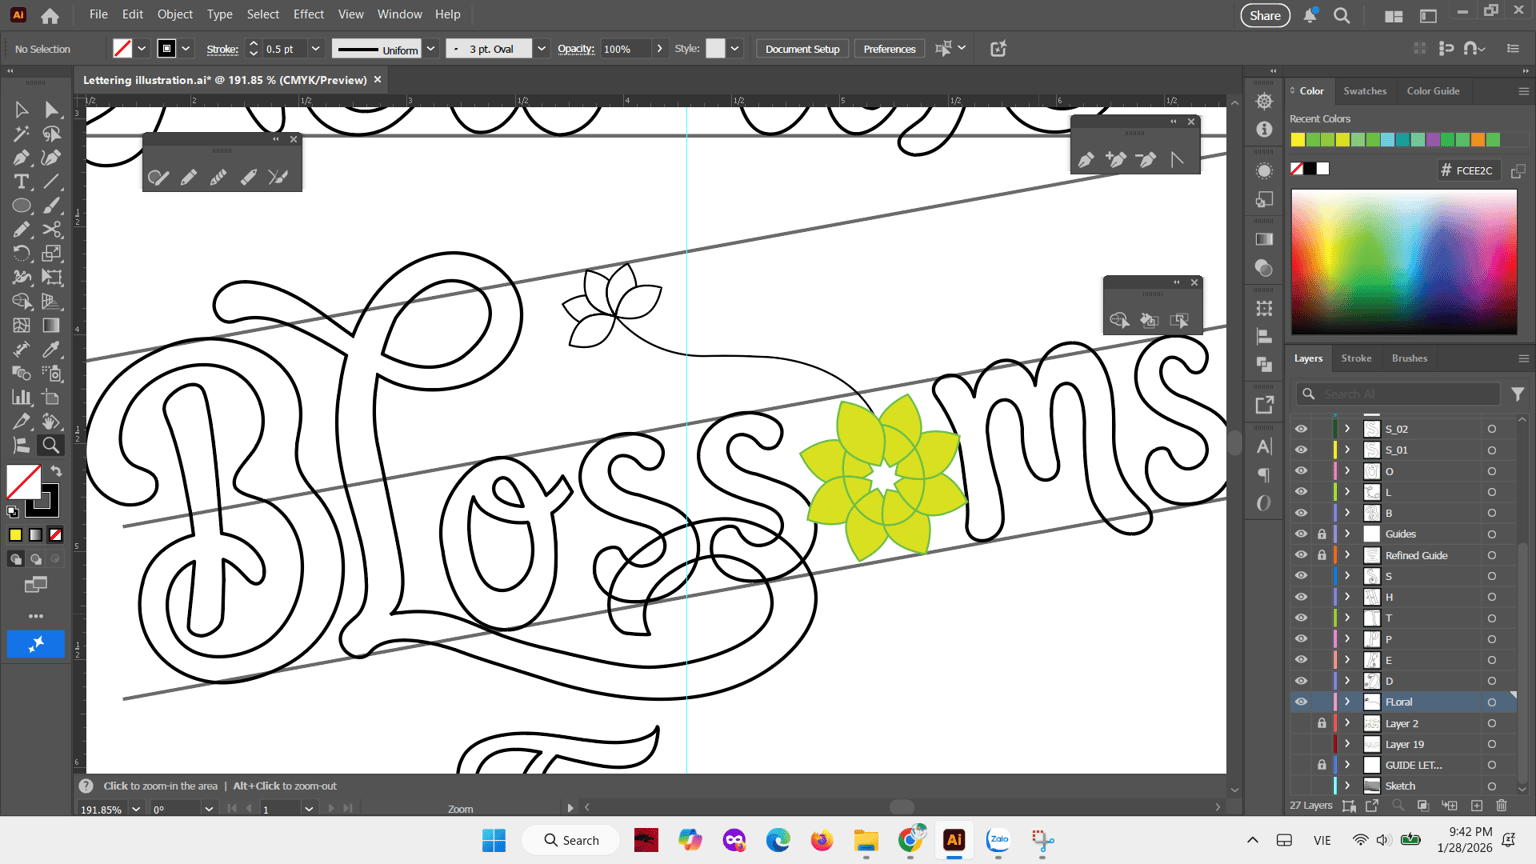
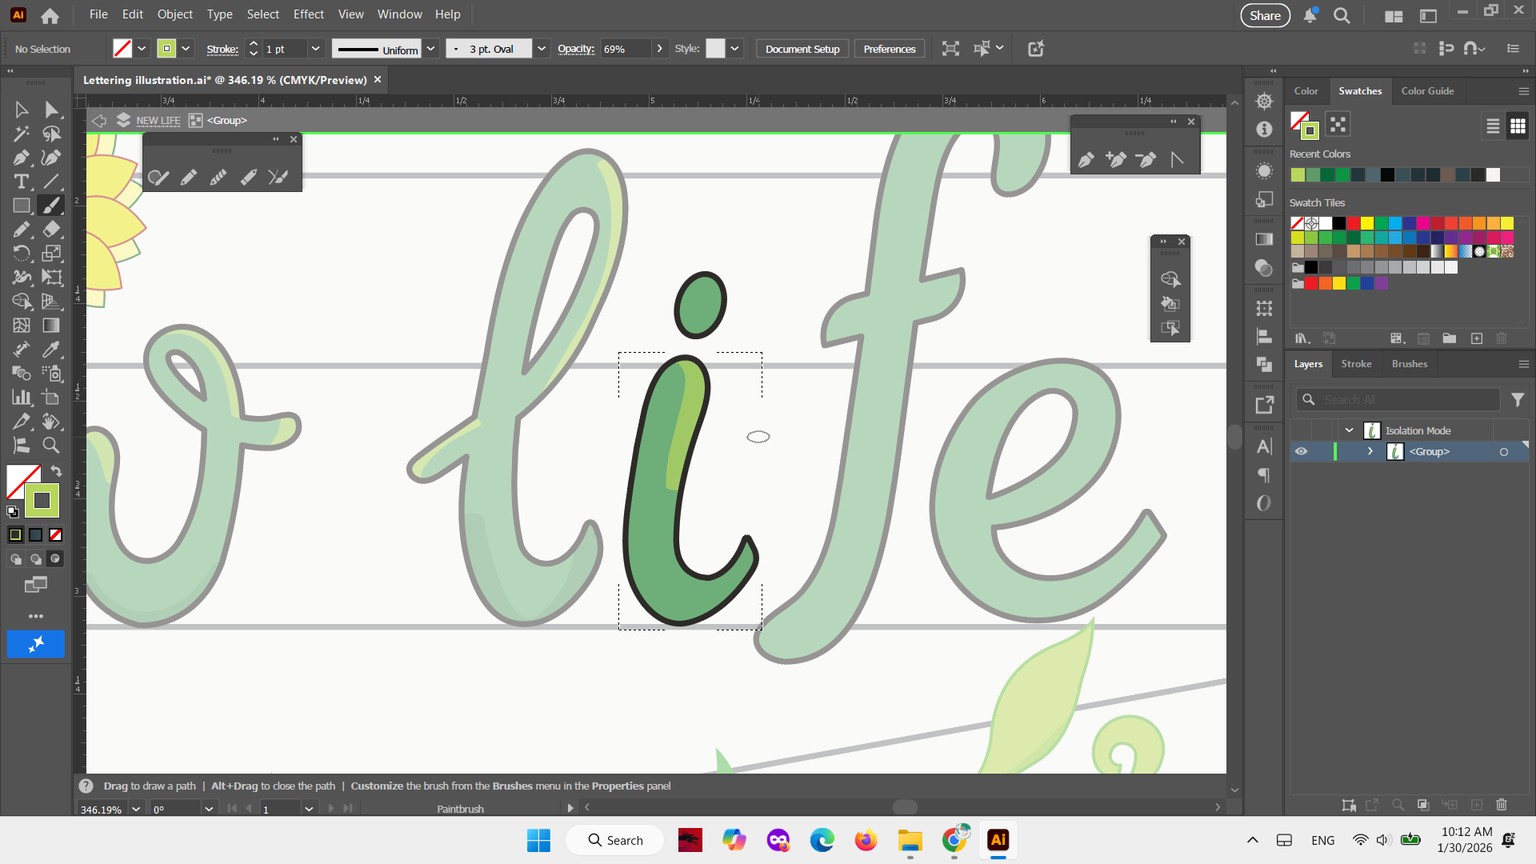
Step 7: Add some elements
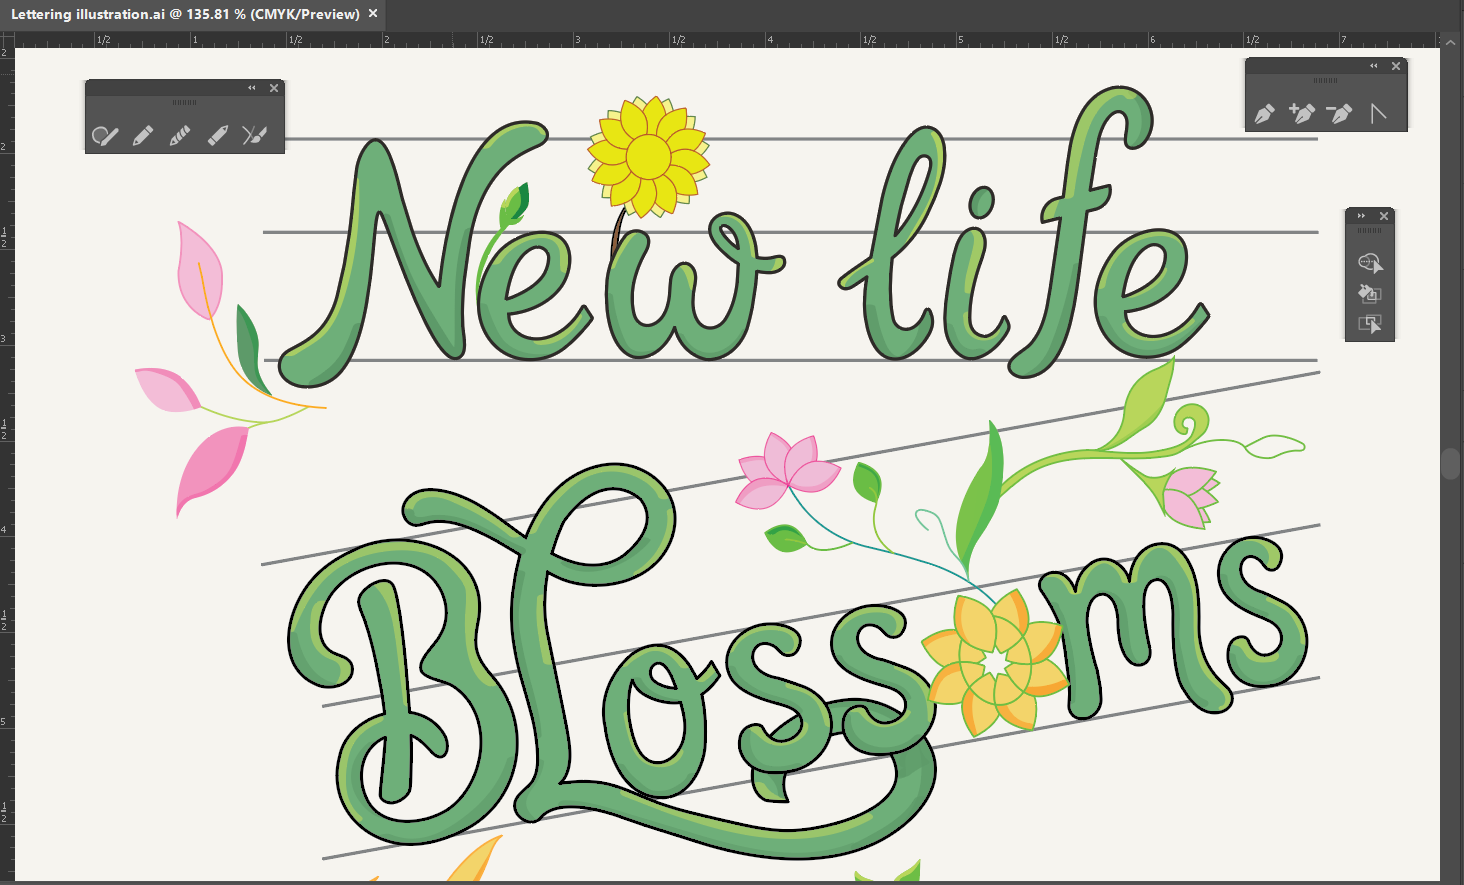
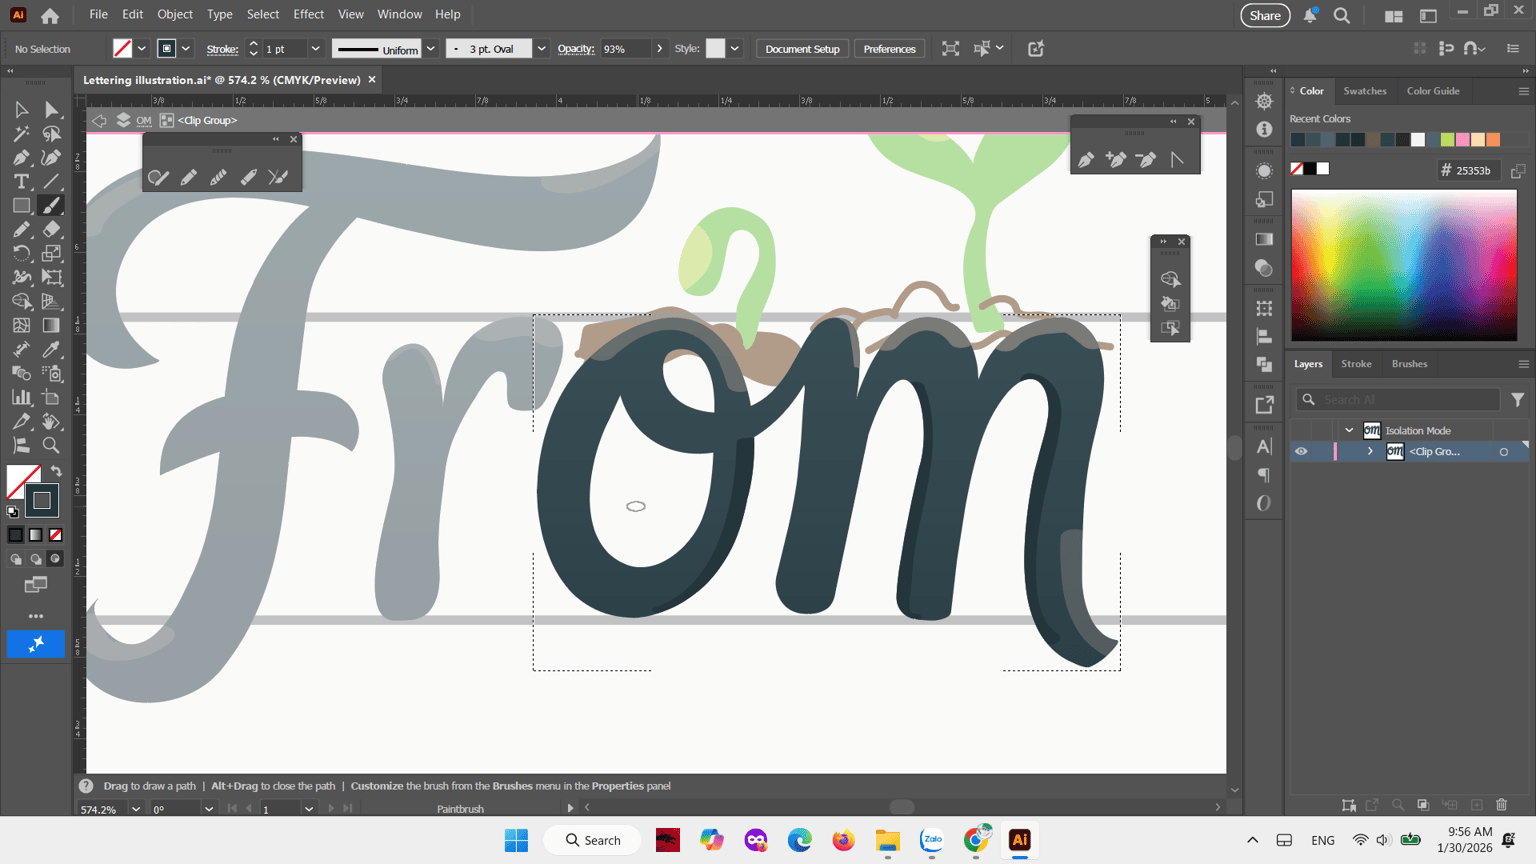
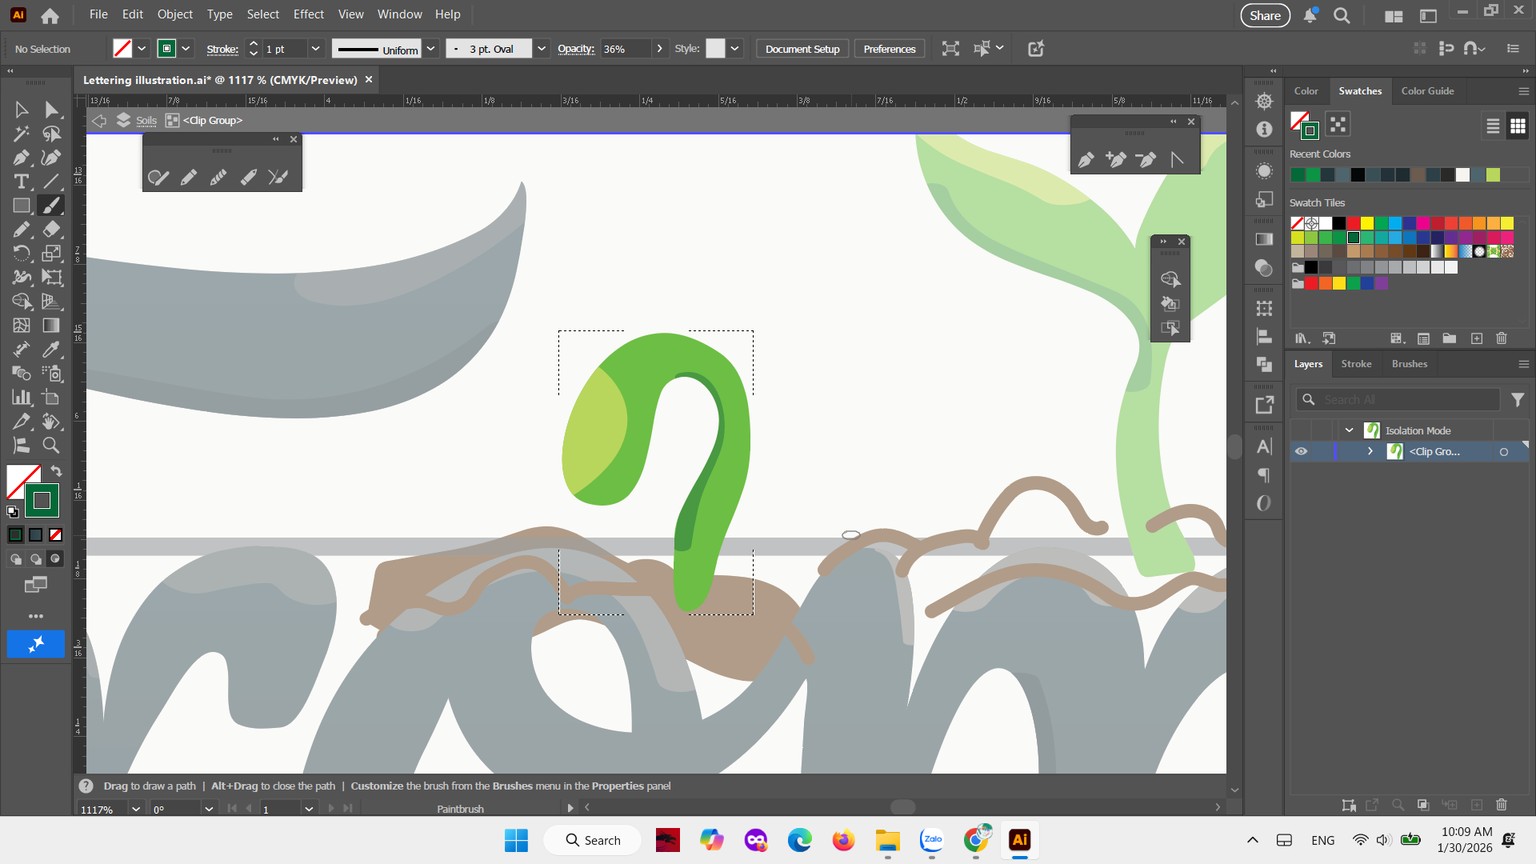
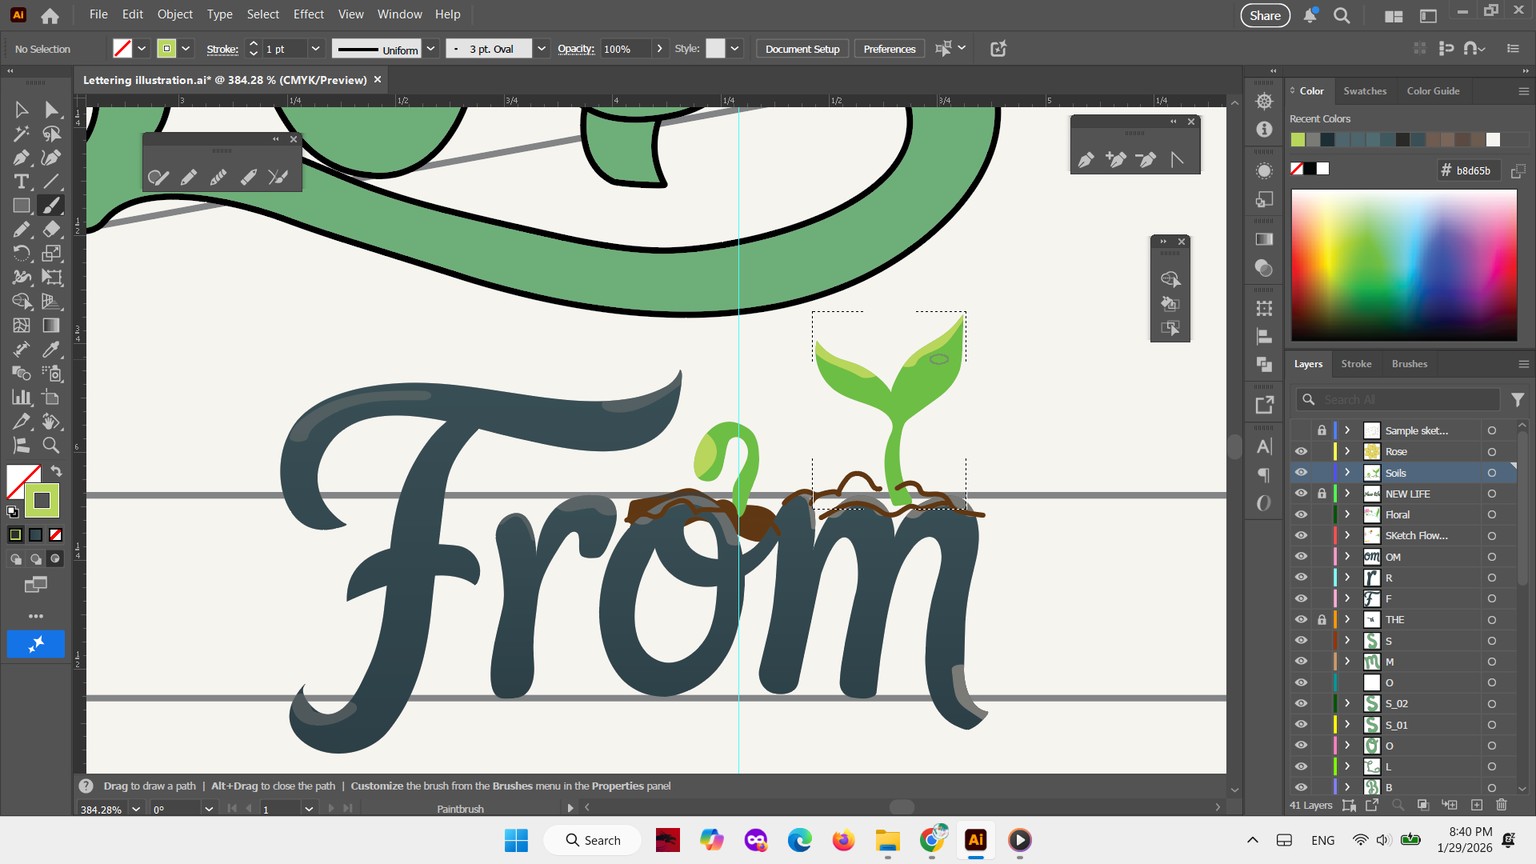
This phase, I modified the letter O by drawing a flower and coloring it to see how it looked. Next, I also drew a young plant sprout to add emphasis.
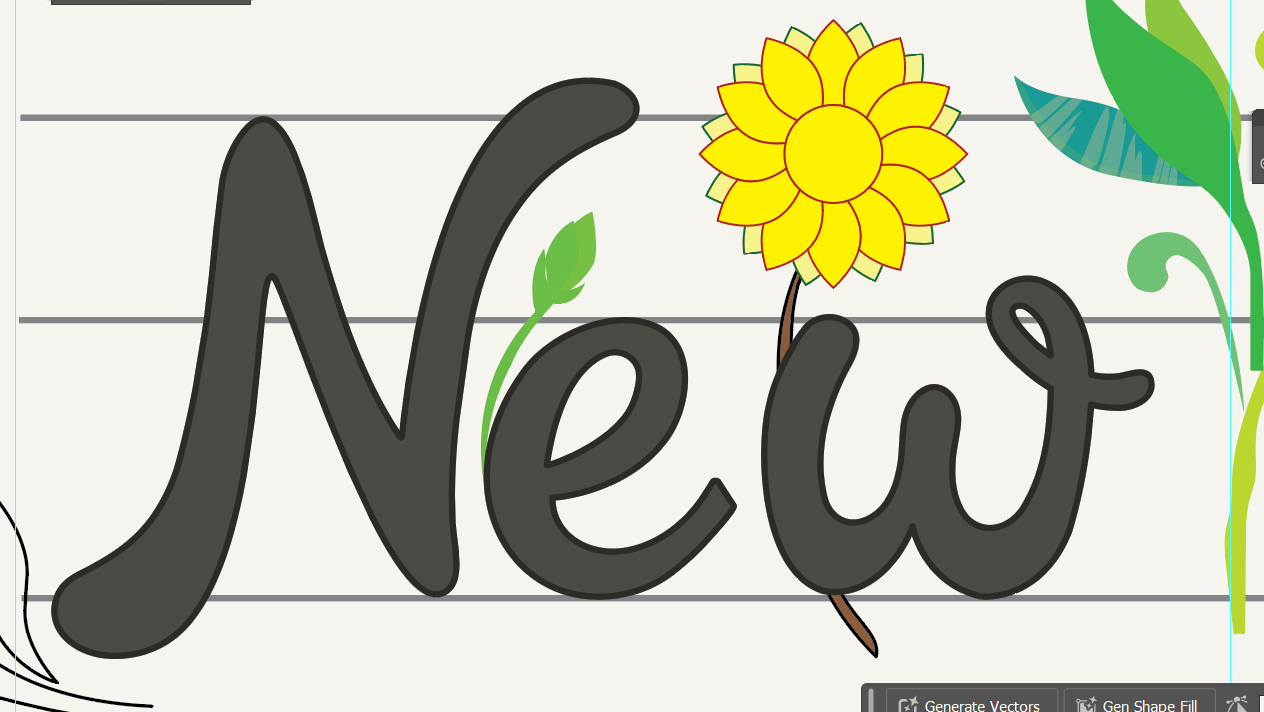
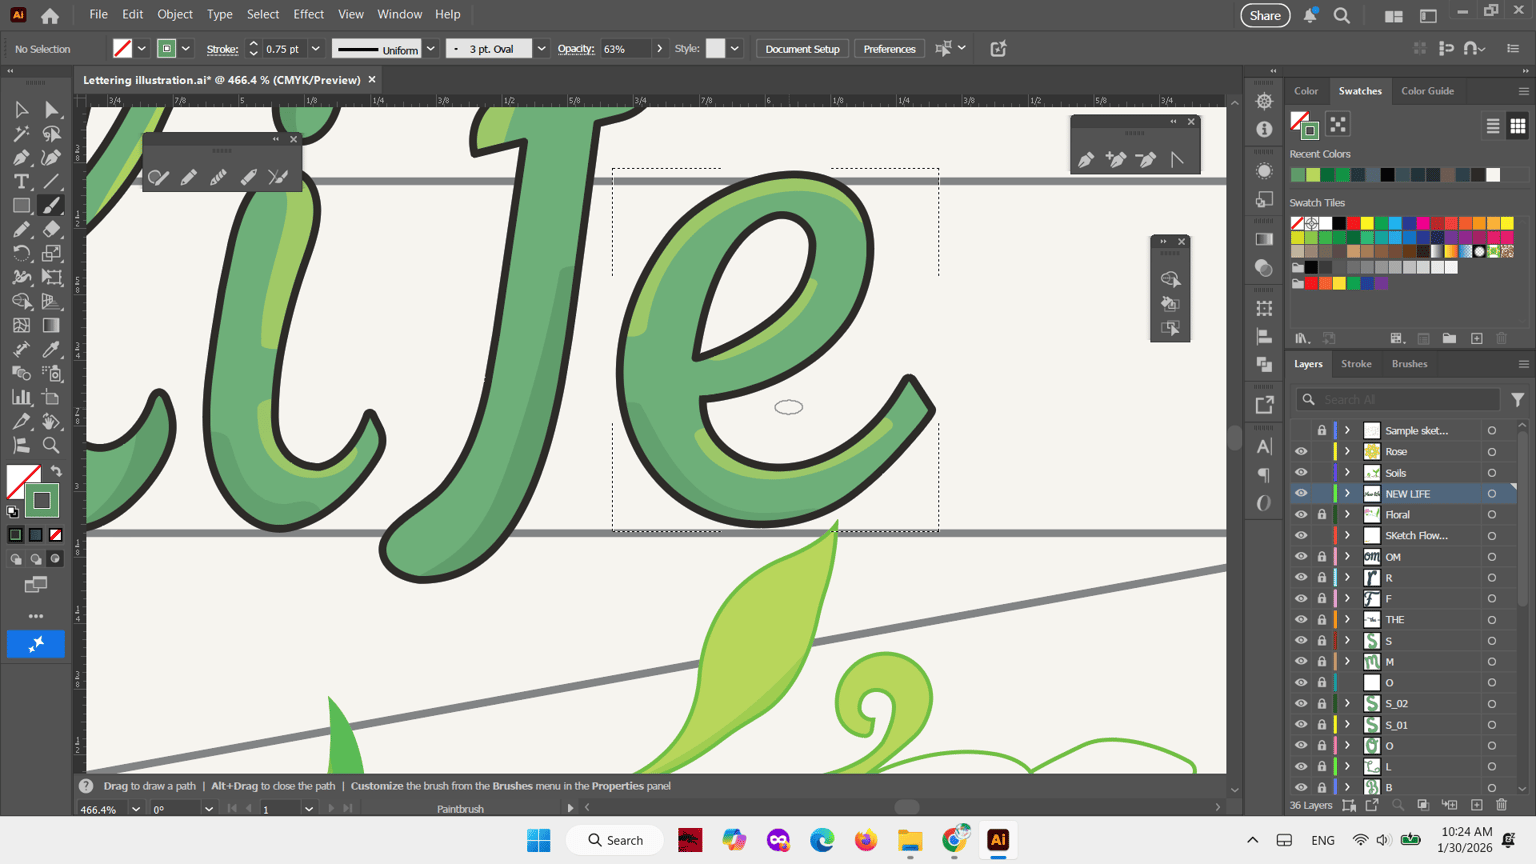
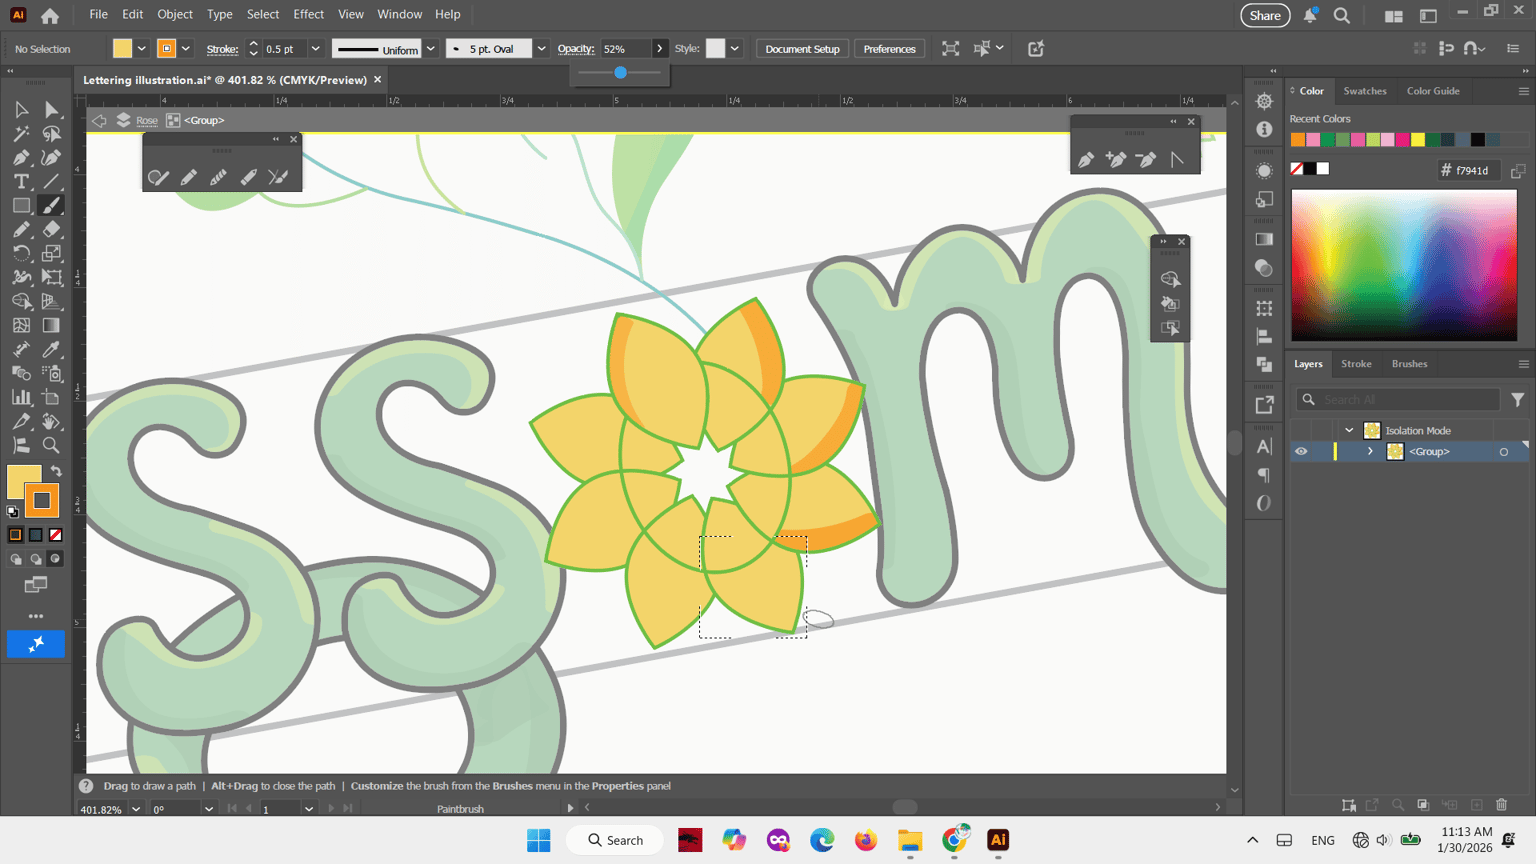
Step 8: Playing with colors
After I finish the steps above, I move on to color the lettering. Keep trying until it looks right. First, I add color to the flowers and leaves. I am experimenting with different ways to see which colors align best with my text. Then, I add color for the whole text and so on. Don't rush, be patient!
Step 9: Edit the text
I adjusted this part to fit the overall design.
Step 10: Continue filling the colors
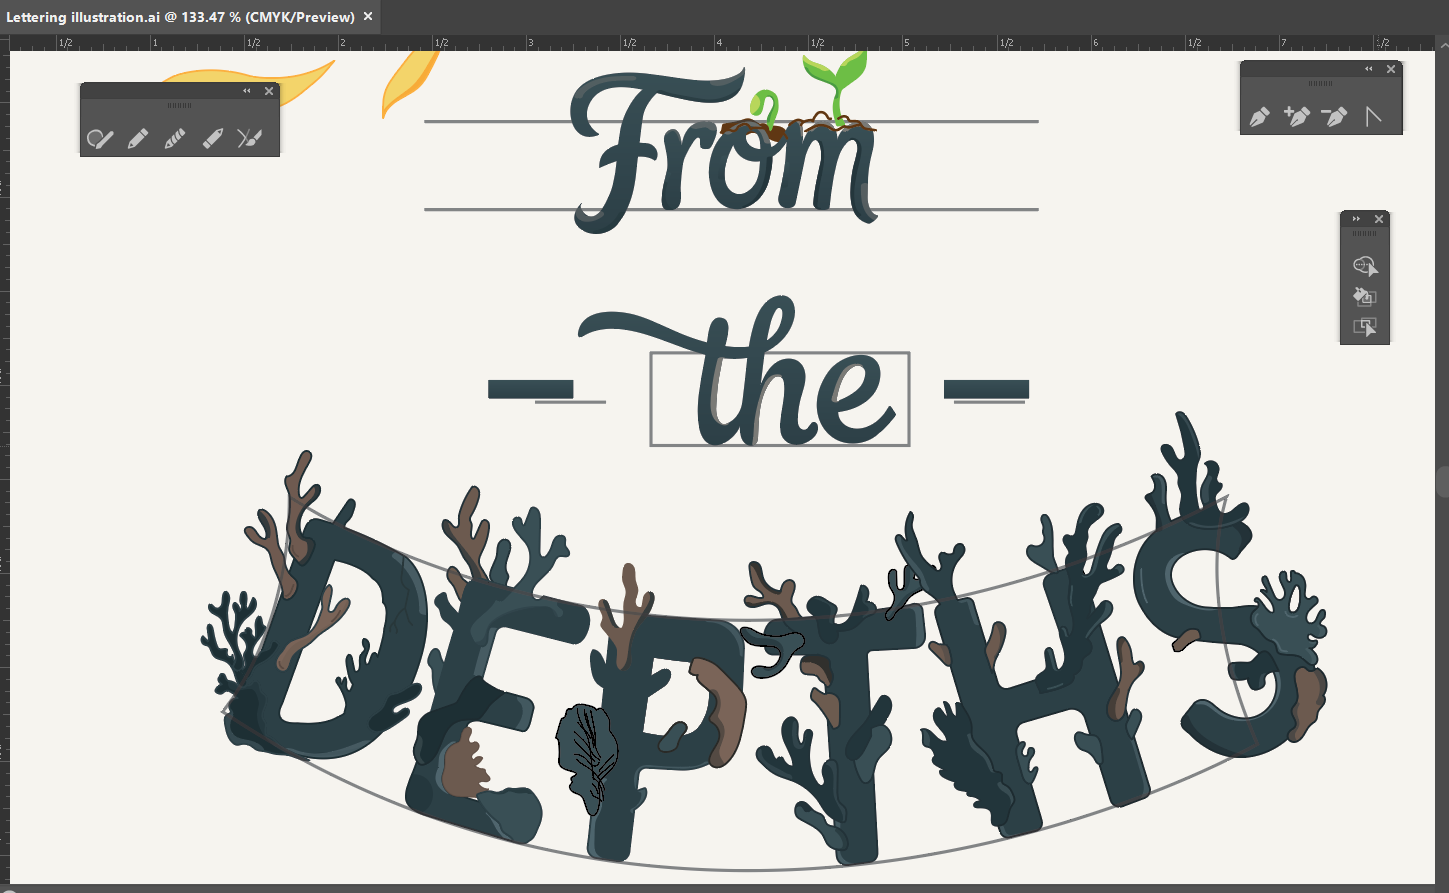
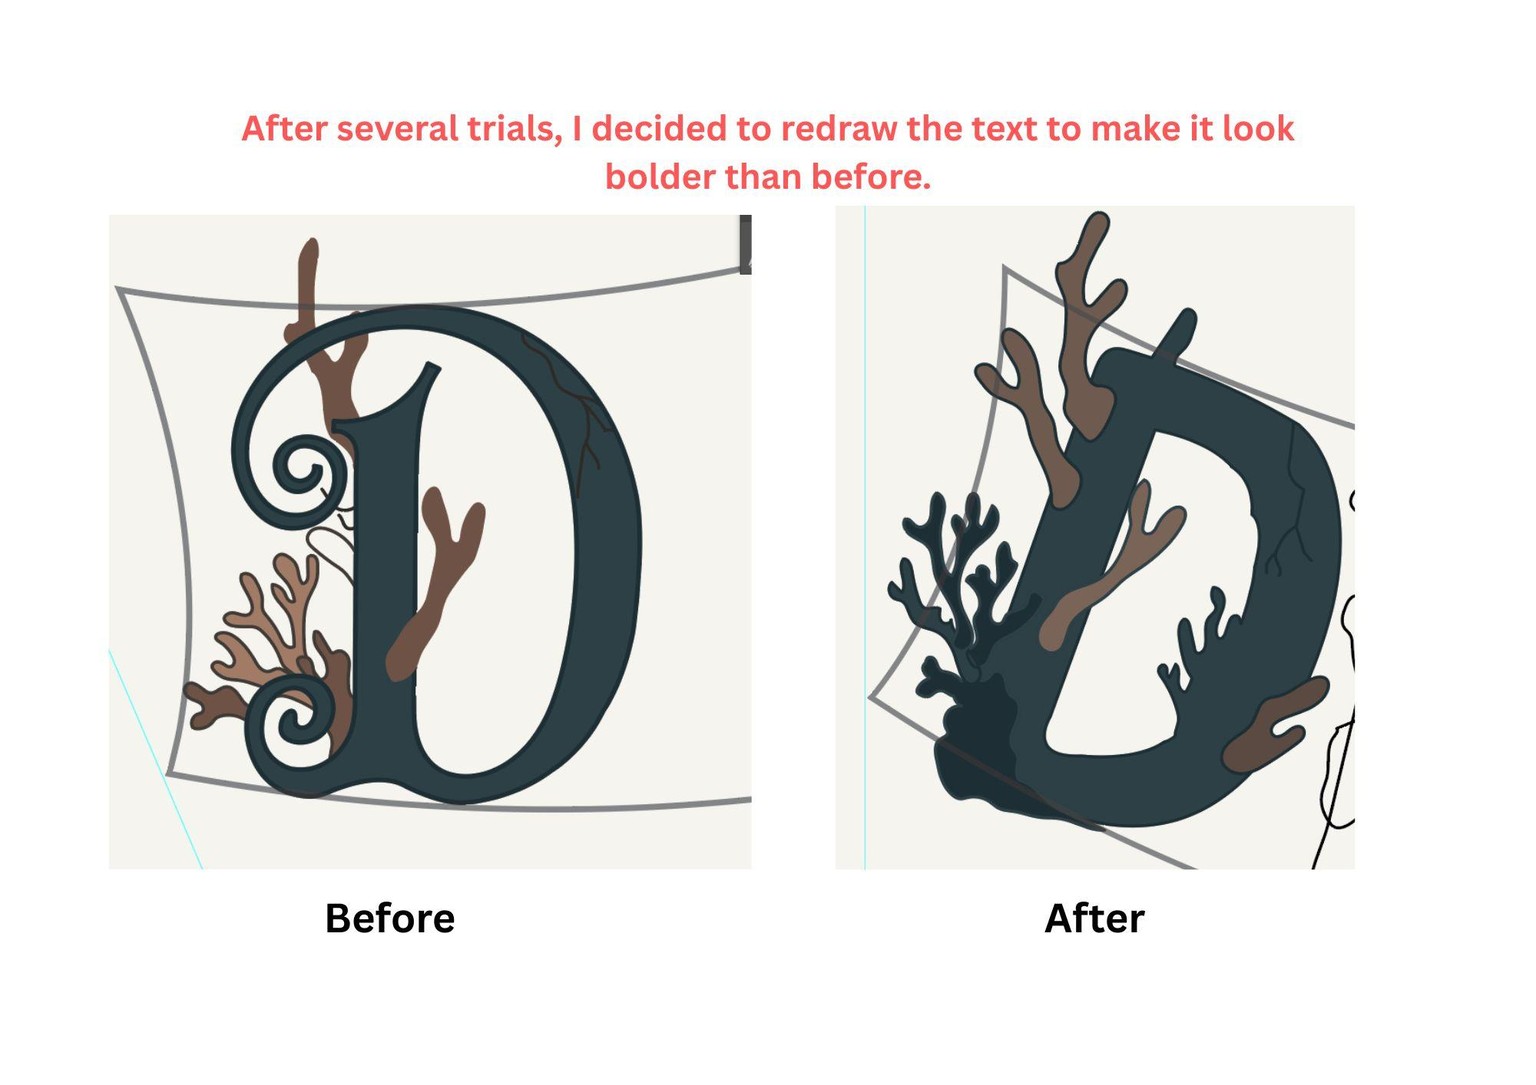
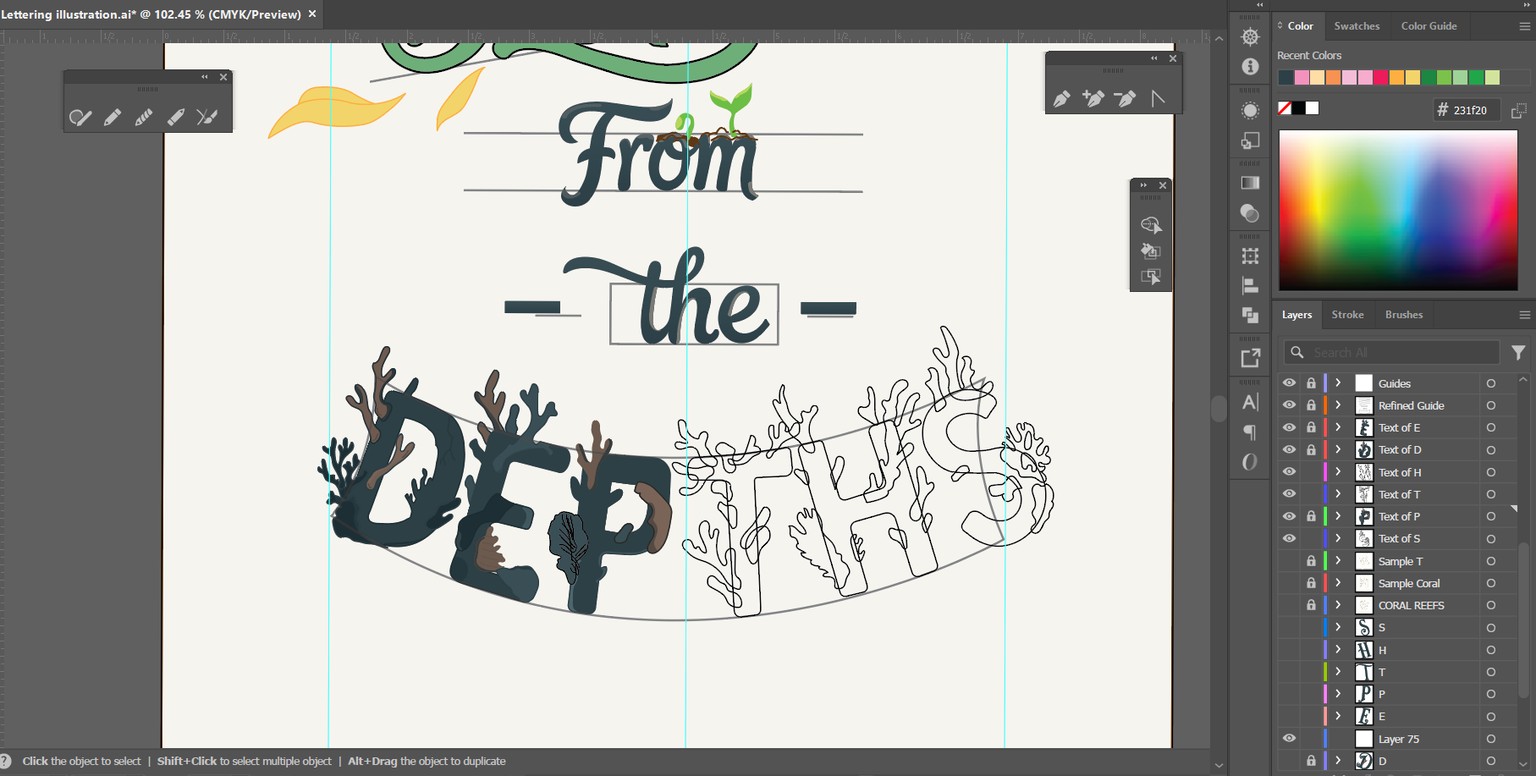
I adds color for each word like this ~ I also redrawing the whole text of "Depths", by combining with coral reefs. Next, just select an object and use the Shape Builder Tool to solder or remove elements.
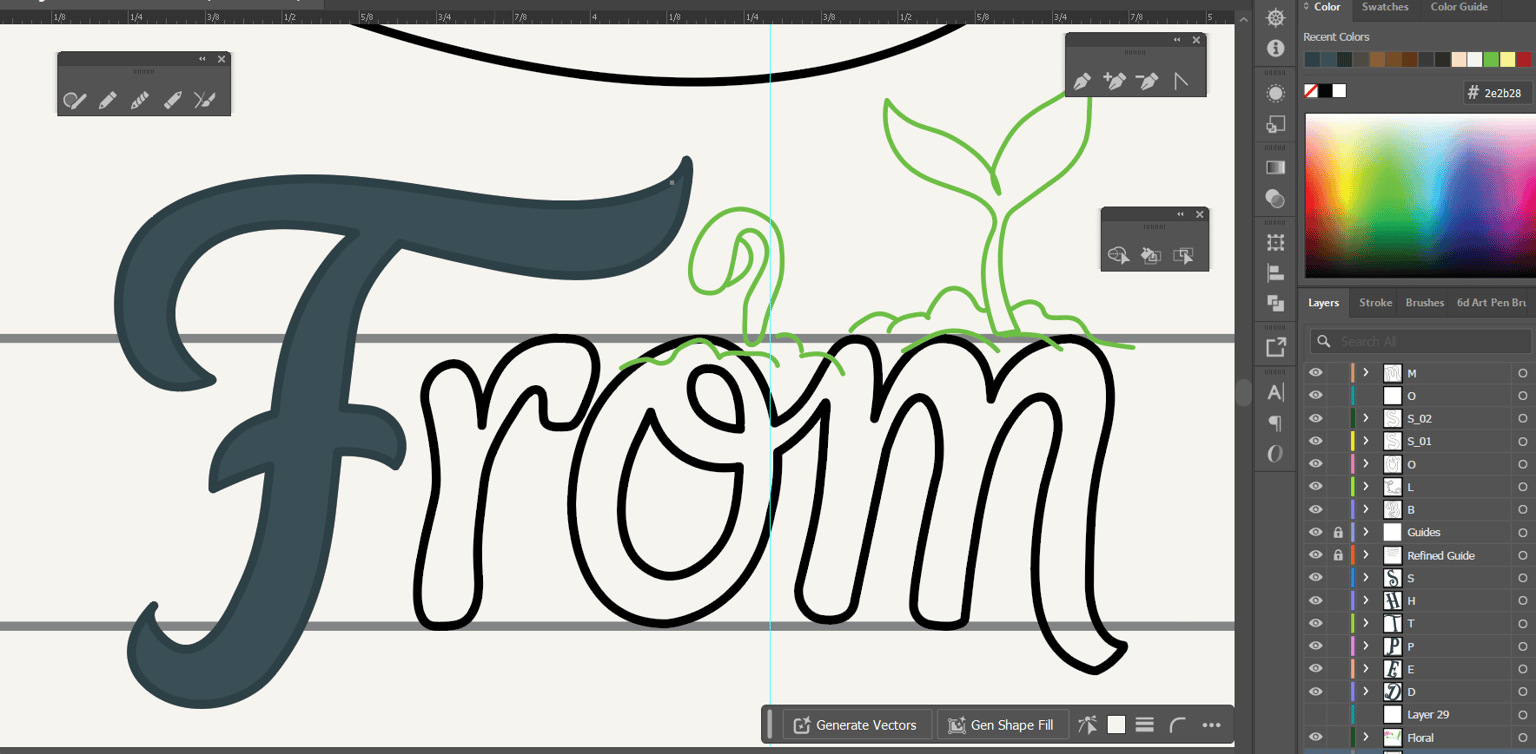
Step 11: Light, Depth & Detail Refinement
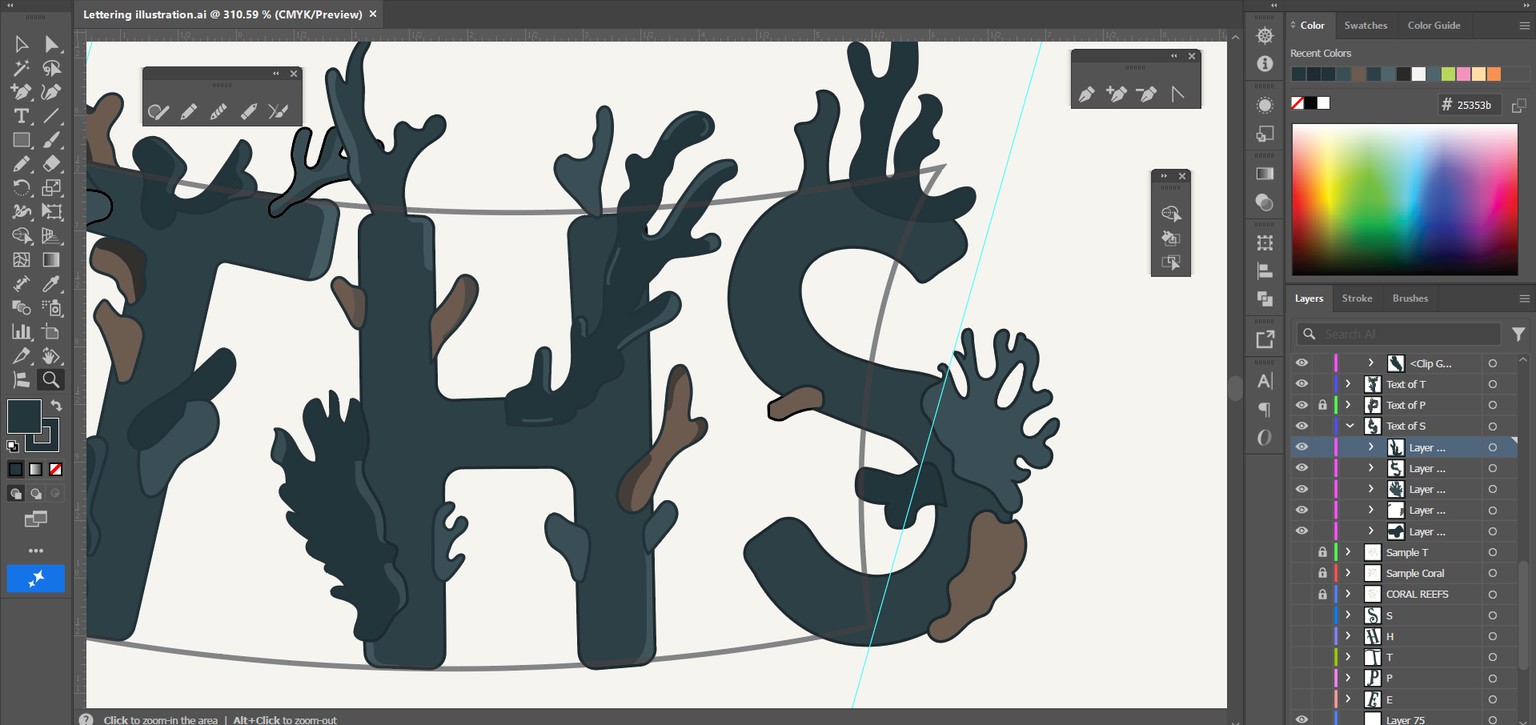
In the final stage, I added subtle highlights and shadows to guide visual hierarchy and enhance depth, allowing the lettering to feel dimensional while maintaining a calm, organic atmosphere. To add a highlight to a text, first you need to choose an object and color for highlight; then choose the third circle like this. This call; draw inside. Then, please choose Opacity option to reduce % (this part is up to you).
Step 12: Micro Highlight Adjustments & Polish
I adds highlight and shadow to each words, step-by-step.
Step 13: Final Artwork
Tadaa~ I've finished it!