Lr Essentials
Orange and Teal
before
after
before
after
Some adjustments
Before
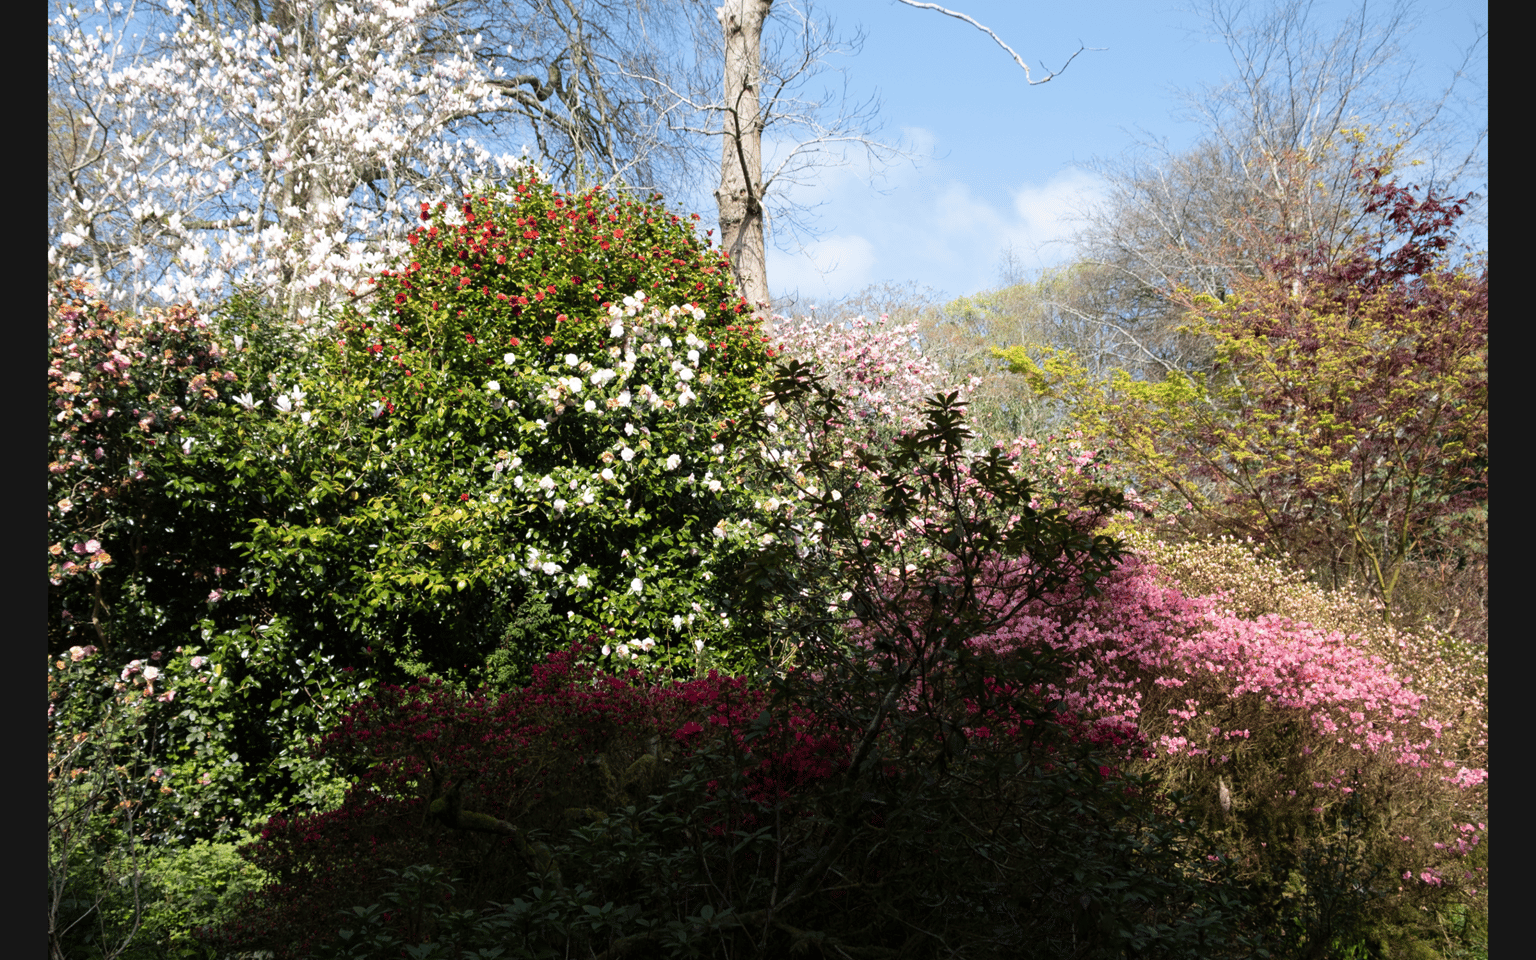
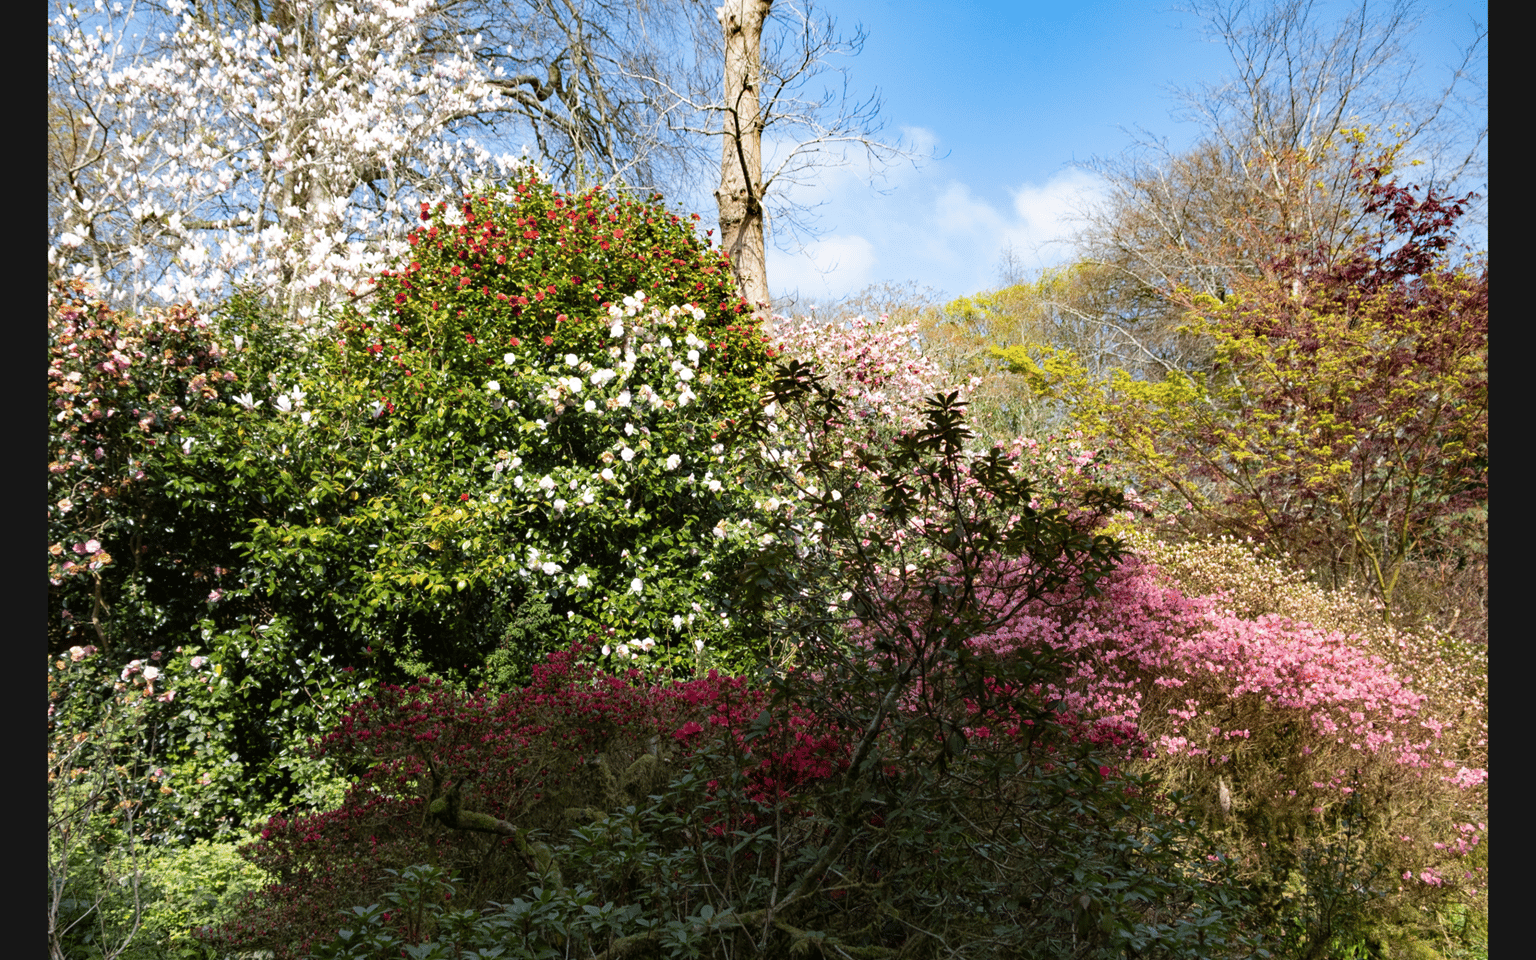
Taken away the twig that goes down from upper edge; used linear gradient to soften the shadows in the scrubs a bit; overall edit: highlights +11, shadows +36, blacks +21, dehaze +49
This is the last time I'm doing Print Screen Shots. The files are far too big to download to Skillshare, always have to make them smaller, seems more efficient to make small-sized files directly.
After
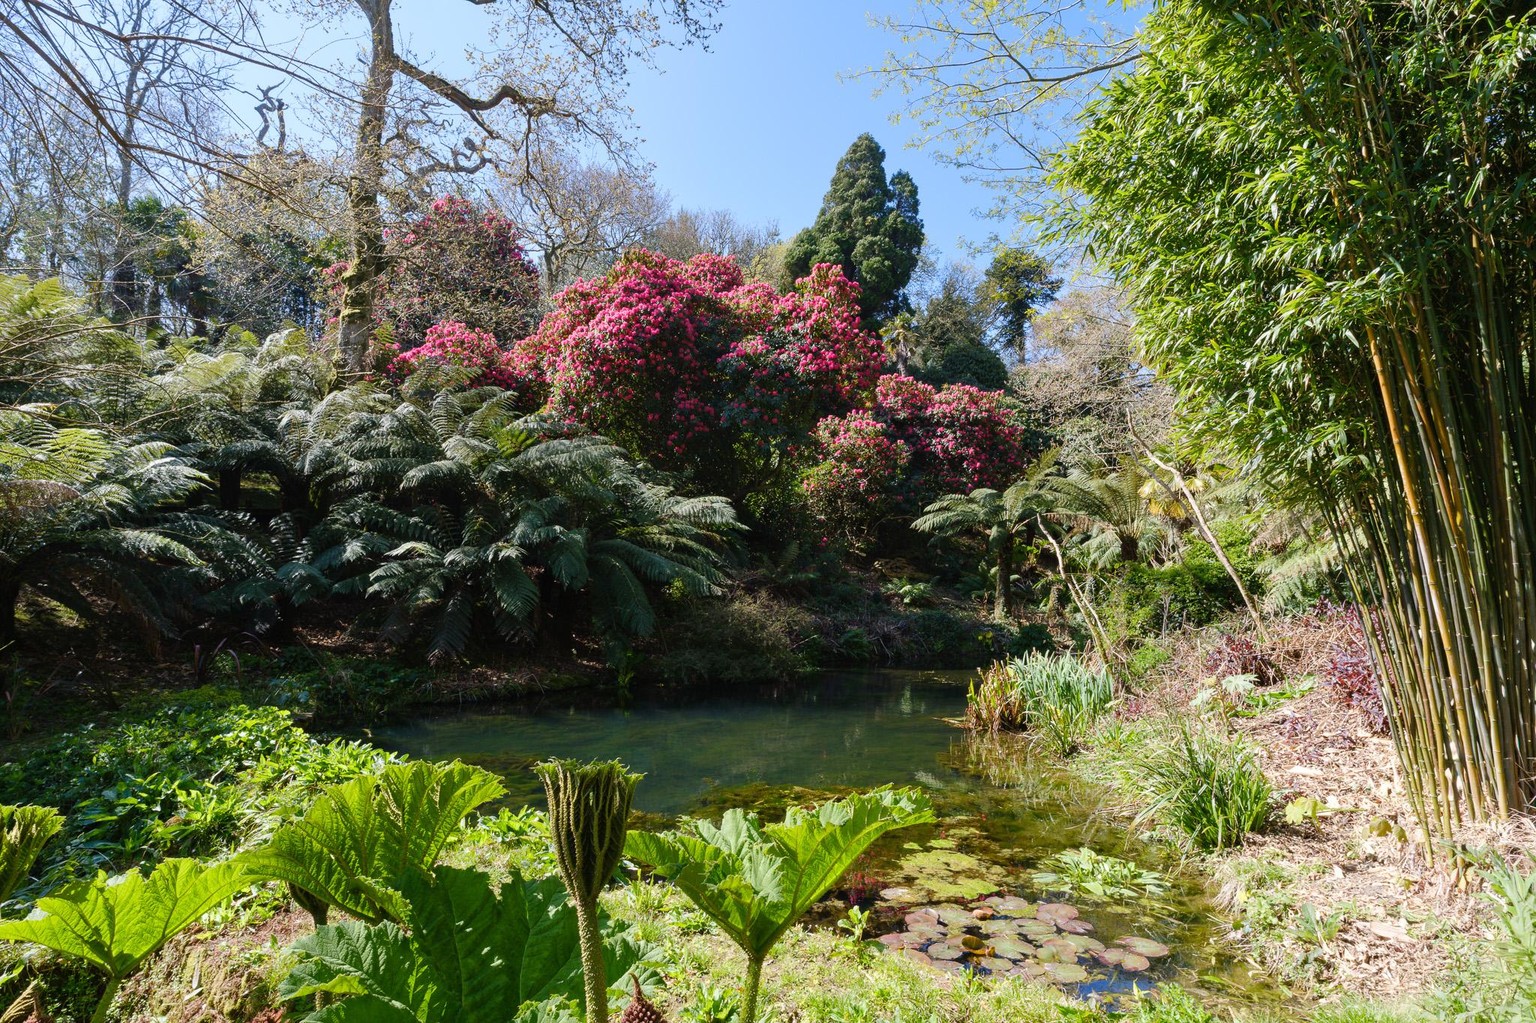
Before
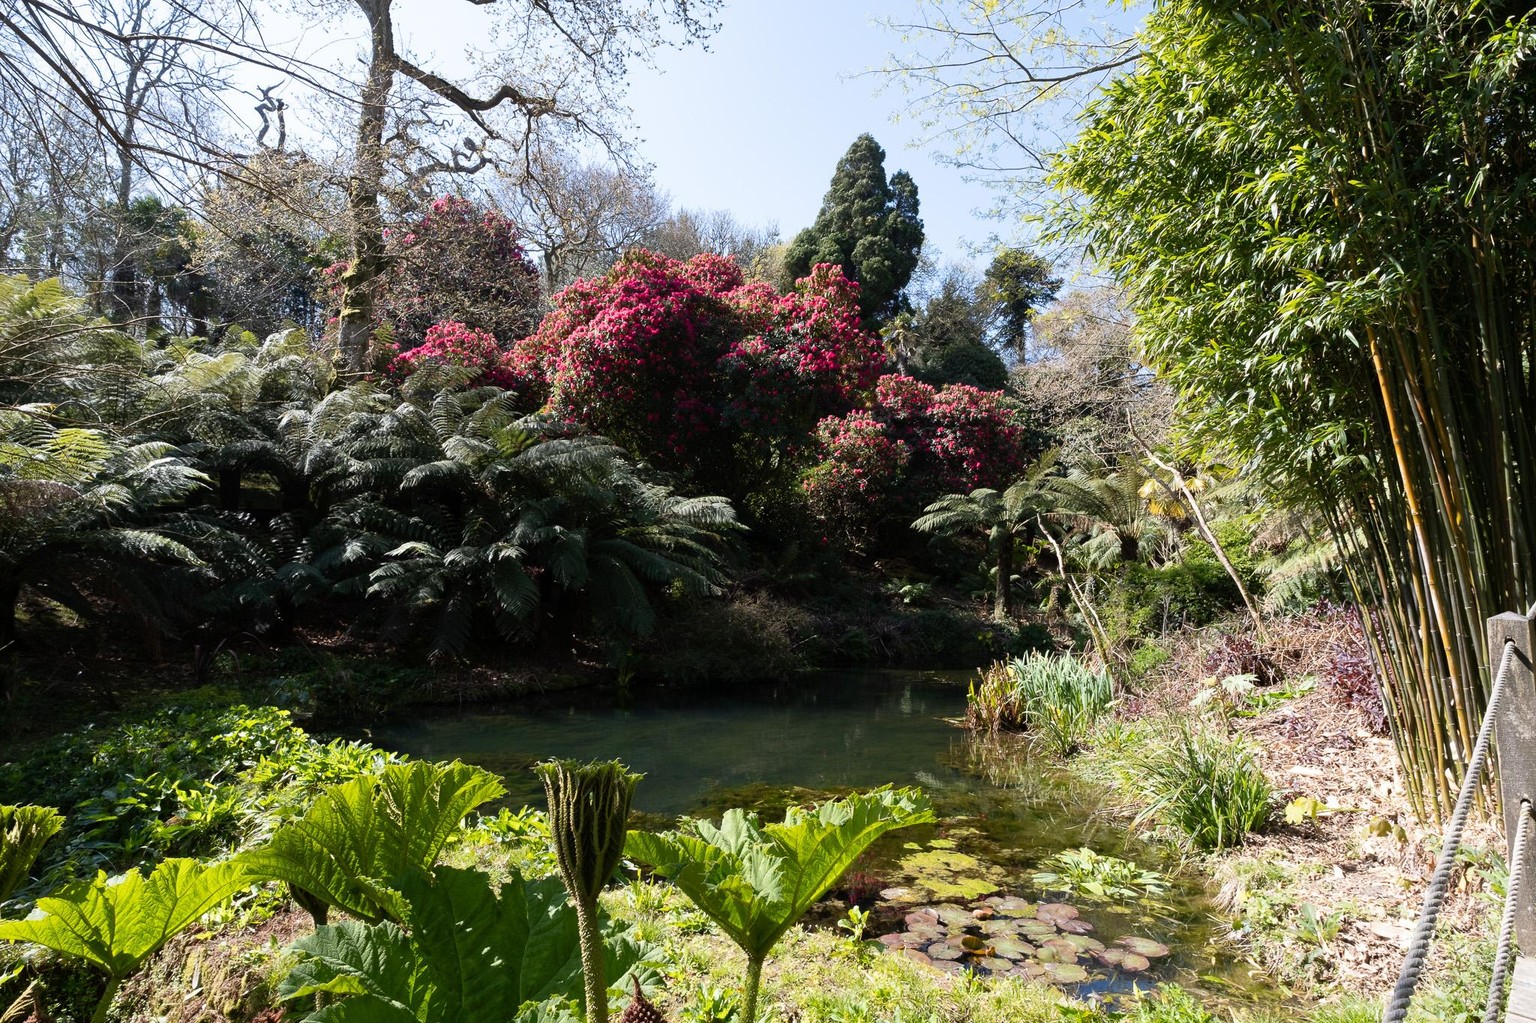
Took away the rope fence, could have cropped but wanted the bamboo to stay.
Used a sky mask where I lowered the exposure a little bit ( -0,40), and then highlights( -6) I also set the blacks down (-7)
Brush mask in the middle part of the picture - exposure +0,6, shadows +17, blacks +11, clarity +14
Otherwise, for the whole image - highlights -9, shadows +25, whites -10, blacks +25, clarity +8, dehaze +8
After
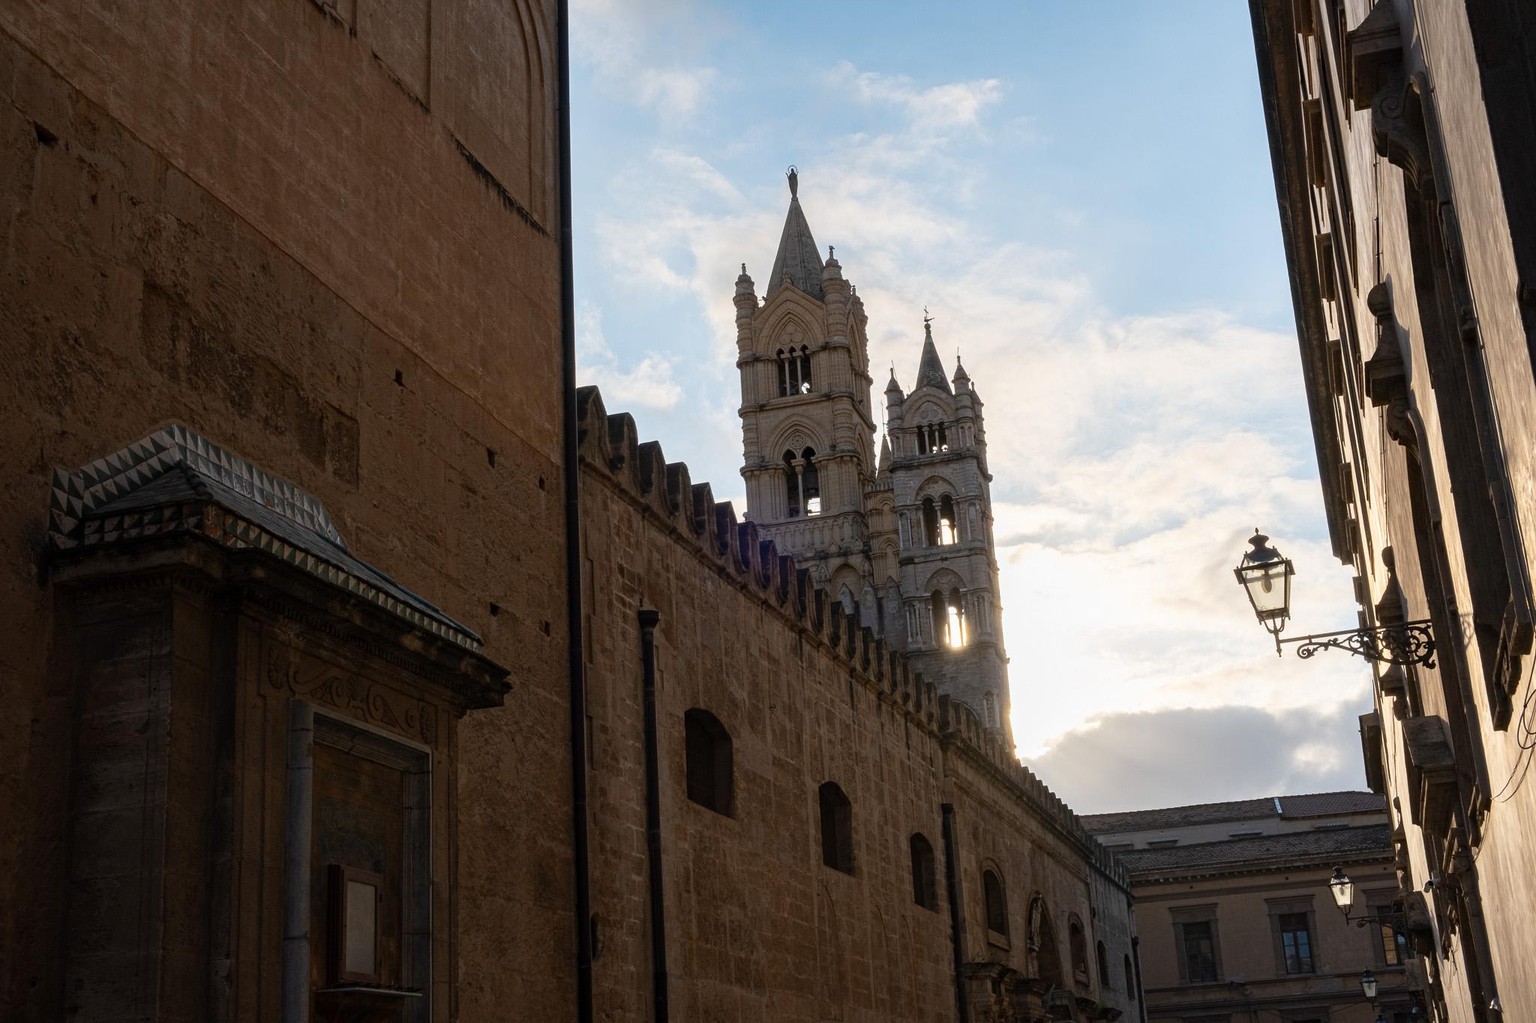
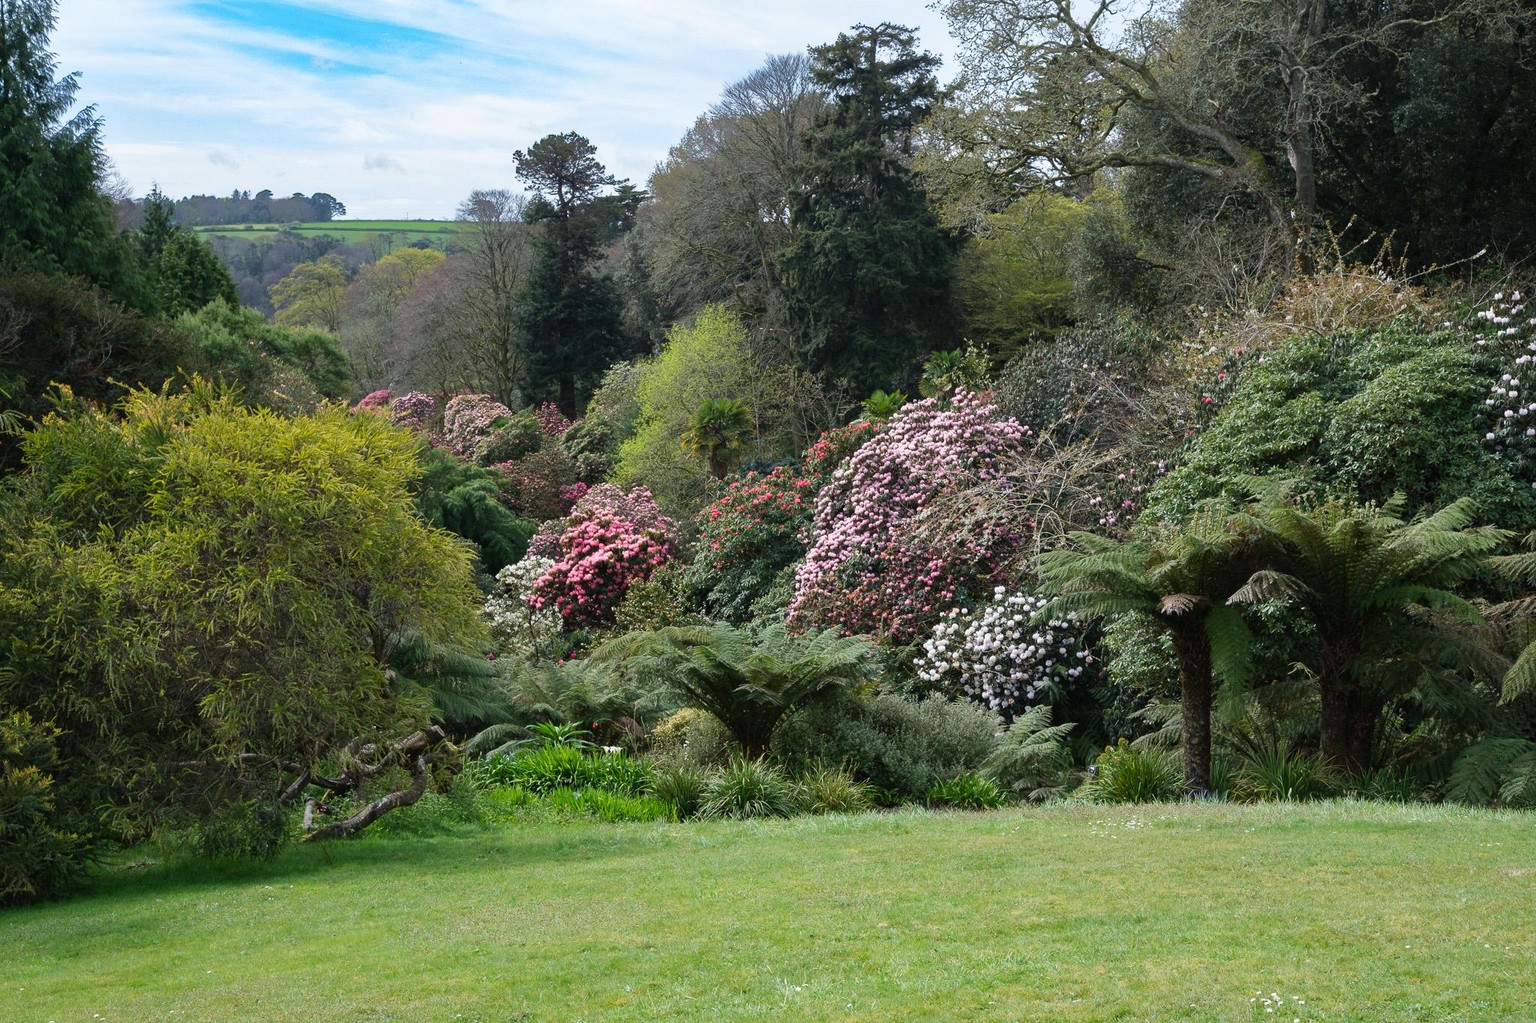
Before
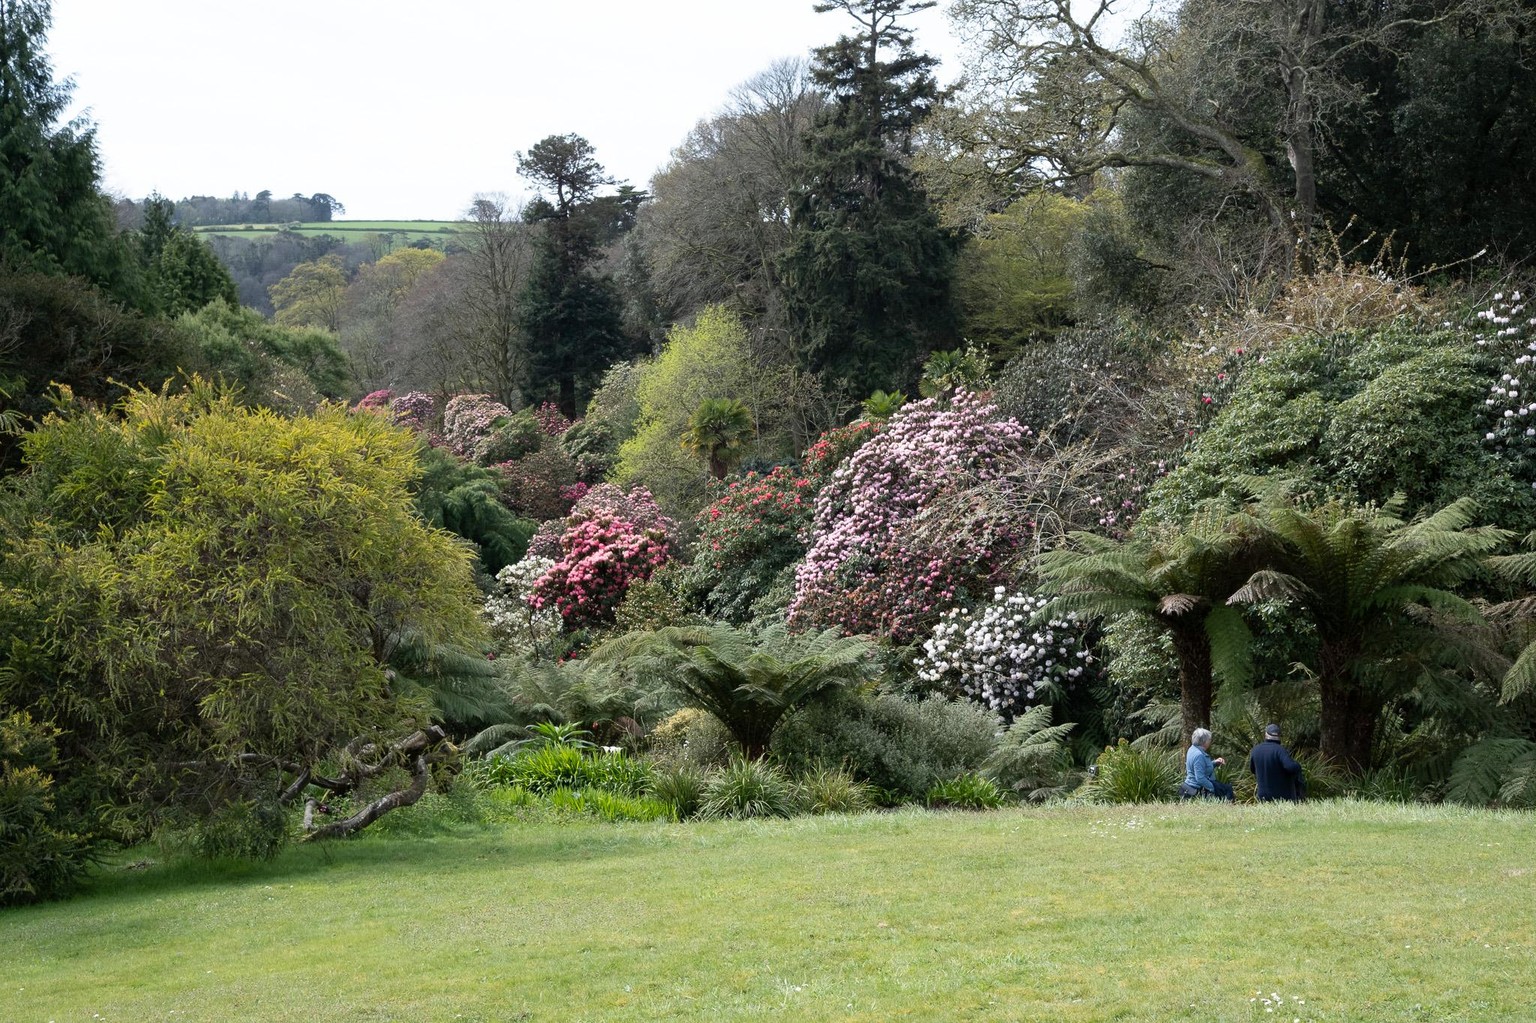
Removed two persons just beyond the lawn and top of a tree.
Added a sky mask, exposure -0,64 clarity+20 dehaze+63
As a whole: expo -0,16, contrast +12, highlights -19, shadows +9, blacks +7, dehaze +9
After
Before
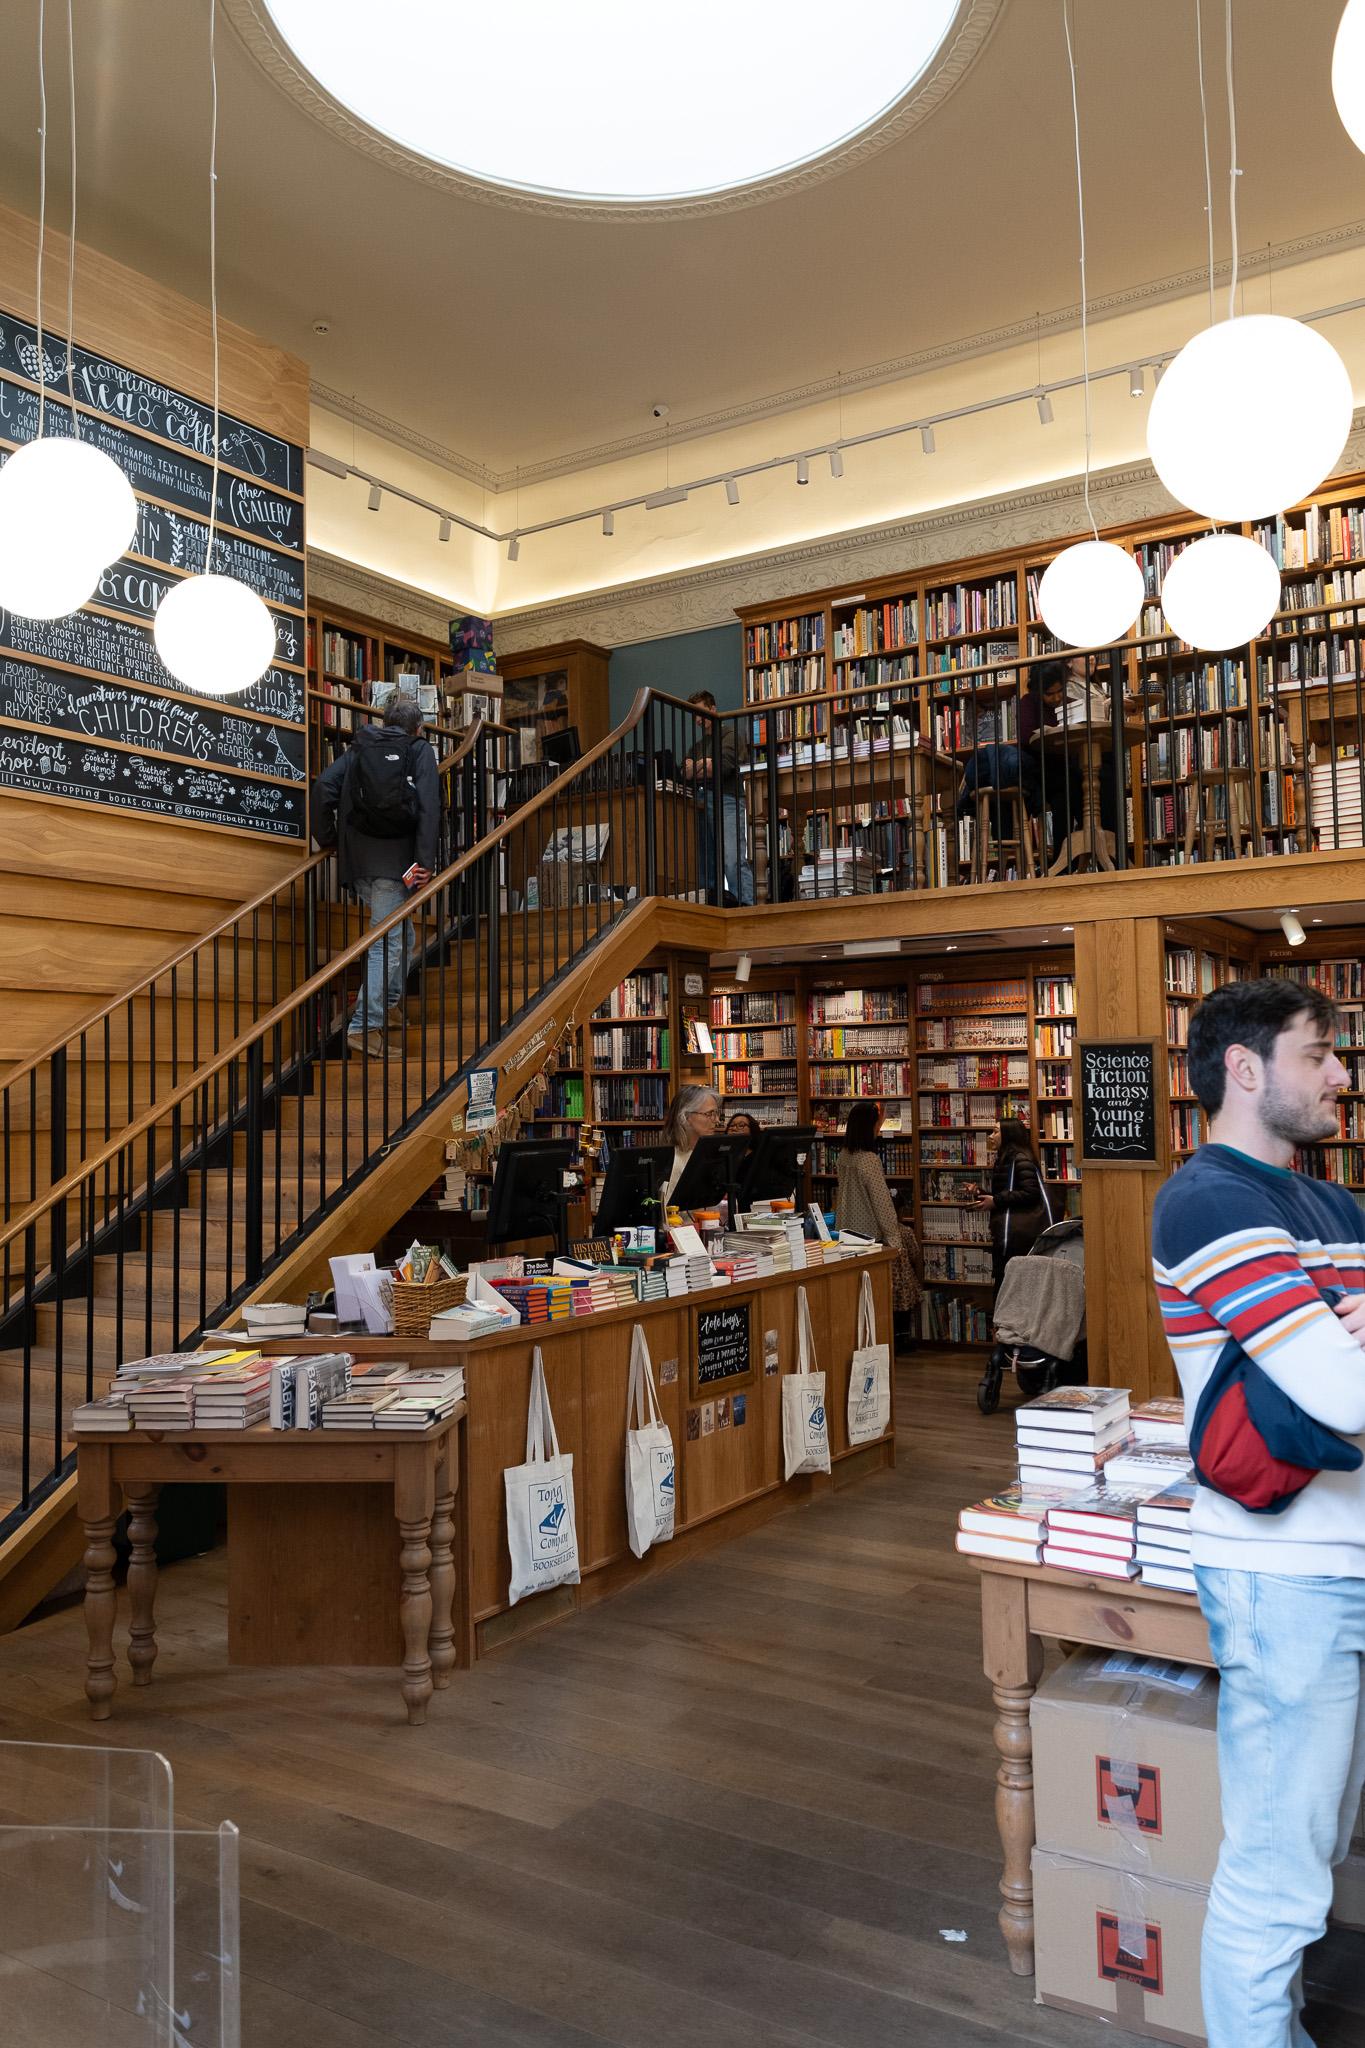
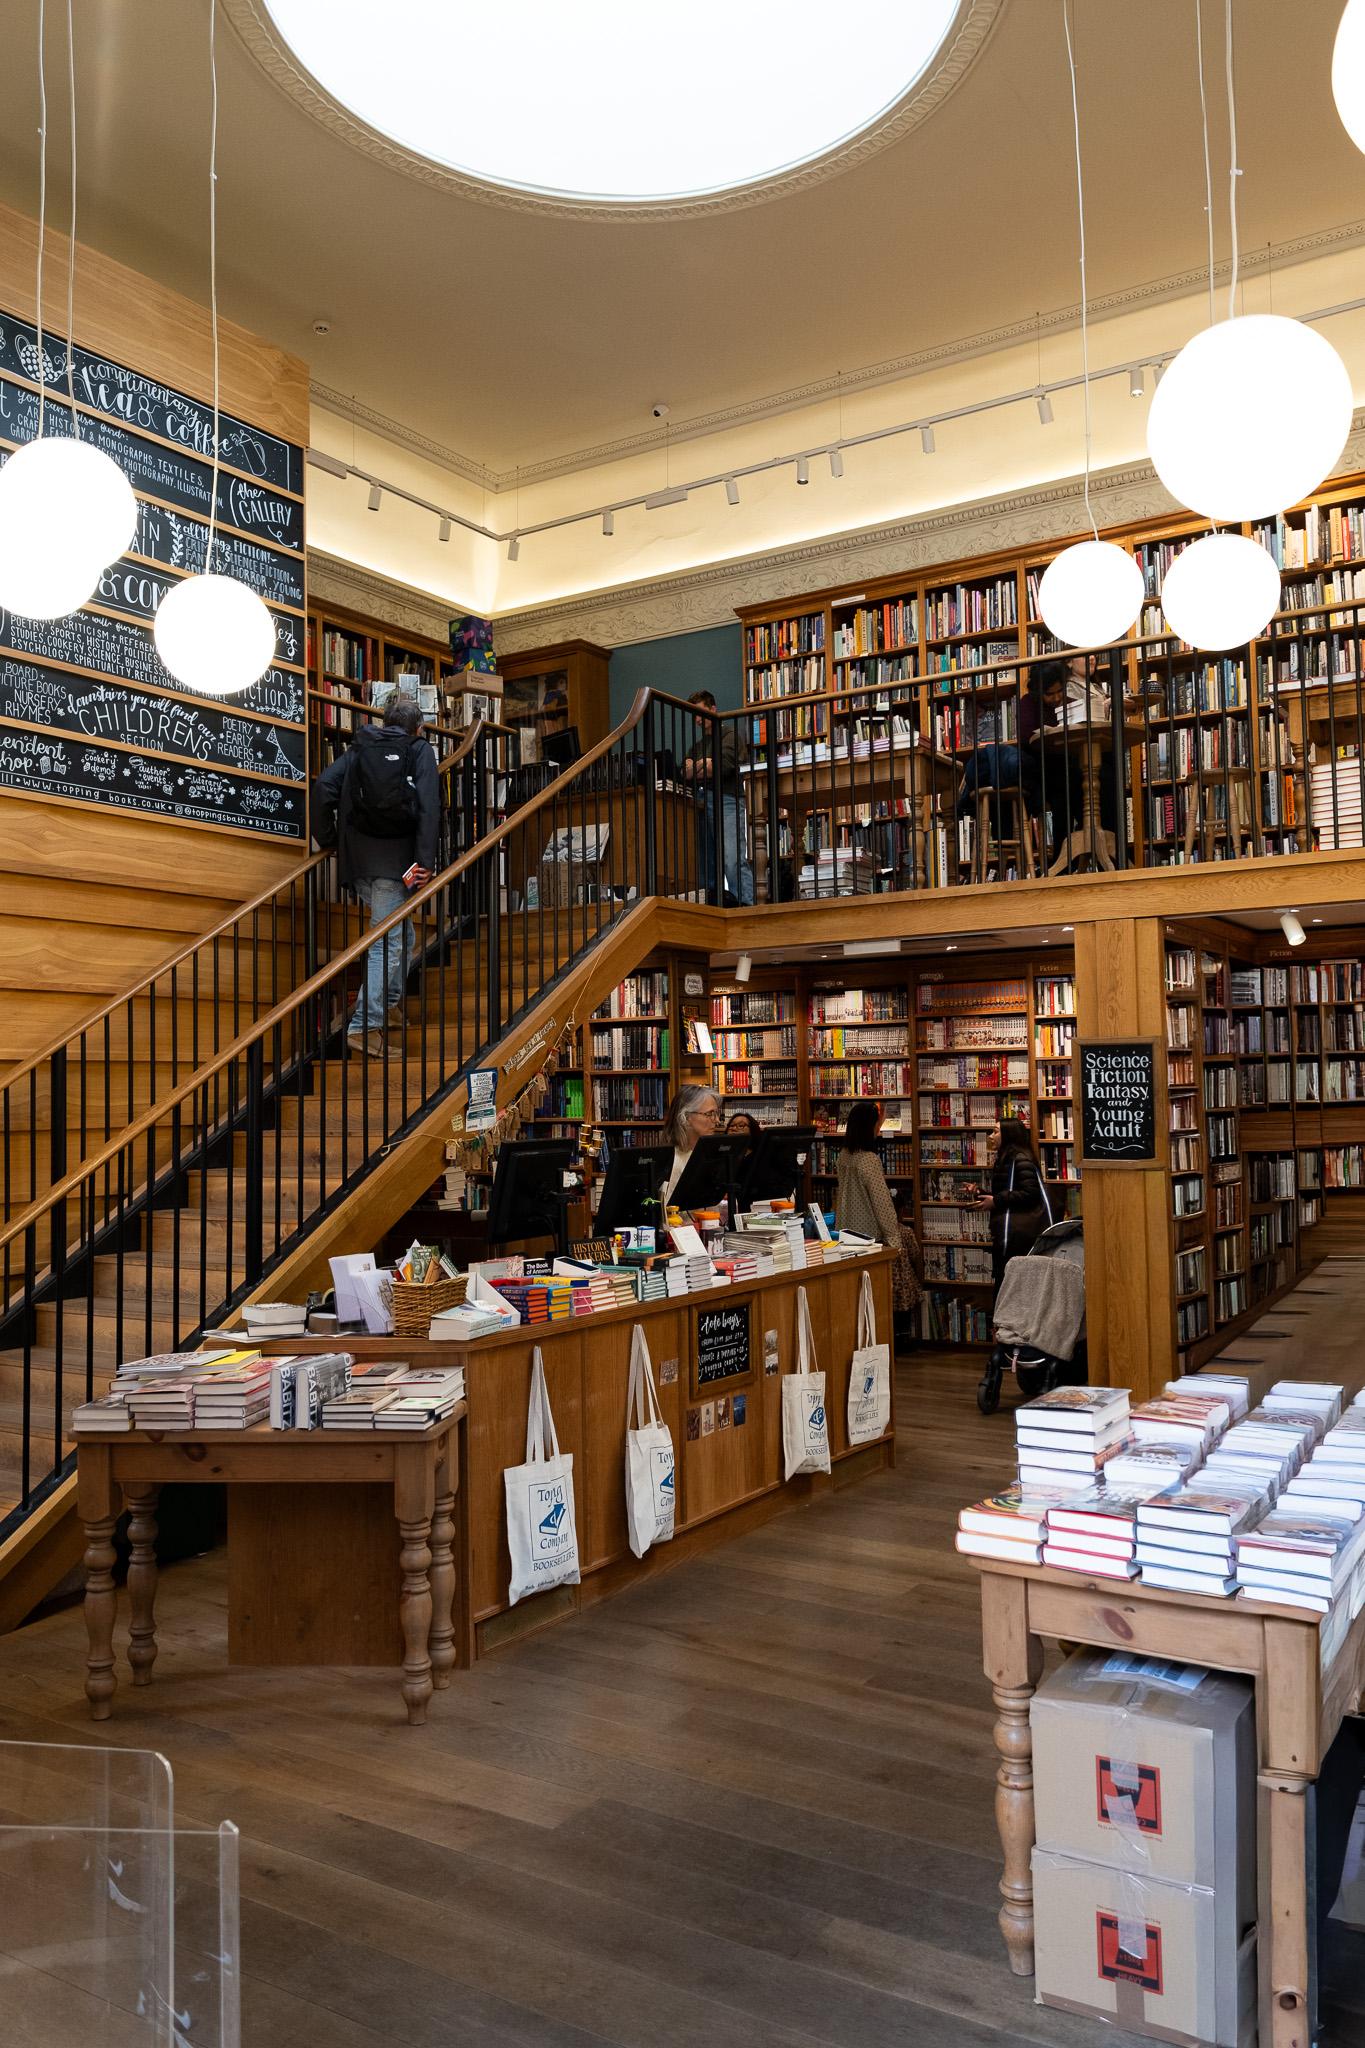
AI Failure
Removed the person to the right in the foreground but look what happened!
the leg of the table and the boxes became totally weird, didn't think it was possible that AI should do such a bad job in that manner
(but I did another attempt)
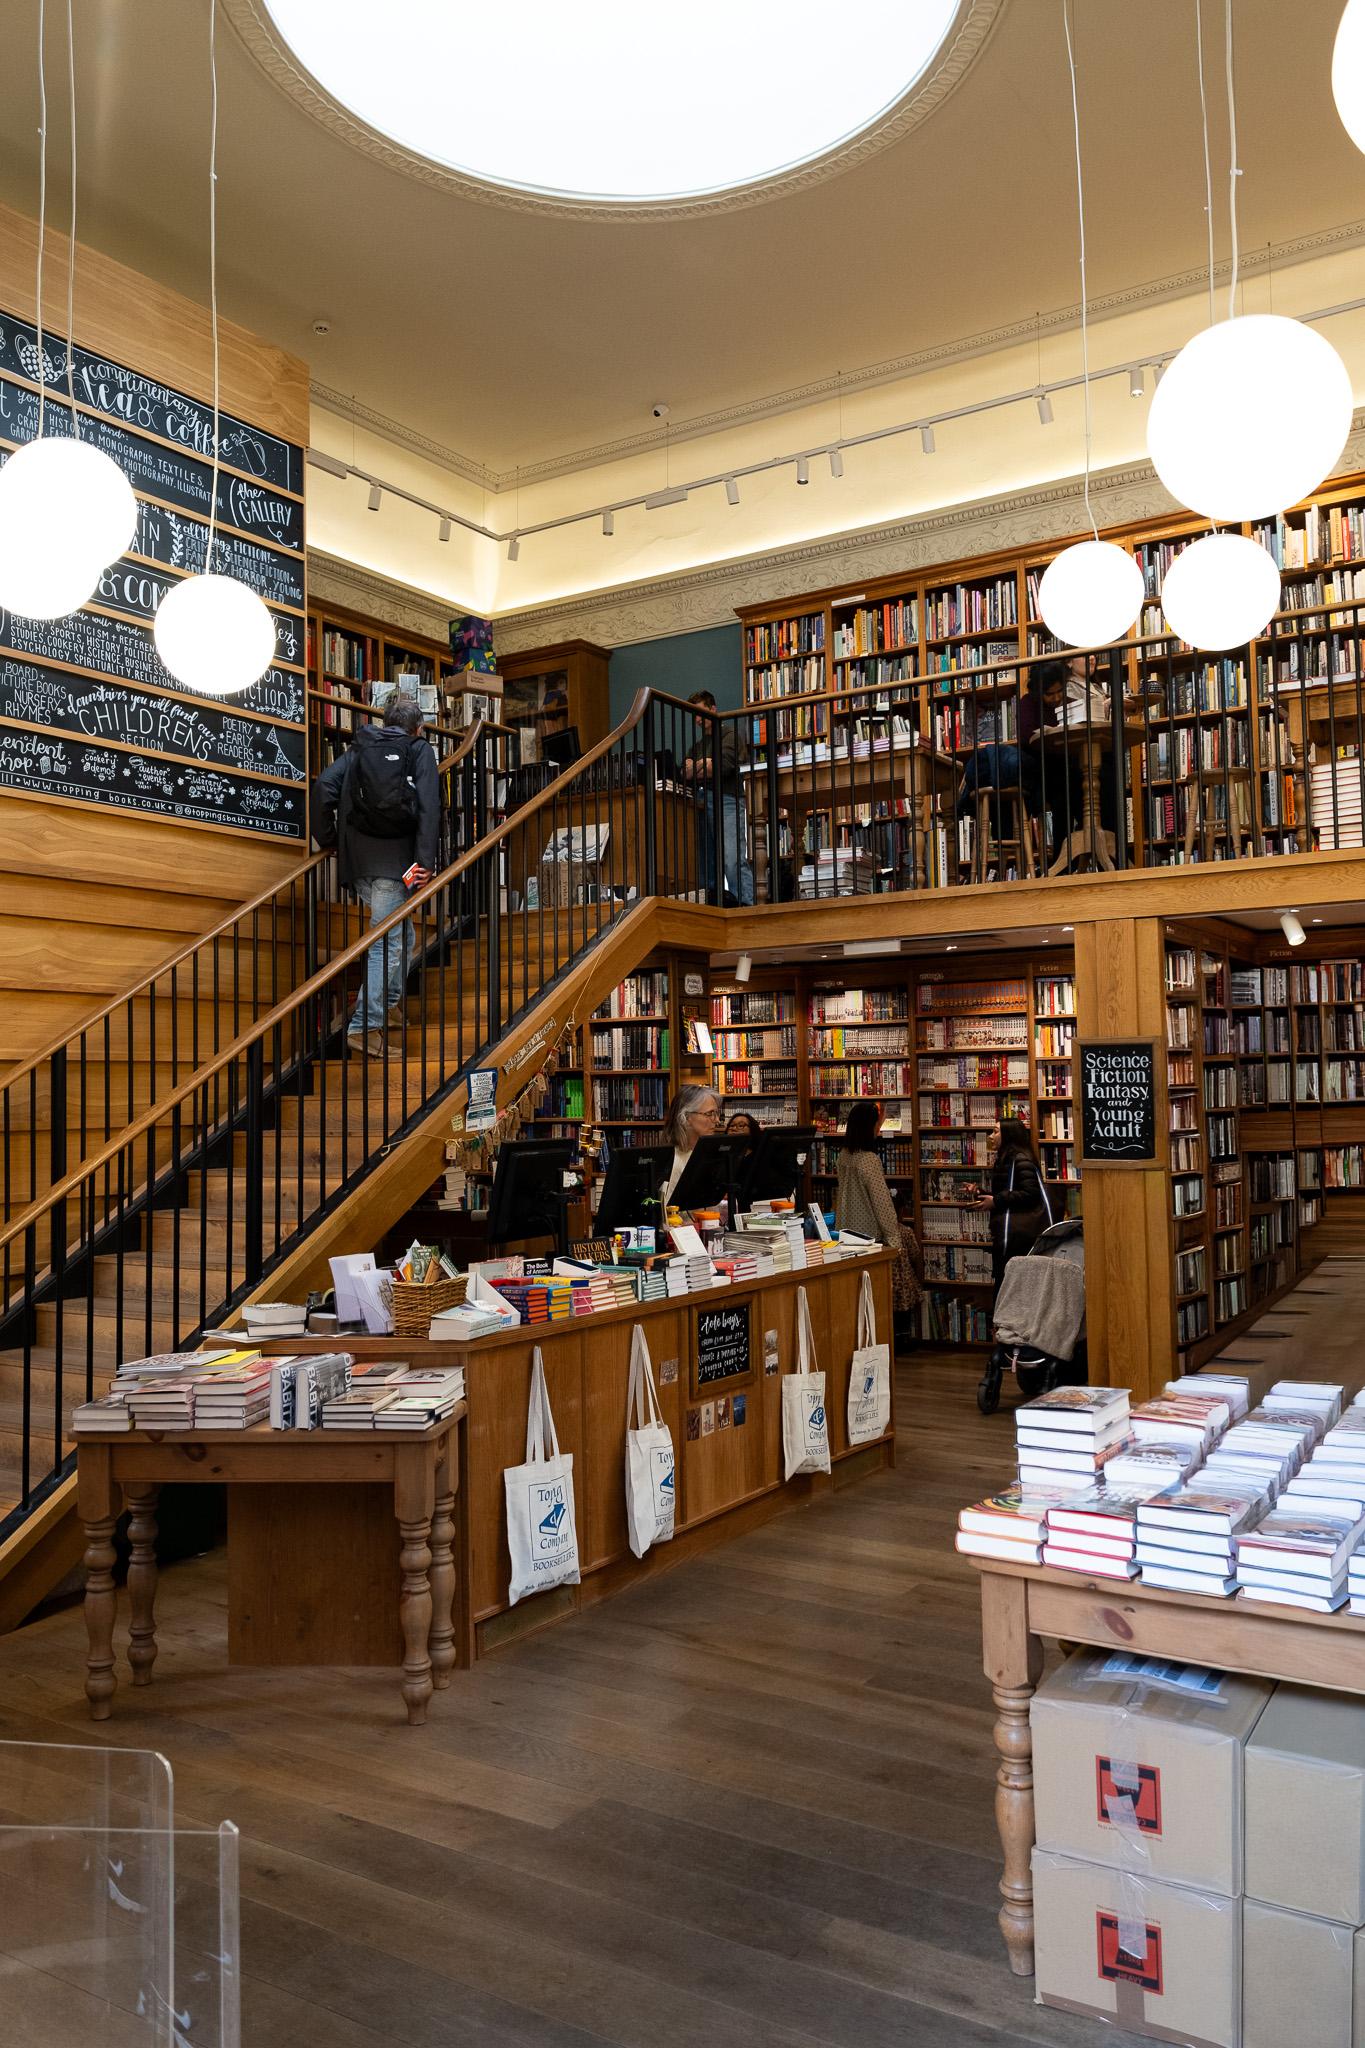
After
Retry
Before
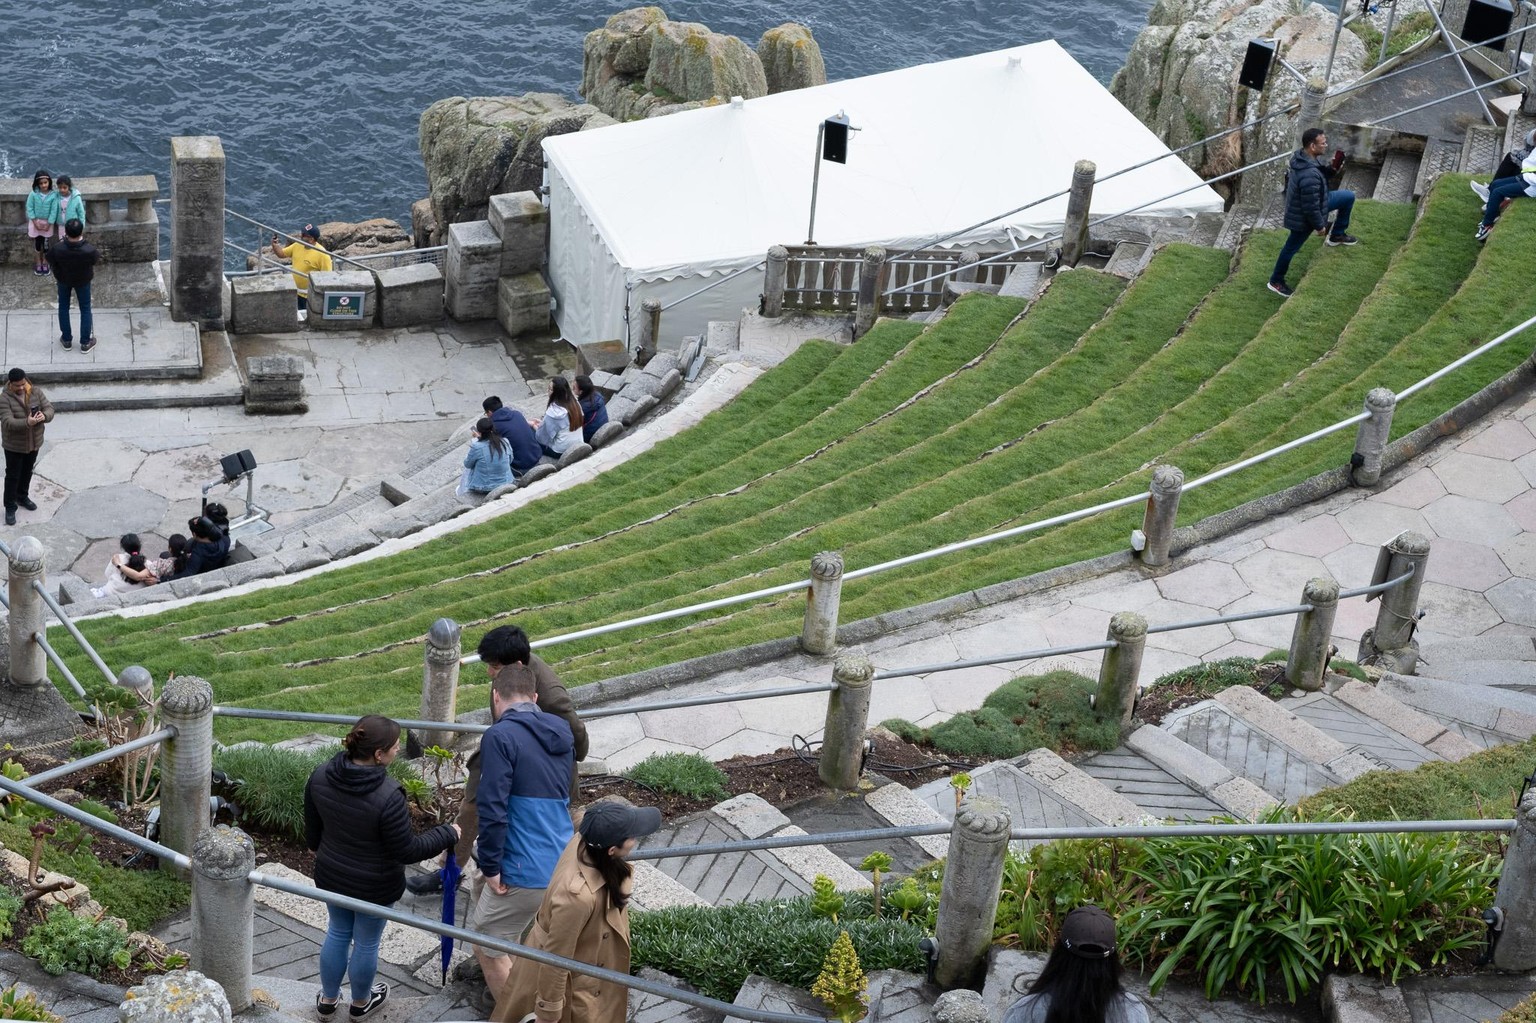
removes the loudspeaker in front of the white "tent"
Then I pulled down highlights to -22 and dehazed to +24
Thereafter I created a brush mask on the white roof, I wanted to enhance its structure.
In the mask the values are Highlights -28, Texture +21, Dehaze +60
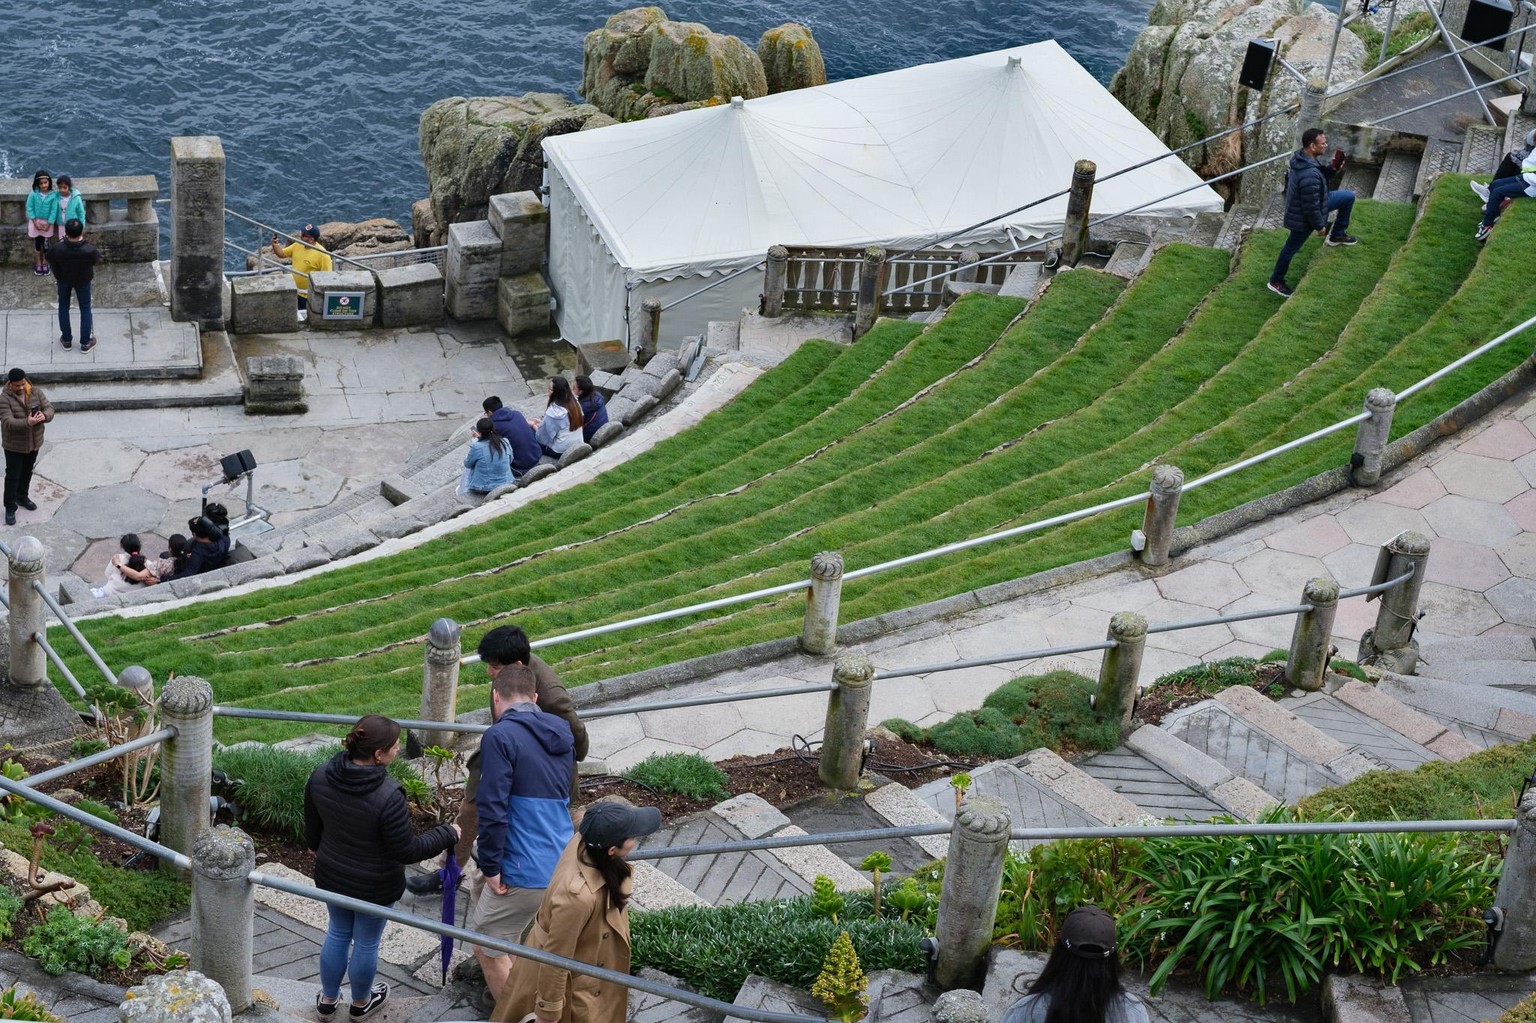
After
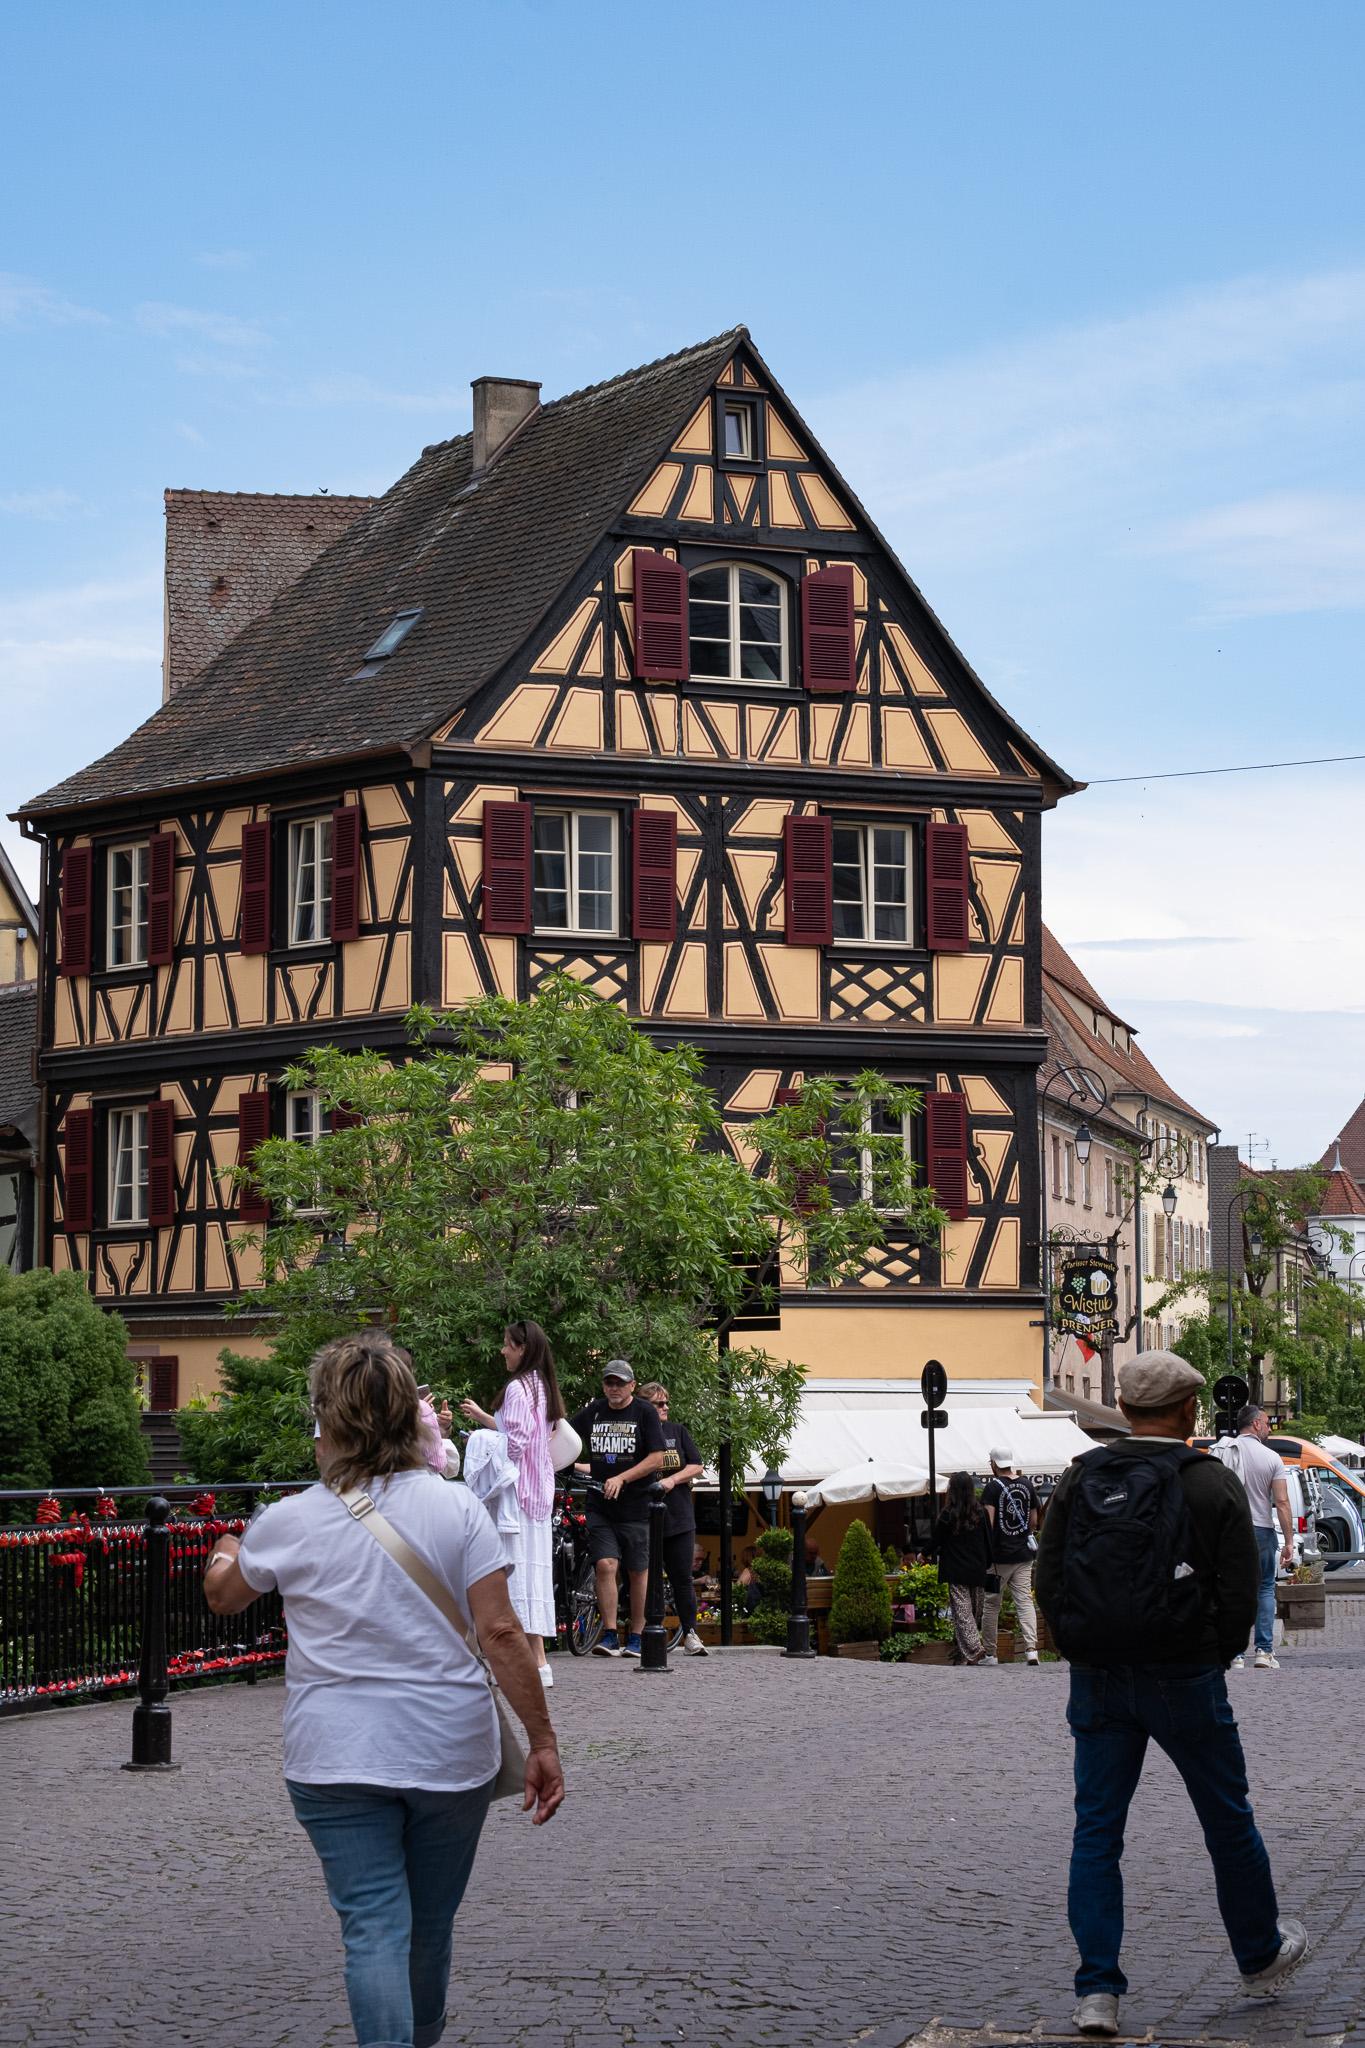
Before
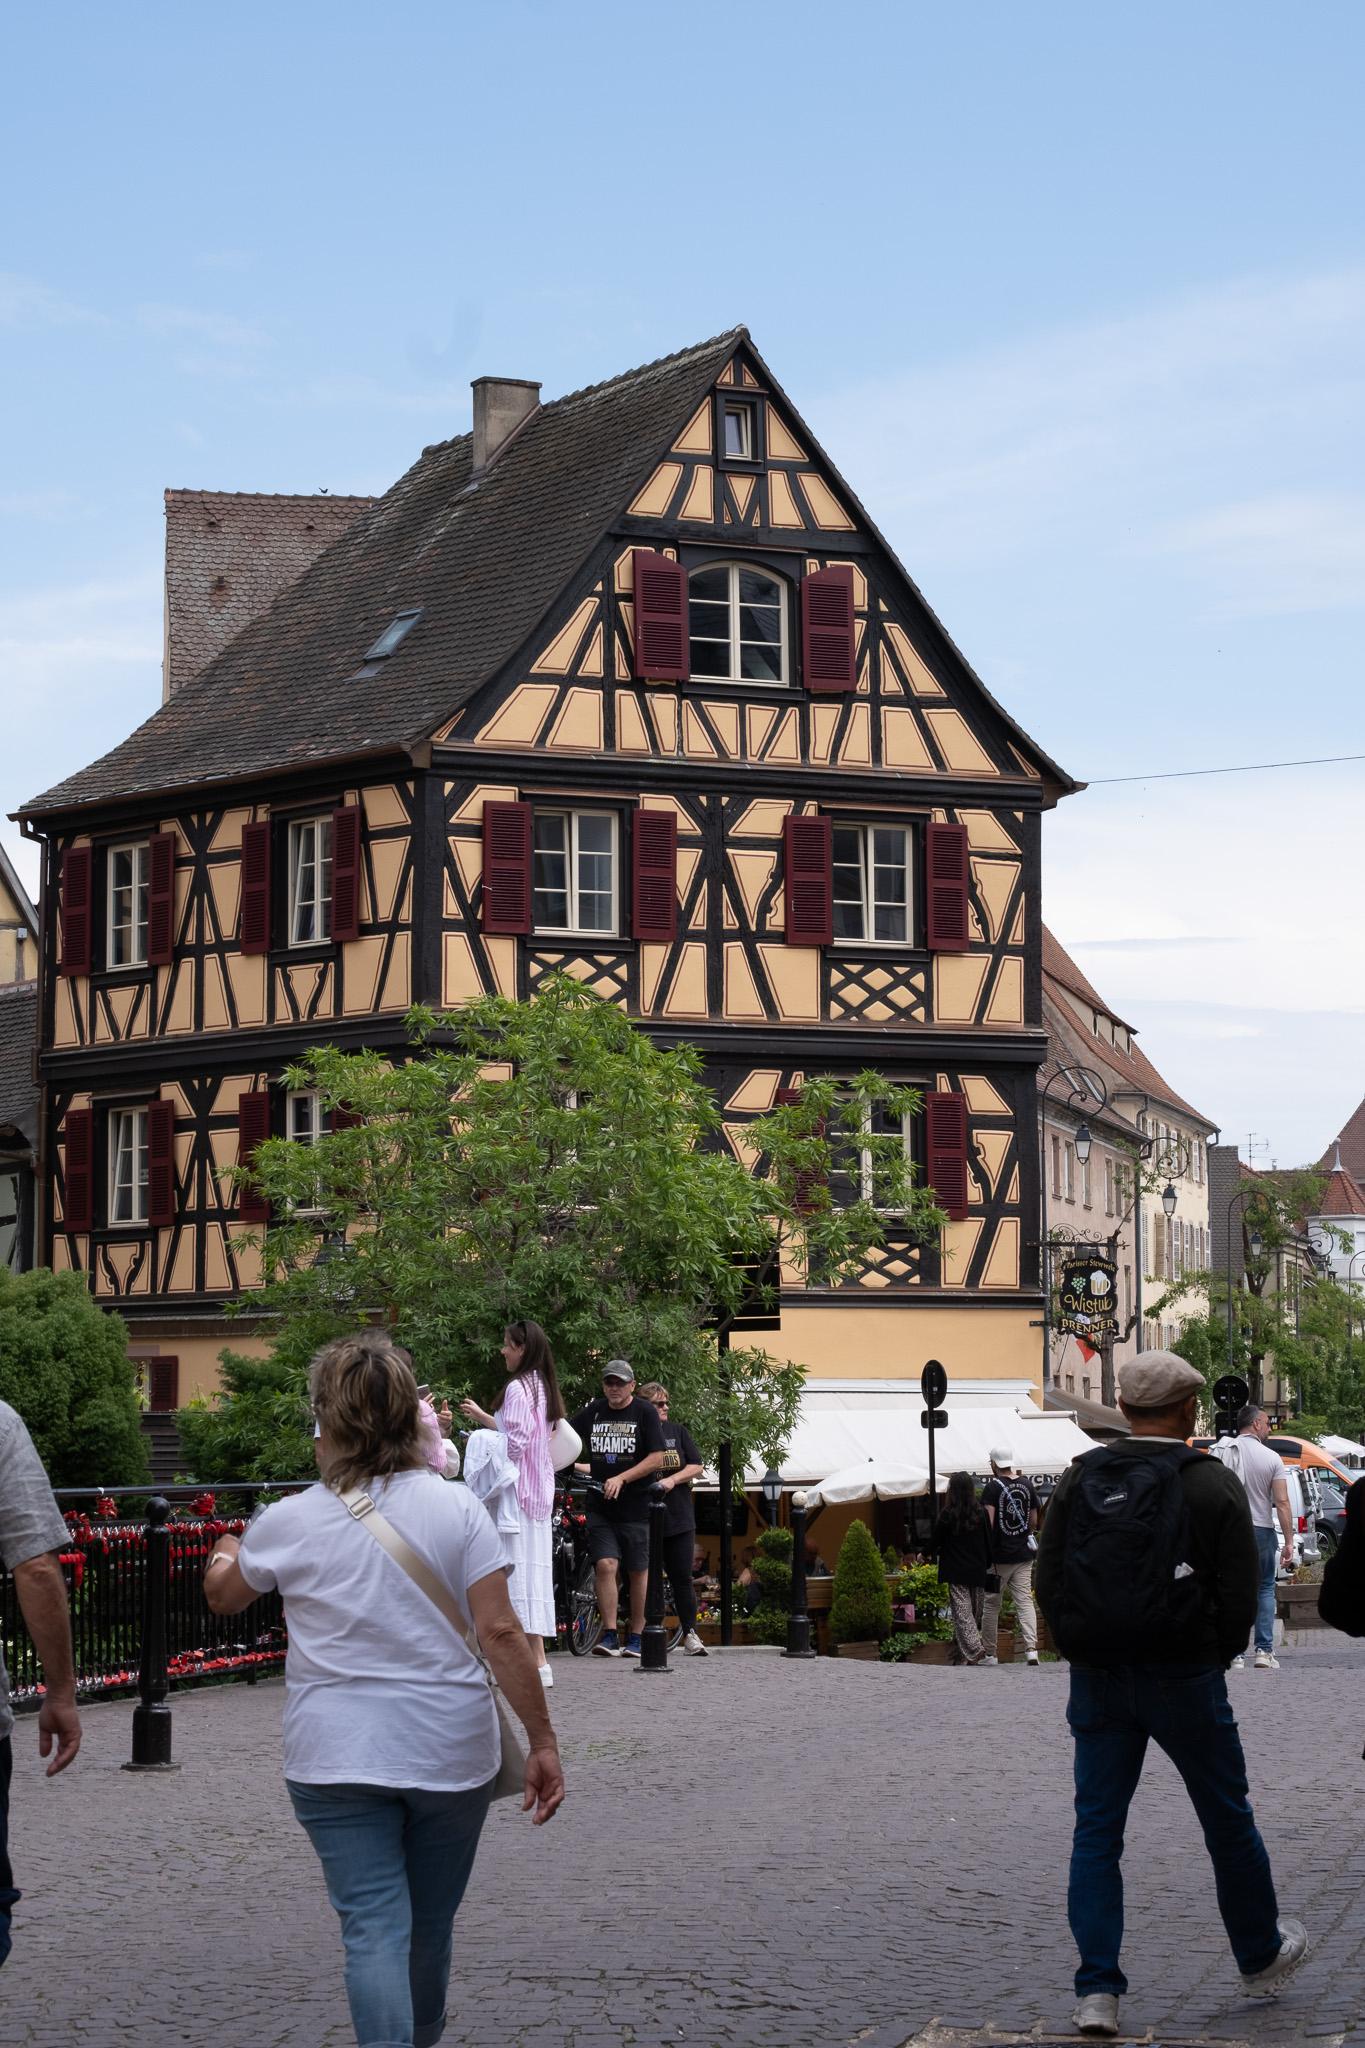
Getting rid of elbows on both sides and lens spot in the sky. Grey car on right side became a bit weird but is such a small part of the image.
Blacks are +25; wanted to get the surface of the street less dull so I put the texture also to +25; dehazing is +19
After
I. hopeless picture - fixed it in several ways
II. just playing around with colours