Intro to color correction and grading final project
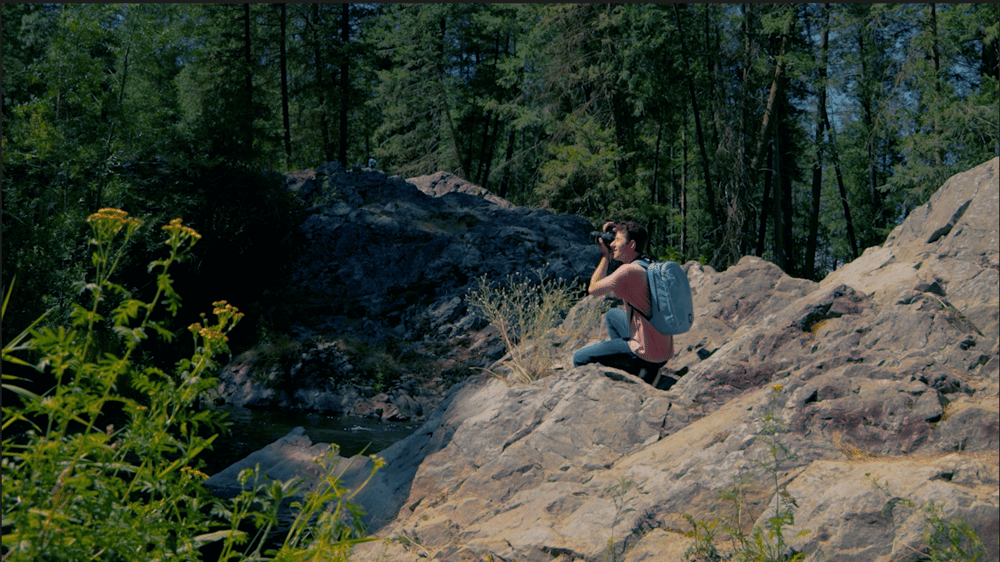
Color Grade 1:
For color grade 1 I wanted to get a more pastel or faded film looking clip. I reduced the peaking in the highlights and raised shadows to try and bring more detail into the shot. I added the SL Big HDR creative look to the shot to wash out the color giving it a more aged appearance. Finally I worked with the color curves to try and isolate the color in different portions of the clip while melting the greens and blues in the background together.
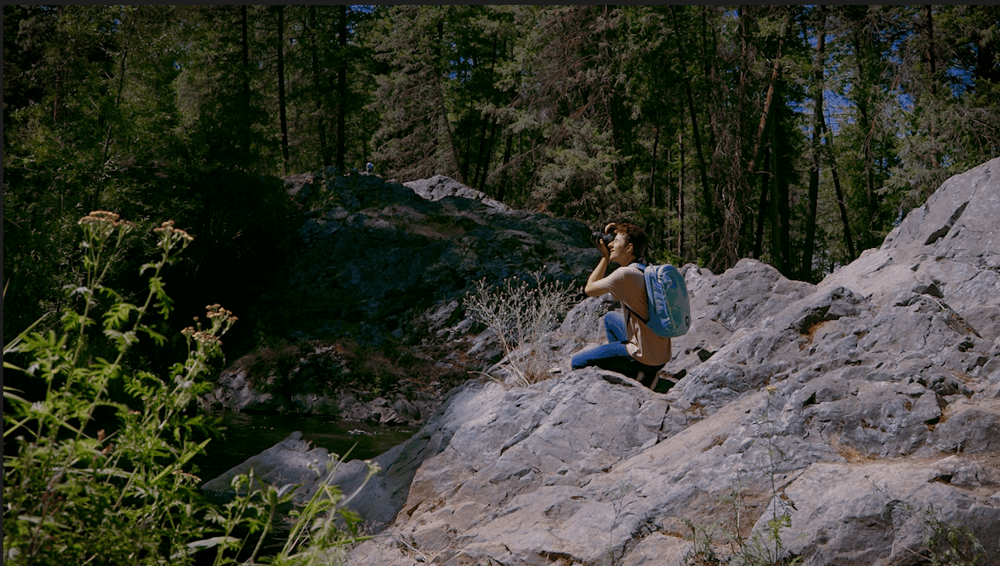
Color Grade 2:
For color grade 2 I wanted to create a very cinematic look. I used the basic corrections to create more contrast in the shot before working with the color curves to bring in more saturation and close the gap between the reds, greens, and blues. I used the creative tools to add a faded film look while reducing the vibrance and saturation making the shot more matte. Finally I used the HSL Secondary to isolate the warmer colors and bring down the temperature and added a vignette to isolate the subject of the shot.
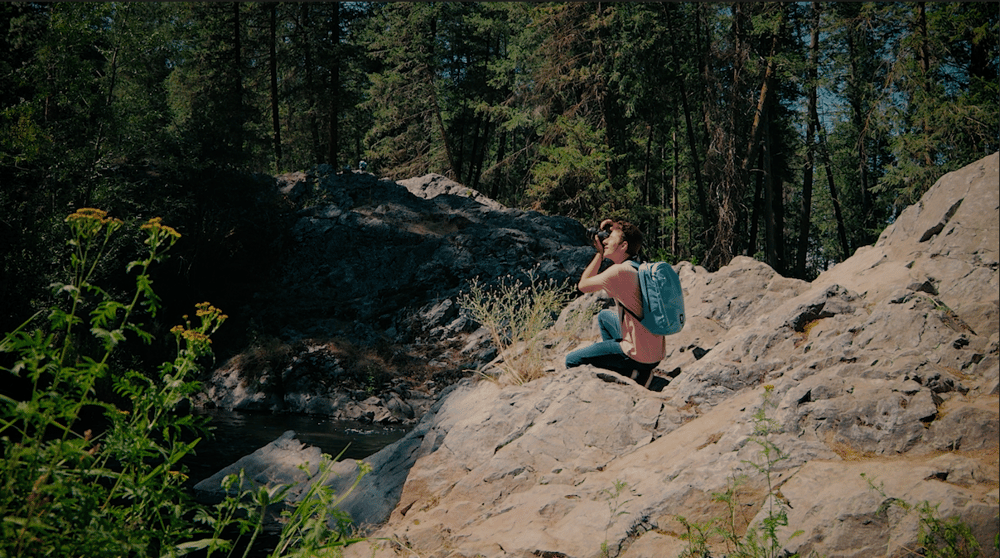
Color Grade 3:
The final color grade followed largely the same process as the second, but this time adding saturation to give the look of a documentary. I also left the highlights more exposed to give it a more natural look, closer to what the initial shot would look like while making it pop overall.