Mysterious Green Smoke
Hey yo!
I’m sharing my own project here — partly to give you a deeper peek into the process (with a few extra tips), and partly to share a little anecdote.
So, here’s the story: when I started recording my iPad screen to make the class, I animated the entire smoke effect from start to finish. But… I didn’t realize my iPad storage was almost full. When I stopped the recording, after a long pause, my iPad politely informed me: “No space left. Nothing saved.” 😅
That meant I had to clear up some files and re-animate everything from scratch!
But here’s the interesting part — while re-animating the green smoke from the mug, I realized something important: I could never recreate the animation exactly the same way again. This technique is drawn straight-ahead and relies a lot on spontaneity — and that’s exactly what makes each version unique.
Here some behind-the-scenes and tips that might help:
CHOICE OF THE SETTING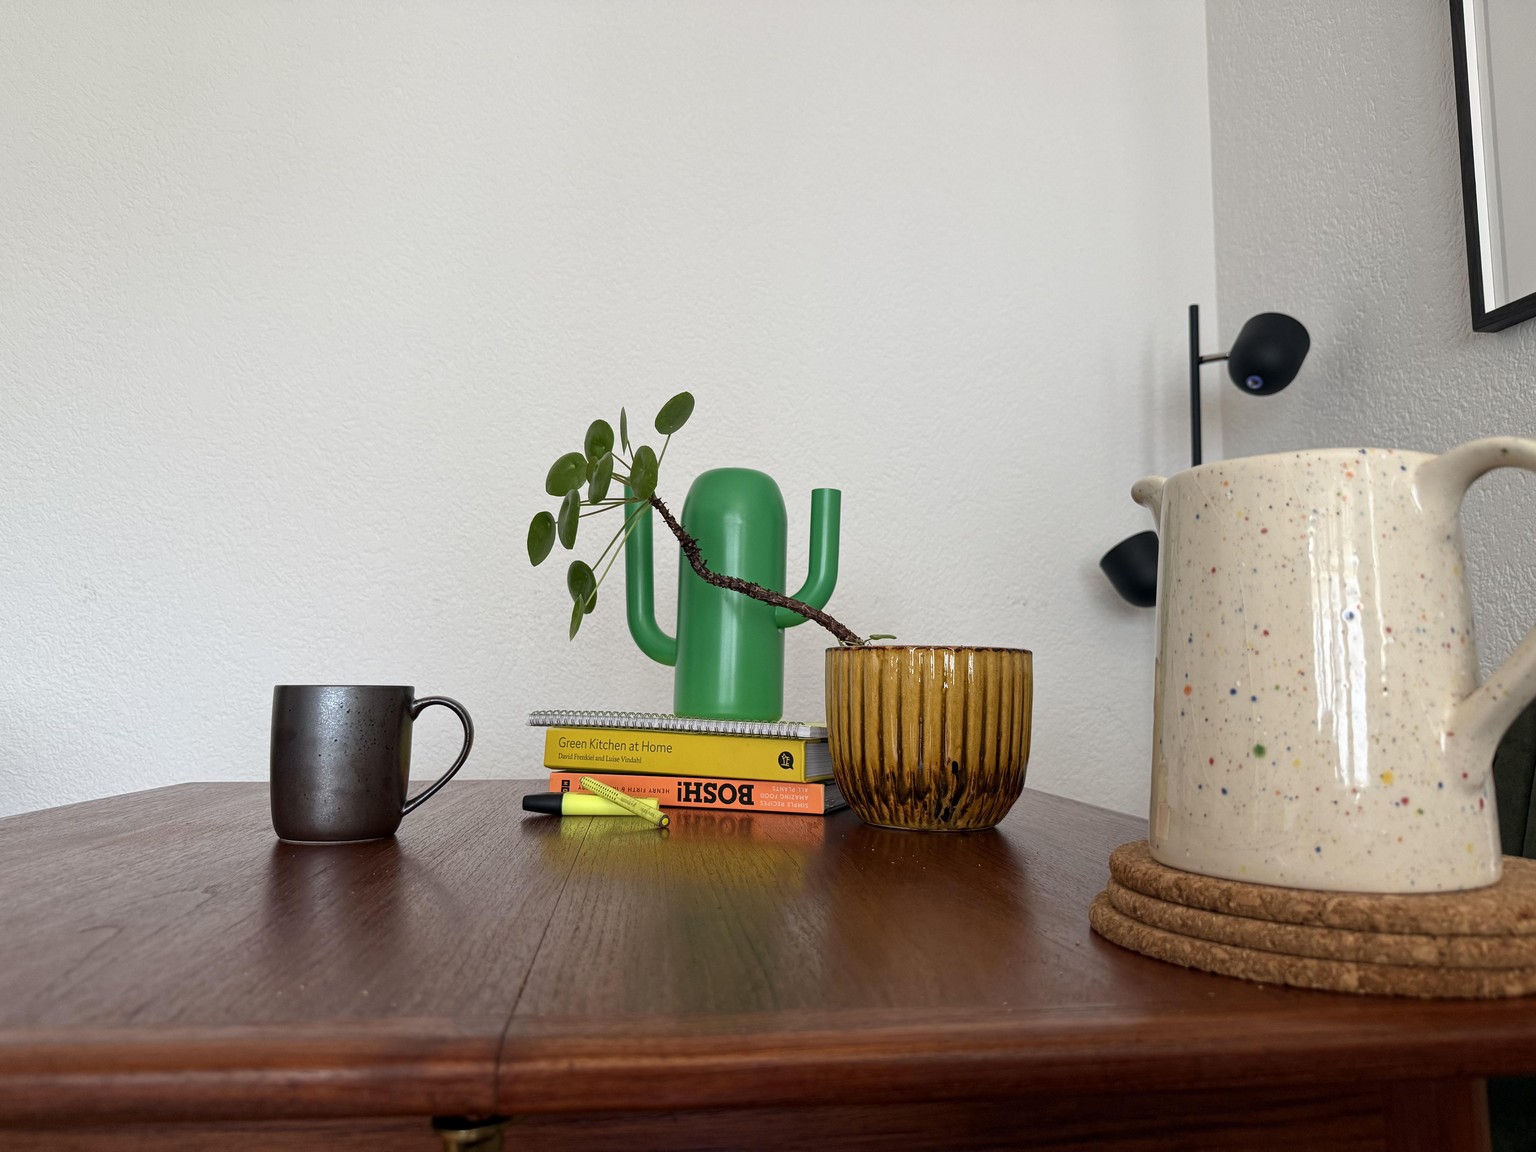
When preparing my still-life scene, I kept a couple of things in mind:
- Simple silhouettes: I need the smoke to come out of the mug, so I want to see clearly the mug and the top of it. Because the animation is quite flat, my scene will also be a bit bi-dimensional.
- Bold Colors: Because I want to implement drawing into a real-life scene, I decided to play with bold and neon colors, picking some objects with bright hues, so that the smoke could match some of the tones from the shot, and better blend into it.
- Layout/Composition: I positioned the mug on the left, so that the smoke could move up and out of the frame, without touching or interfering with the other elements of the still-life.
Let's talk SOFTWARE: As I mentioned in the class, this technique can be applied to any software and technique (even to pencil and paper!).
For my previous smoke animation (the one with the landscape and fires I showed in the first class), I used Adobe Animate, while for this class, I used Procreate Dreams.
Both have their pros and cons, but I find Procreate Dreams very intuitive, easy, and "light" to use.
Especially to animate on footage, that's definitely my go-to tool at the moment.
GIF EXPORT TIP:
In order to be able to share a GIF here in the project section, I did the following:
- Export an mp4 from Procreate Dreams
- Open it with Photoshop
- There, I cropped it and reduced the size (smaller size = lighter GIF)
- Then Export > Save for web!
Done!
That's all for now.
Let me know if you have more Q about my own process, and do not hesitate to share your work in progress and reach out if you need tips or directions!
I am looking forward to seeing your creations in motion!
Ciao
G.