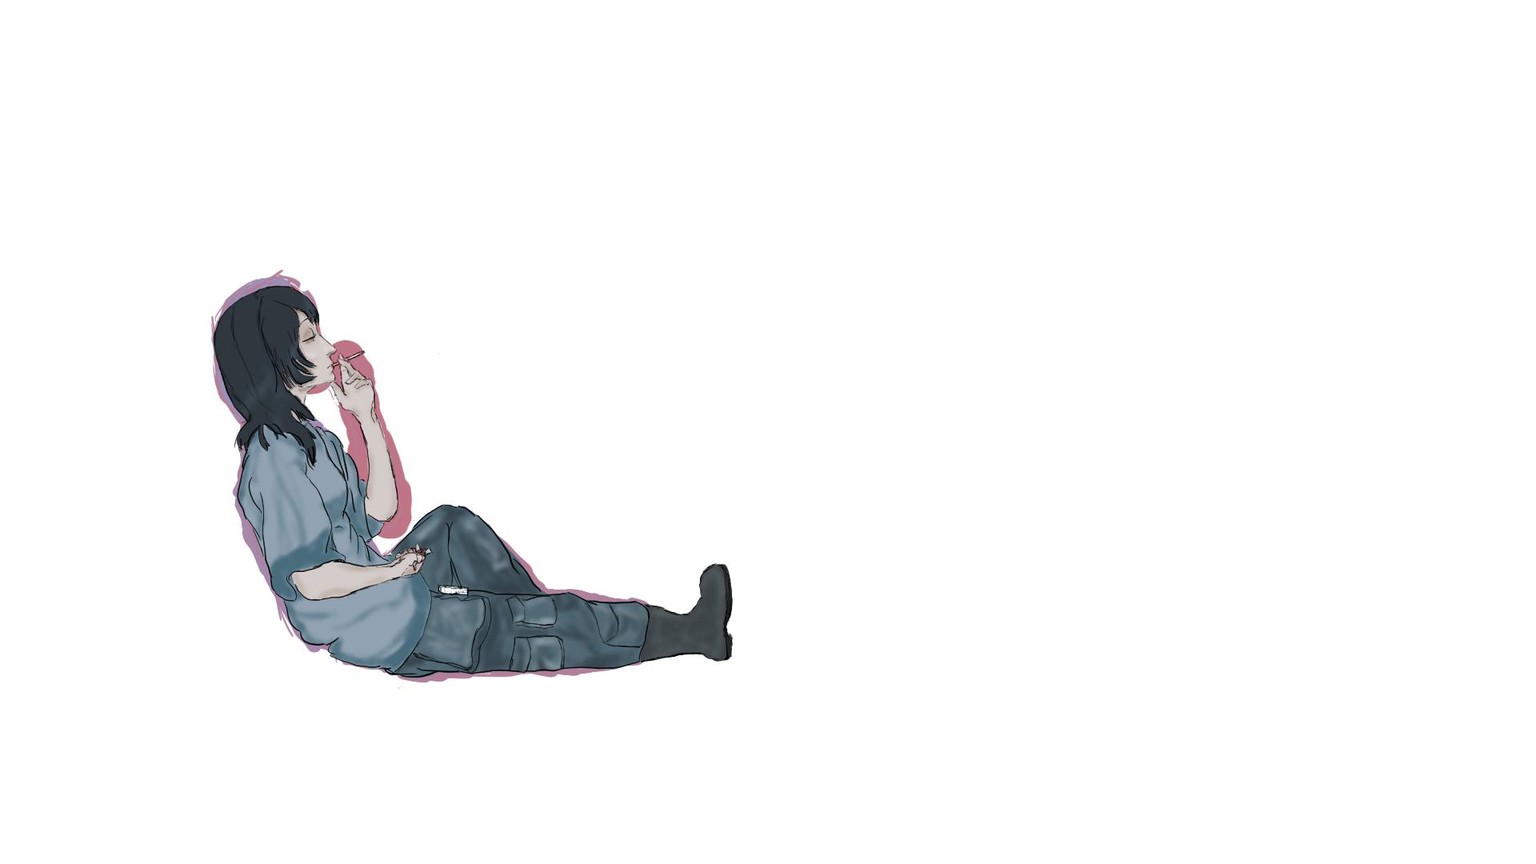
What I learned
I used of the combination of the tools and techniques show in "Clip Studio Paint for Beginners"
I looked for a picture of something I wanted to draw in Pinterest, I made sure to pick something that would keep me going through the ugly parts of the illustration.
I started with a rough estimation of where everything was by making the general shape in different colors using the gpen with a lot of thickness, I wasn't trying to be precise, but have a general area that was sort of around the shape and size of the subject, then I started making multiple layers to differenciate sections (skin tone, shirt, pants, outlines, etc),after that I started working on mapping out each section with a different color to tell them appart.
Once all mapping of the subject was finished, I went into coloring, I went from light to dark so I just decided to make most of it the same general color, then go in between tones for the finishing touches.
I had to do a lot of trial and error to get what I wanted or was satisfied with, specially with the hands. my reference didn't have feet so I had to add a boot.
After the whole process was was done I fliped the canvas the other direction and noticed that I didn't really like the way the neck looked, so I used the mapping tool brush to move it back, at first I had some issues because there were lots of layers, but I eventually figured that I could merge both the skin and the outline into a single layer to properly create the outcome I wanted.
This was a lot of fun, and I didn't know how much I had available withing the editing settings,
thank you for you time.