TEACHER PROJECT EXAMPLE
I'm going to try to outline my process here so you can follow along and get some ideas of how you can present your project!
TOPIC
The idea for this course is to just draw something you love. Don't worry too much if it's a cool enough idea, it can be the silliest thing or the most complex. Some ideas I had when I was starting were
Essentials of:
- Mini golf
- Skateboarding
- Super Mario
- Baking sweets
- LOST (tv show)
- Dog walking
- Car repairs
- etc
IDEATION
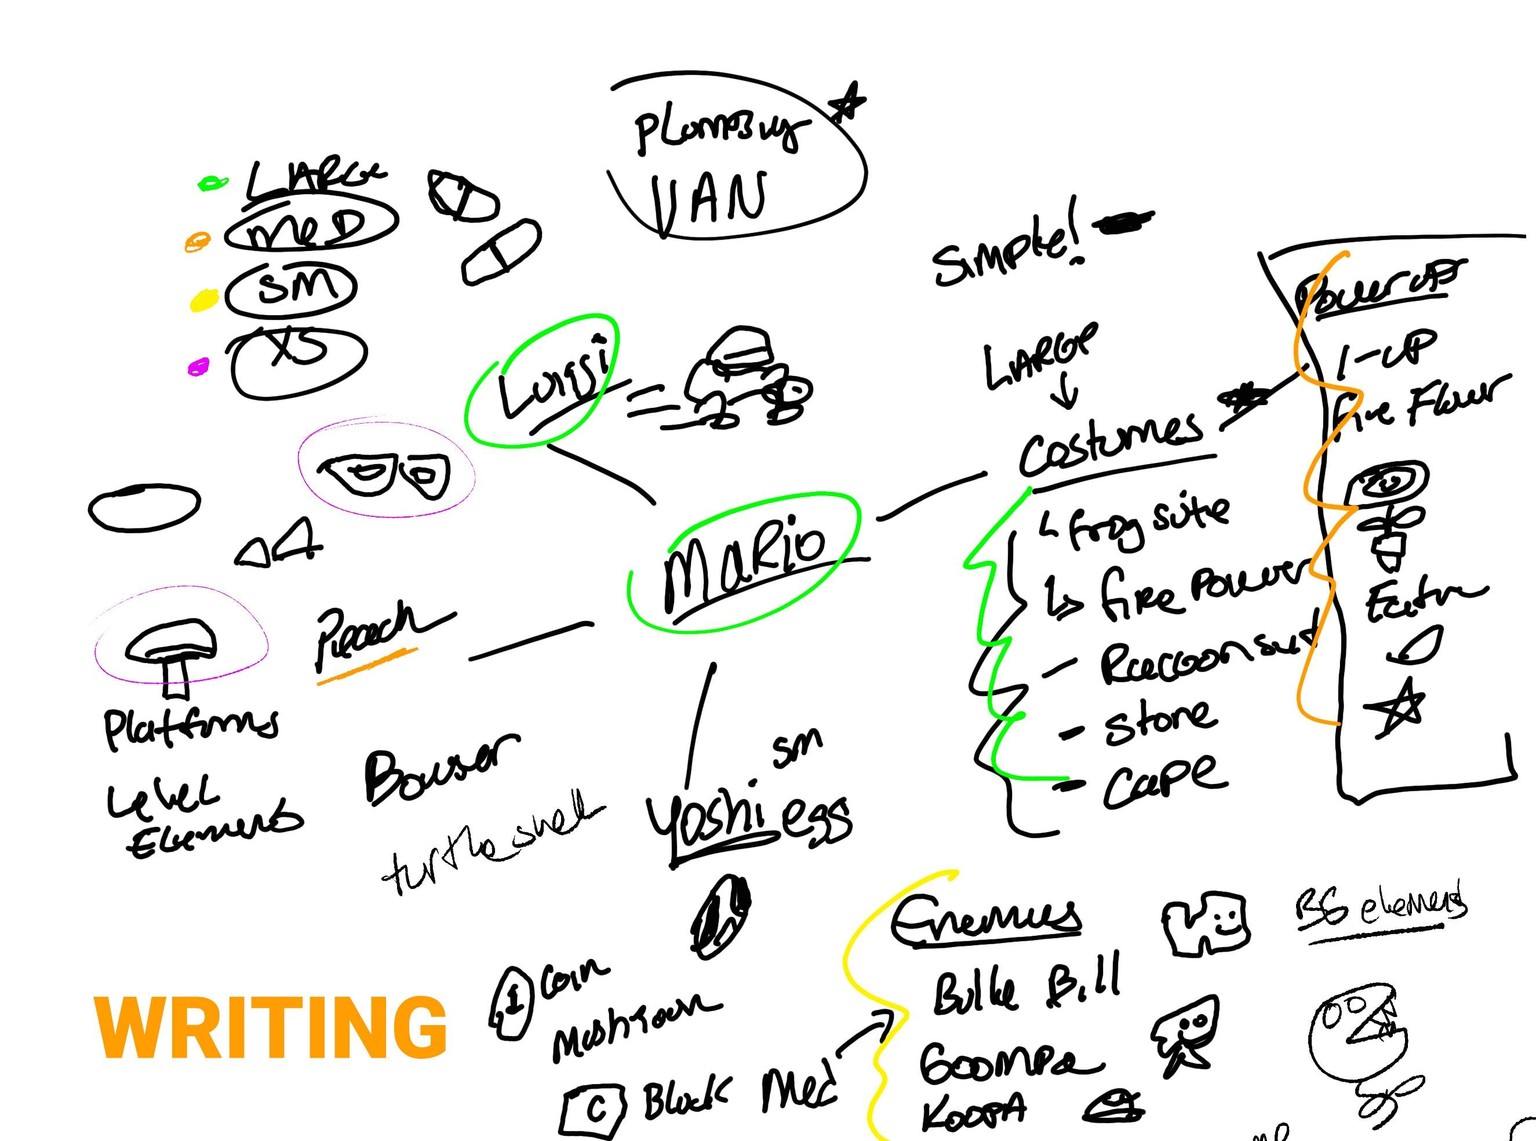
I always like to start with a diary/journal session. Just vomiting out ideas thinking about what I want to draw.
Typically, I'll find myself repeating myself OFTEN and when I am doing that, I'm realizing subconsciously, that must be what I'm looking to draw.
Don't ignore those reflexes! This course is all about having fun, it can be the most simple thing you want to draw.
I ended up choosing Mario for my idea. So I wrote down everything that was in my head up front.
I love seeing Mario in all his different outfits. The props he has, cape, raccoon suit, etc.
So I just started writing!
REFERENCES
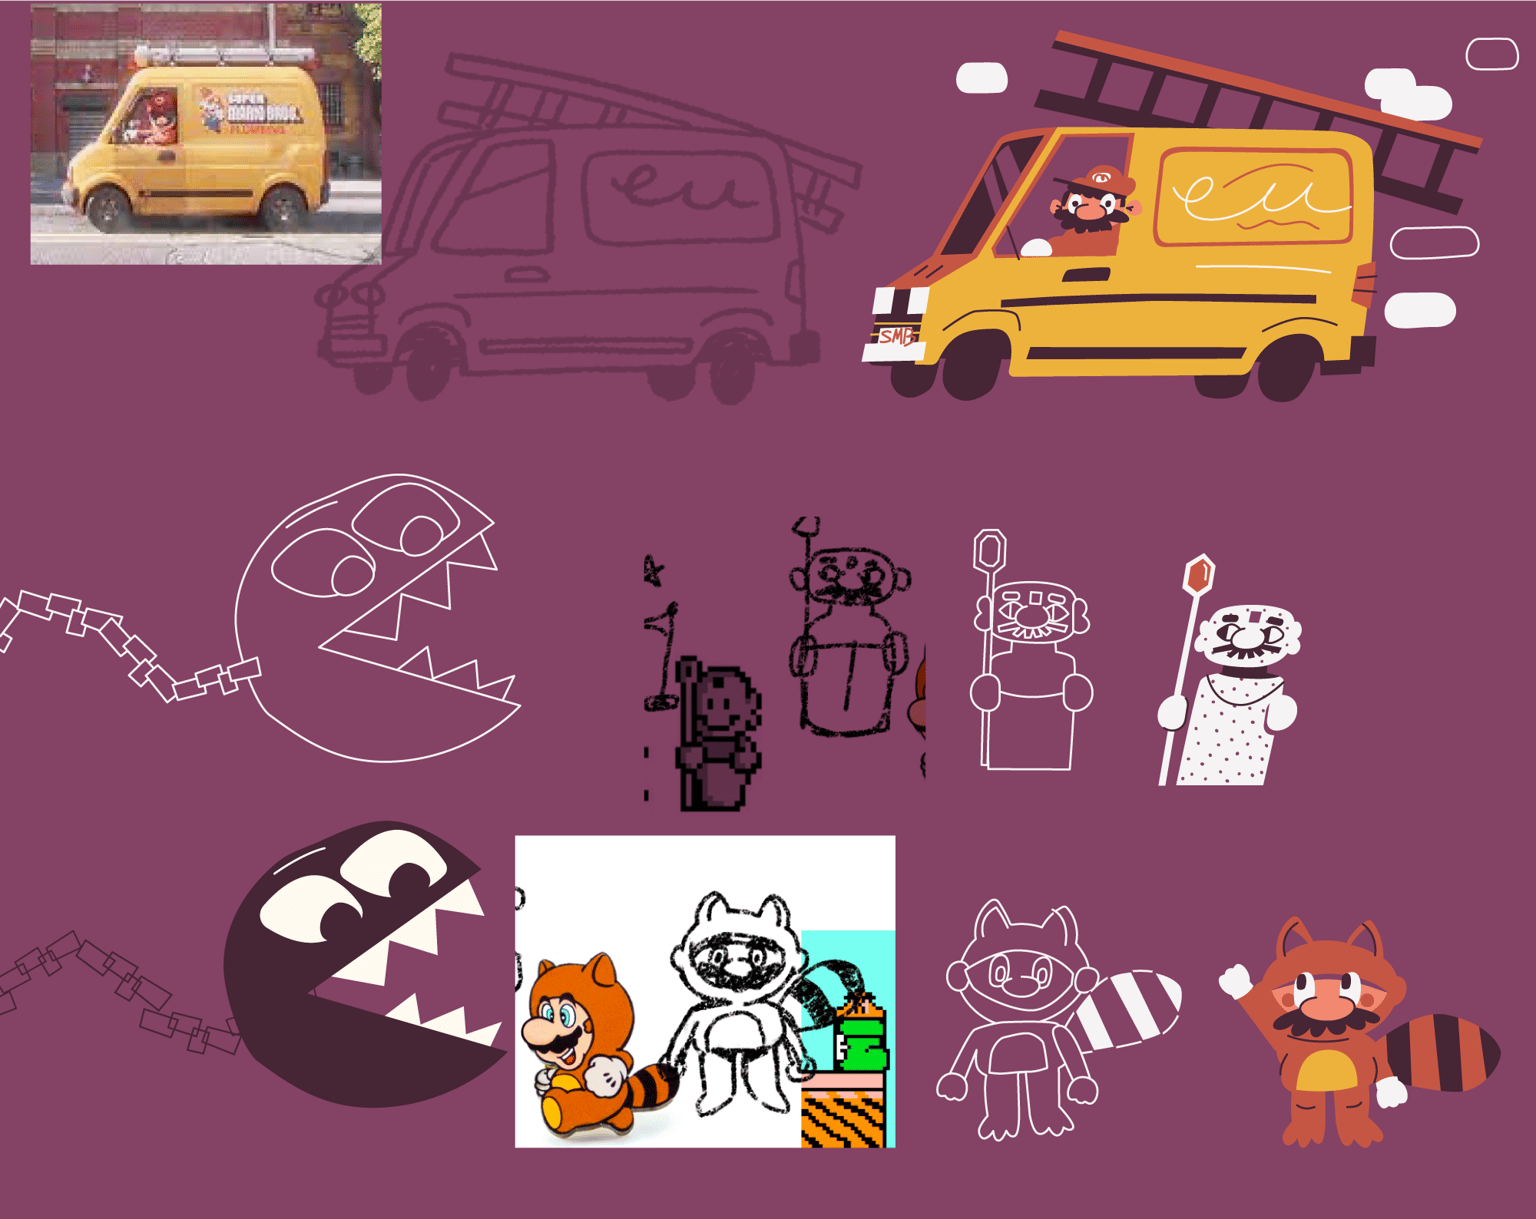
Once I had a sense of what I wanted to draw in words, I grabbed some basic references to get me started.
My goal is not to copy these directly, but give me enough information to get me rolling, I'll eventually hide those references and draw from memory, trying to push the shapes as much as I can.
SKETCHING
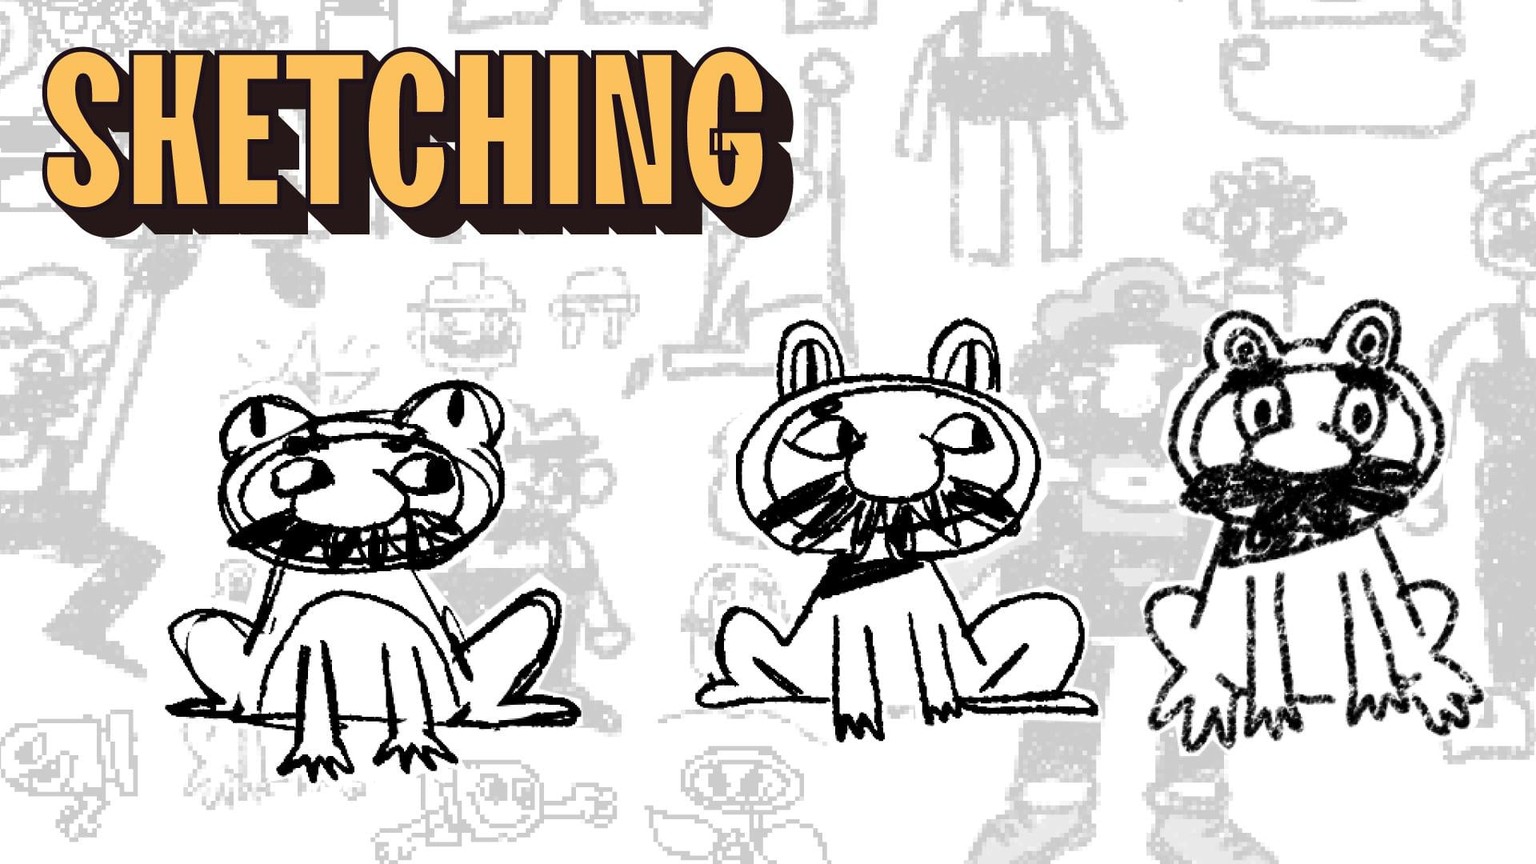
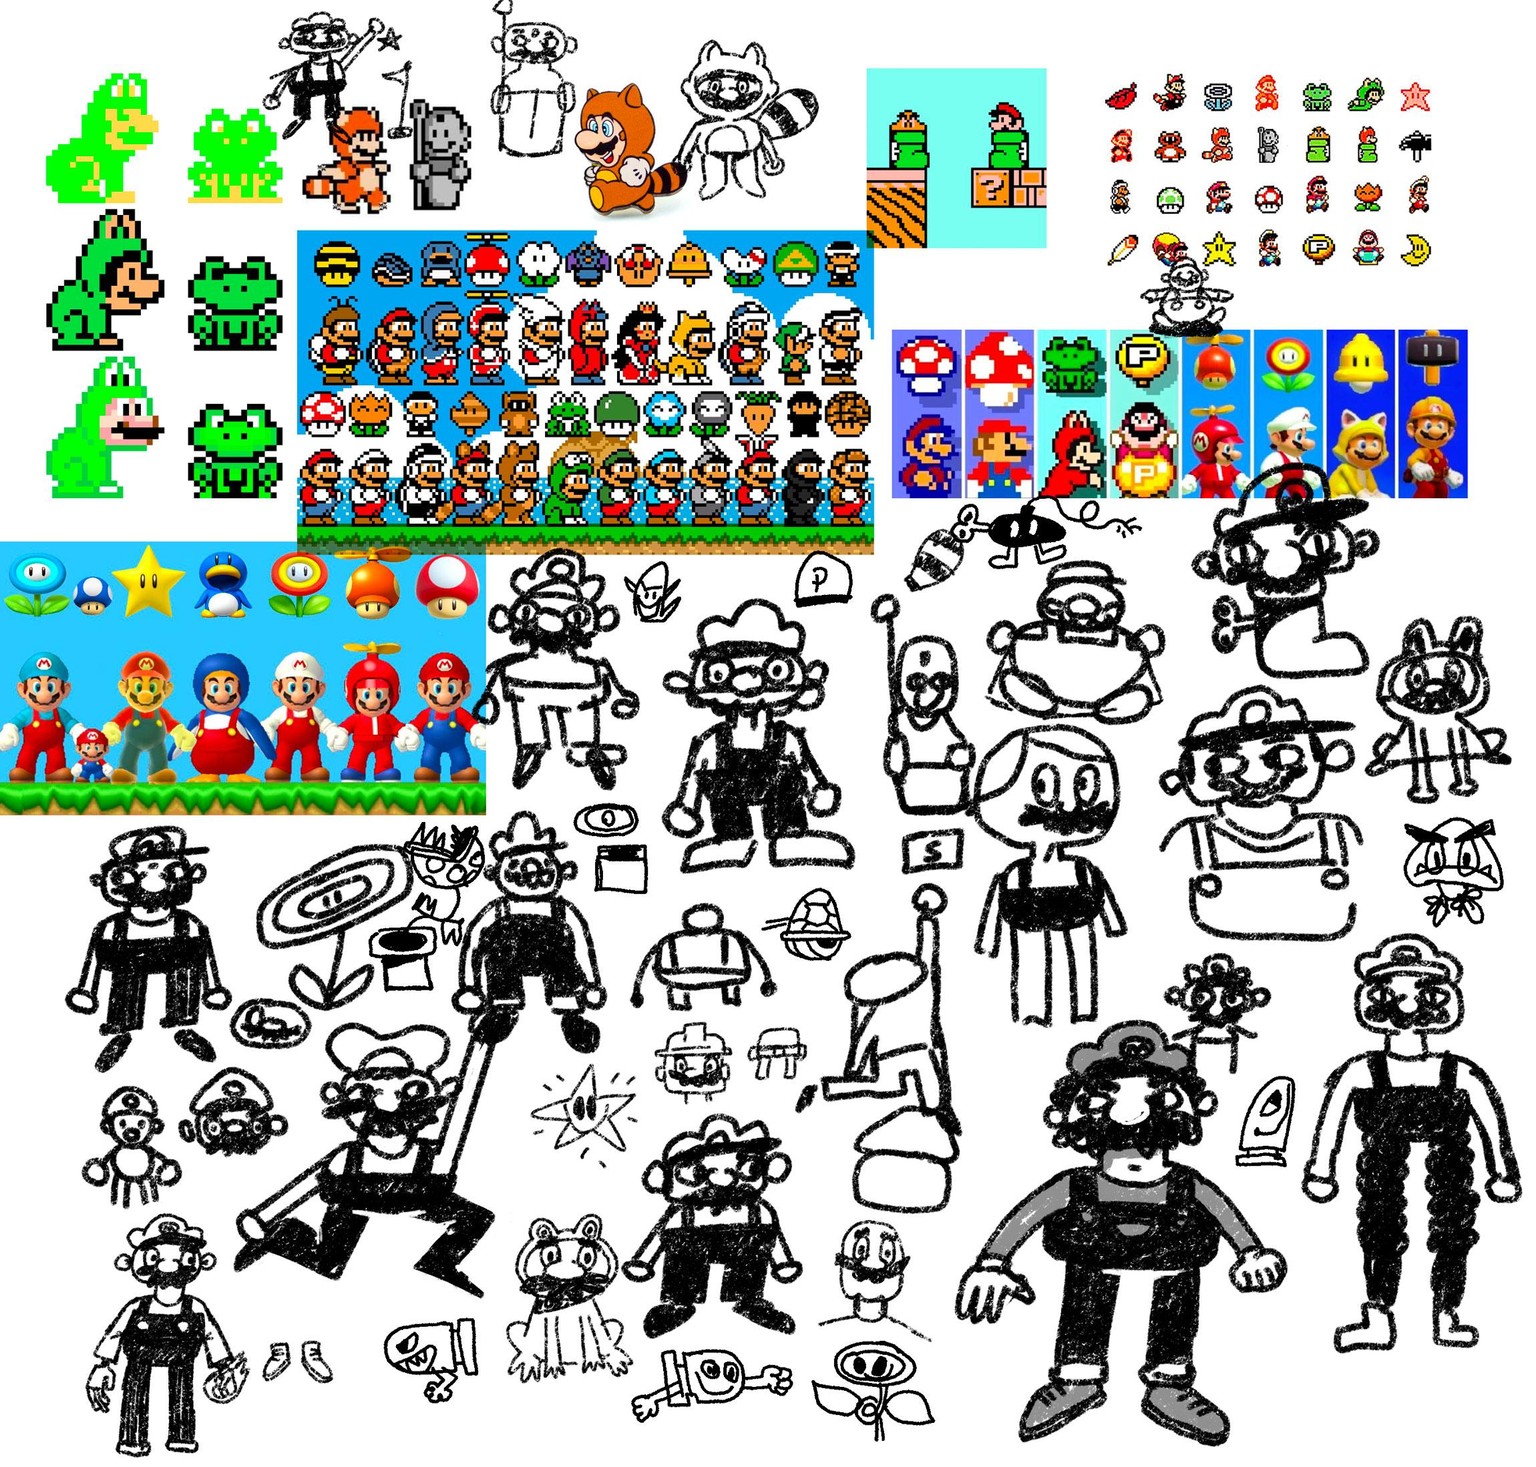
Sketching is intimidating at first, but you can really start with copying what you see in your references.
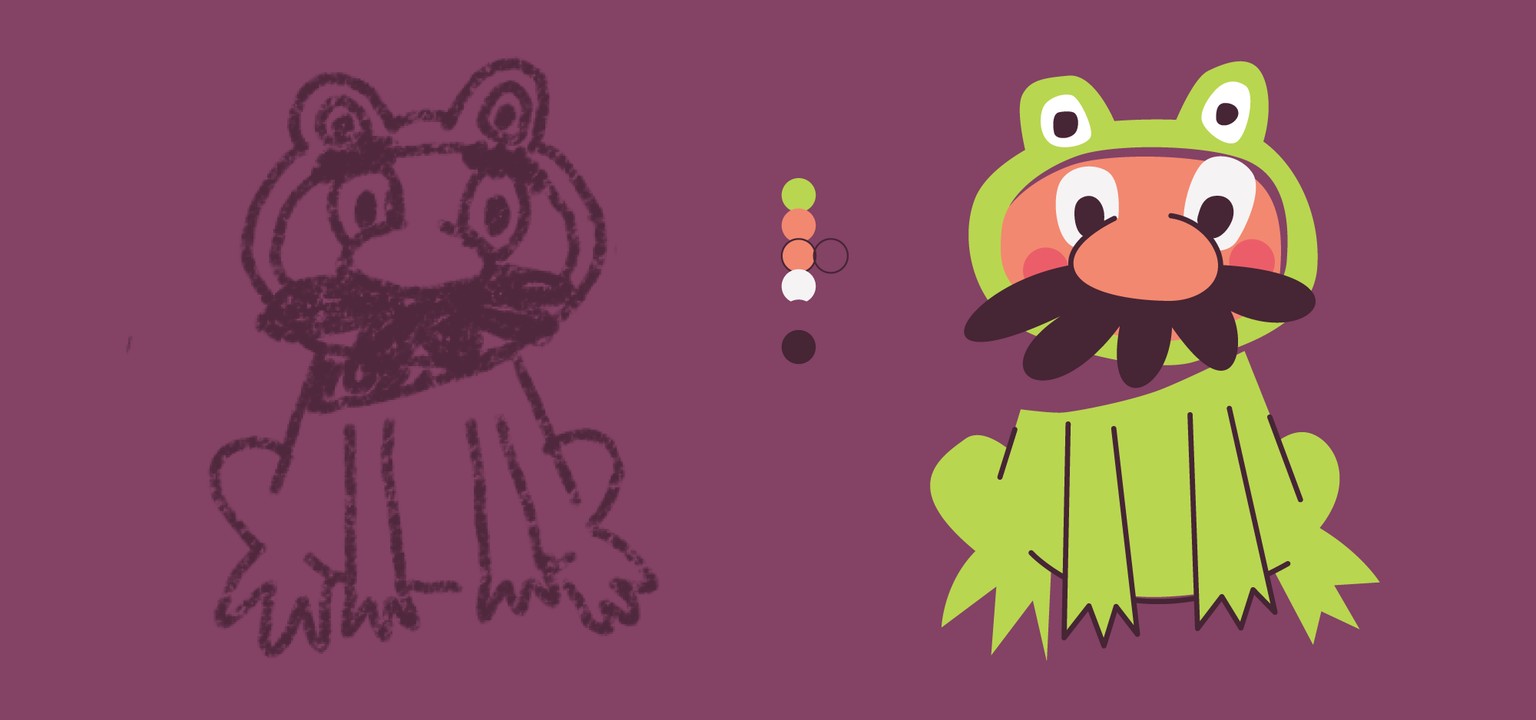
My best tip here is just to draw as many times as you can. If you can draw a magic mushroom 300 times, eventually your DNA and style will shine through!
VECTORING
My sketching is done and a lot of the sketches are just meh. But theres enough information for me to start piecing together some shapes in Adobe Illustrator.
Here I'm just using the pen tool and building shapes like I would with construction paper and some scissors. Very low pressure still!
I'm also not really concerned with where things are going just yet, I'll figure that out later!
COMPOSITION

Now that I've got a lot of my items grouped in illustrator, I can easily drag them around, rotate, resize, and scale them to fit into a fun composition.
I try to get a dynamic range of sizes. My Mario van is going to be the center piece for now. and then I'll drag in some supporting elements there.
There's a LOT of nudging and re-doing that goes on during this stage. Illustrator lets us be noncommittal, and thats good!
BASIC COLOR
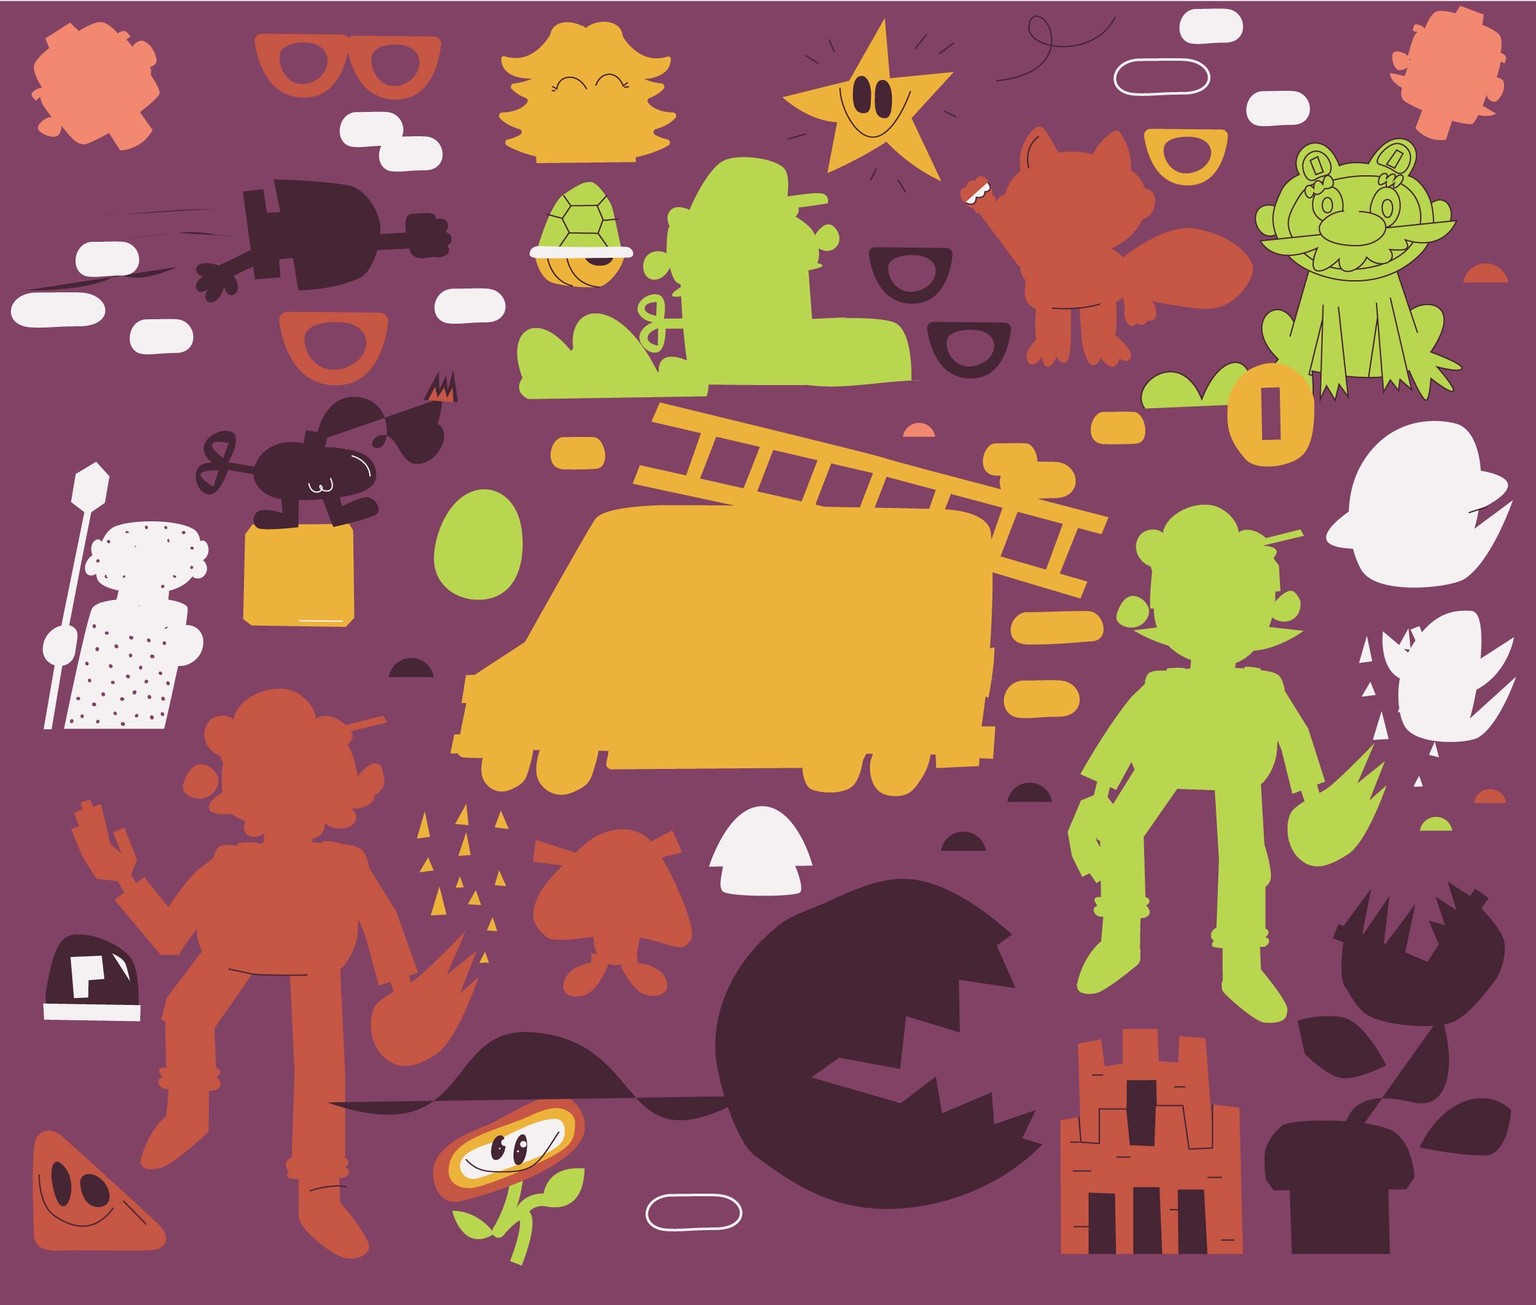
I'm feeling pretty secure in my composition. Enough that I'm not worried I'm going to throw out an entire illustration anymore.
So now that that's locked in (80% anyway) its safe to start coloring in some of these objects with a super simple color palette (found in the attachments of this course)
I'm just using the ink dropper here.
VECTOR DETAILS
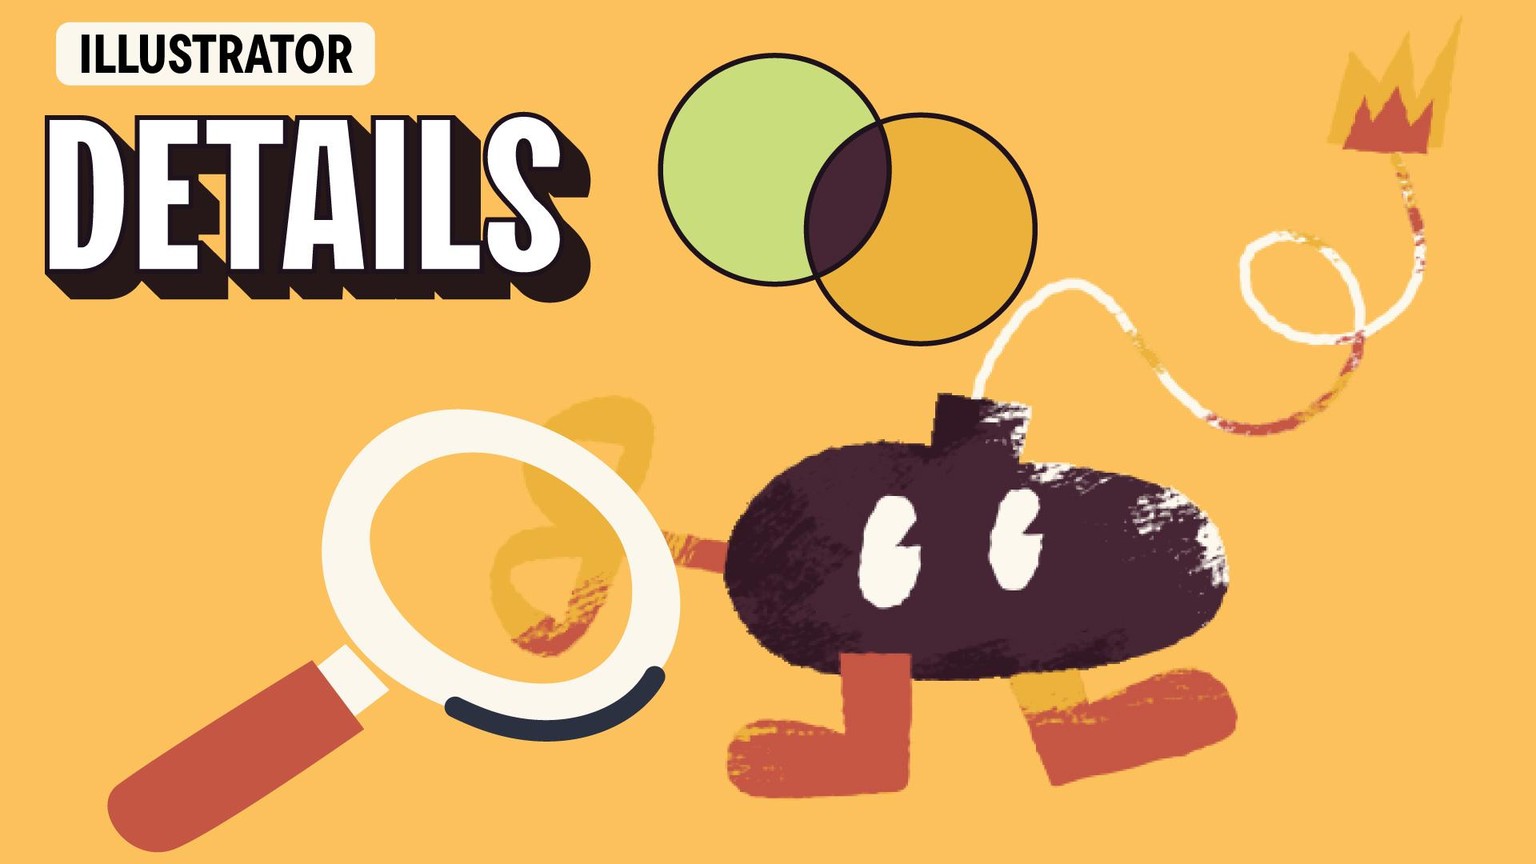
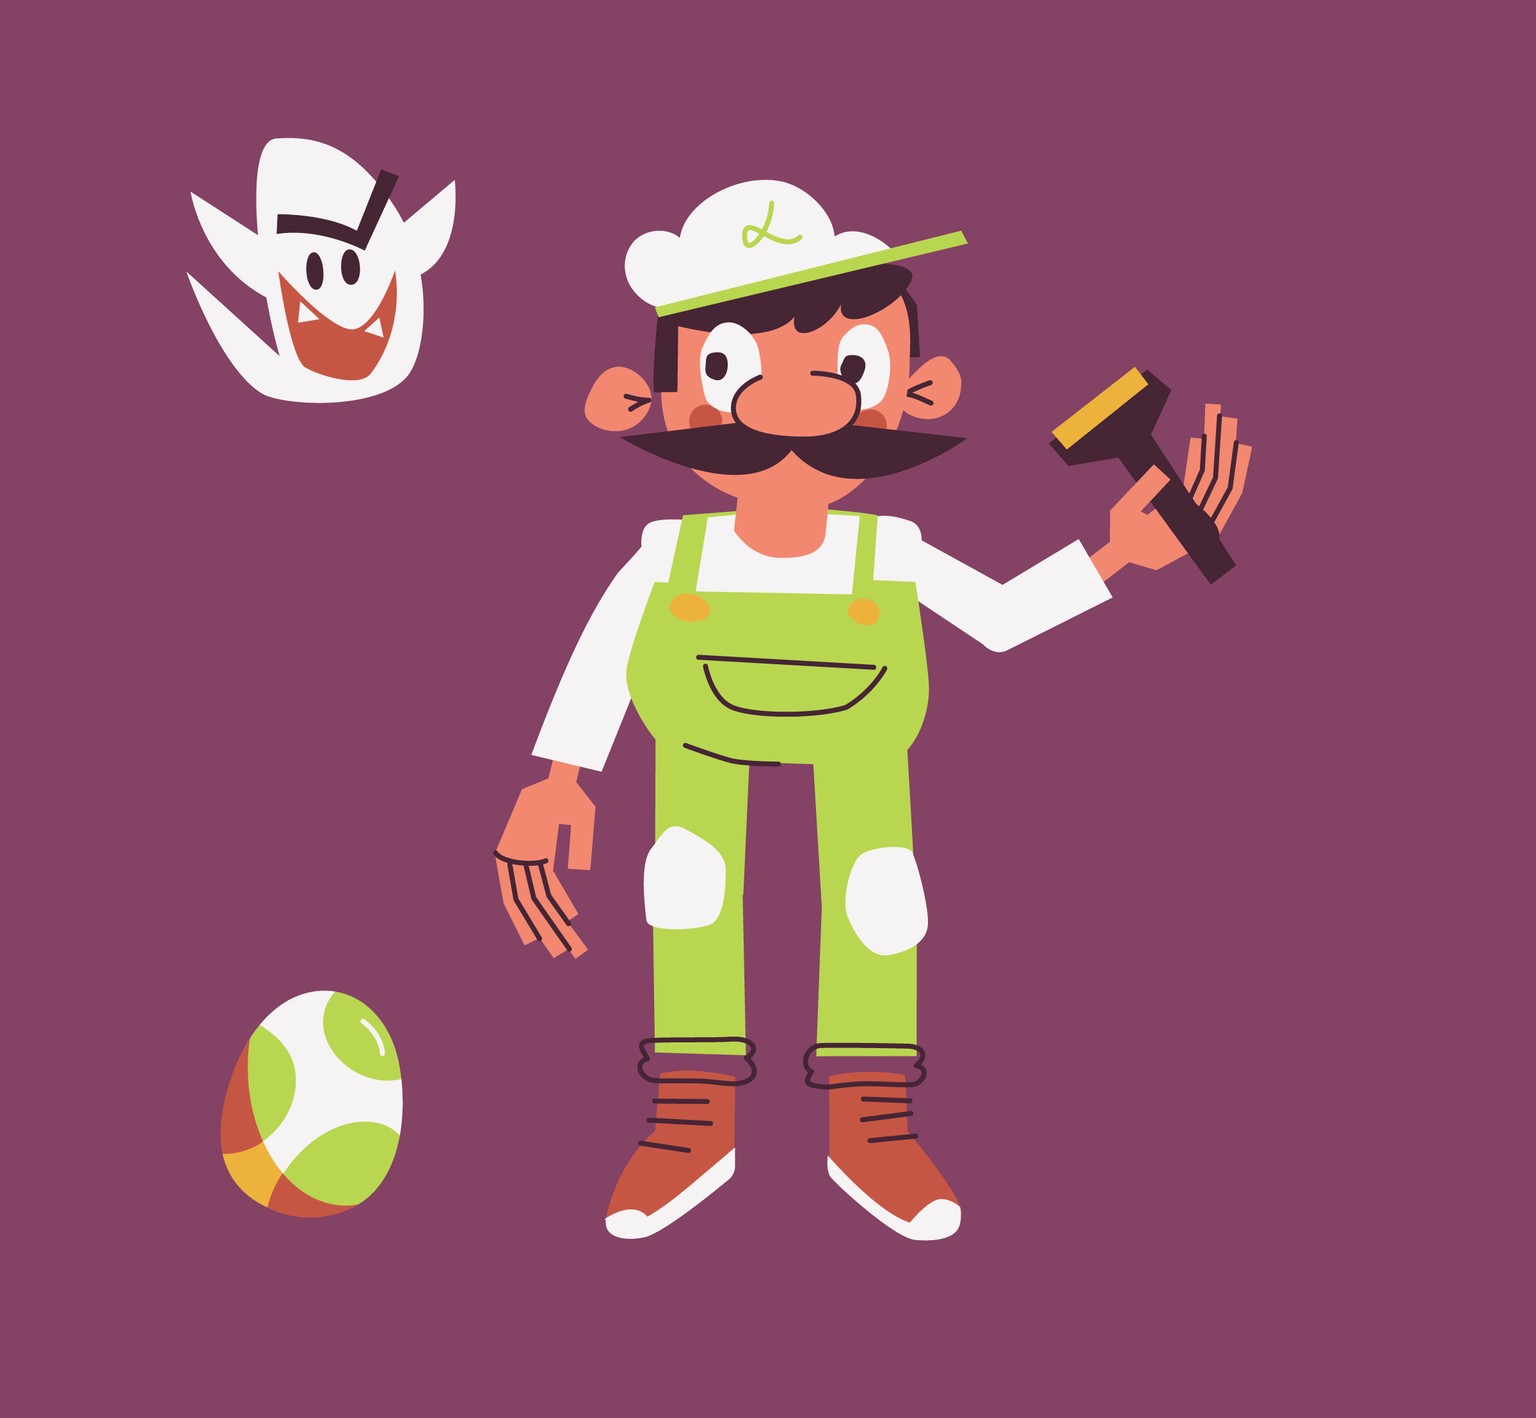
This is my favorite part! It's time to add a bunch of silly tiny little details that help tell that much more of a story.
For instance, I want to add some fire to Luigi, that seems like it'll help separate him from Mario a bit, and show that they're different brothers.
I could add a flashlight to him too, with a nod to his fear of ghosts in Luigi's Mansion..
PHOTOSHOP TEXTURES
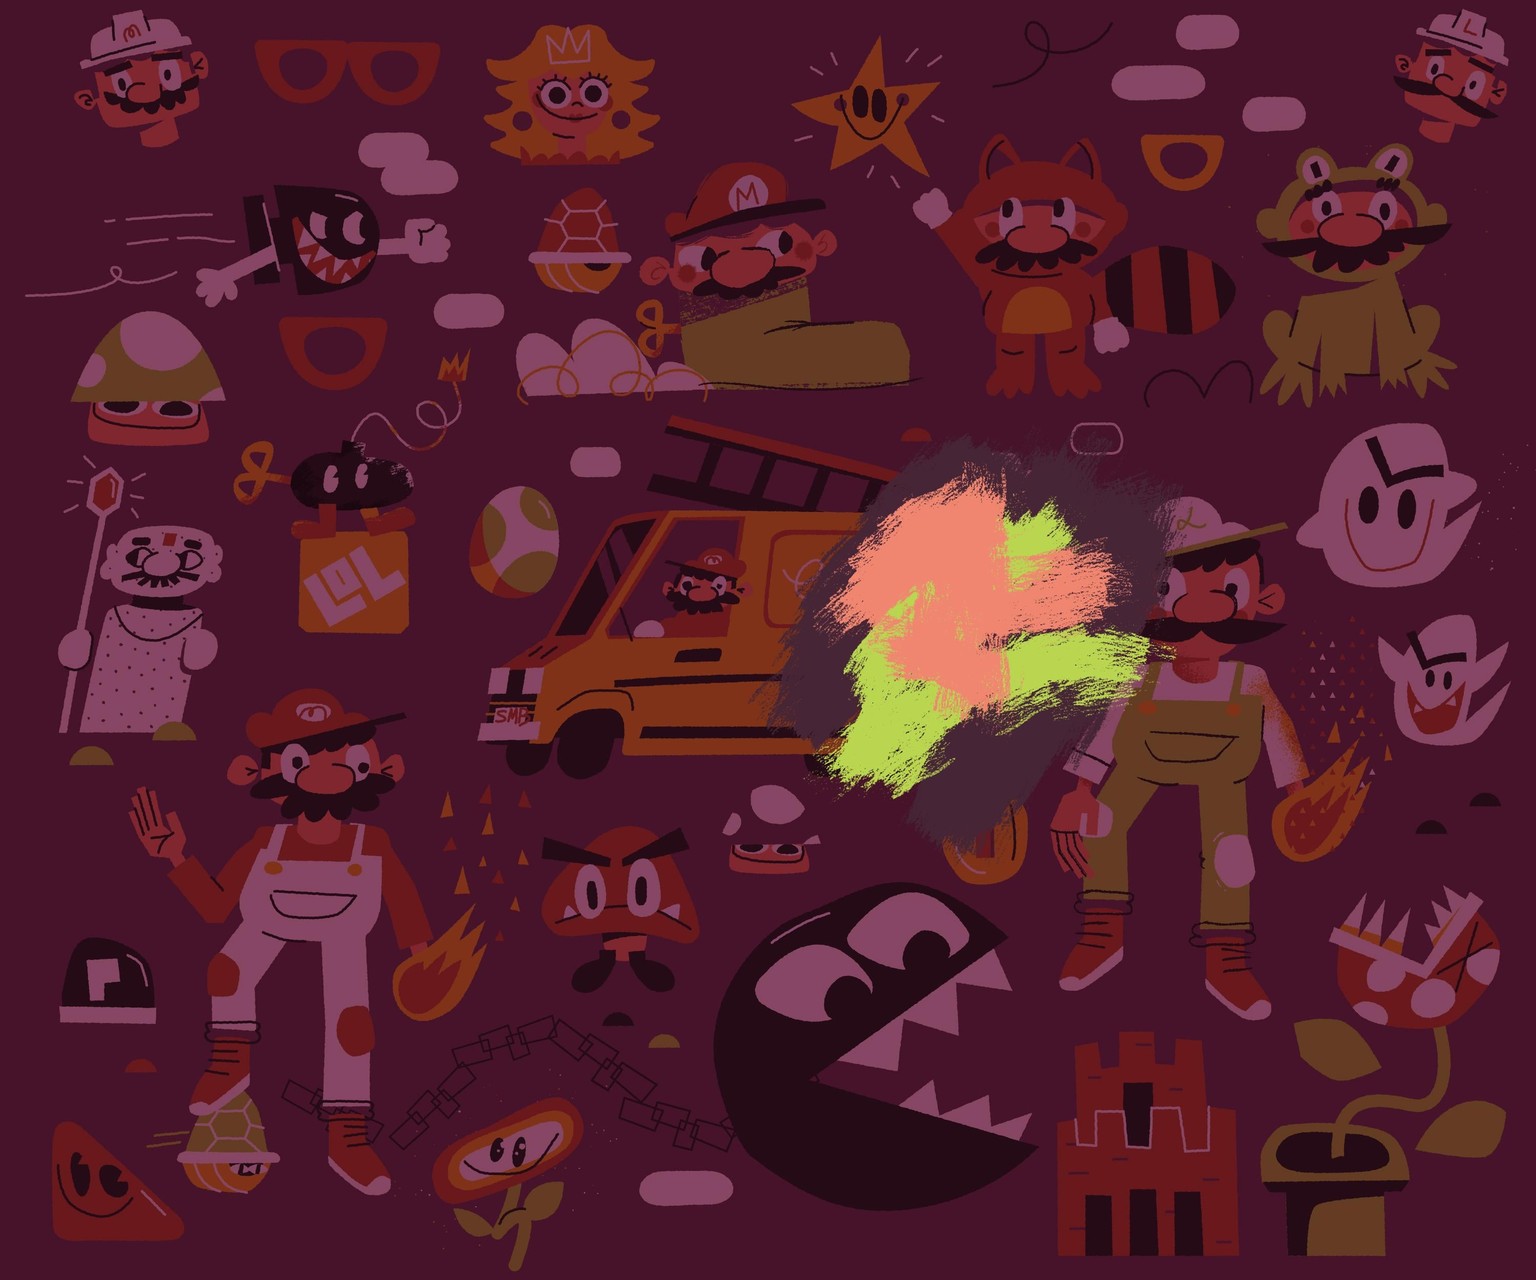
Once that's all squared away, time to copy paste everything into photoshop and go through my basic texturing techniques. I've outlined this in the course, but basically just using some masks and clipping masks with simple brushes (also included in the class attachments)
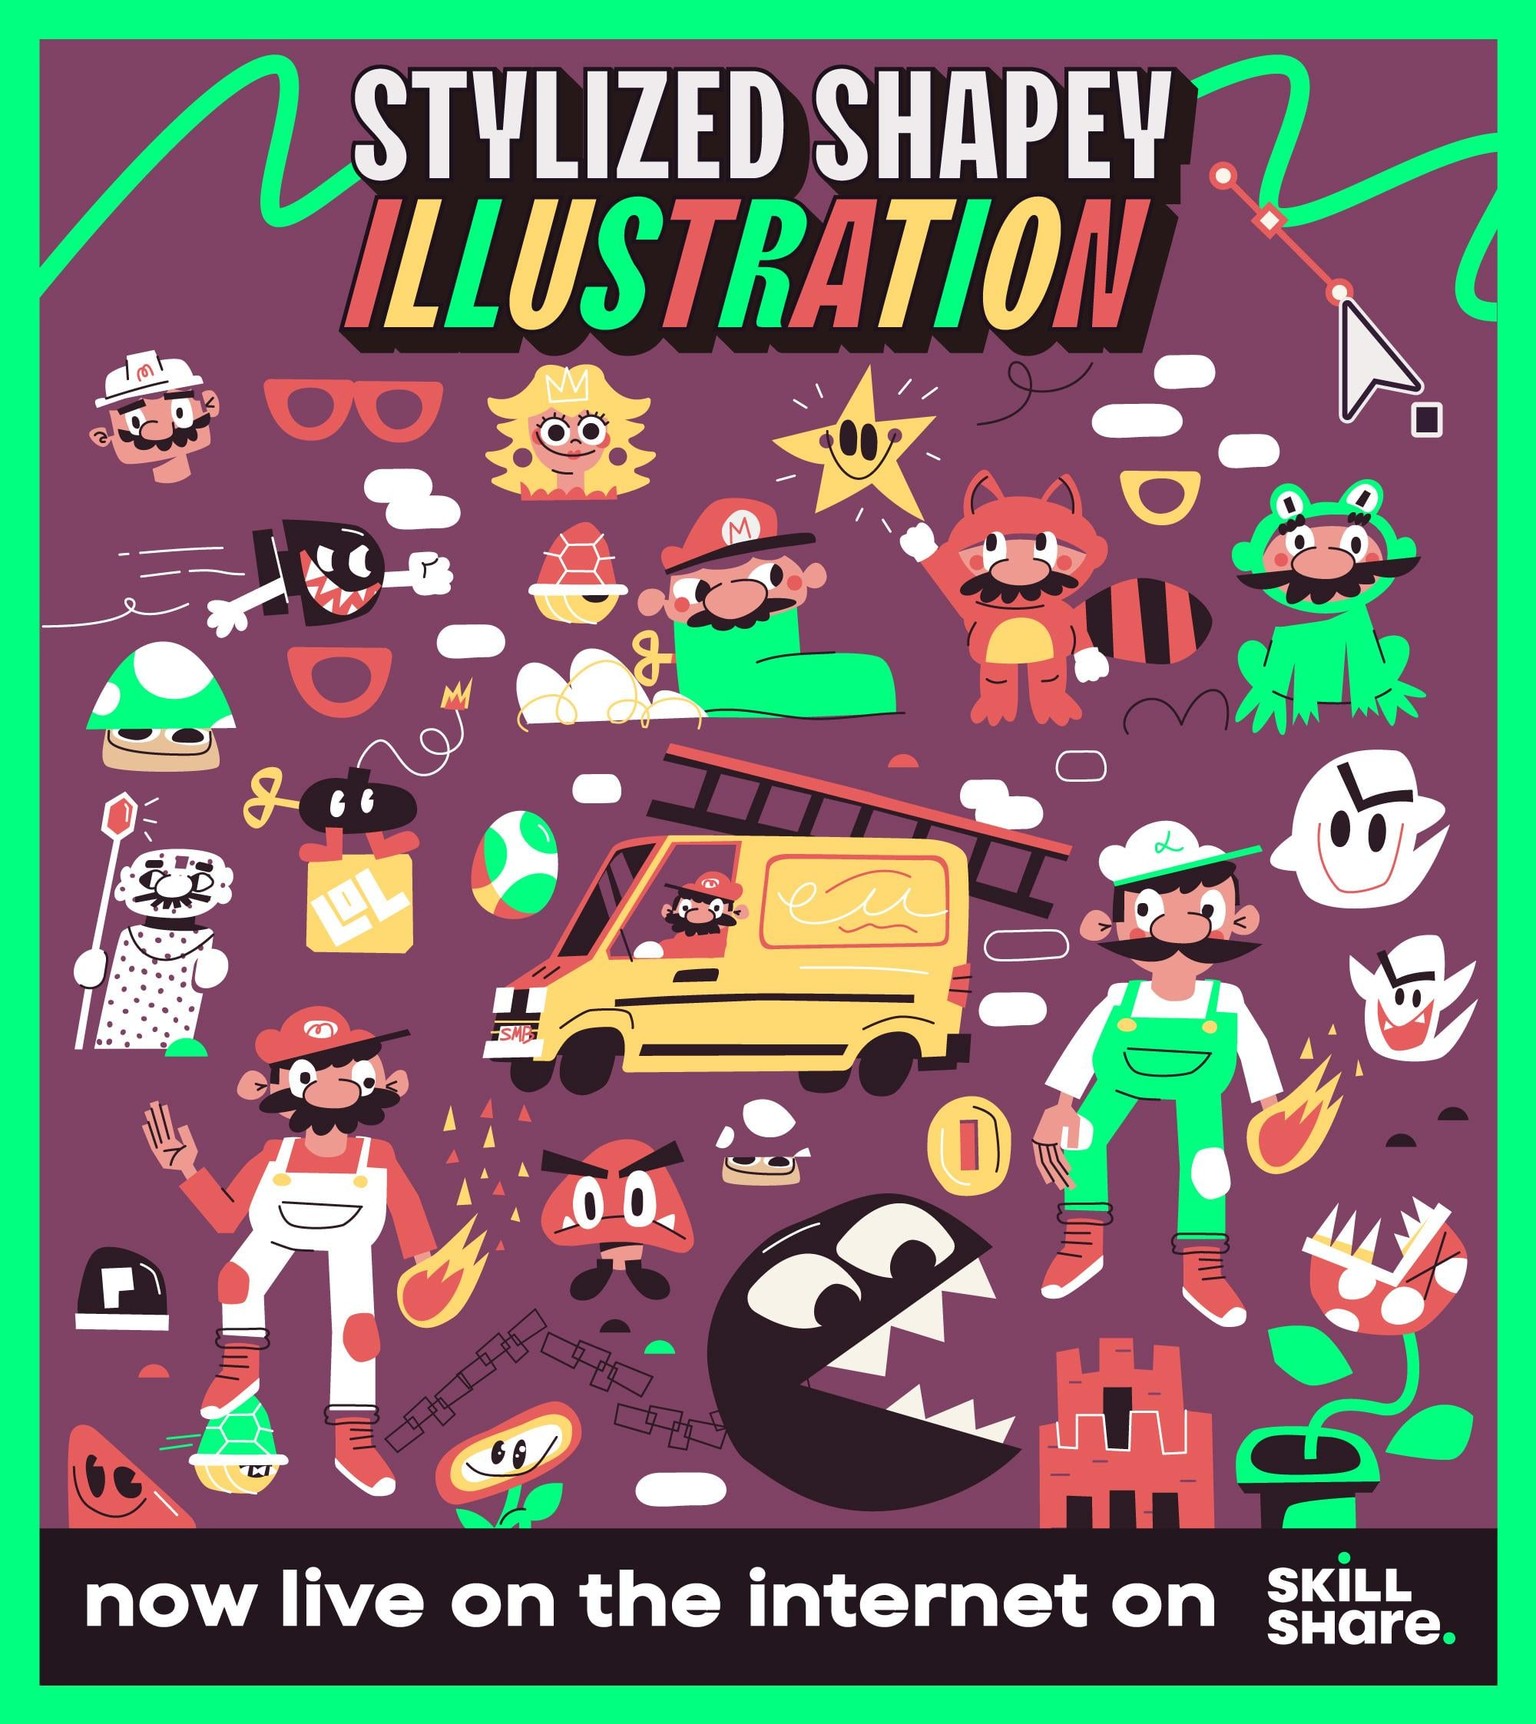
FINAL