My Procreate Dreams Animations: Example Project
Hi everybody!
I'm excited to share my project with you all, and I encourage you to use it as an example for your own creations. As always, I would love to hear your thoughts and see your projects too. Reading my students' thoughts makes me feel like I'm right there with you as you scroll through your project.
In this project, I'll provide examples of how you can customize each of the provided illustrations, along with the final animations.
I have a recommendation for you!
I've uploaded this project from my computer because I found it easier. Also, for all my animations, I've changed all the GIFs from capital letters to lowercase "gif." This way, the animations were uploaded as videos and not as static images!
* * * * * * * * * *
So, let's dive in and get started!
Parts of the project:
1. Butterfly
Here's how I've customized my butterfly using solely Procreate Dream's Draw and Paint drawing and painting tools.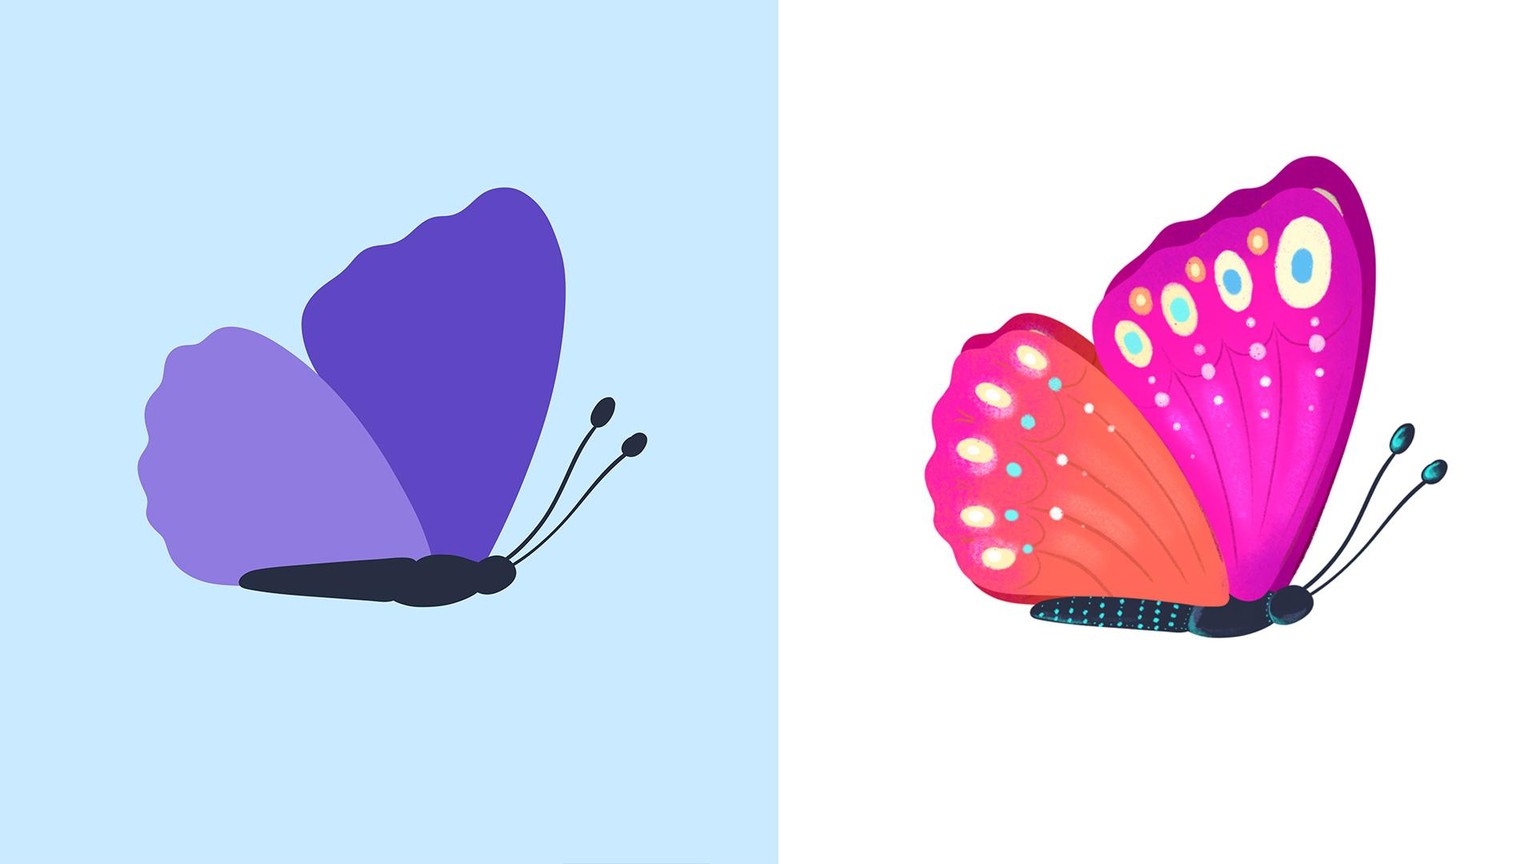
Here's the animated butterfly. I've uploaded this video as a gif (it's important that the word "gif" is in lowercase letters. For some reason, if it appears as "GIF," it doesn't seem to work).
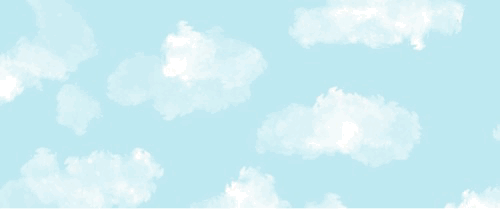
2. Animated Landscape
3. Animated Bird
Here are some ideas on how you can customize your bird to make it yours! 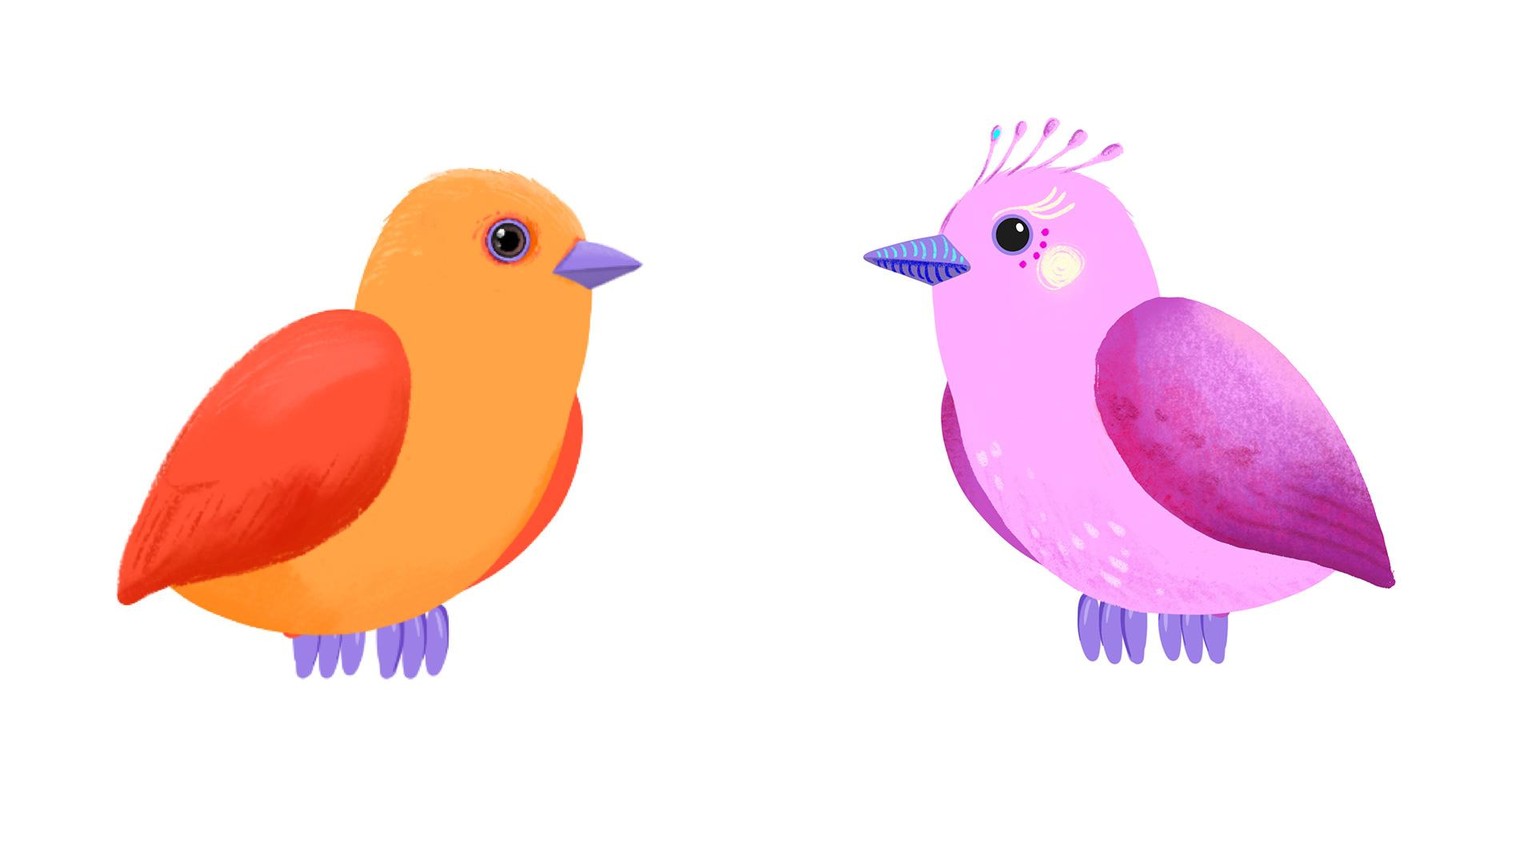

4. Bring it all together!
For your final scene, continue customizing the landscape. You can see that I've added some trees and texture to the mountains and shadows to the tree trunk.
You can even change the stage ratio. In this case, I've gone for 1080x1920.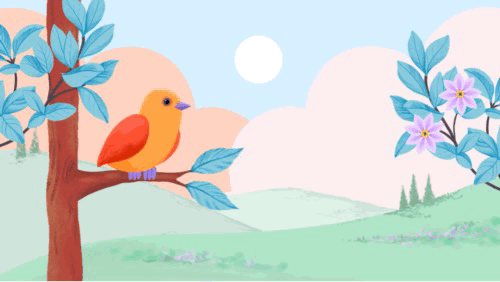
I can't wait to see what you create!!
Silvi