Colour Editing with Character
Colour editing can be quite subtle or very graphic; but for me it is about finding the right balance and keeping things looking realistic, whilst enhancing the scene to set a desired mood or communicate a particular narrative!
With all of the following edits, some changes were made using each of the colour editing tools covered in this class, so I’ll list those tools which made the biggest difference to each image edit.
Leaf
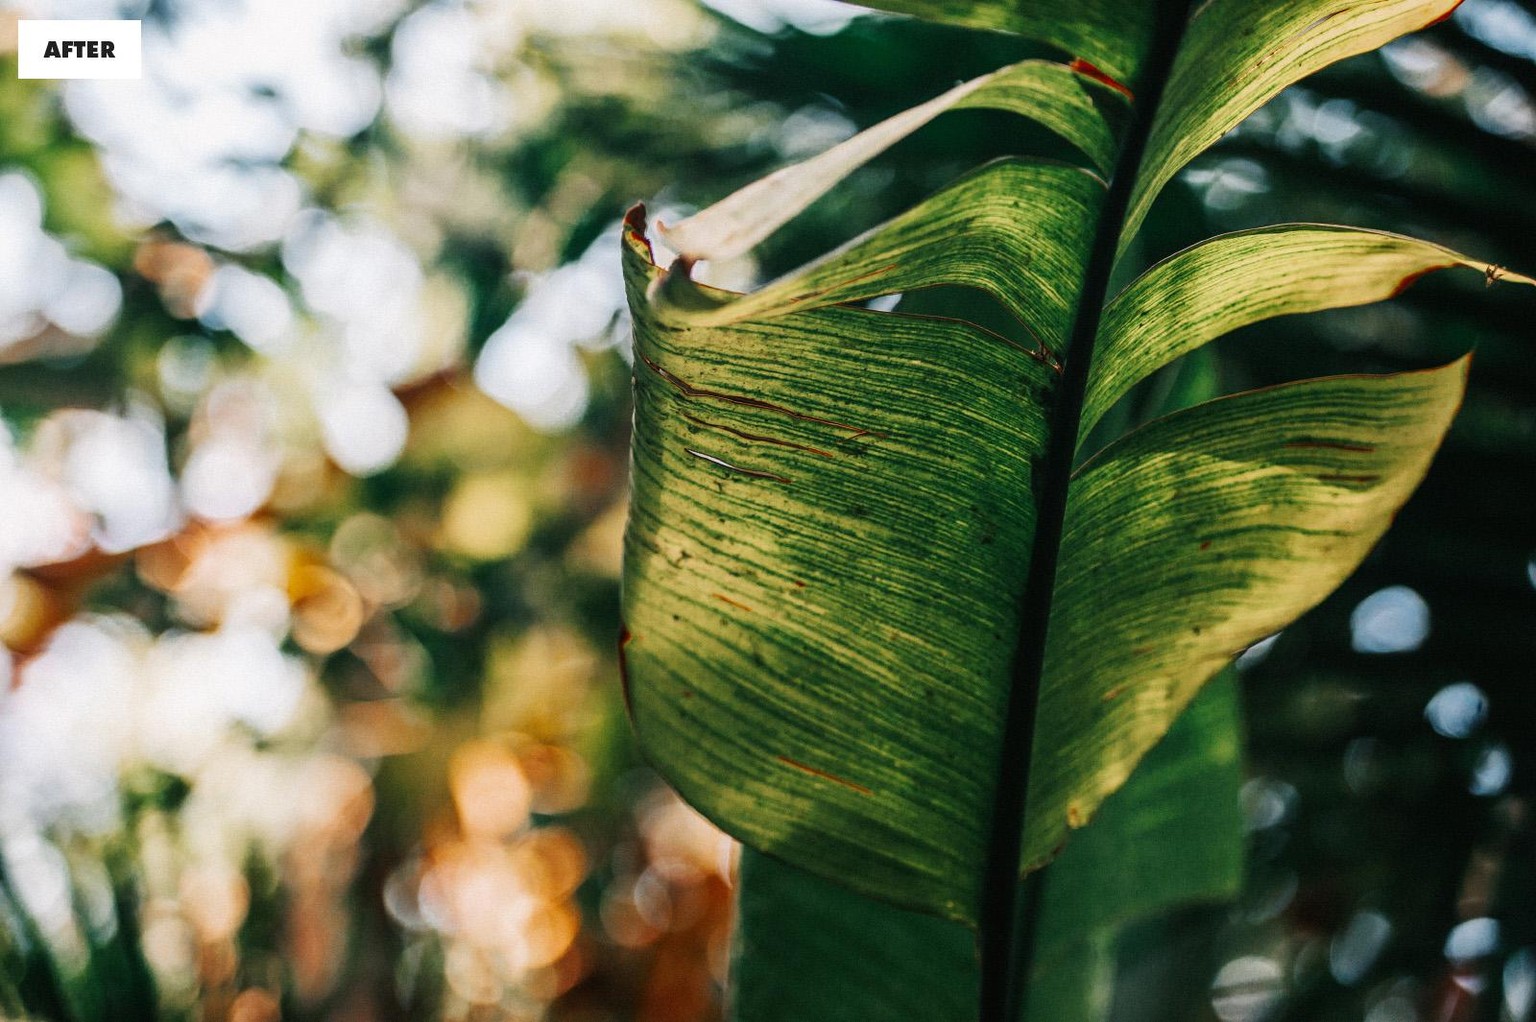
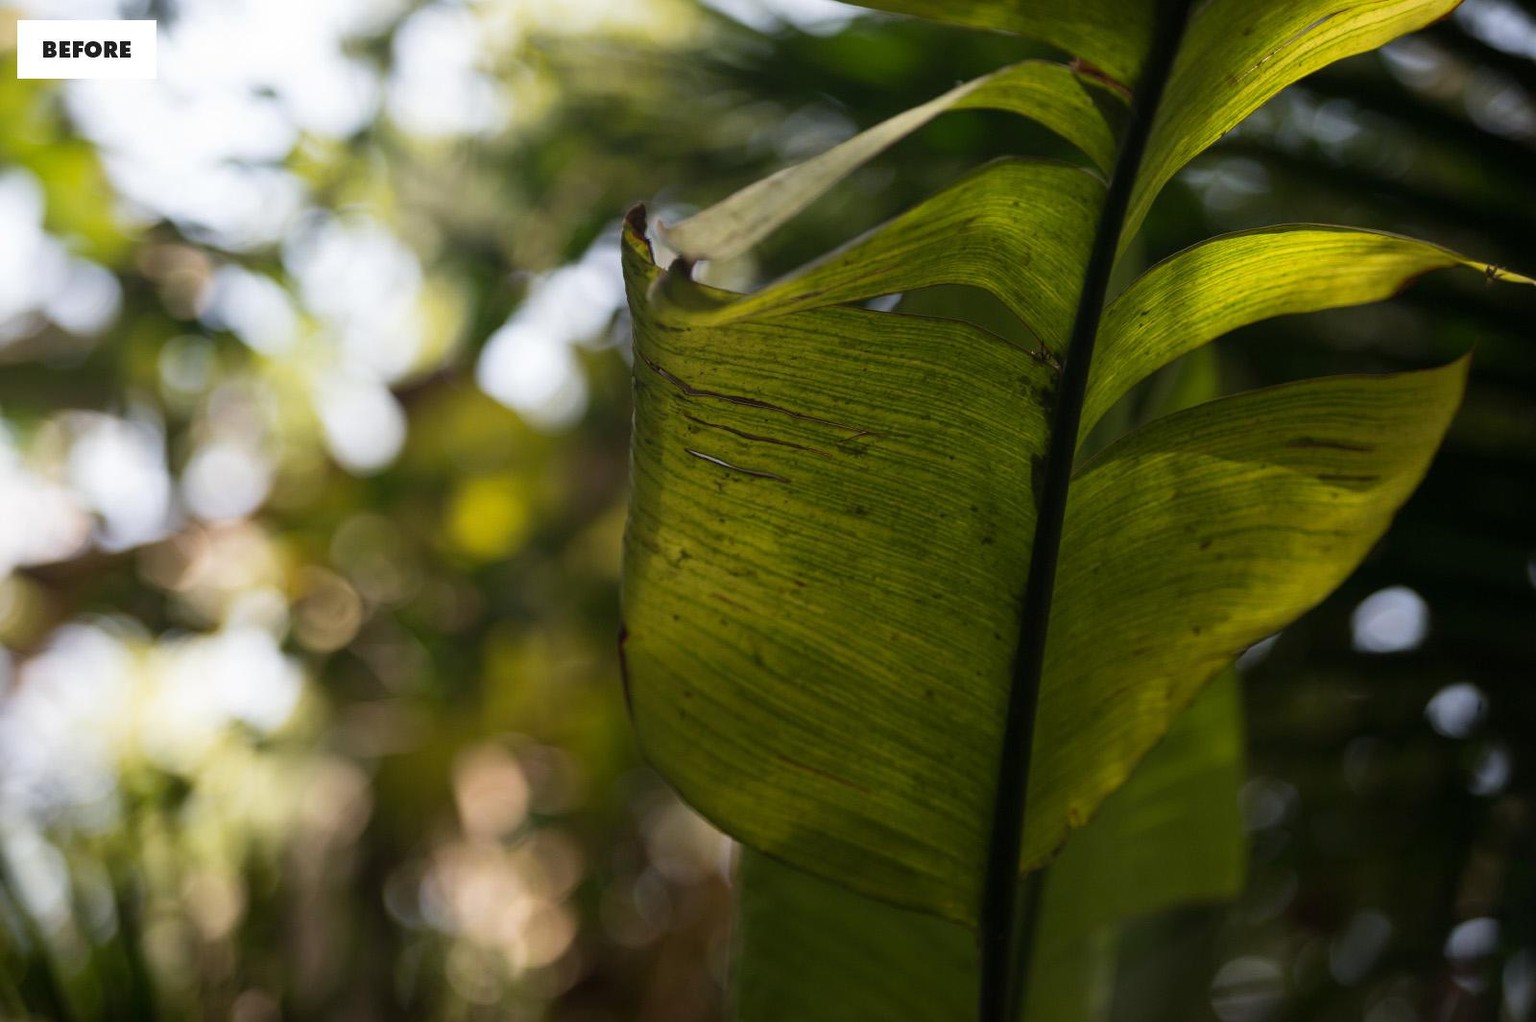
A combination of all types of Curves was used to boost the tonal depth and contrast, Calibration — to increase saturation, and major adjustments done in the HSL panel to deepen the tones.
Stockmann at Night
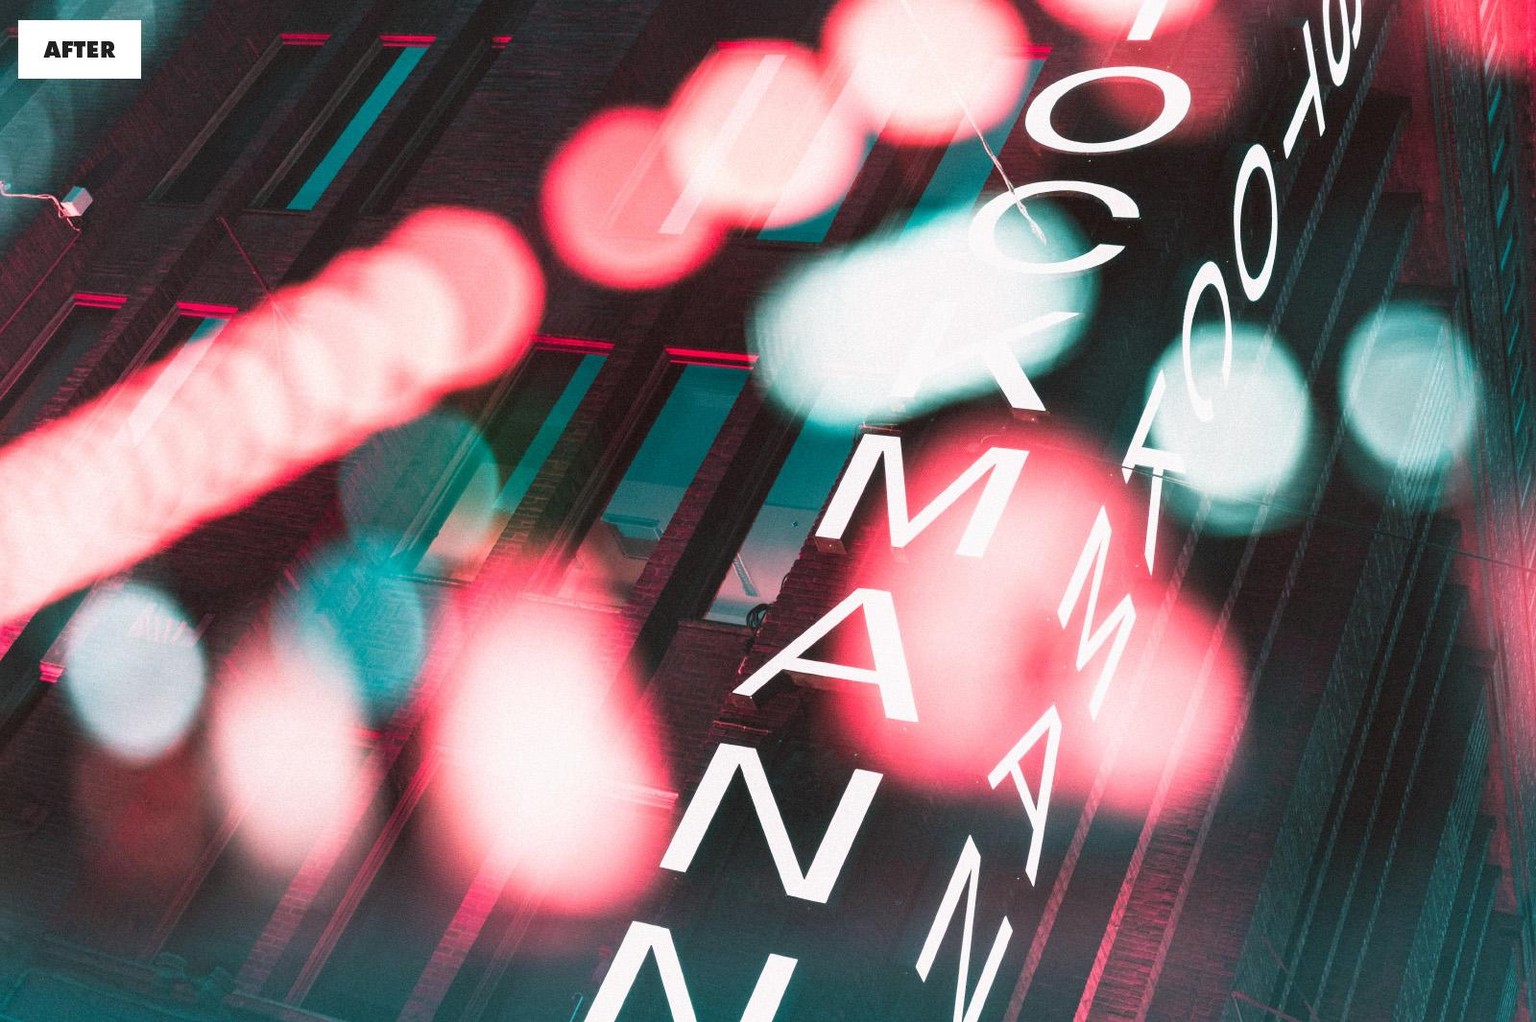
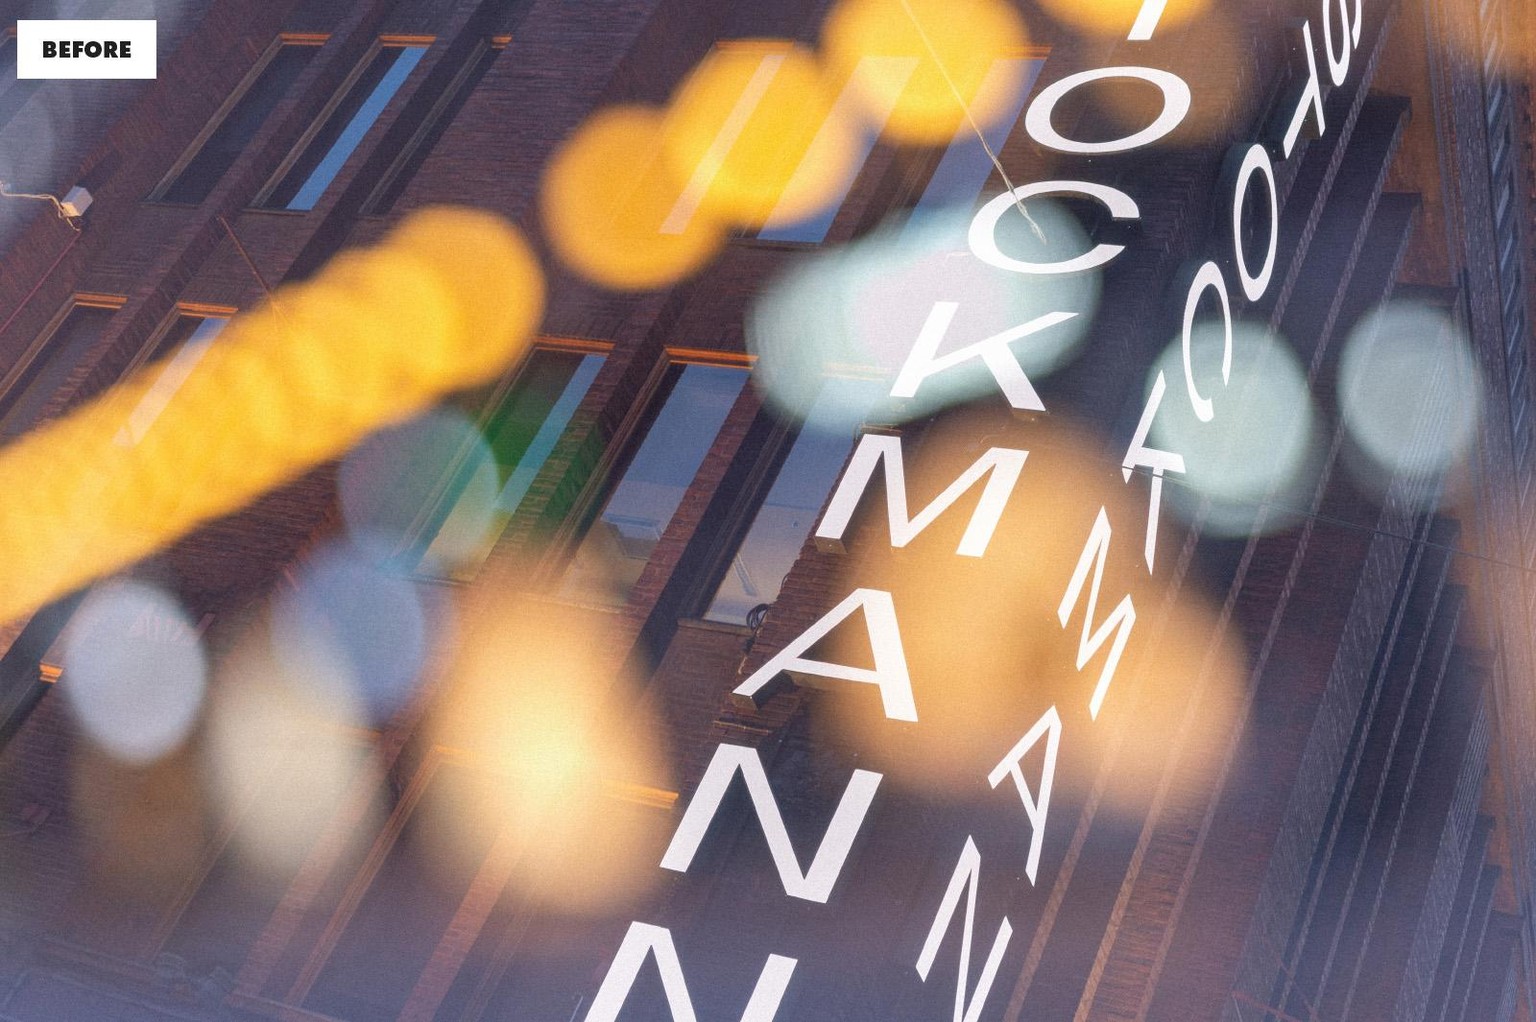
The majority of work here was done using the Point Curve to boost the contrast and fade the image’s shadows and highlights, and some further work was done with Calibration — to shift the hues.
Orford Ness Power House
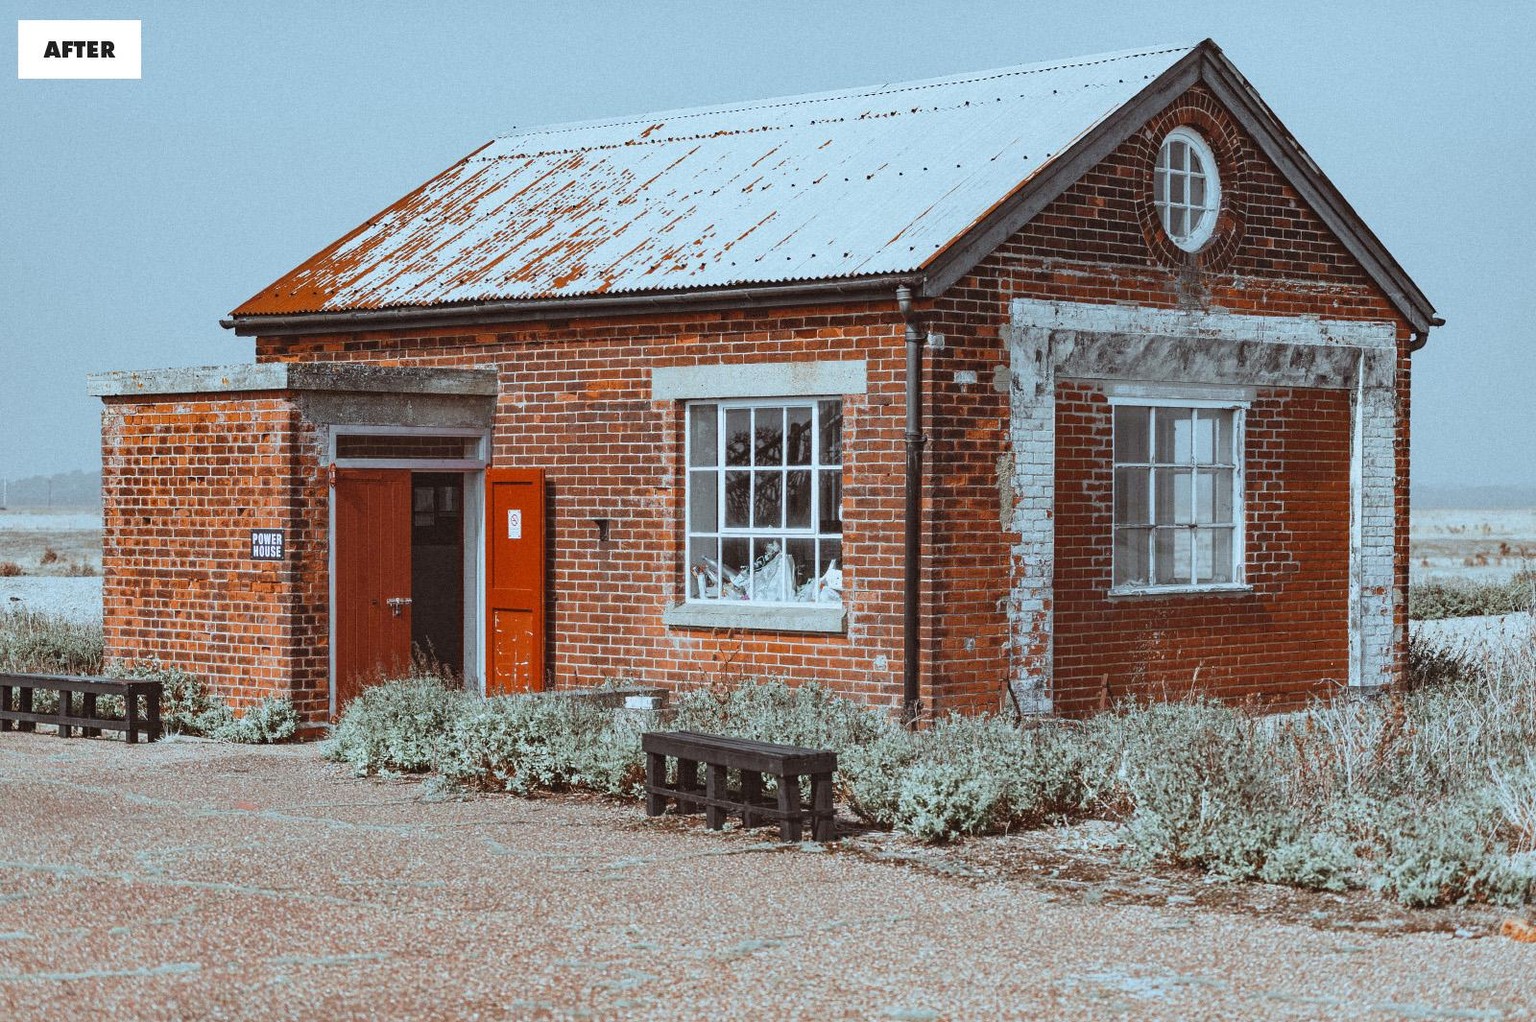
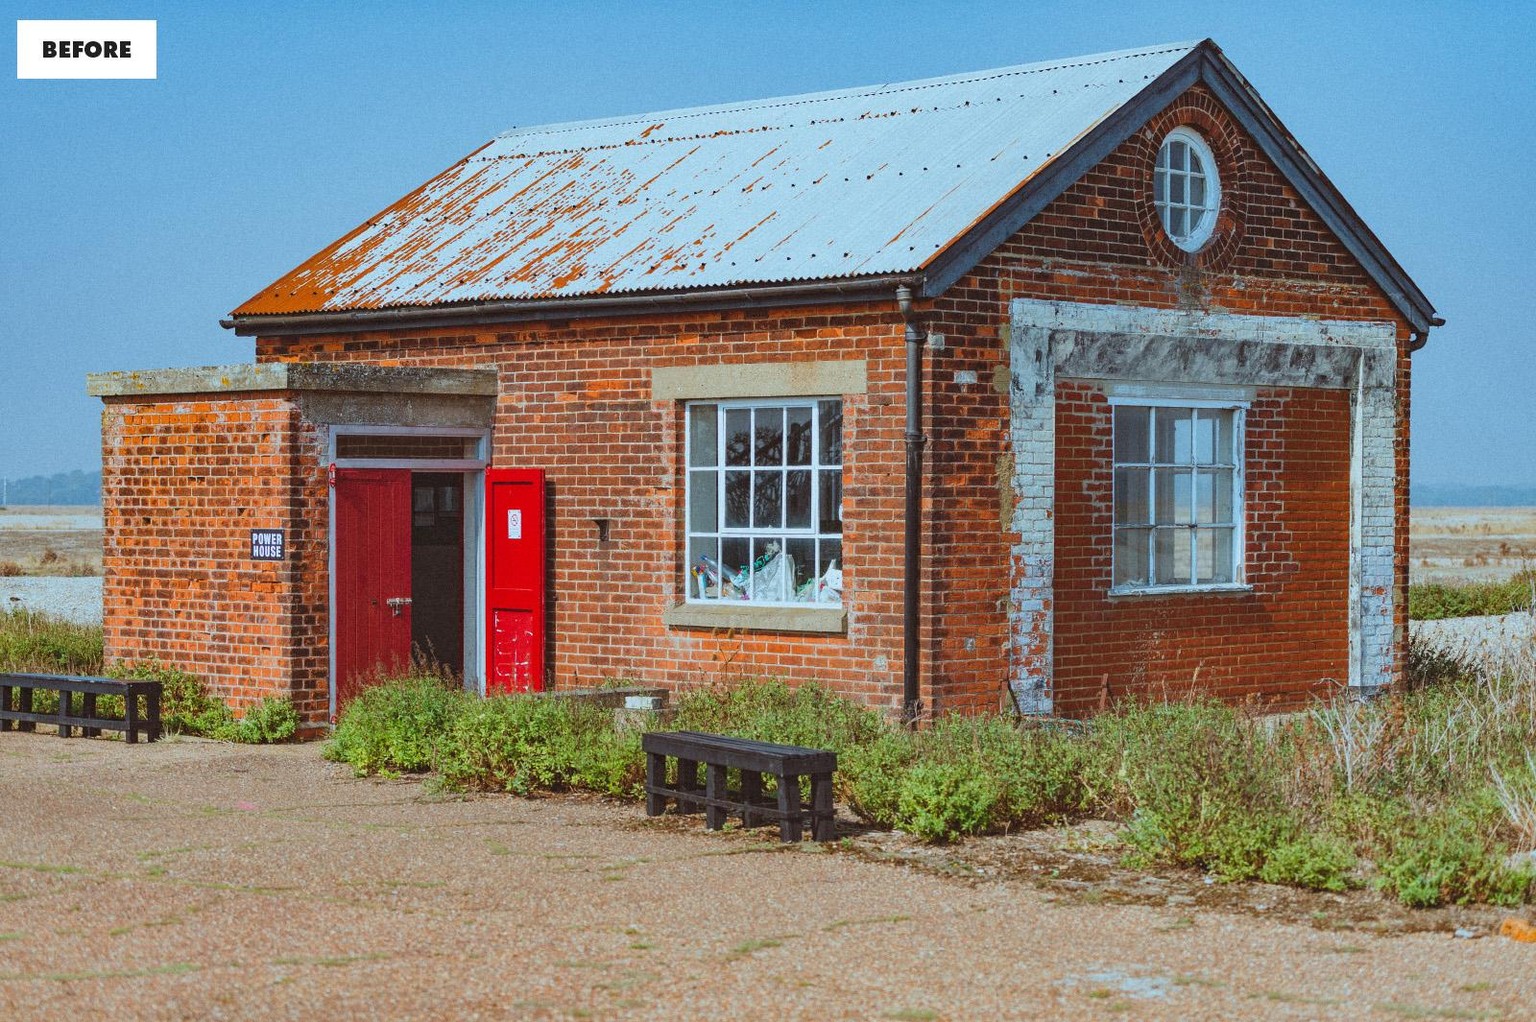
The look was set with the HSL tools, shifting the hues and adjusting saturation and luminance to subdue greens and blues in the scene. The Profile was set to Adobe Color.
Dunwich Heath Beach

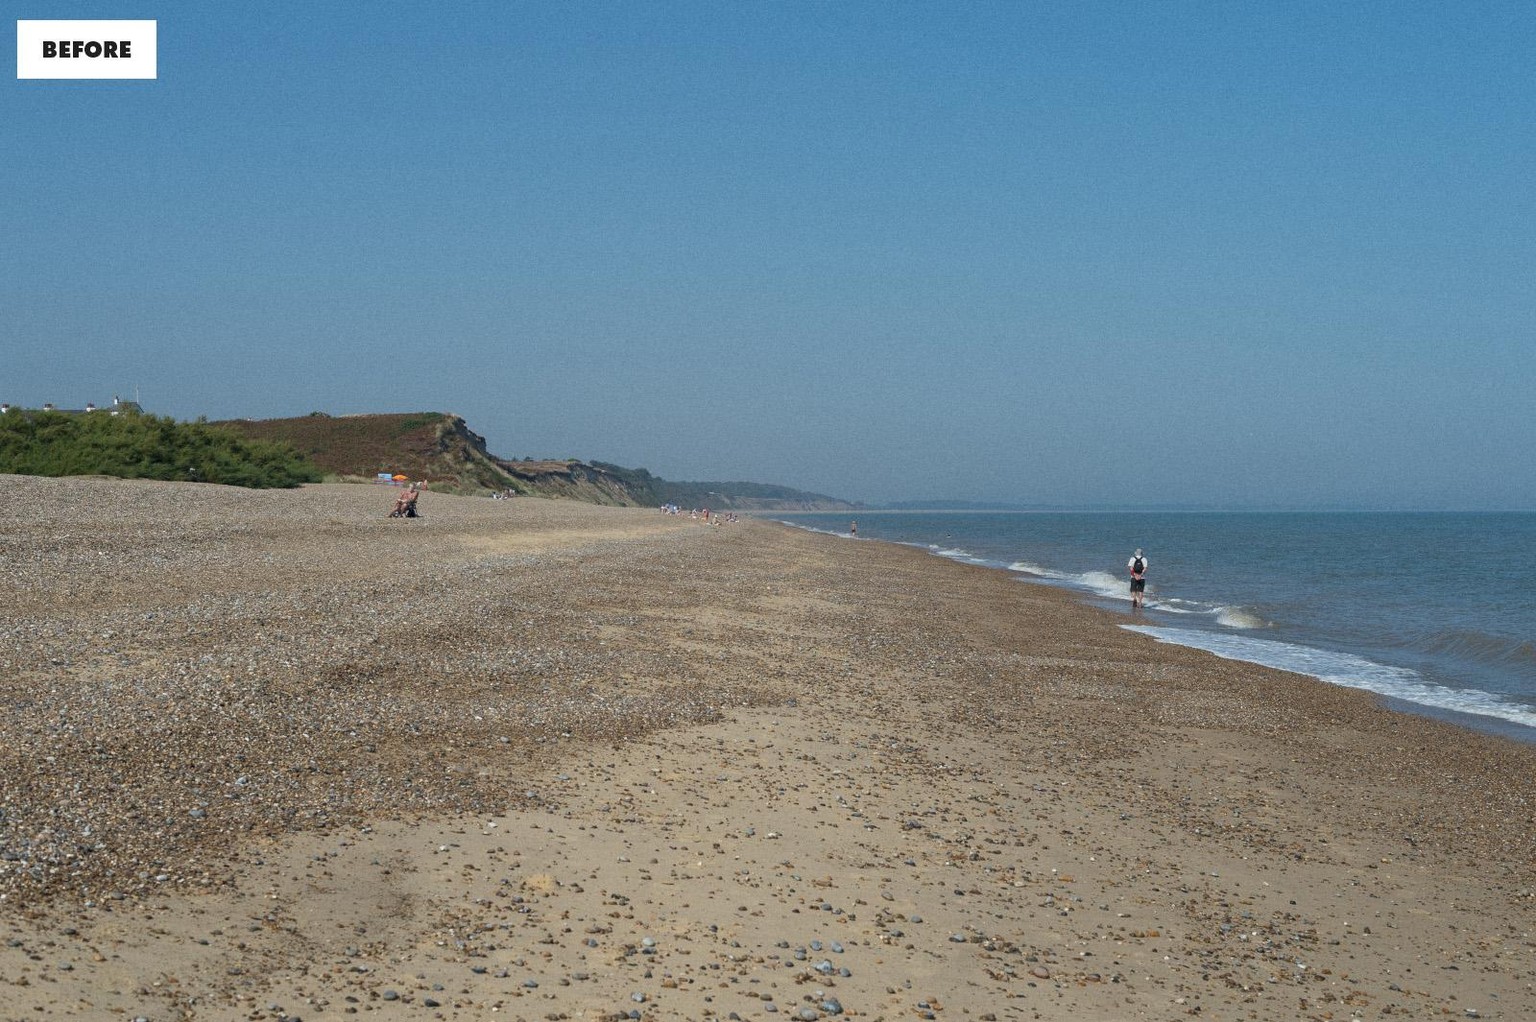
Using exactly the same edit as above, but with the Adobe Landscape profile, and local adjustments made to the saturation of the skin tones of the sunbathing man.
Evgeniya at Gibraltar Point
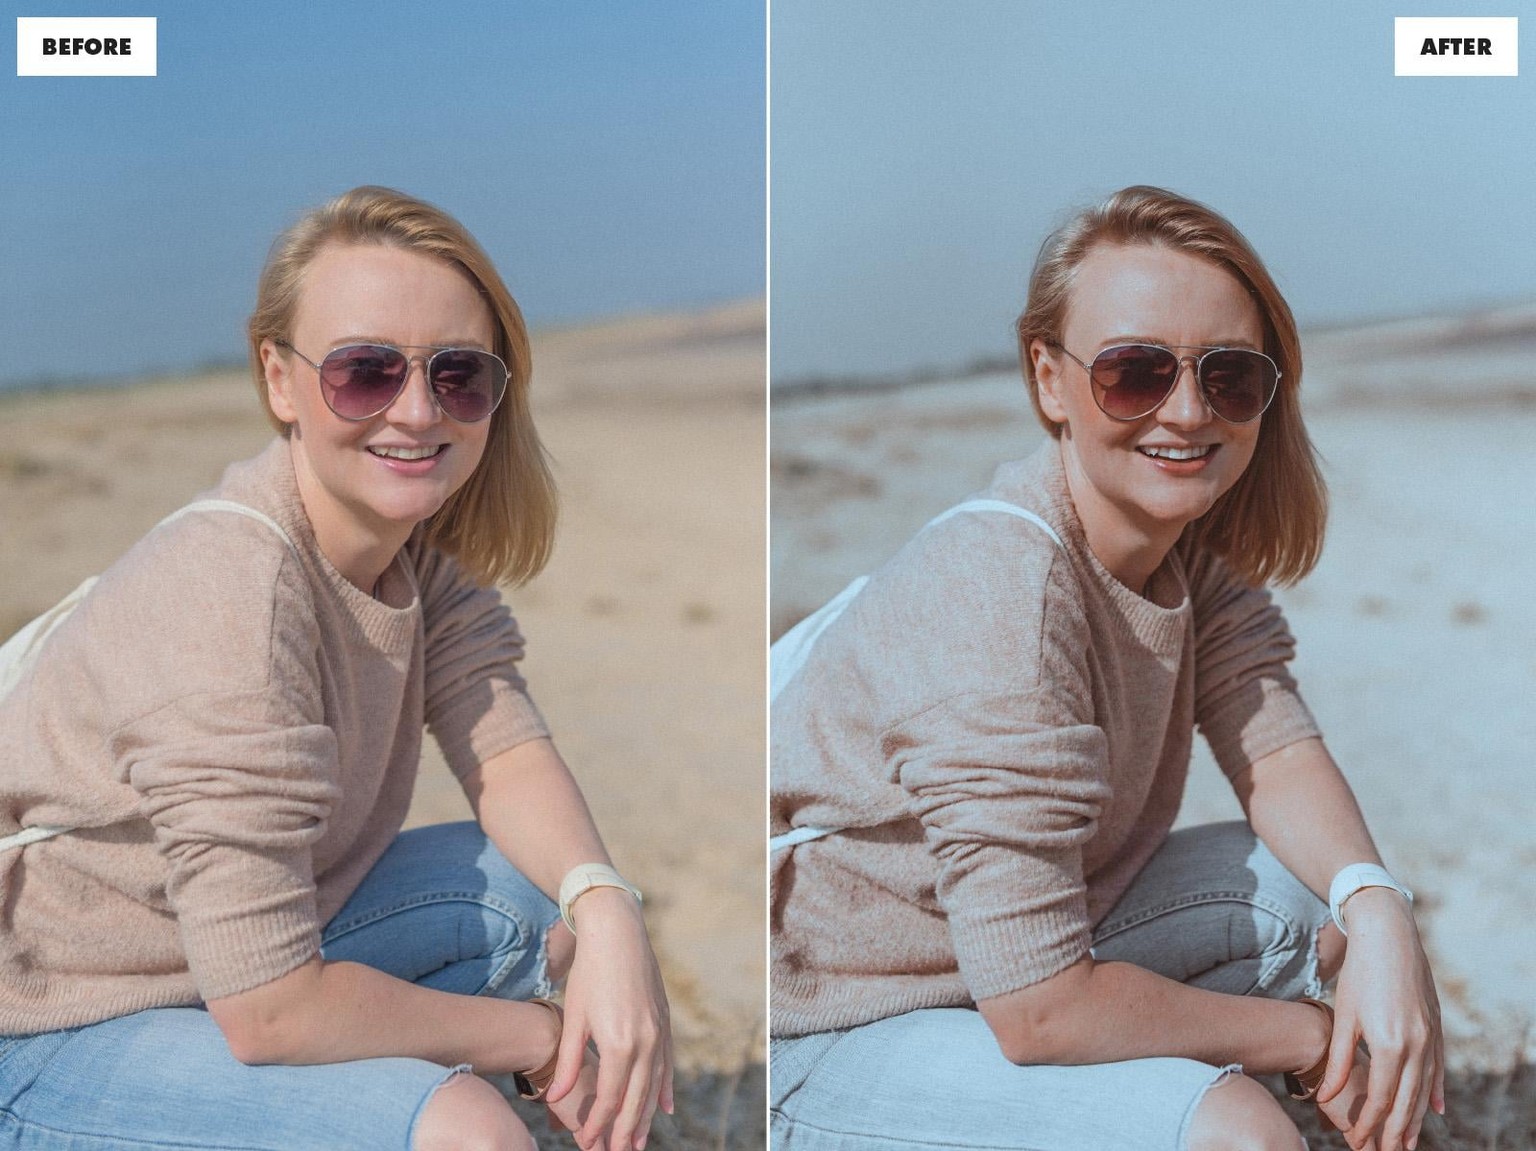
Exactly the same colour treatment as above, but with the profile set to Adobe Portrait.
Deer
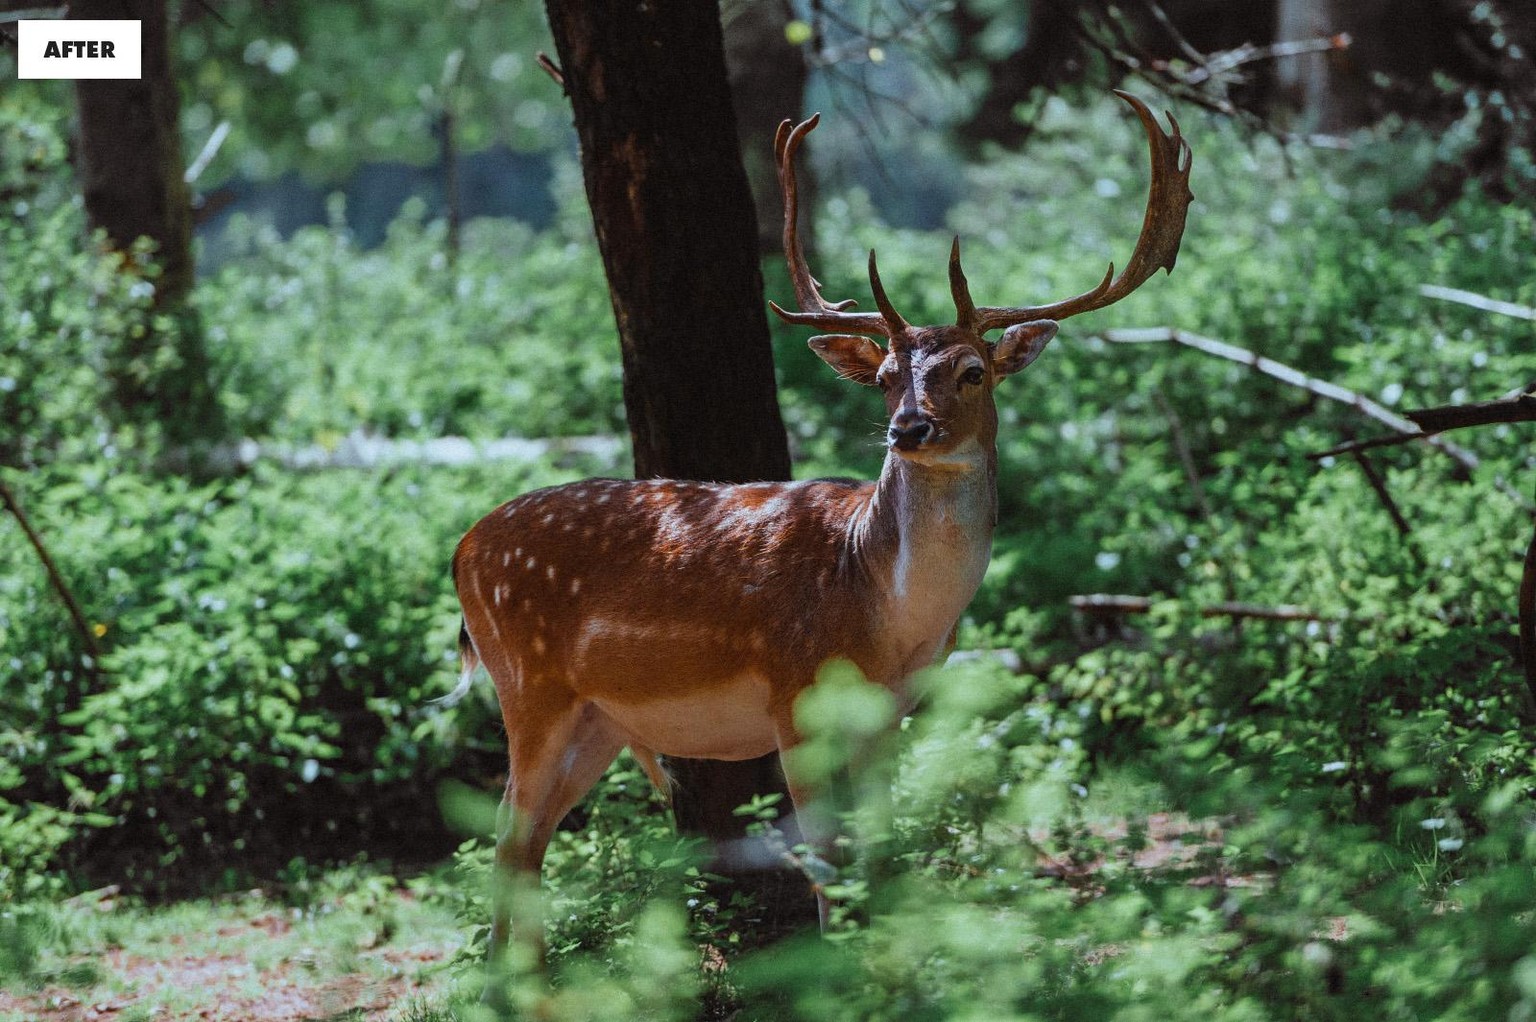
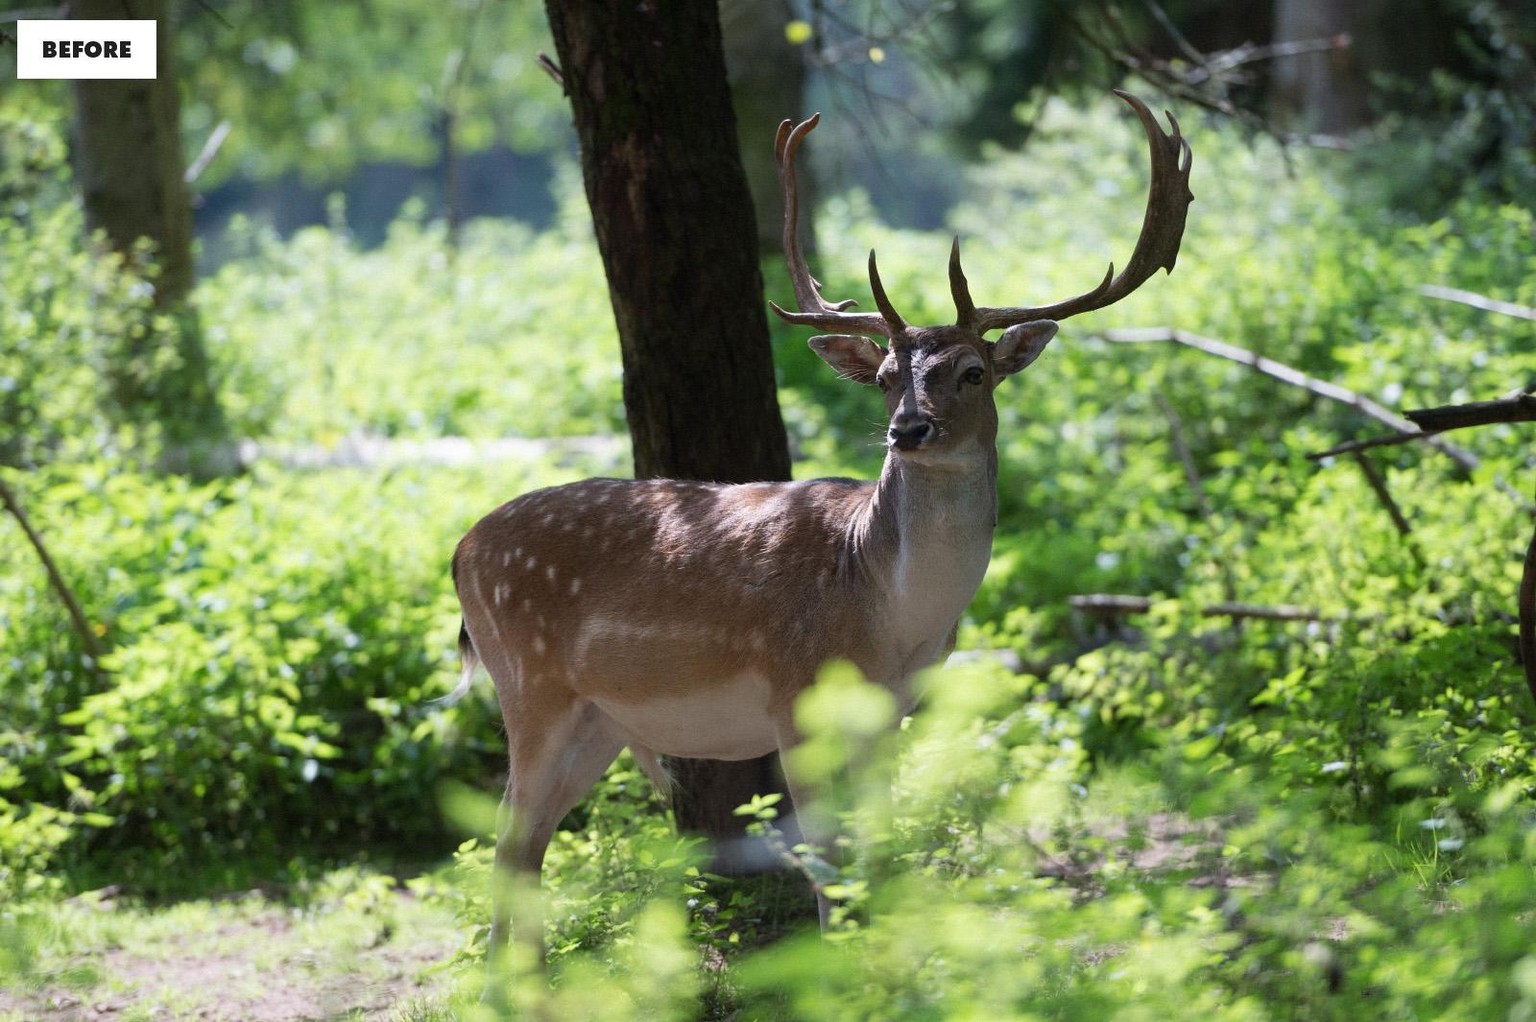
With quite a bit of work done in the HSL panel, the look comes together because of the Calibration and Colour Grading adjustments done to get all of the tones and colours just right.
Echinacea
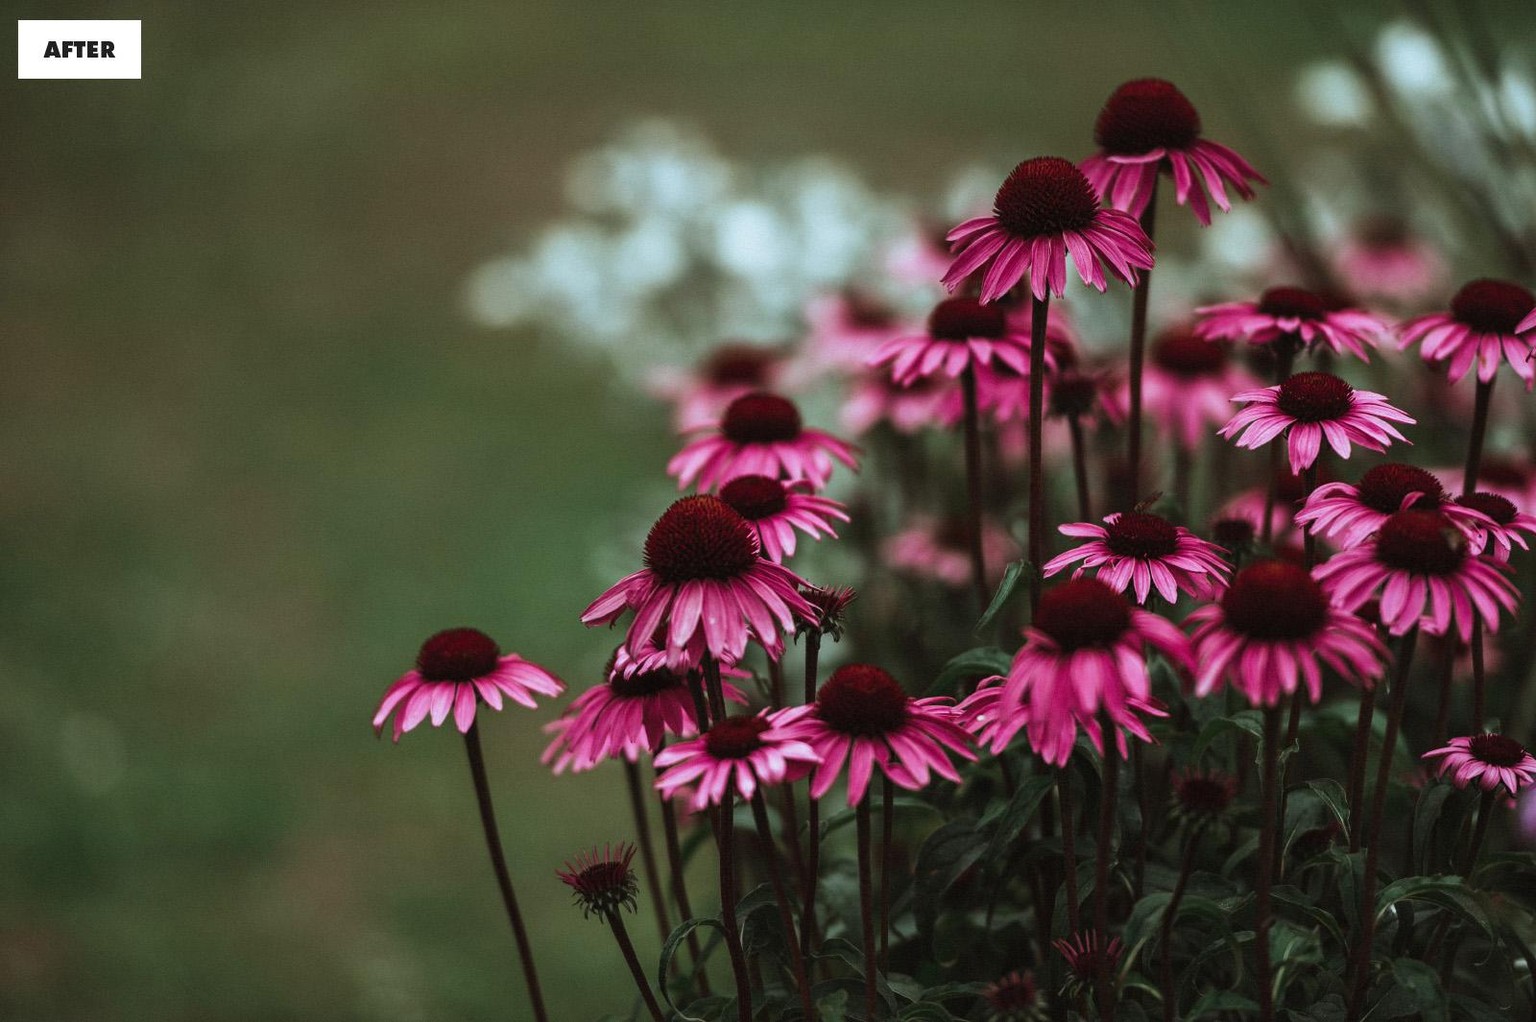
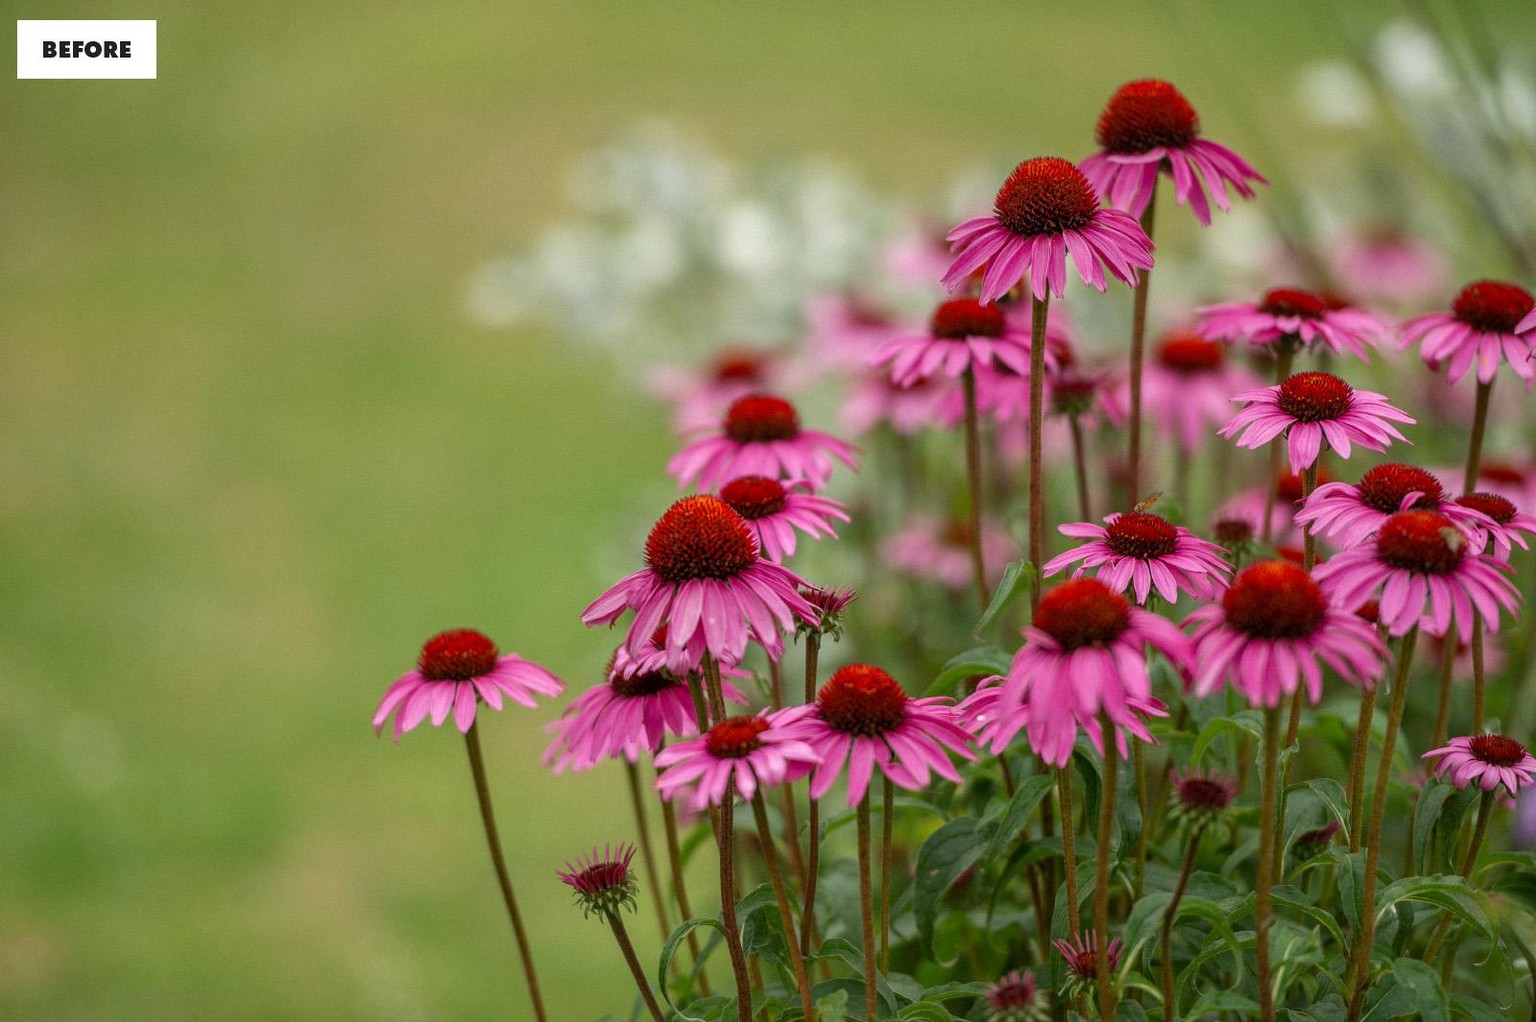
This look was created by boosting the tones and contrast, using a combination of Curves, increasing the saturation with the Calibration adjustments and making major adjustments in the HSL panel to deepen and balance all of the colours.
Thanks for watching!
—Dominic