“Garita” Digital Art Step by Step
Hi! Here you can see my "Garita" digital art step by step.
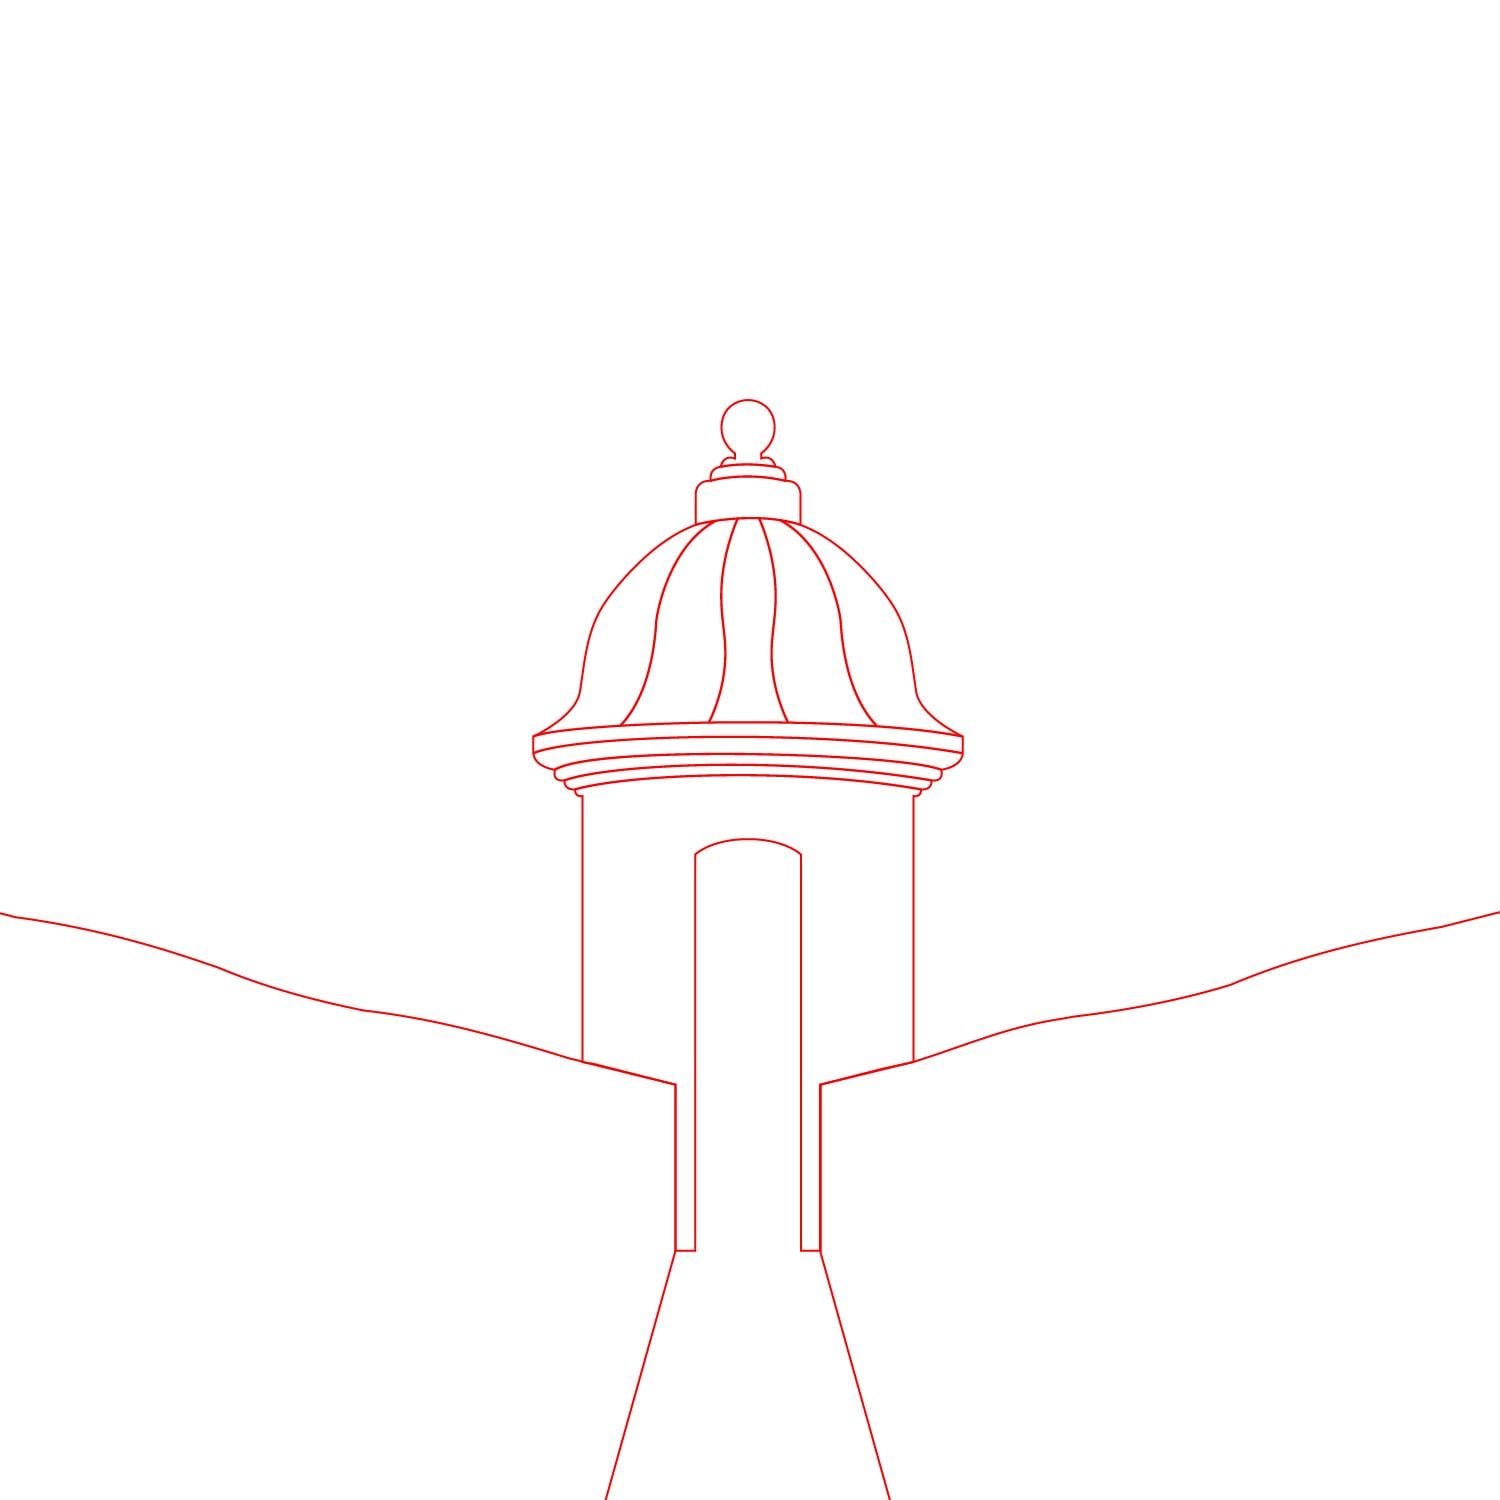
1. Use the Pen Tool to trace the main shape. This is a great tool that gives me complete control over every line, corner and, curve.
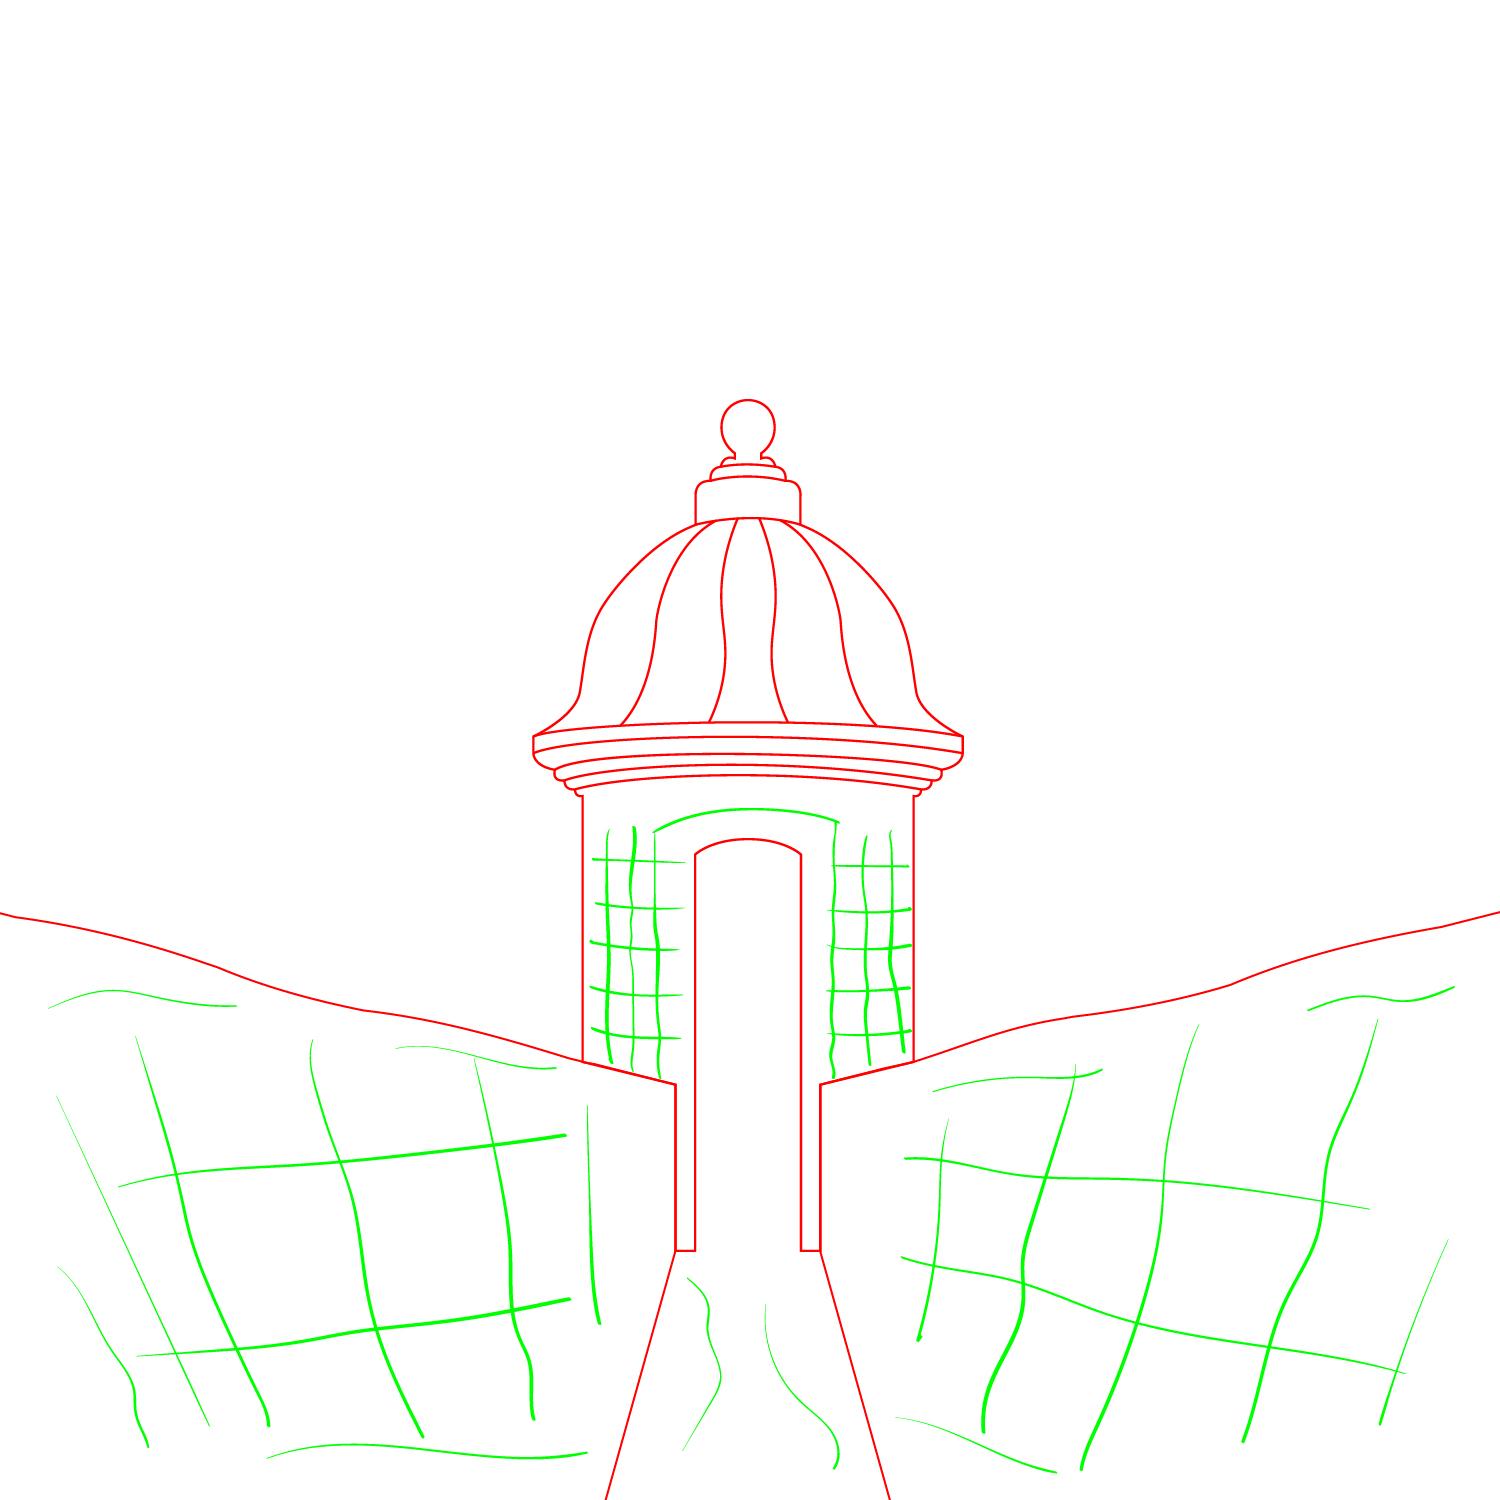
2. Use the brushes to add the accents. The Pencil, Paintbrush, and Blob Brush tools offer something for every need and preference. They are a great tool to create a hand styled strokes.
3. Color your digital art. Choose color from you original photo and bring your illustration to life! Use gradients to create smooth clouds.
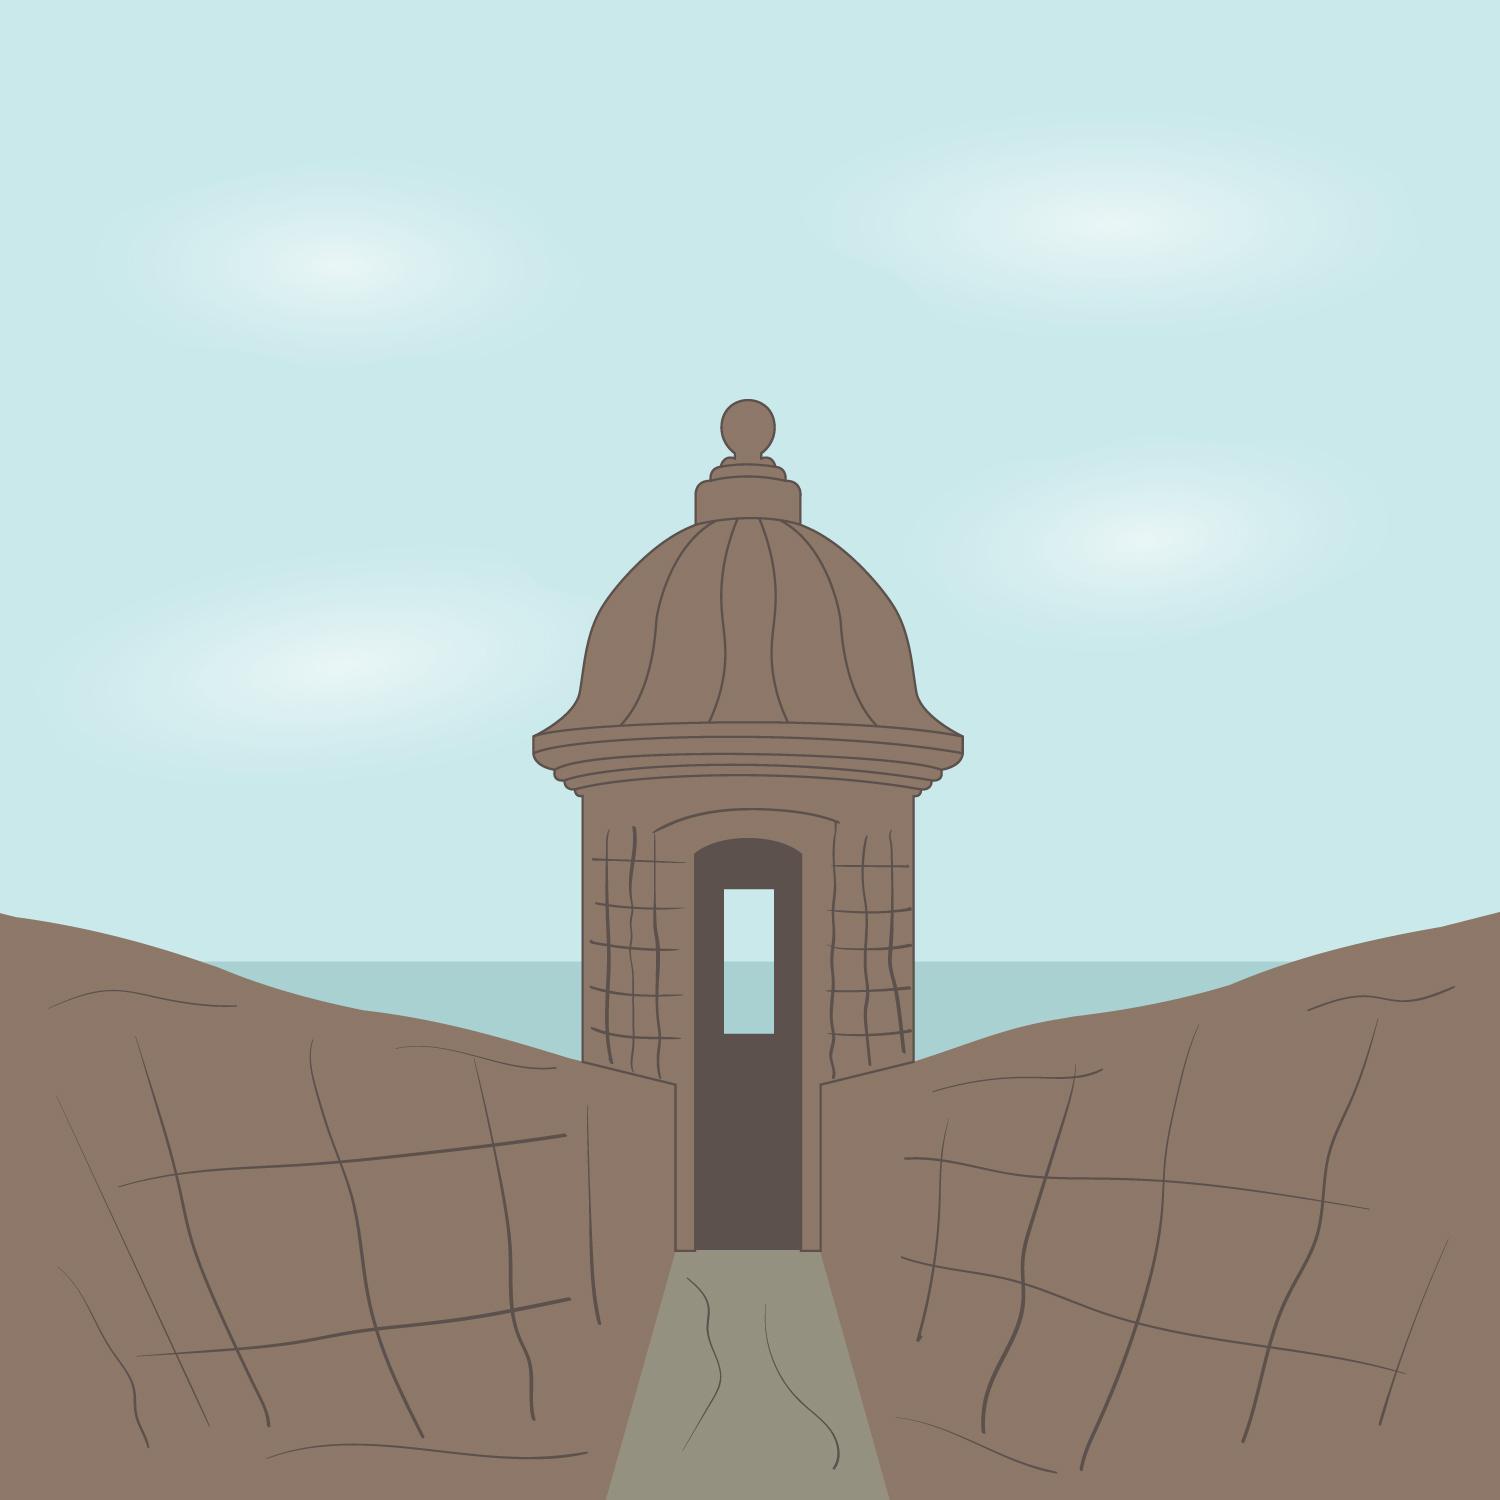
4. Use the image trace panel to add texture to the digital art. The image trace transforms any photo into vector. My favorite way to use it is to create textures our of sidewalks, walls, or even trees.
