obs studio stream
-
Download and Install OBS Studio:
- You can download OBS Studio from the official website 1. It’s available for Windows, macOS, and Linux.
- Once installed, run OBS Studio.
-
Configure OBS Studio:
- When you first launch OBS Studio, it will prompt you to run the auto-configuration wizard. This wizard helps optimize your settings based on your streaming platform, resolution, frame rate, bitrate, and encoder settings.
- Follow the wizard’s instructions to set up your streaming preferences.
-
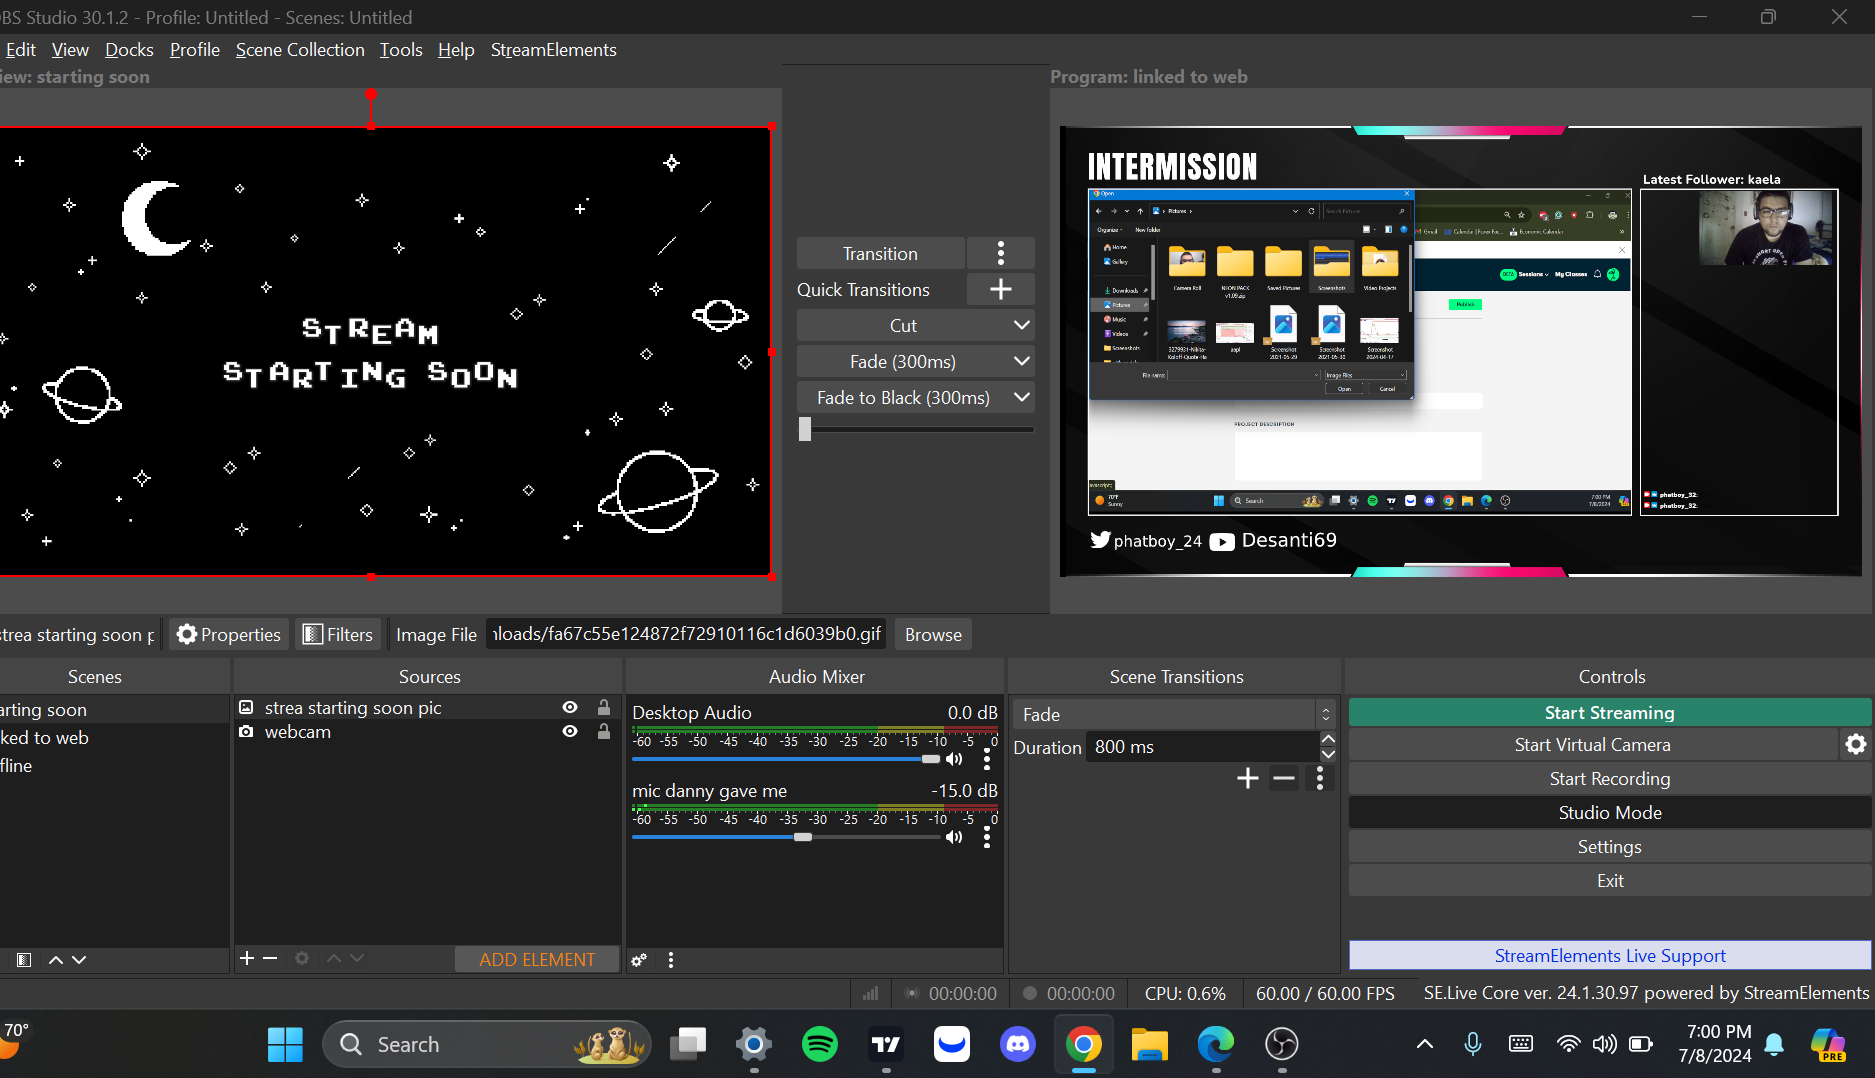
Set Up Scenes and Sources:
- OBS Studio uses scenes, which are collections of sources (such as video captures, images, text, and webcams).
- Add sources to your scene by clicking the “+” button in the “Sources” section. You can add:
- Display Capture: Capture your entire screen or a specific window.
- Video Capture Device: Add your webcam.
- Audio Input/Output Capture: Capture audio from your microphone or other devices.
- Text: Add text overlays.
- Browser Source: Display web content (e.g., alerts, overlays).
- Arrange these sources within your scene as needed.
-
Audio Settings:
- Set up your audio devices in the “Audio Mixer” section.
- Adjust volume levels for your microphone and desktop sound.
-
Test and Troubleshoot:
- Perform test recordings to check audio and video quality.
- Troubleshoot any issues, such as black screens or frame drops.
-
Go Live!:
- Once everything is set up, start your stream or recording.
- OBS Studio supports various streaming platforms, including Twitch, YouTube, and more.