Tulip Pendant
As promised, here is a quick guide to how I made the tulip pendant I showed you in the videos.
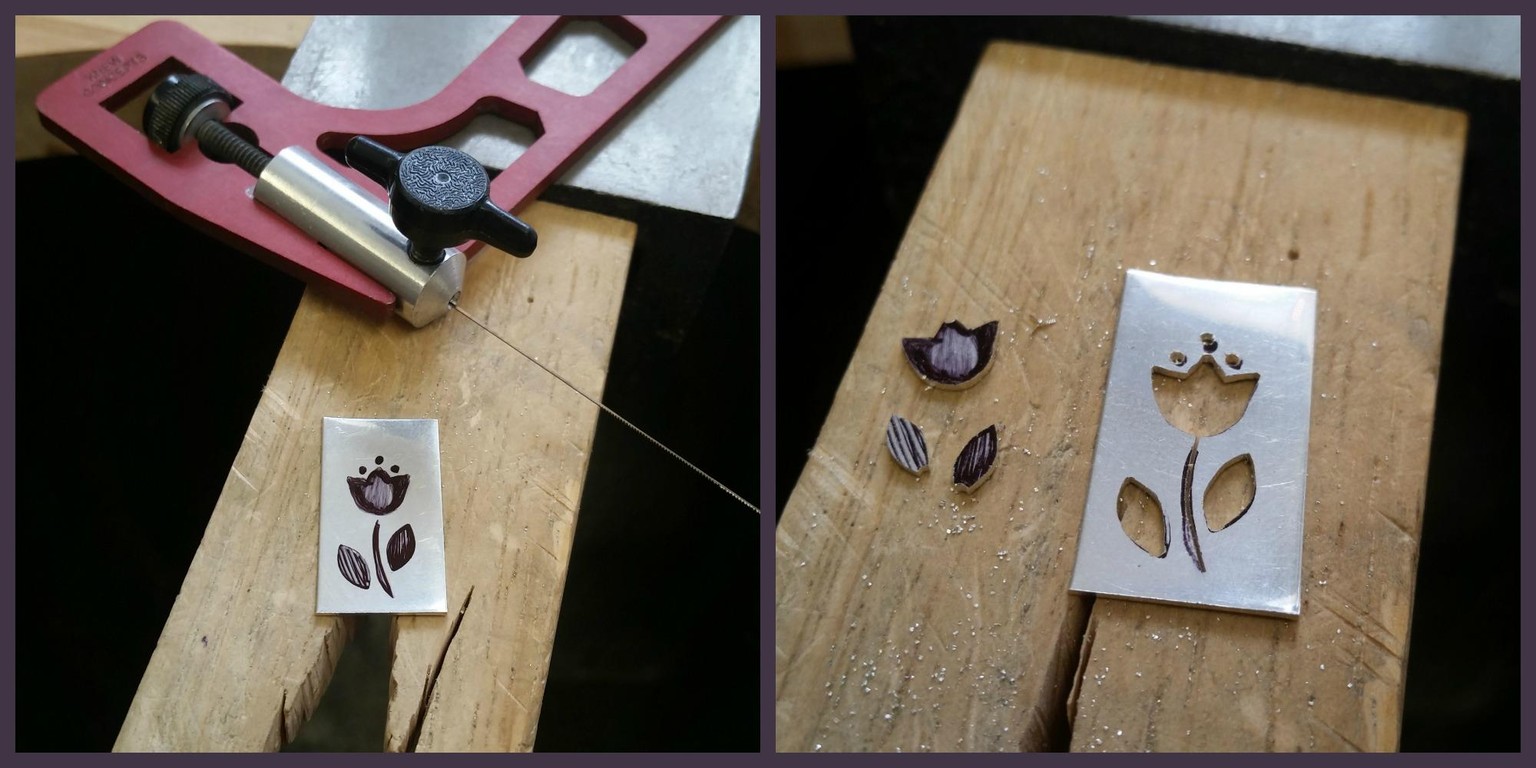
The tulip design is made of three simple shapes, one line and three extra drilled holes. A simple sawn line and drilled holes are very effective ways of adding more detail to your design. I drew the design onto the silver with a sharpie, drilled a hole inside each shape and carefully cut each shape out with my jeweller's saw.
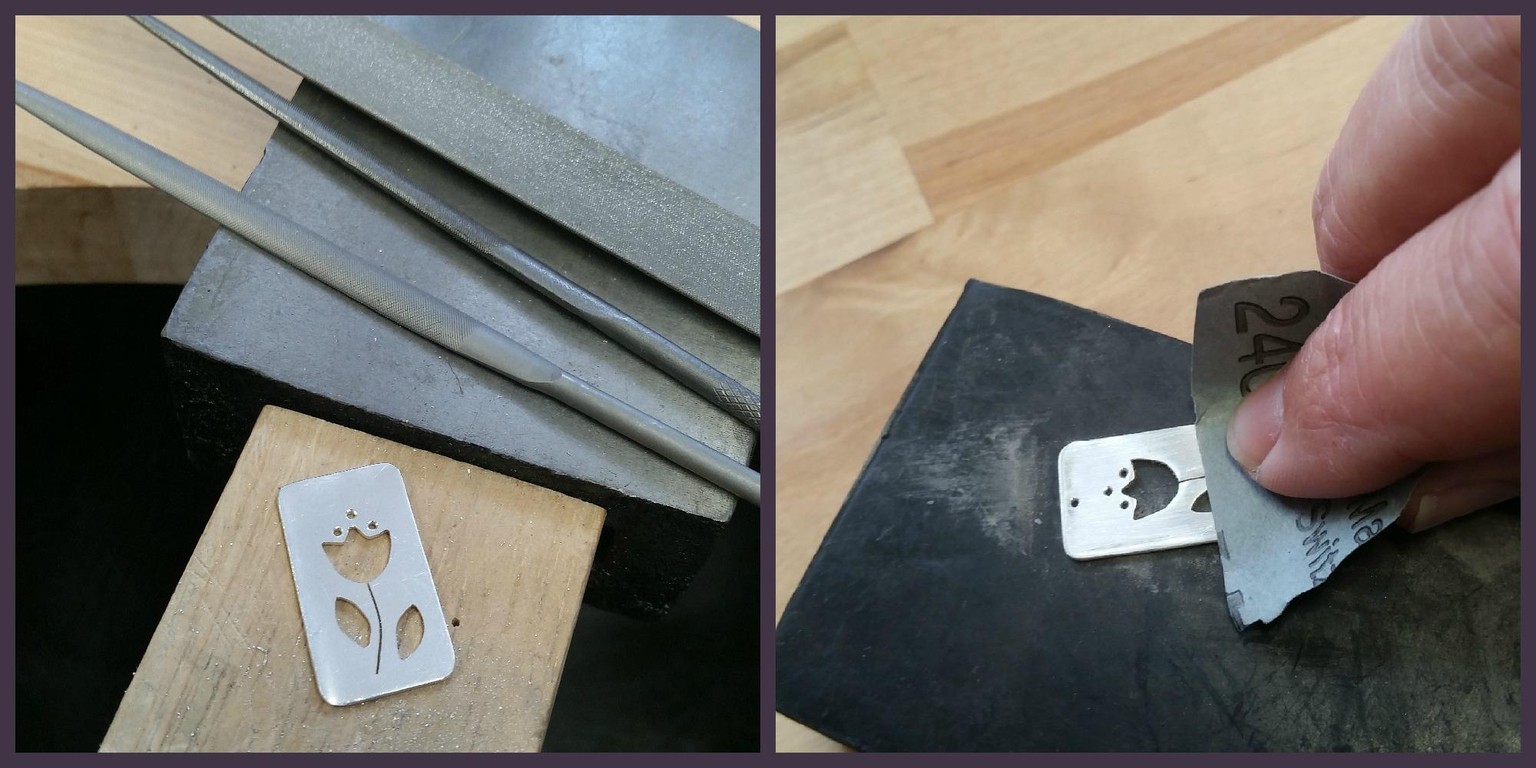
A bit of tidying with files and emery paper, and also filing to round off the corners of the rectangle to make it more comfortable to wear.
The finished pendant, polished and ready to hang on a chain!
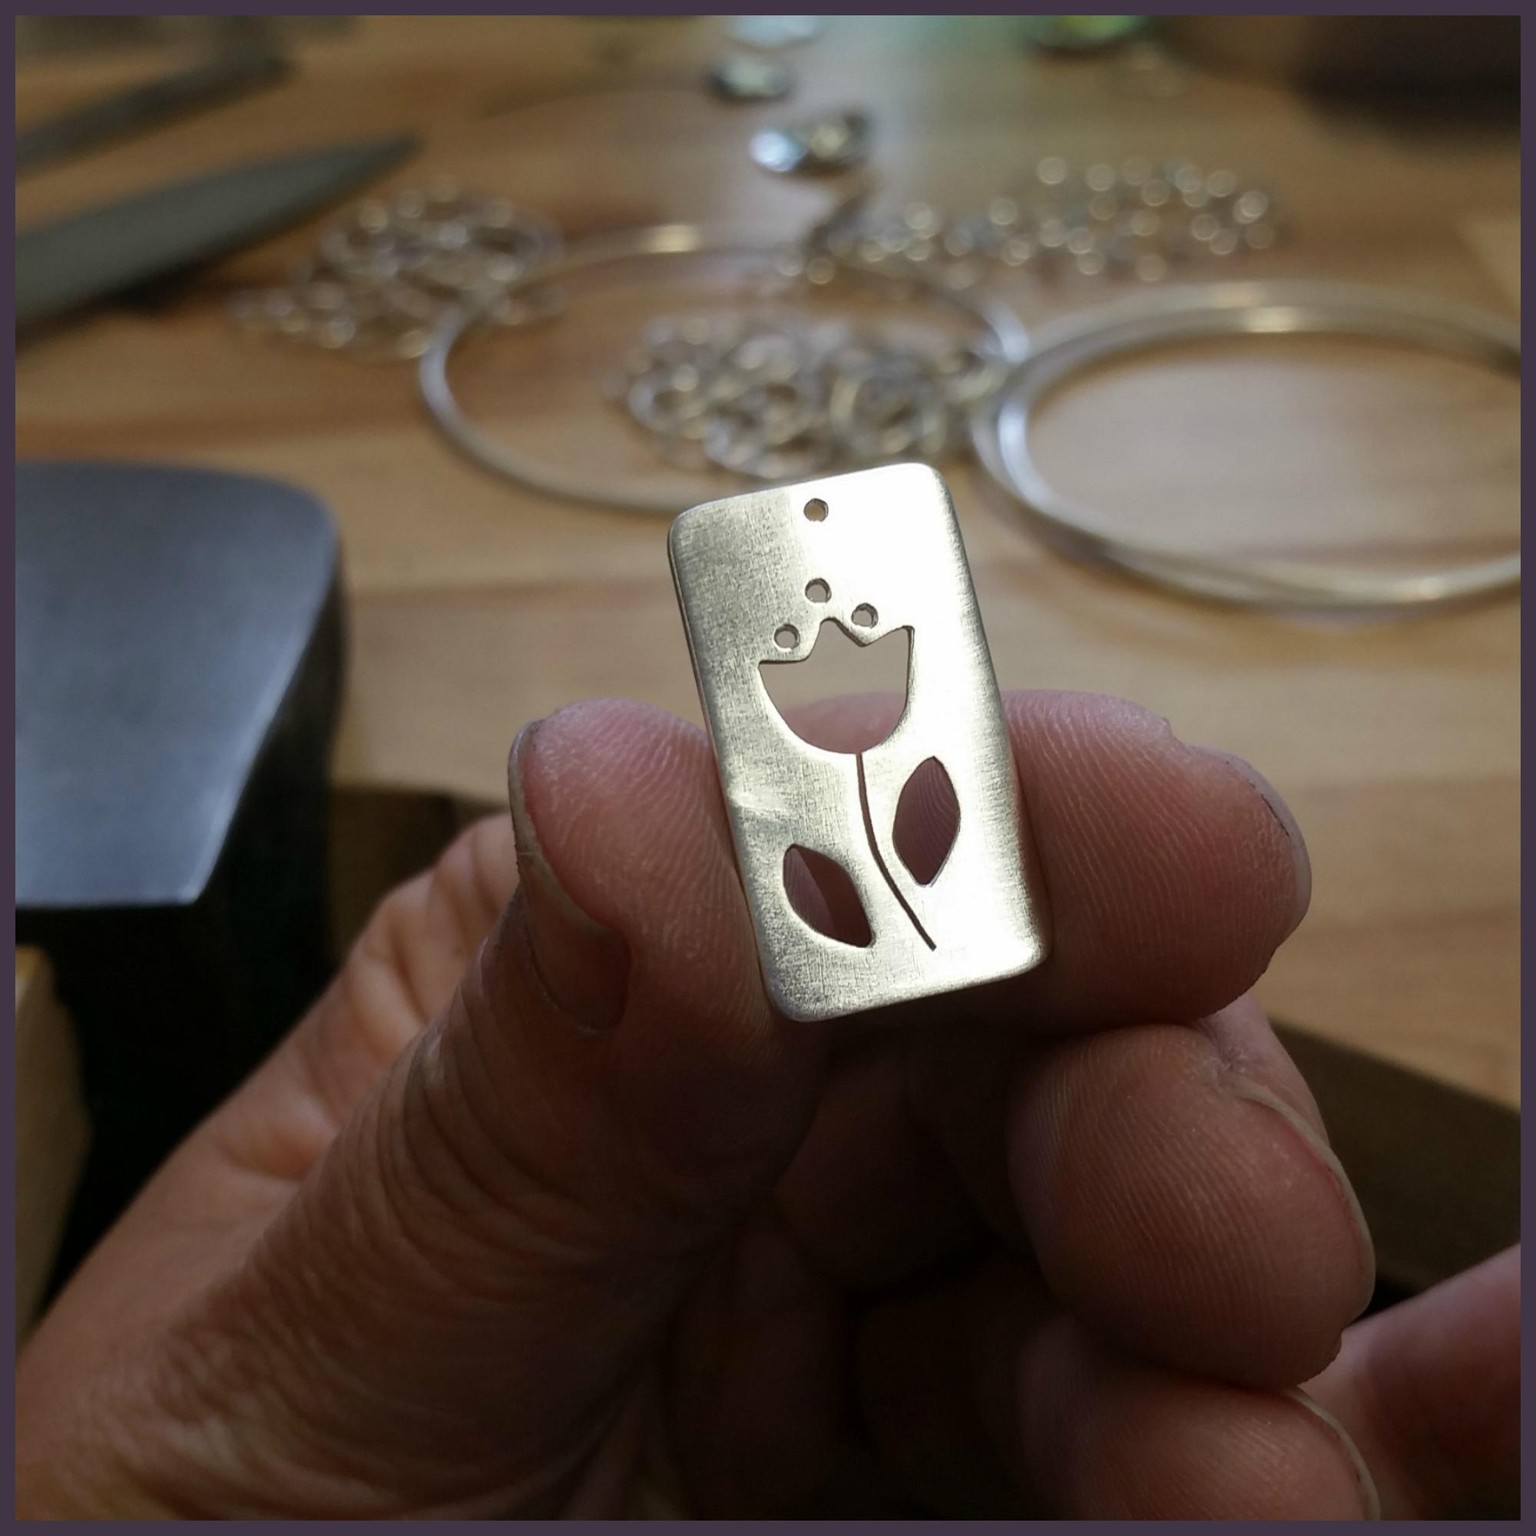
I have attached a template for this design as well as the bird on a branch design to the class materials. The tulip was cut from a piece of 0.8mm (20 gauge) sterling silver sheet measuring 13mm by 25mm. You may need to change the size of the tulip in the template to best fit your silver sheet.