Travel the World
Hi everybody! I hope you had fun with this class. The rest of the Blending Modes are coming soon. ;)
In the meanwhile, I would like to share with you my class project. (You can download the Procreate file in “Your Project” section).
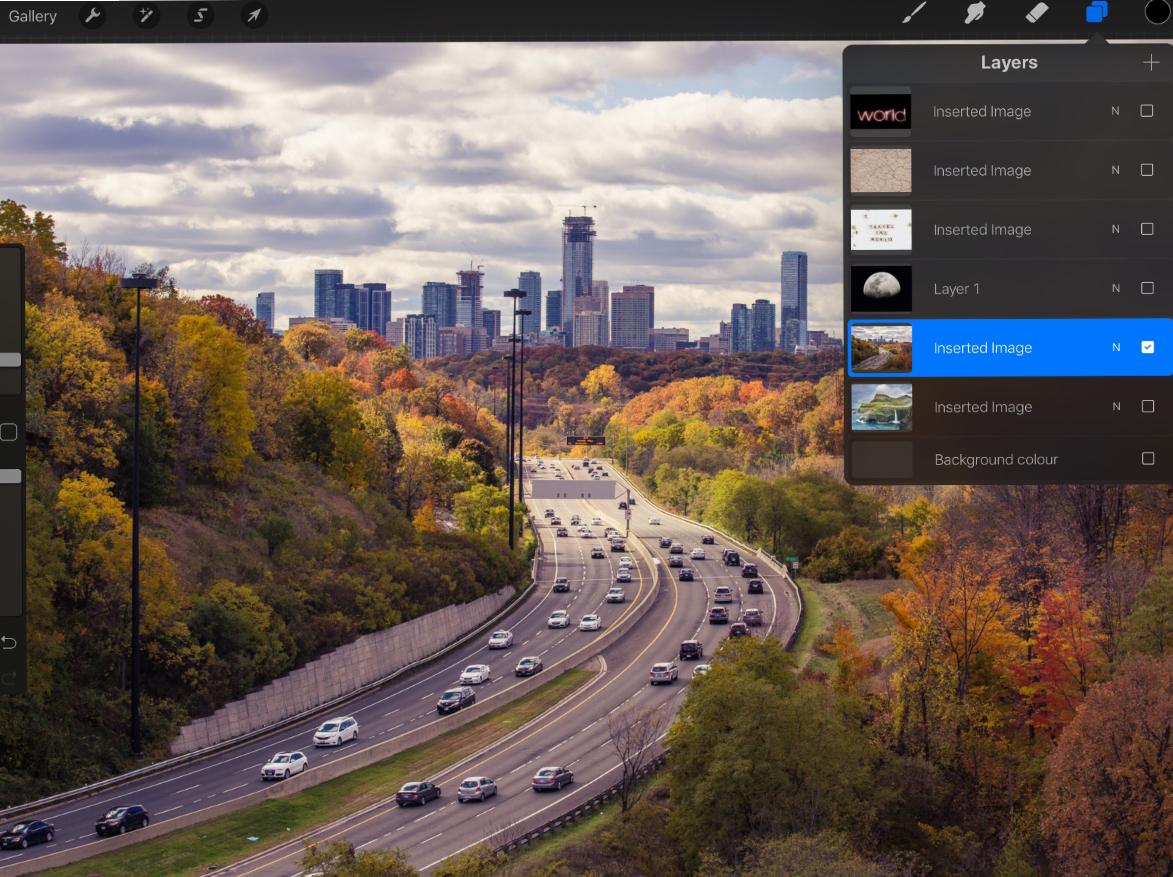
First thing I did was to choose the photos I was going to use to create the composition. I wasn’t sure if I was going to prefer the skyline or the mountains for my background, so I inserted both.
Then I rearranged the layers.
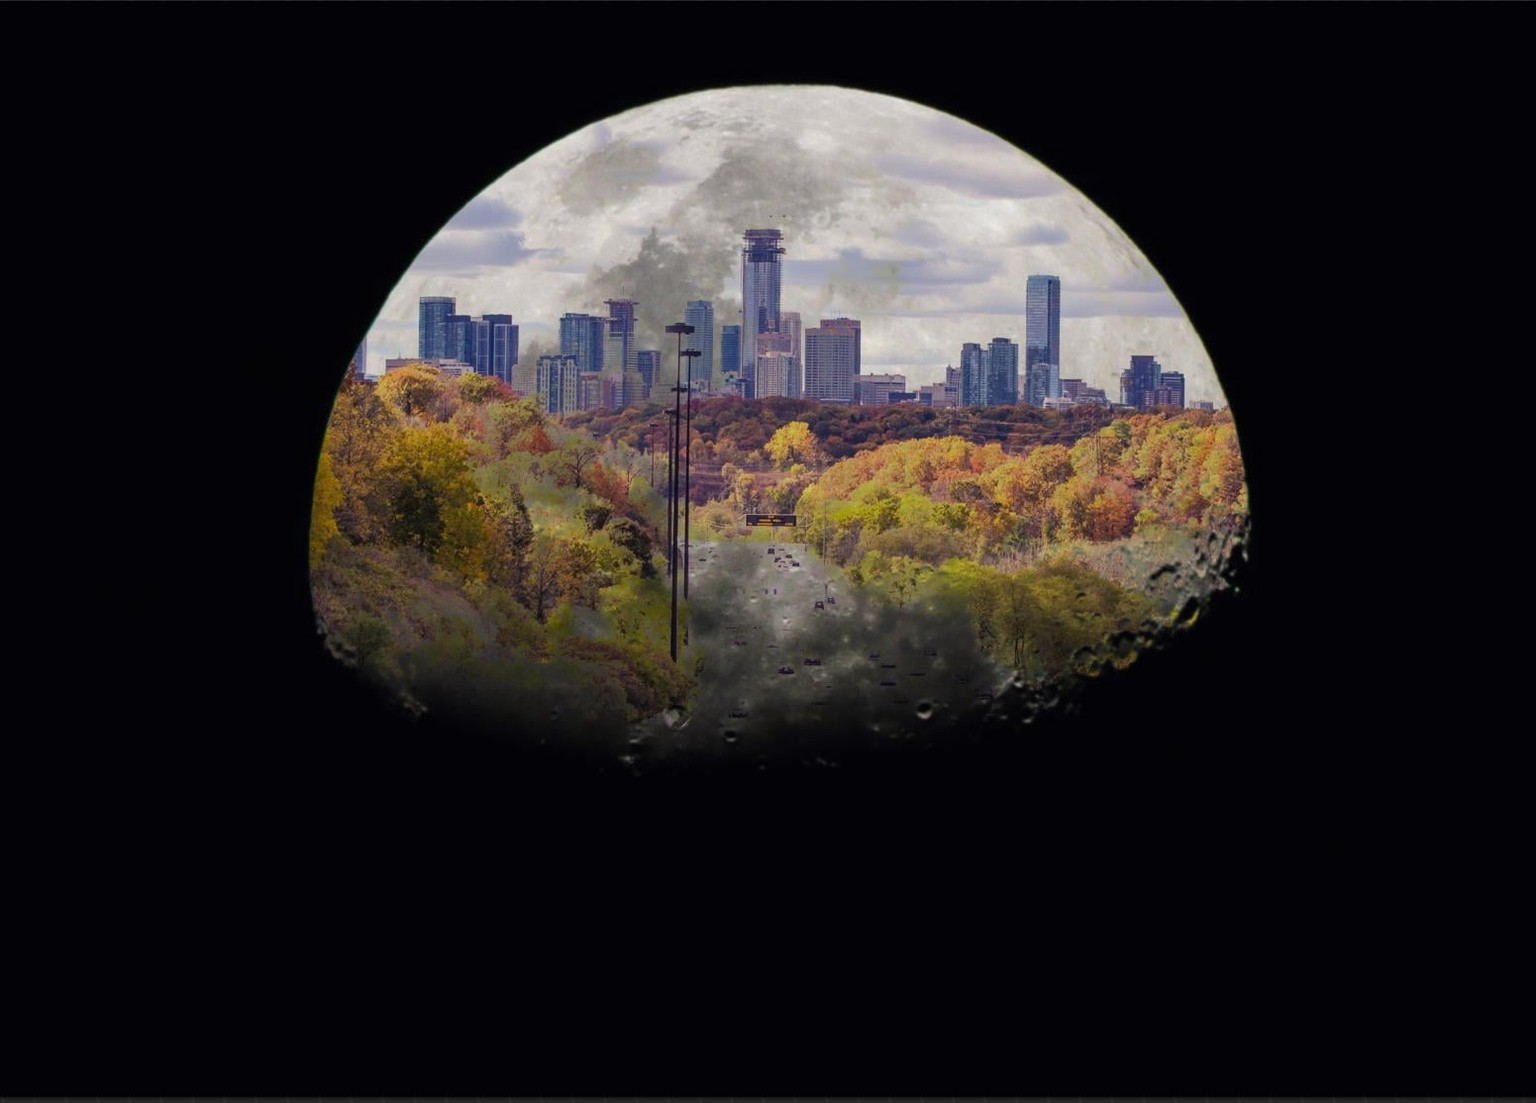
The Moon is lighter than the Skyline photo and its background is completely black so, I applied “Darken” to the Moon layer to get this result:
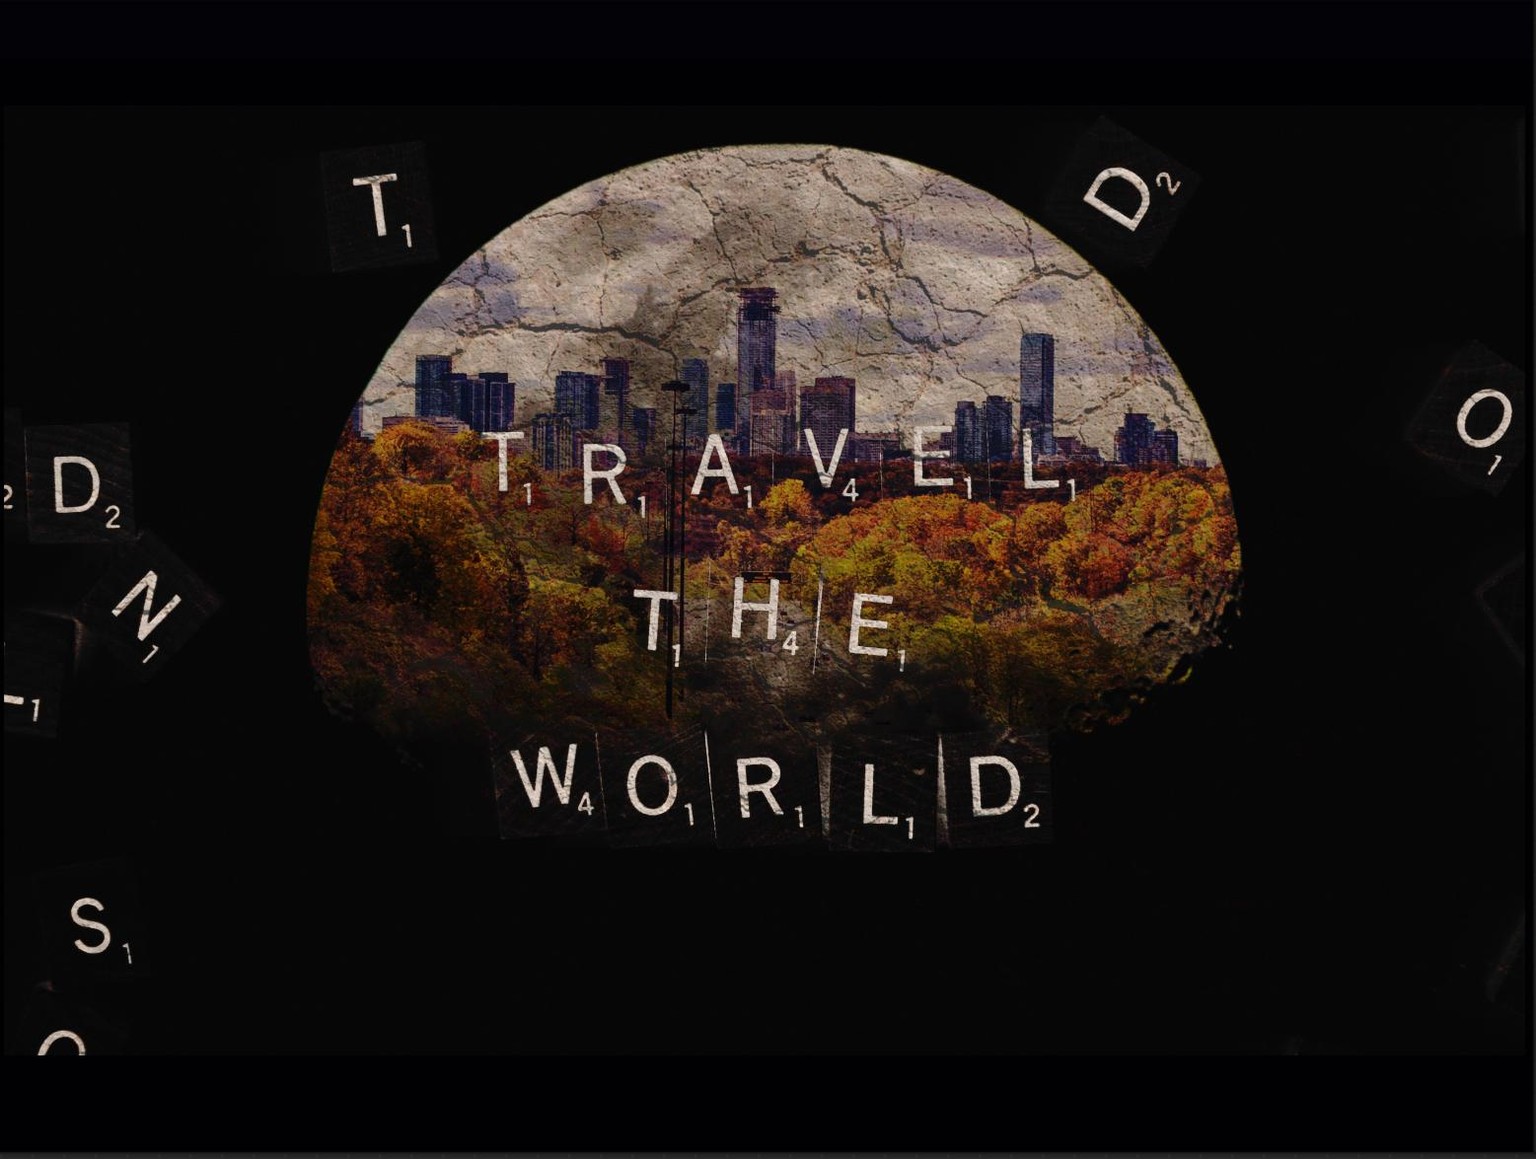
Then I selected the layer of the cracked soil texture and applied “Linear Burn” to add texture to my new moon. I tried with all the options in the “Darken” set, but “Linear Burn” was the best option for me.
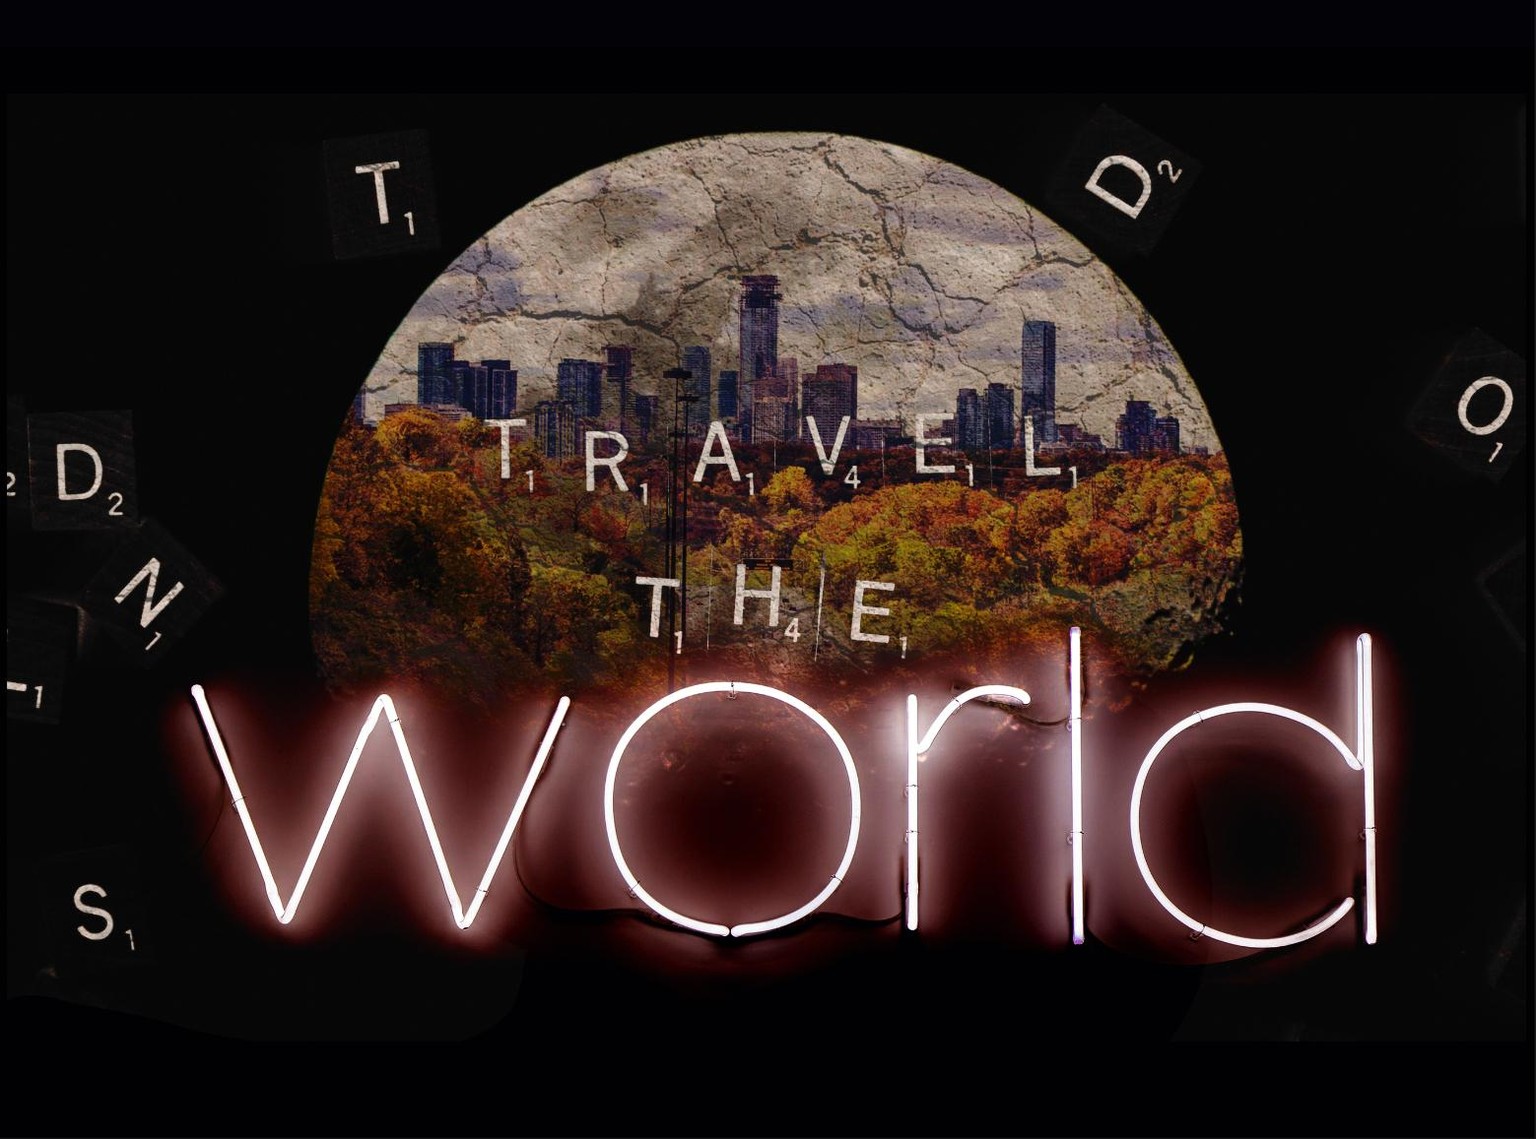
Next step: add the text! I applied “Darken” again to get rid of the light background of the “Travel the World” layer, and only keep the words, but I can’t hardly read them in black so I decided to invert the layer and apply “Lighten” instead. I inverted it using “Curves” at we saw in class.
Yeah! So much better! But, what if the “World” word were a neon sign?
I just had to create a mask to hide the other “World” word and apply “Screen” or “Add” to the “World” layer, and my composition was finished!