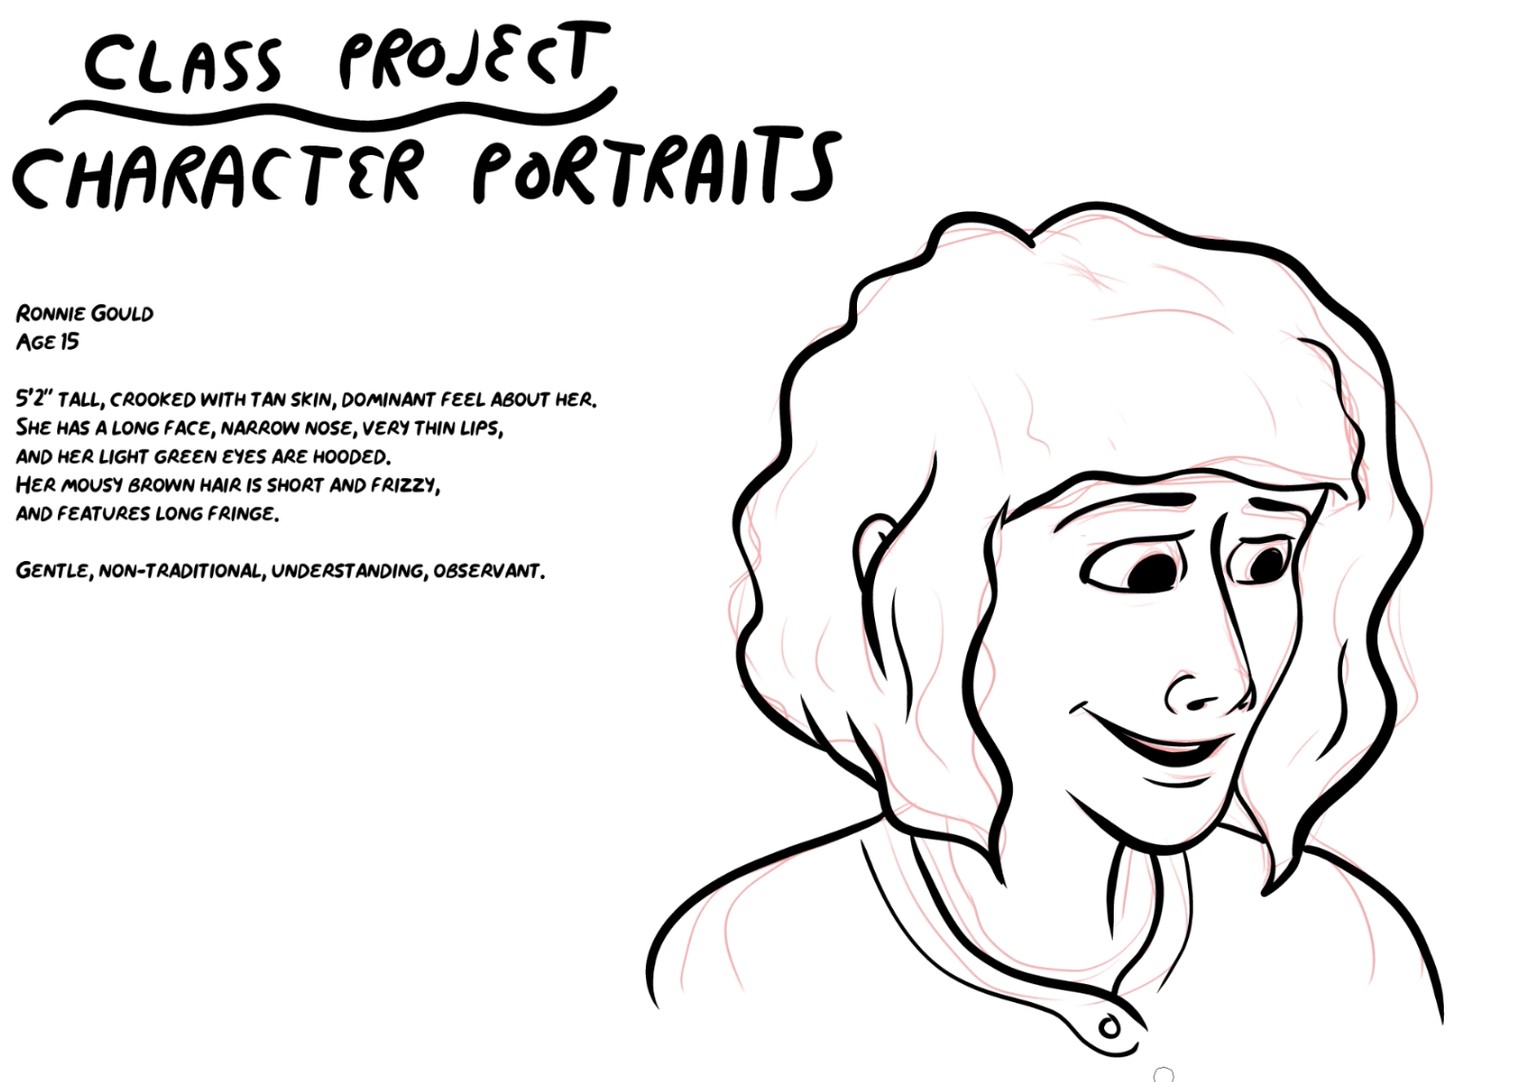
Portrait of Ronnie
Meet Ronnie, the new character I created for my class, Drawing Faces: A Beginner's Guide! Below you'll find the step by step of my creative process.

For me, a big part of creating a believable character portrait is to get to know who they are before I begin drawing anything. To keep things simple, I used a character generator to get a list of descriptors to work from:
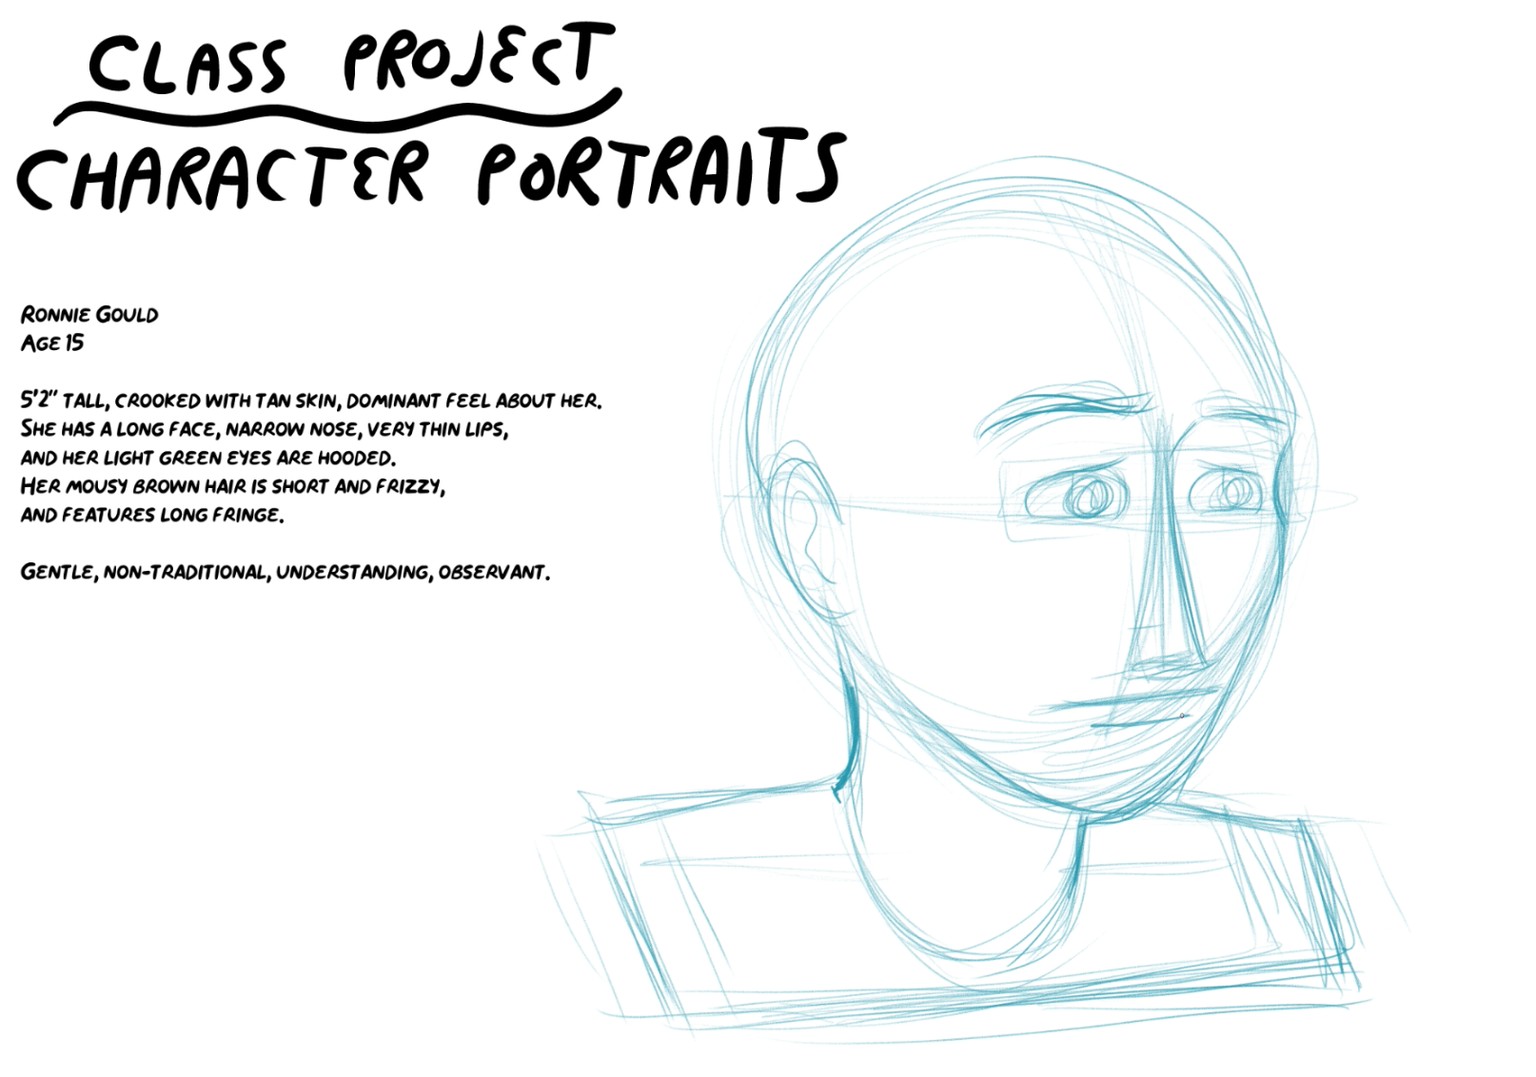
When I have an idea in my head of who Ronnie is, I follow to the lessons in the class closely to create the image. Don't forget to download the accompanying Drawing Faces PDF to help you design the features of the face (available in the Resources section of the class). Below are screenshots from sketch to final inks! Welcome to the world, Ronnie!
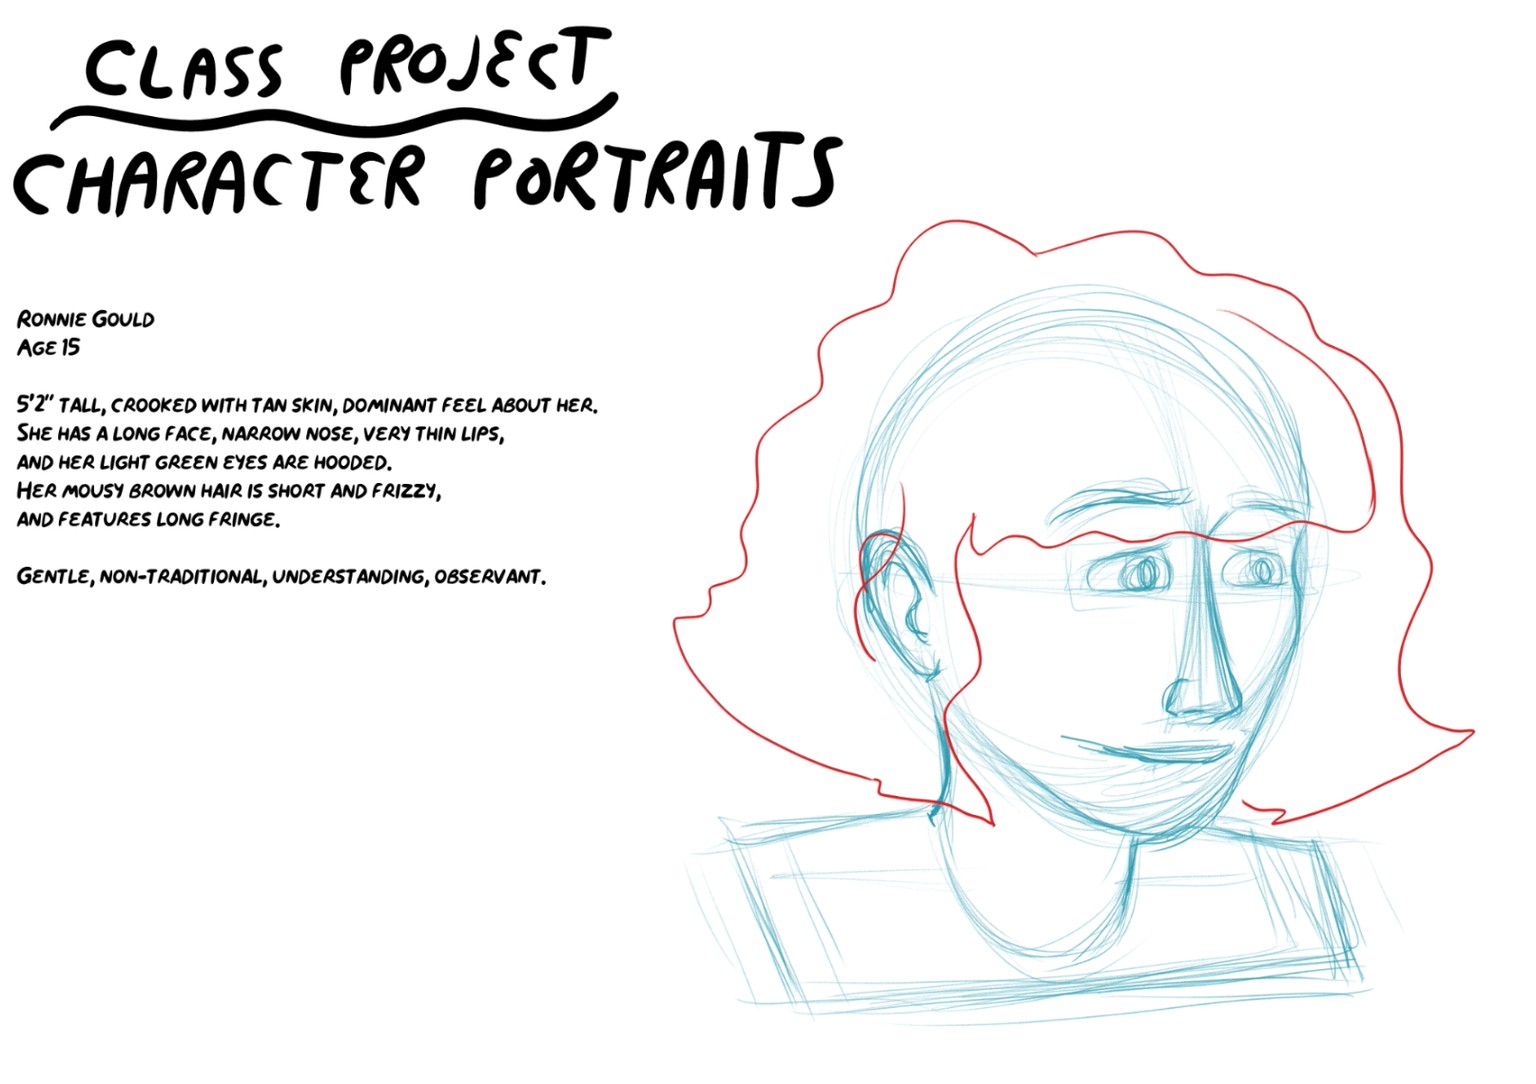
1) This is my first draft sketches created in blue:
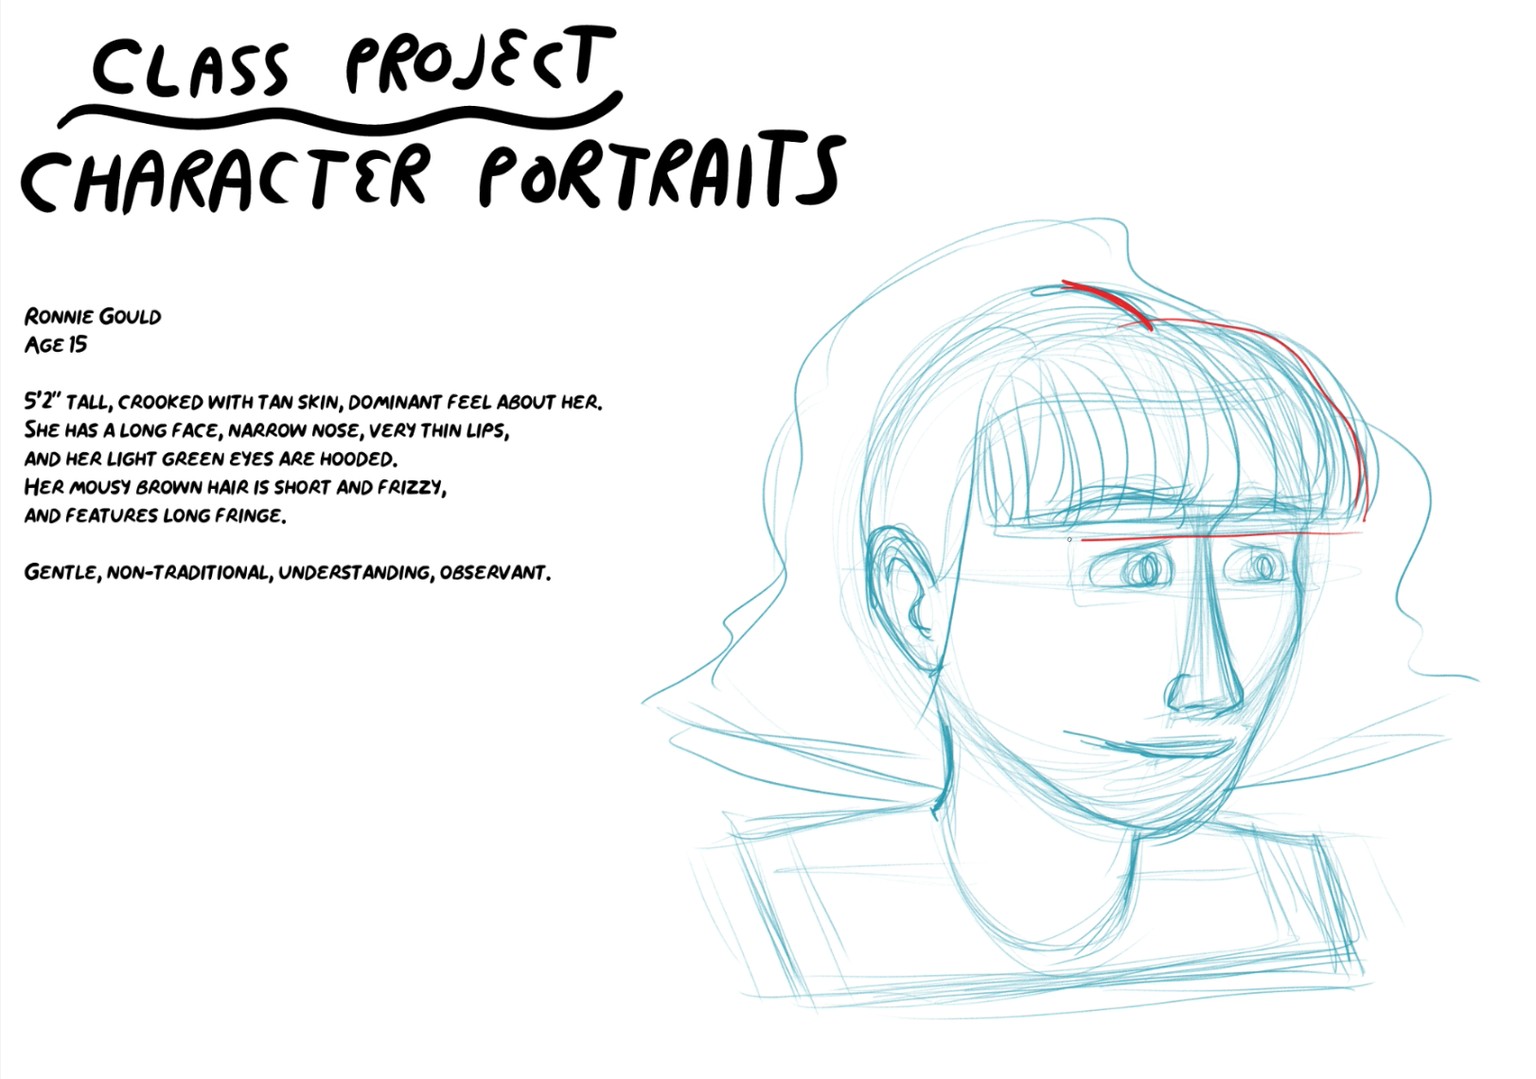
2) Once I have the basic proportions in place, I switch to red for my second draft. This is where I fine-tune the details:
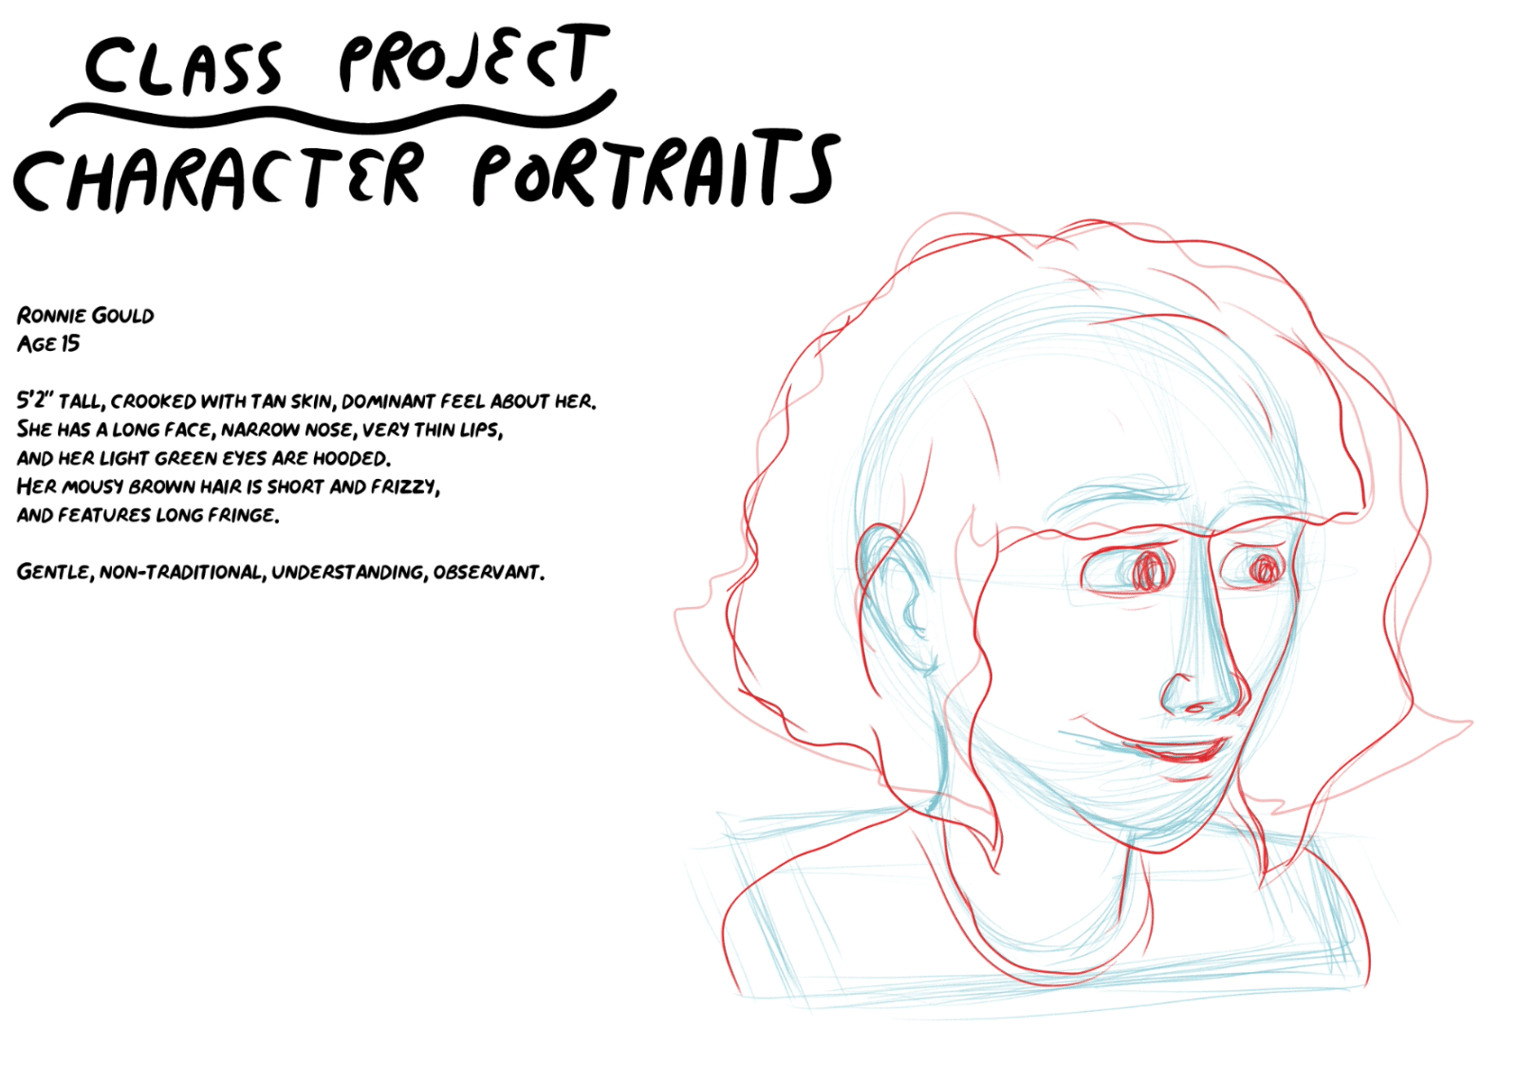
3) After two rounds of sketches I'm very comfortable with Ronnie's design. This makes my approach to inking more confident and thus my line art looks crisper!