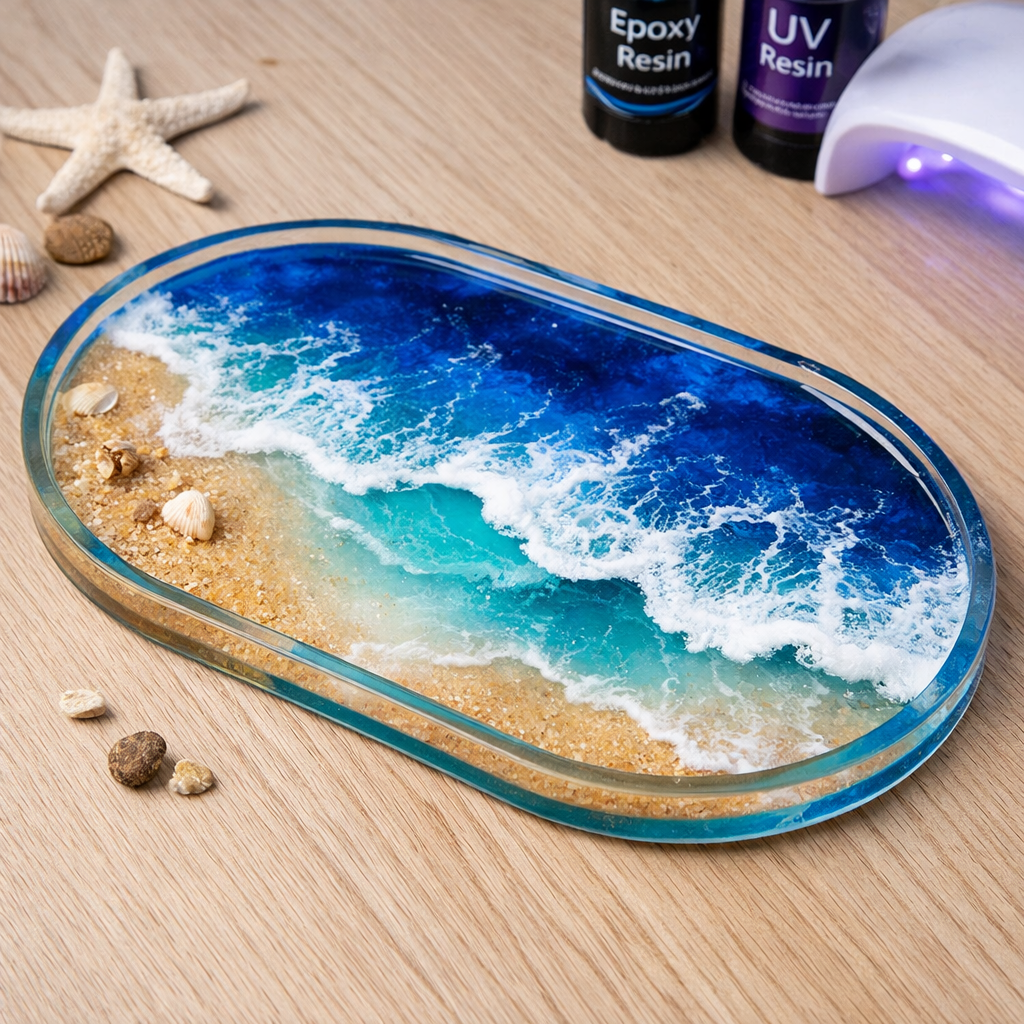
Ocean Wave Resin Tray: Epoxy & UV Resin
This project creates a small ocean wave tray using both epoxy resin and UV resin. Epoxy resin is used for the base layer to achieve depth and a realistic water effect, while UV resin is applied as a quick-curing top coat for extra shine and durability. The project demonstrates the strengths of both resins: epoxy for large, detailed pours and UV resin for fast finishing.
Tools & Materials-
Epoxy resin & hardener
-
UV resin
-
UV lamp
-
Silicone tray mold
-
Mixing cups & sticks
-
Heat gun or lighter
-
Gloves, safety glasses
-
Optional: blue & white mica powder, glitter
-
Mix epoxy resin and hardener, then pour into the tray mold.
-
Add blue mica powder for the ocean base.
-
Use white resin to create wave effects; remove bubbles with a heat gun.
-
Allow epoxy to cure for 24 hours.
-
Apply UV resin as a clear top coat.
-
Cure under UV lamp for 2–5 minutes.
-
Demold and reveal the finished ocean wave tray.
Suggested Media
-
Short video: mixing epoxy and creating wave effects.
-
Clip: UV resin curing under lamp.
-
Photo: finished ocean wave tray.