My WIP model - Part 2
My skeleton model following along in Maya for Beginners: Texturing - Lucas Ridley
Great teacher, thanks Lucas!
-----
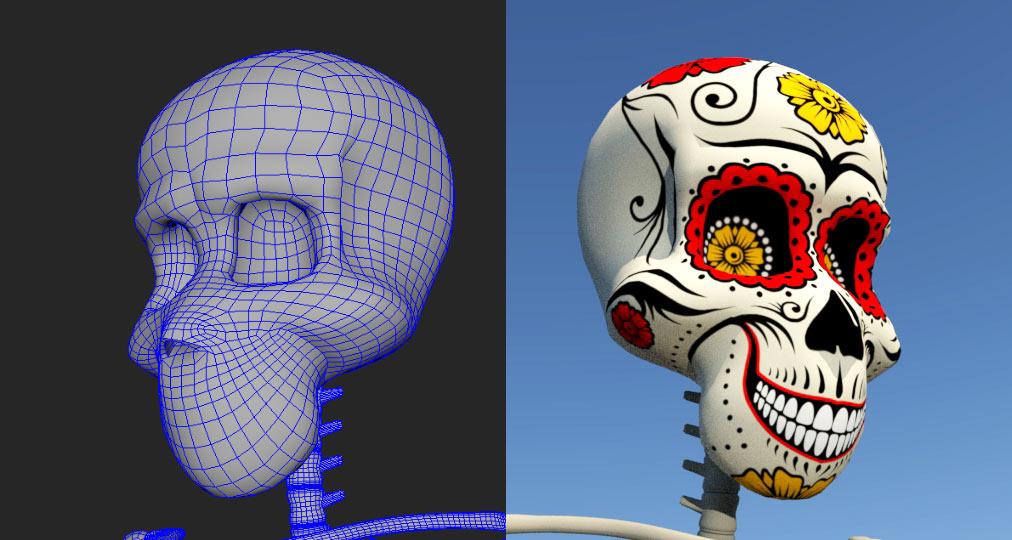
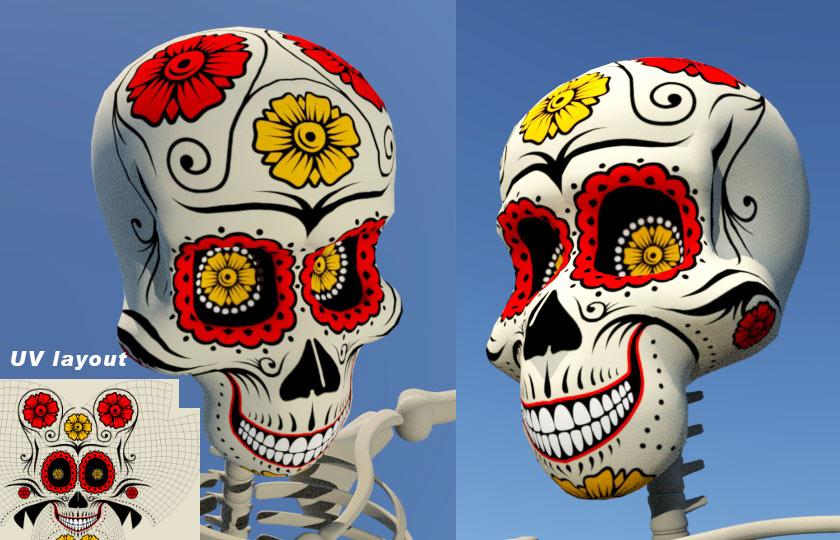
So I took my final model and unwrapped all it's UV's.
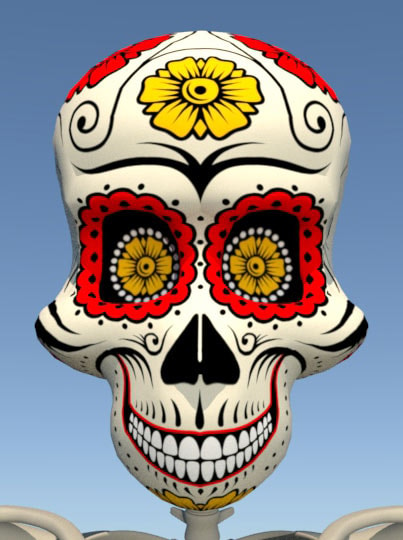
I tried out the 3D paintbrush but it was too tricky to do accurate artwork IMO, so I took the skull UV into photoshop and created this day of the dead style design :D it's rather tricky to map 2d to a 3d organic shape, but I'm getting the hang of it.
Thanks for checking out my project.
As you can see I added extra eye socket geometry, which was useful for this particular design :P
I will try to add bump mapping to the paint/skull later to make it pop out more like a real version. (Unable to finish bump maps as MAYA would keep glitching and not update bump maps in real time in the renderview, workaround took too much time to bother, so abandoned that, but the technique works nonetheless.)
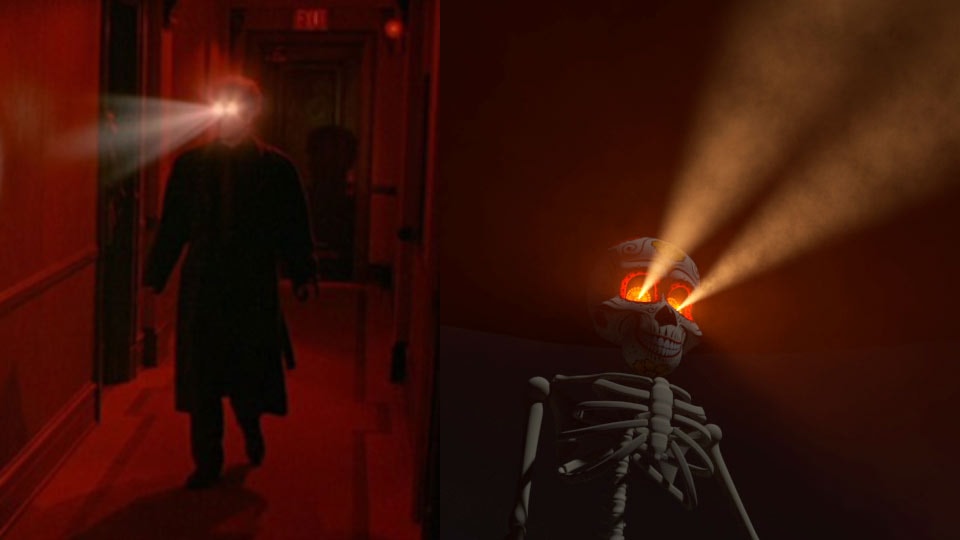
Experimenting with mesh lights and rendering
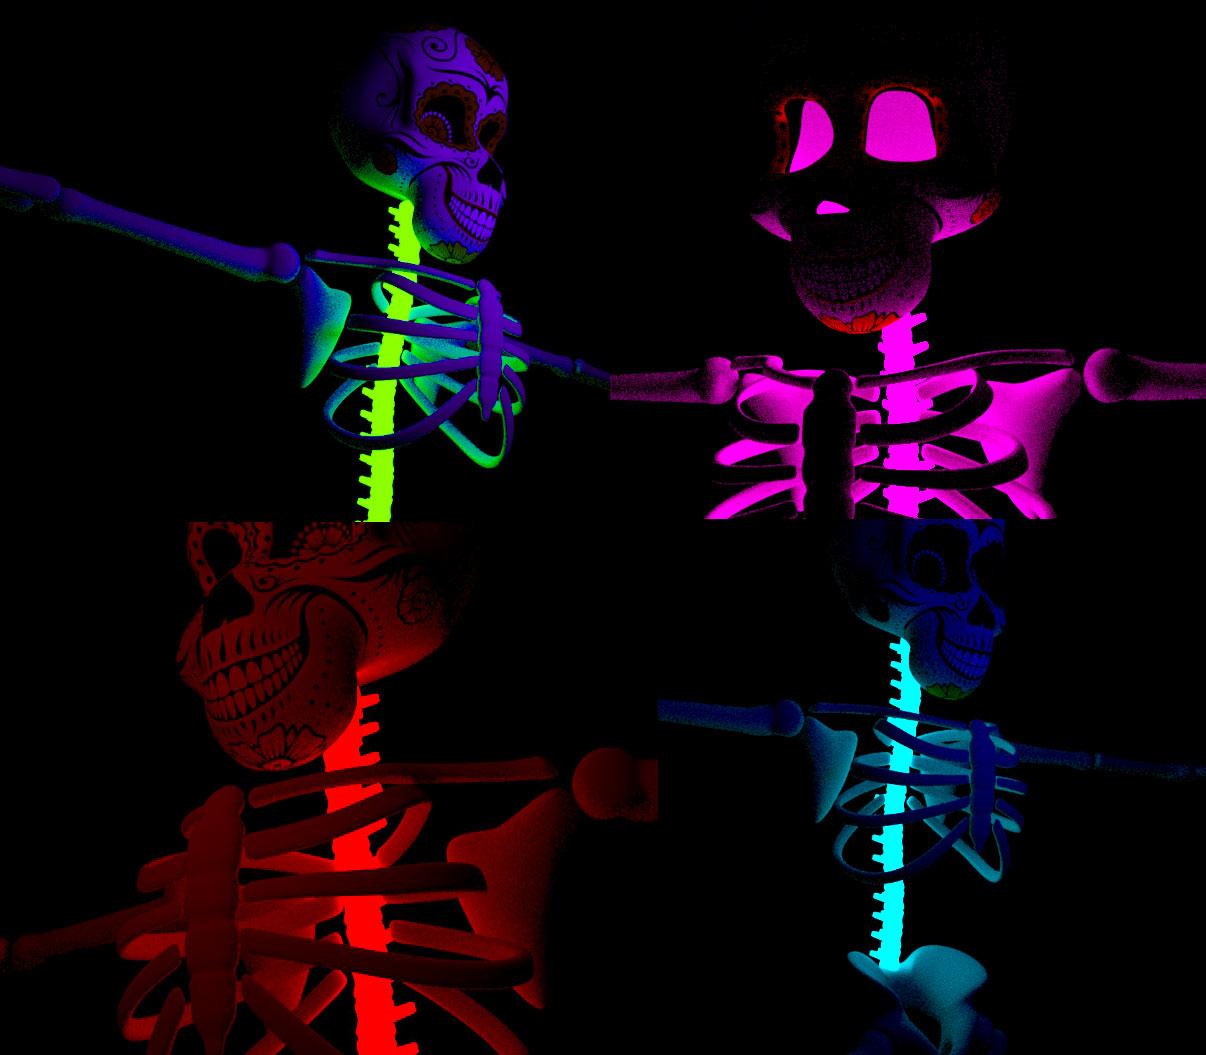
Also tried some of the fog lighting technique to make a GB2 Janosz style eyeball lights lol
Part 1 here
Part 3 WIP