My Heart BEASTS For You
Hey guys! Here's another letterpress illustration example and my process. In my videos, I kept the artwork pretty simple. This example here has slightly more complex bits, but the exact same principles apply. If you want to know more about the process of using inky textures and marks, check out my Inky Illustrations class.
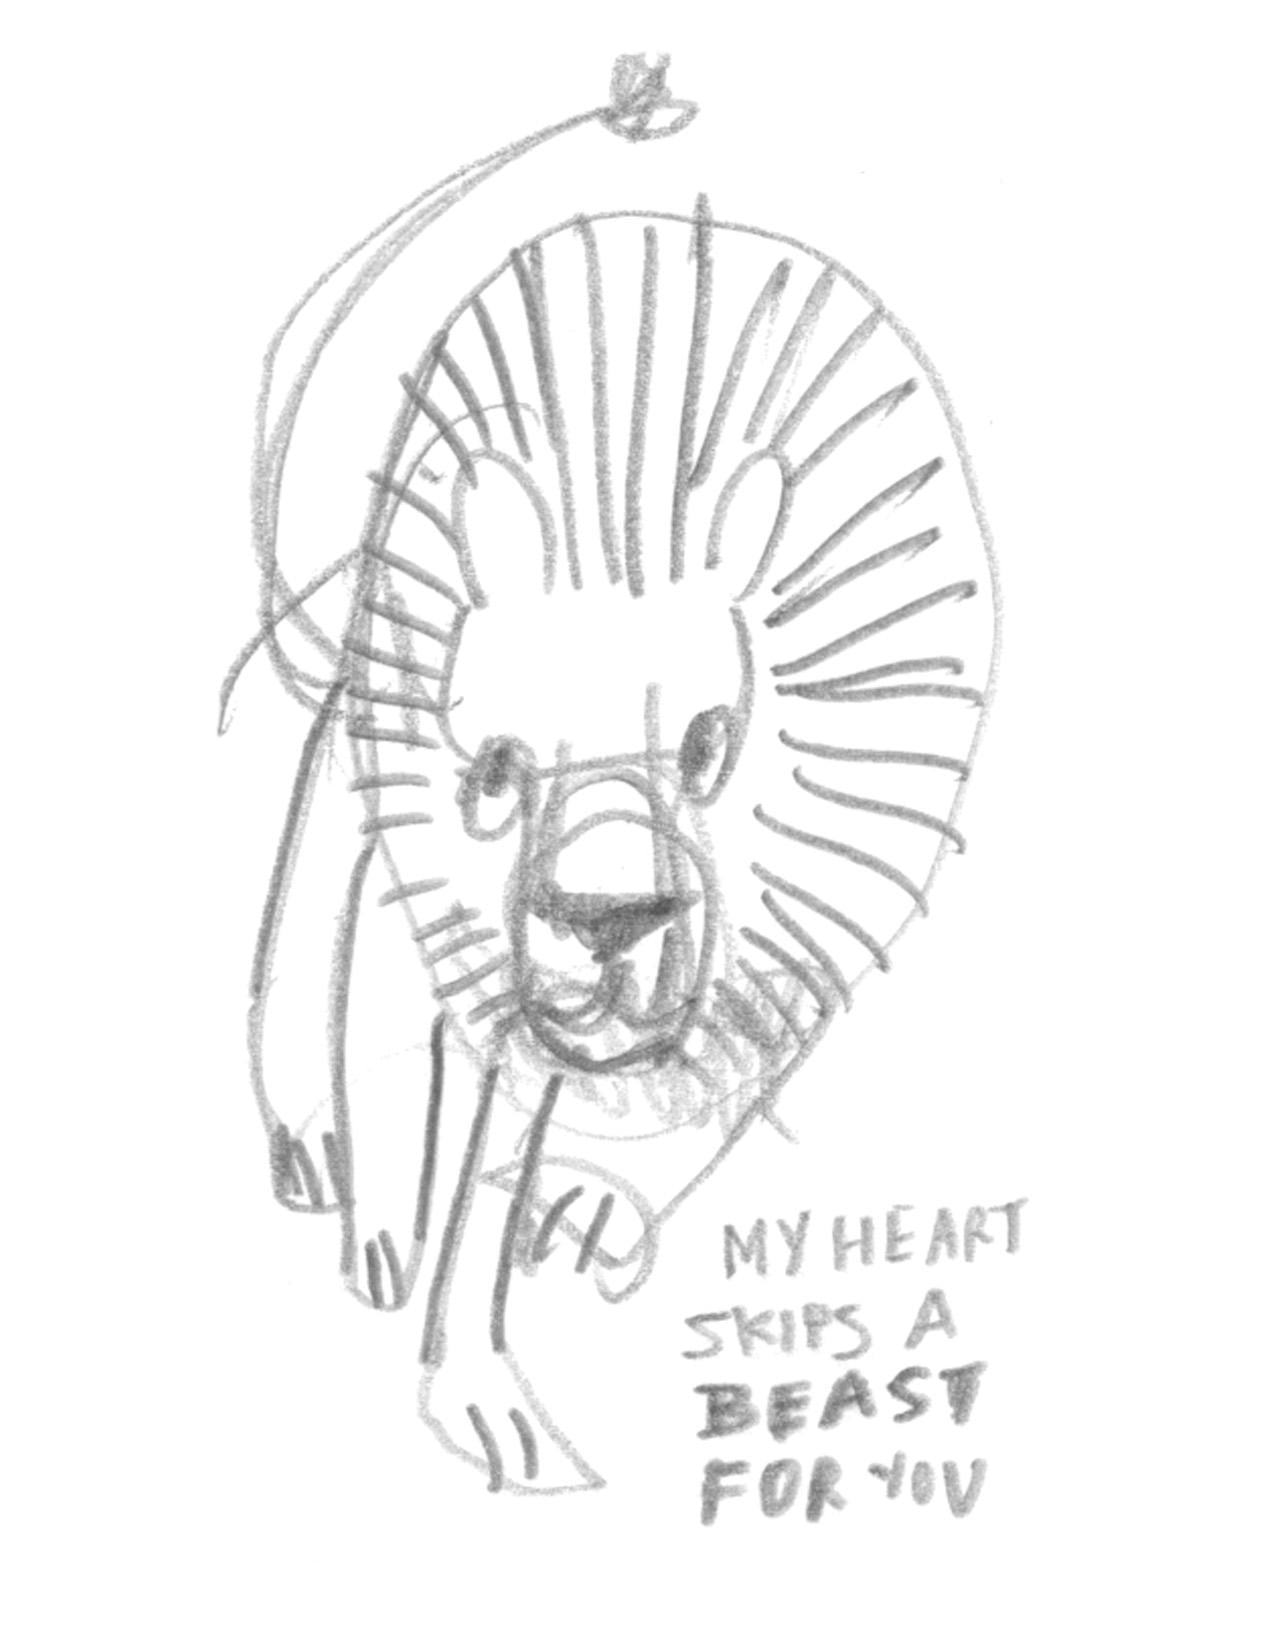
1. Sketch
Here's a rough sketch for my card. This is the one I chose after lots and lots of thumbnail sketches.
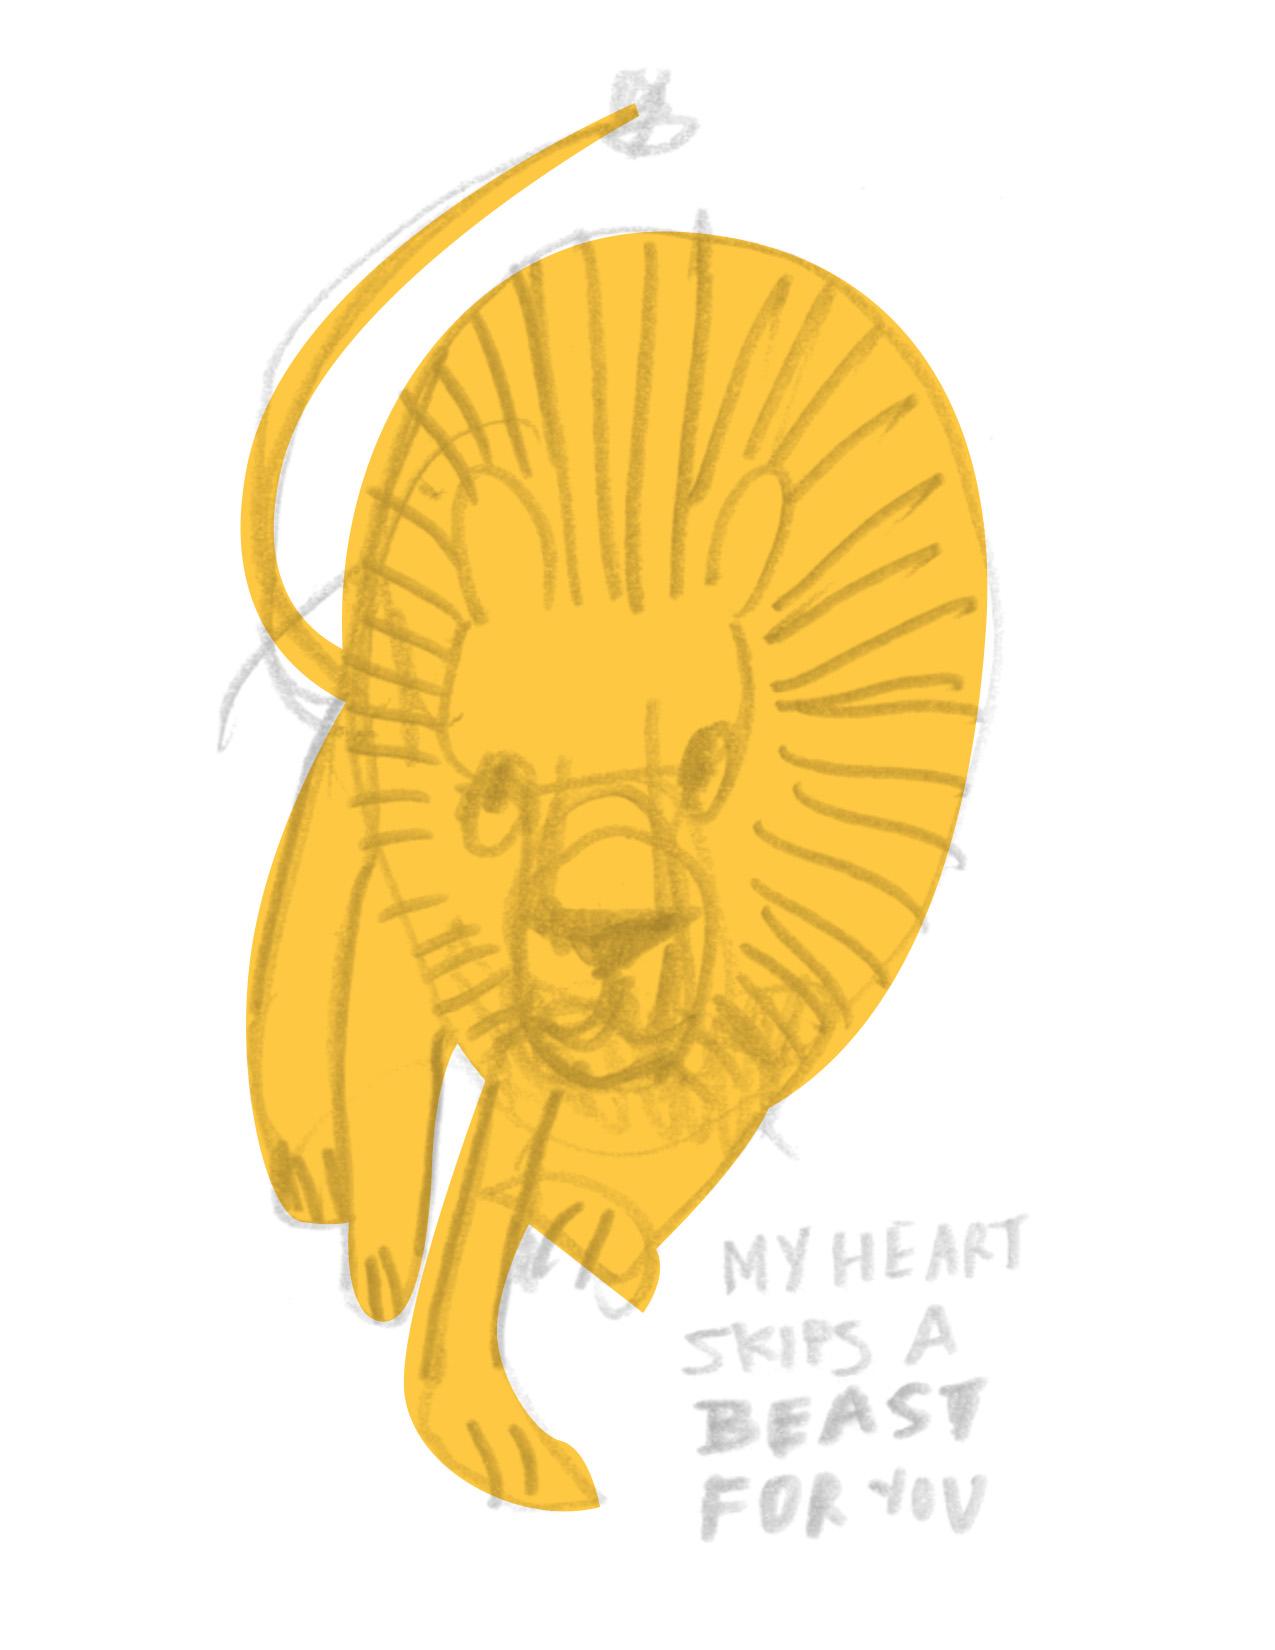
2. Building Artwork in Photoshop
The base (vector) part of my illustration is one colour. The second colour will end up being inky marks/textures I make in the next step.
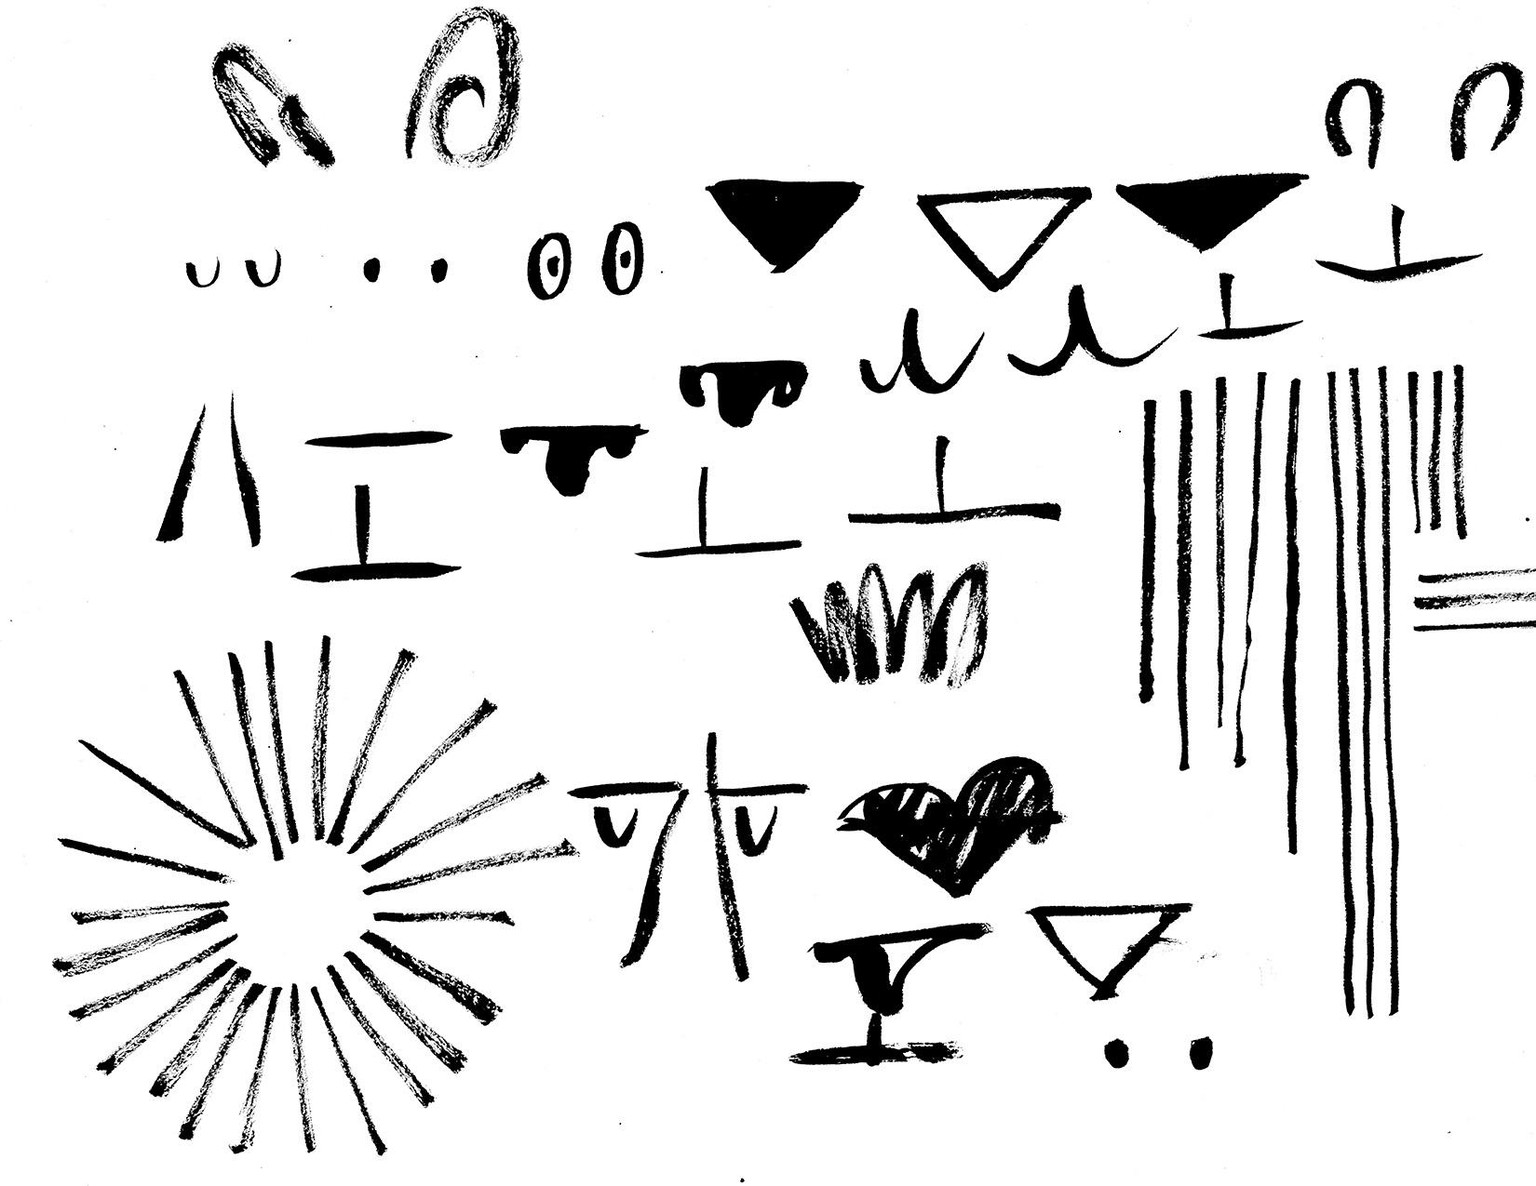
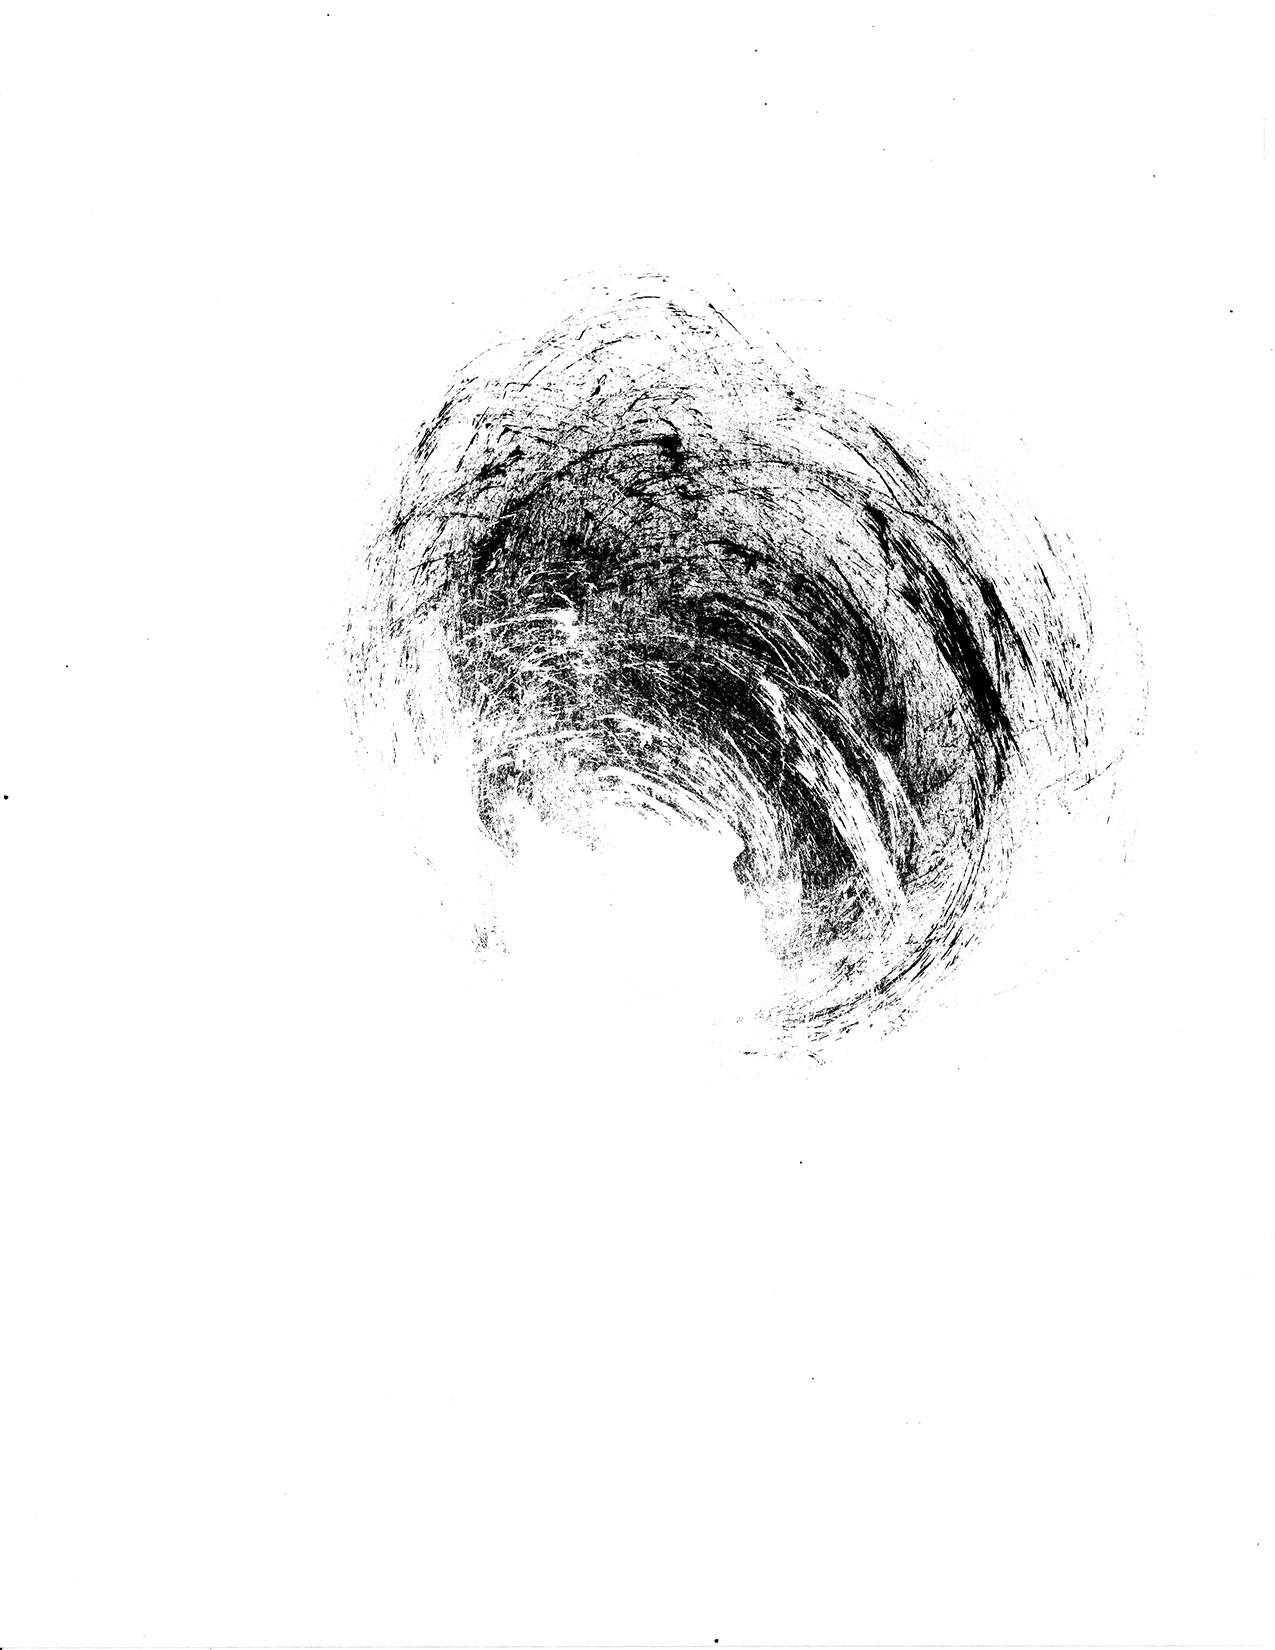
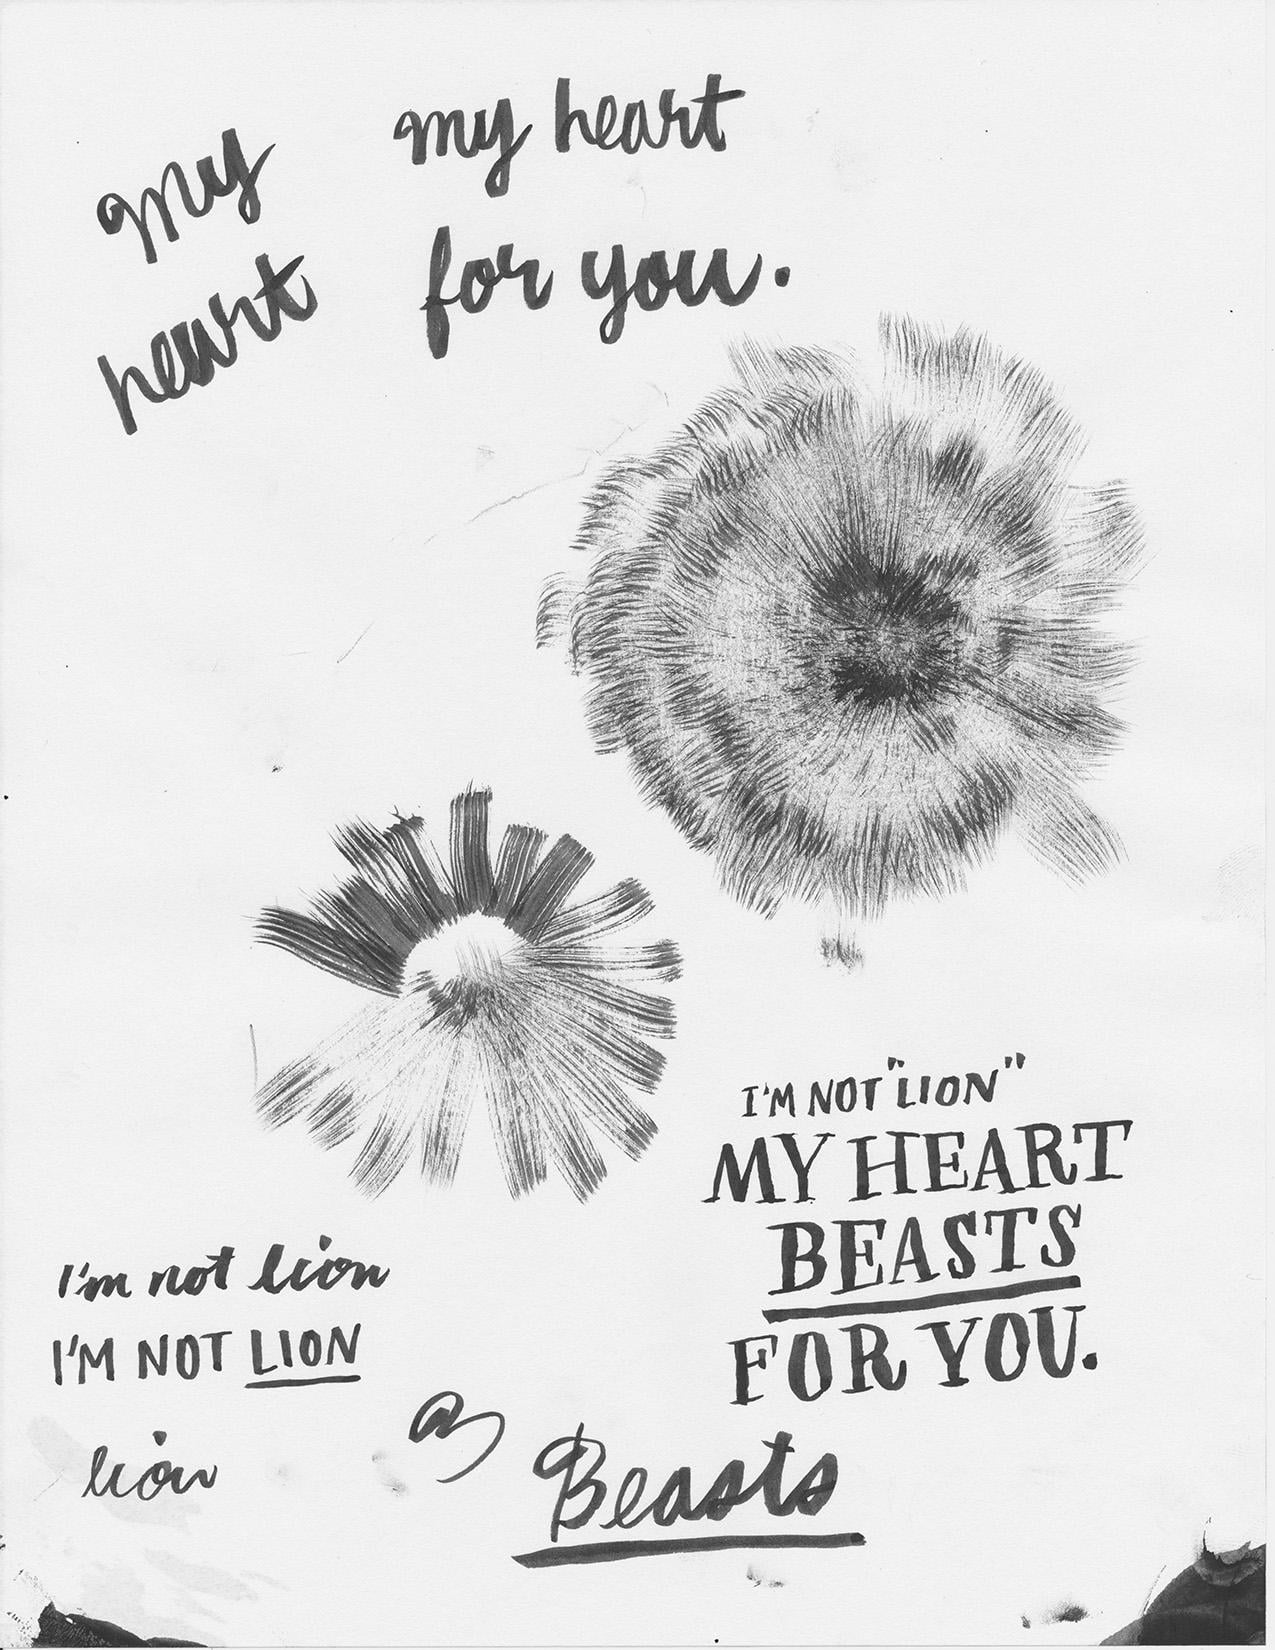
3. Adding Inky Linework and Lettering
Here are some scans of my inky marks/textures and how they look once placed in the artwork. Notice how some of my marks are colour, and others have been used to create knockouts (particularly the radial lines in the lion's mane).
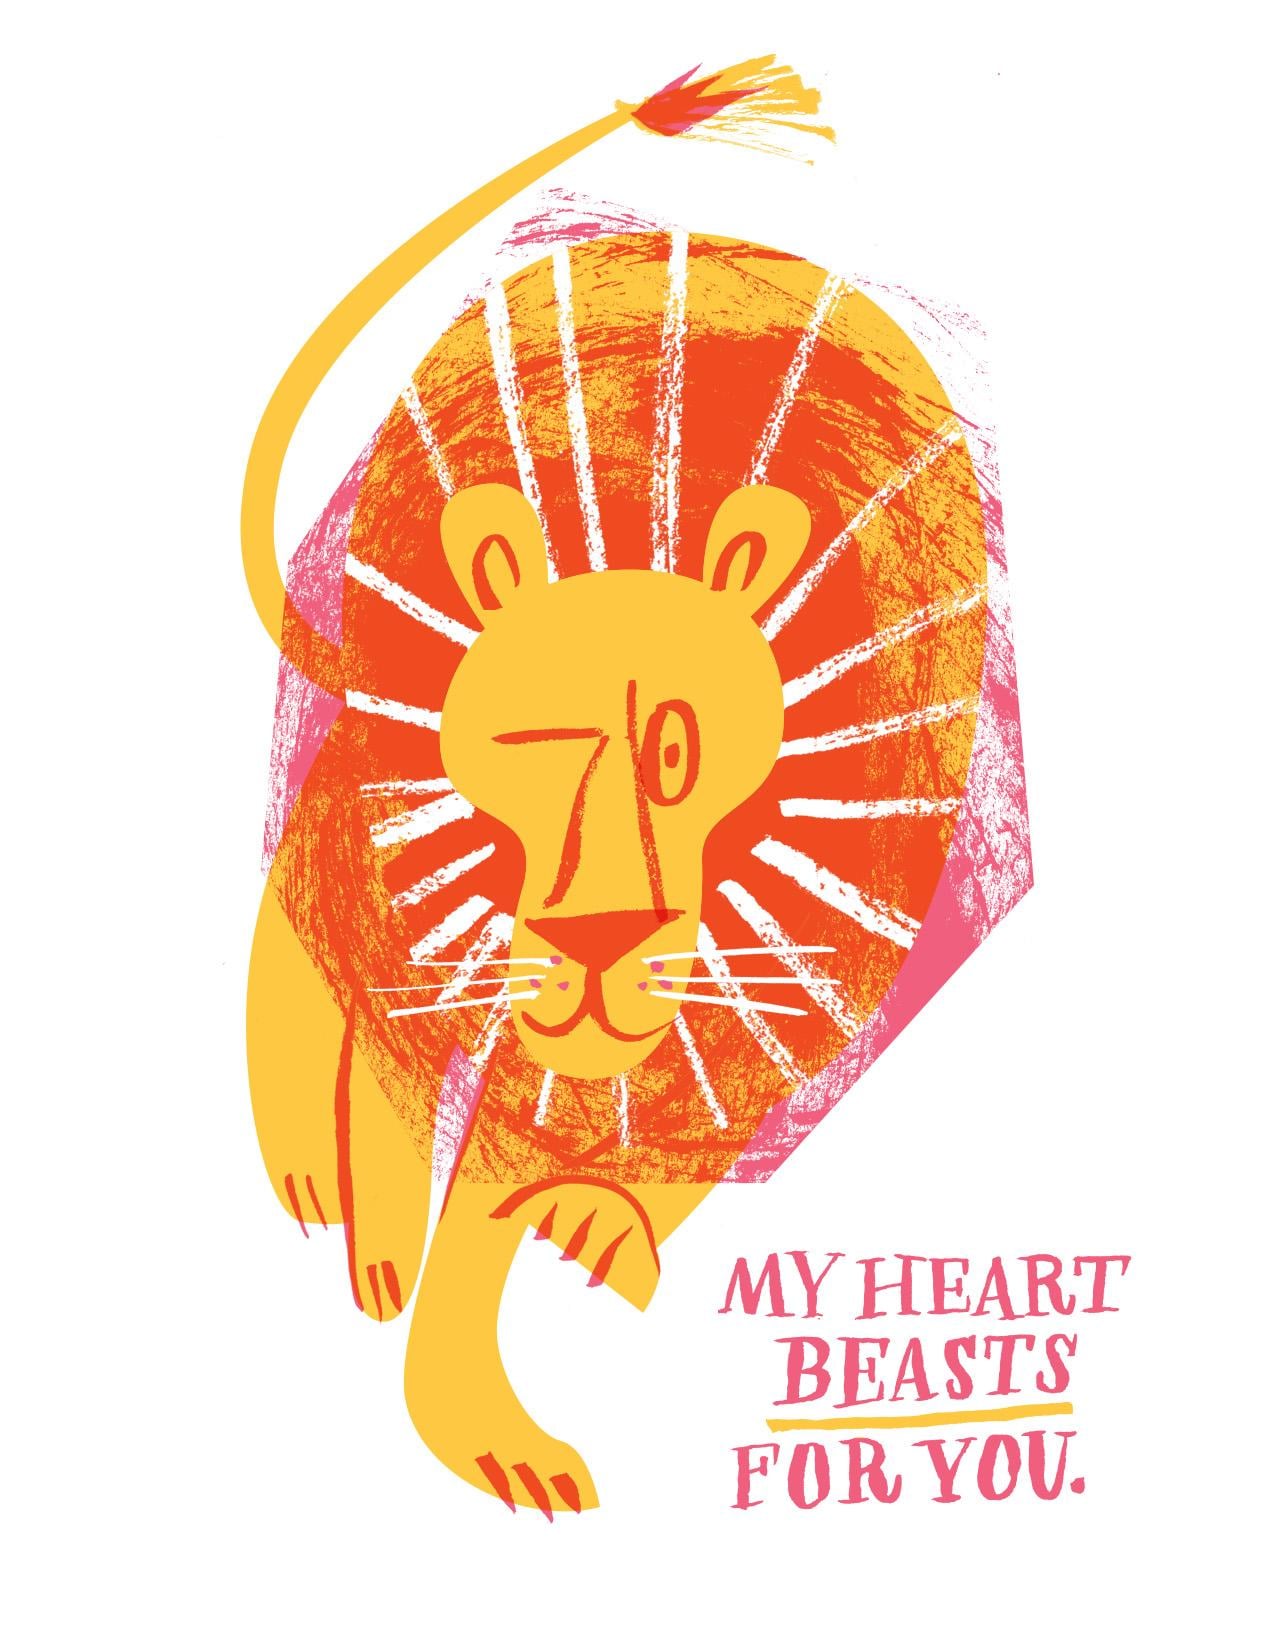
4. Digital Proof
Once I placed my artwork in the digital proof, I changed my mind about colours. I might change my mind again. The nice thing about the way we set up our plates is that we can experiment with different colour combinations simply by applying different colours to the layers we made in Illustrator.
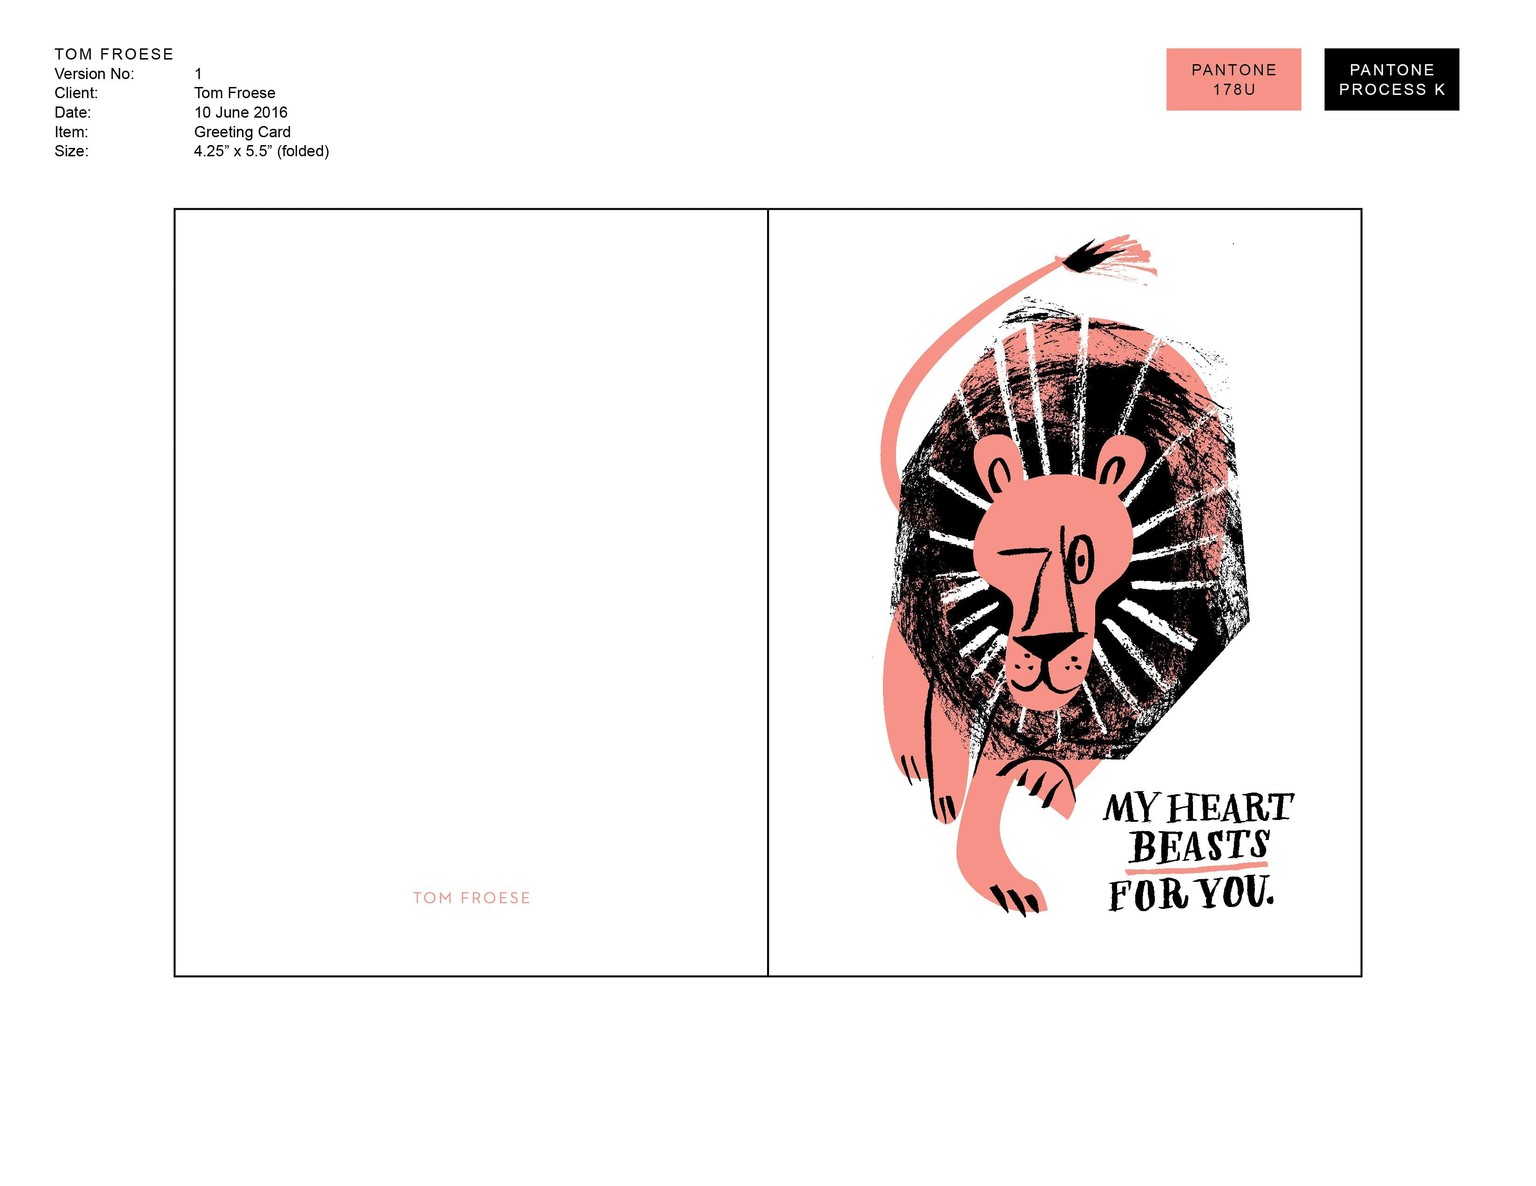
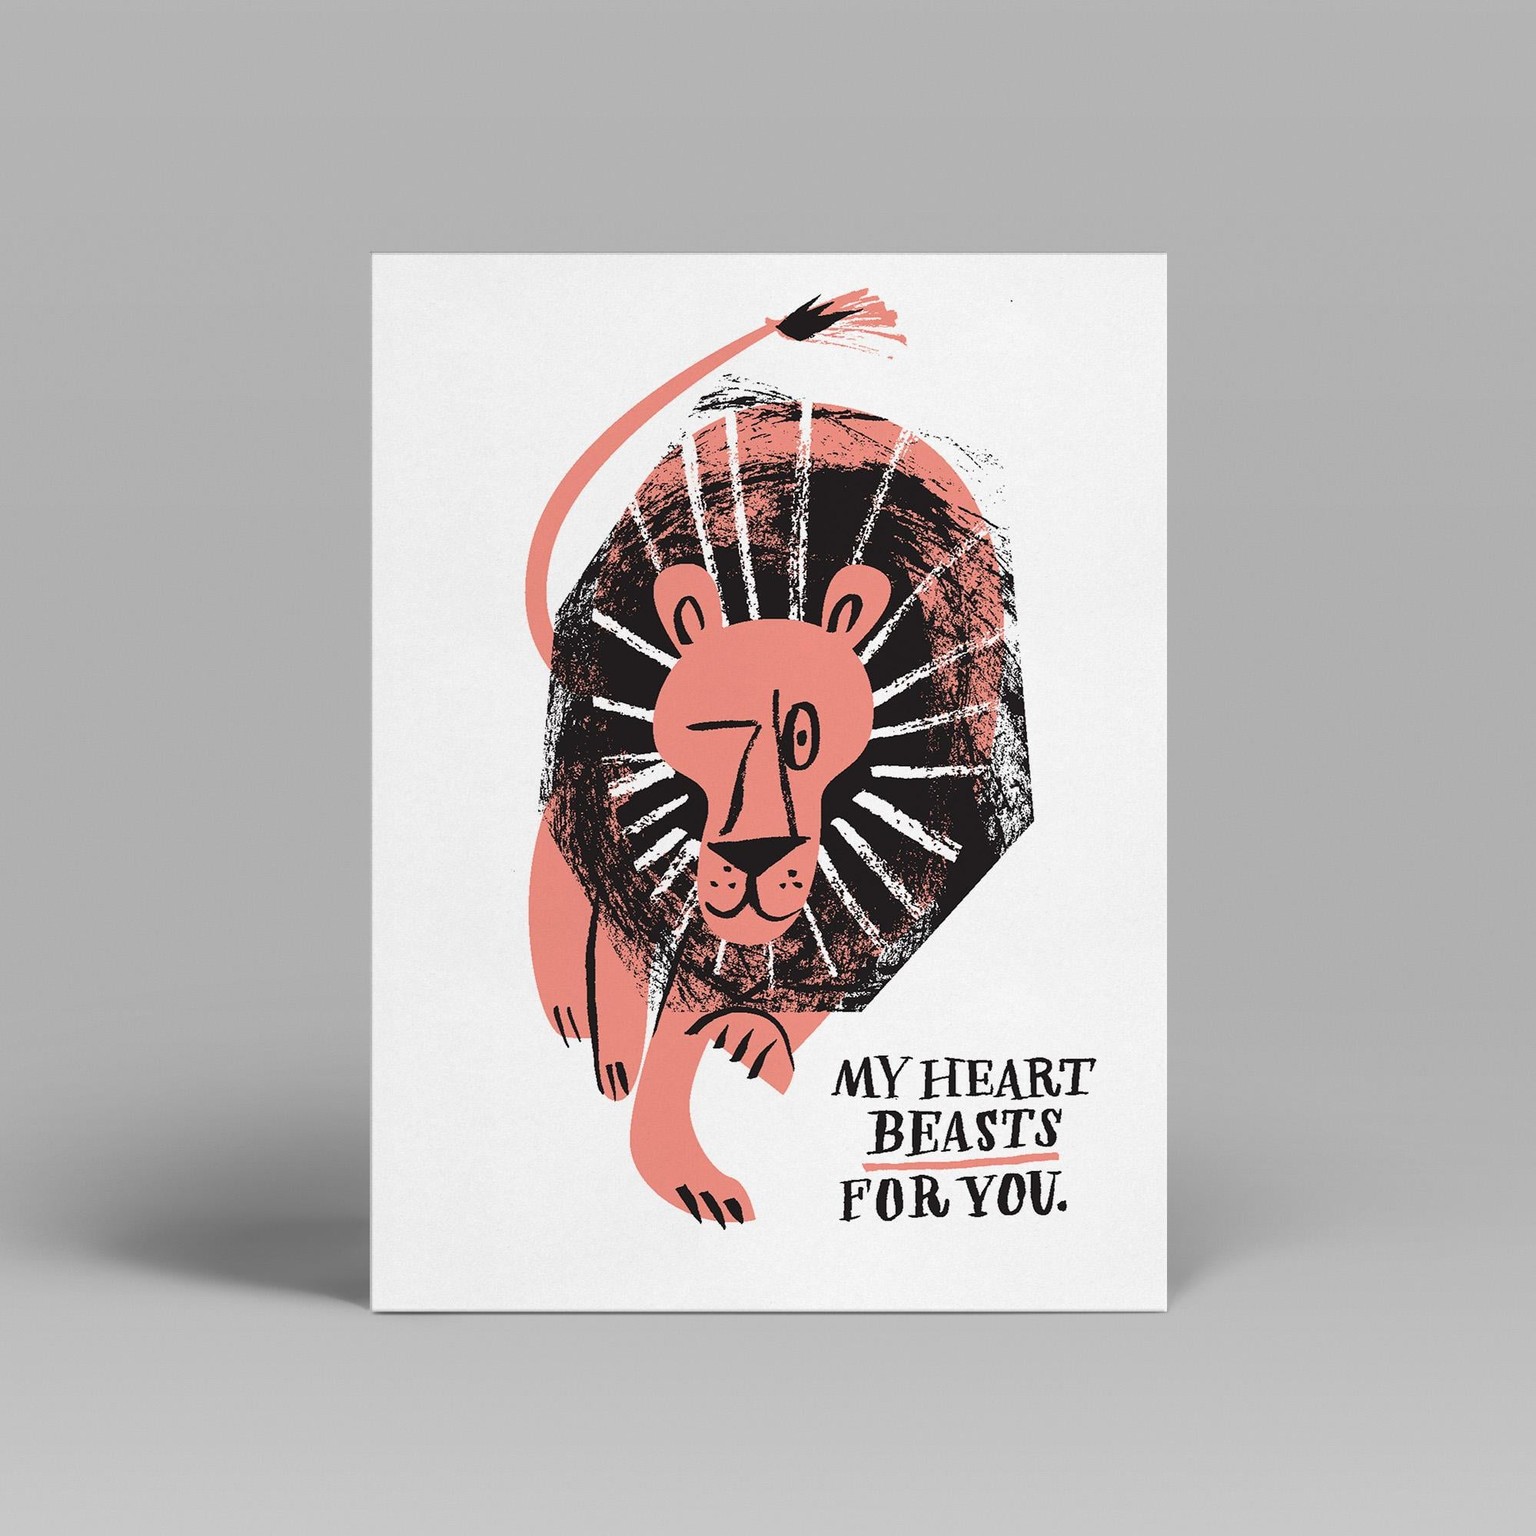
5. Mockup!
I made a little mockup of my card to help envision what it might look like when printed.