My Finished Poinsettia – From Illustration to Final Design
1. Finished illustrations
Here you can see my final poinsettias.
On the left, the illustration with a transparent background — this version now lives in my image library, ready to be reused in future projects.
On the right, the finished piece with watercolor effects and paper texture added, giving it a more traditional, hand-painted feel.

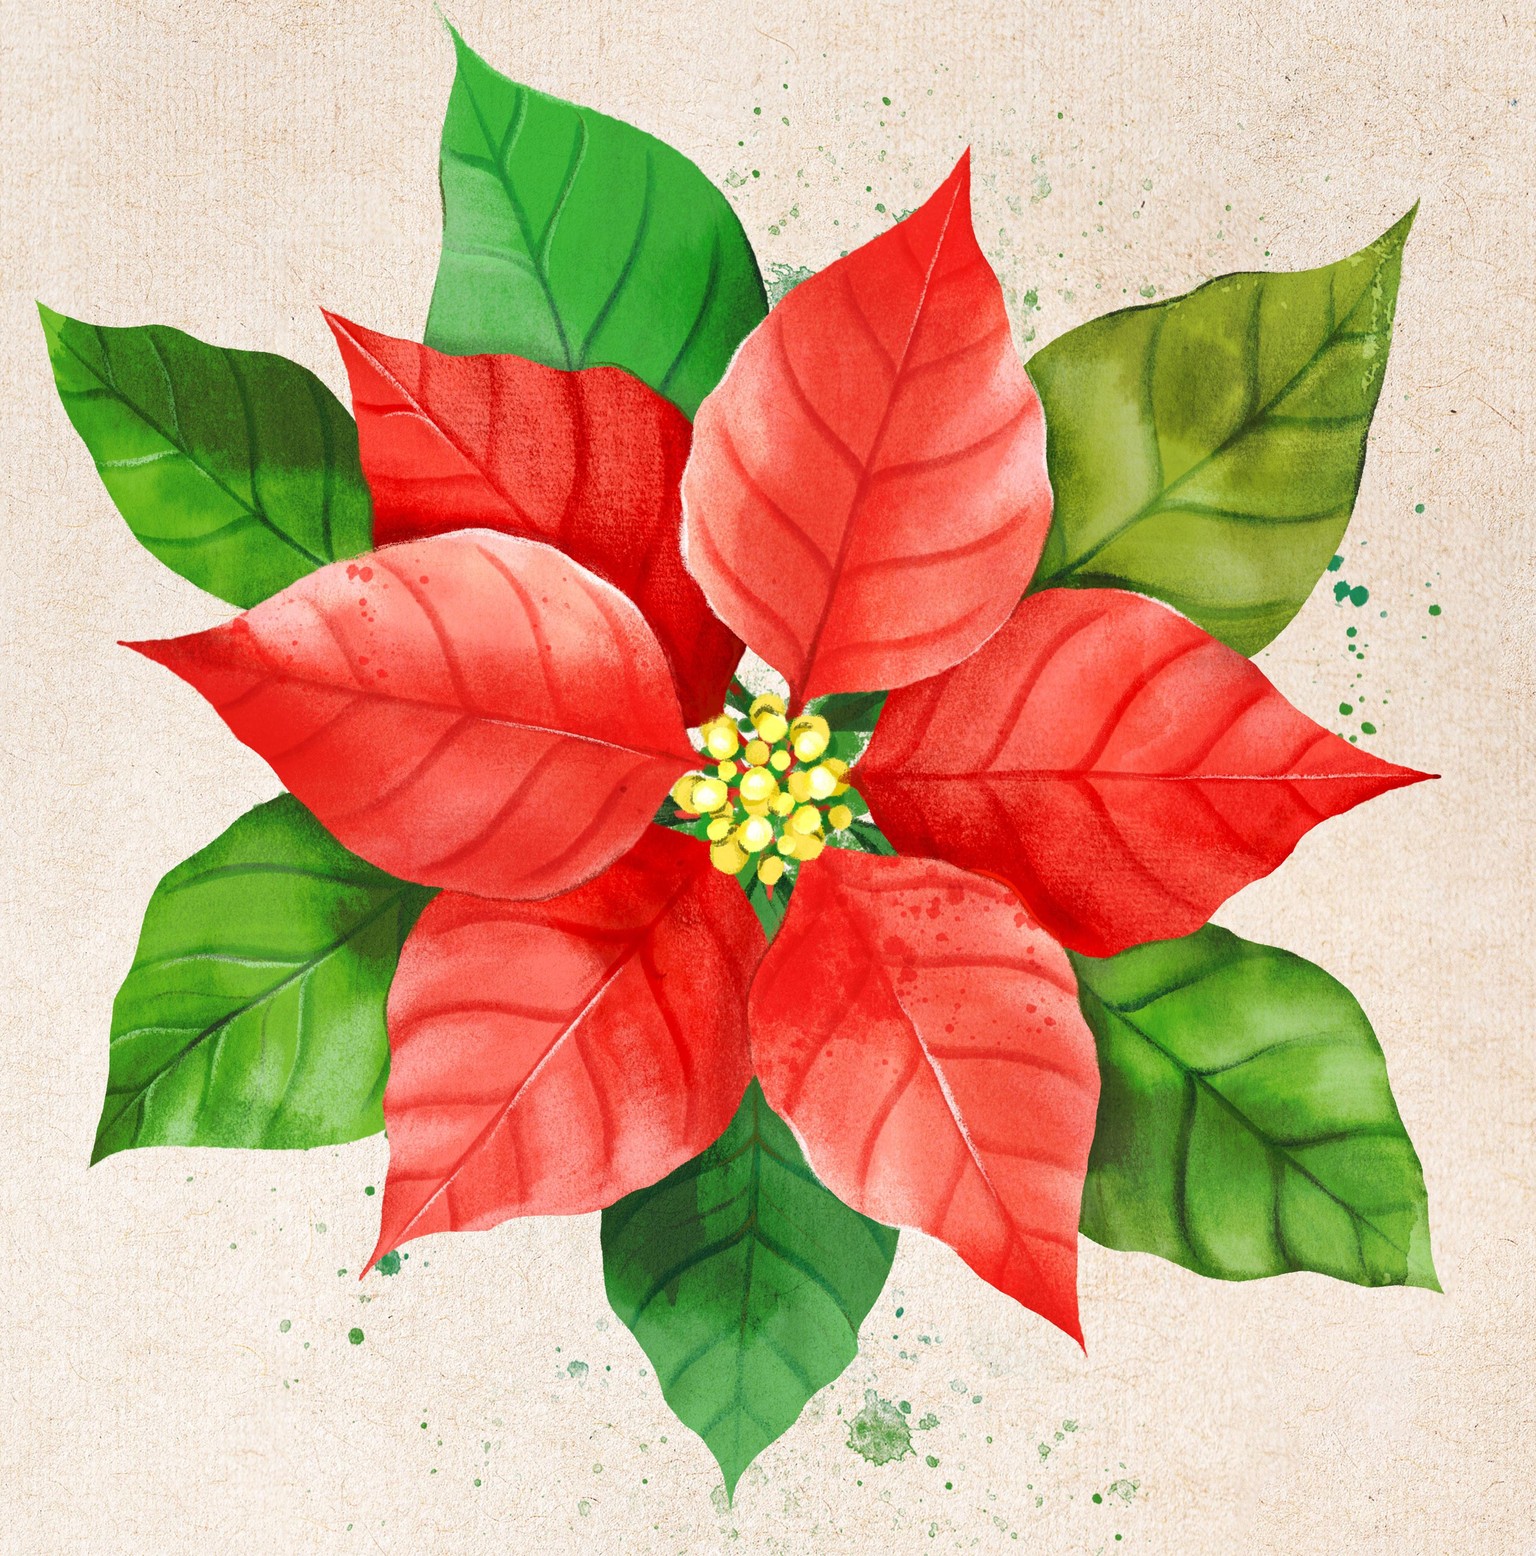
2. Close-up details
I’ve included a larger version so you can see all the details up close — the soft shading, texture, light, and depth we worked on throughout the class.
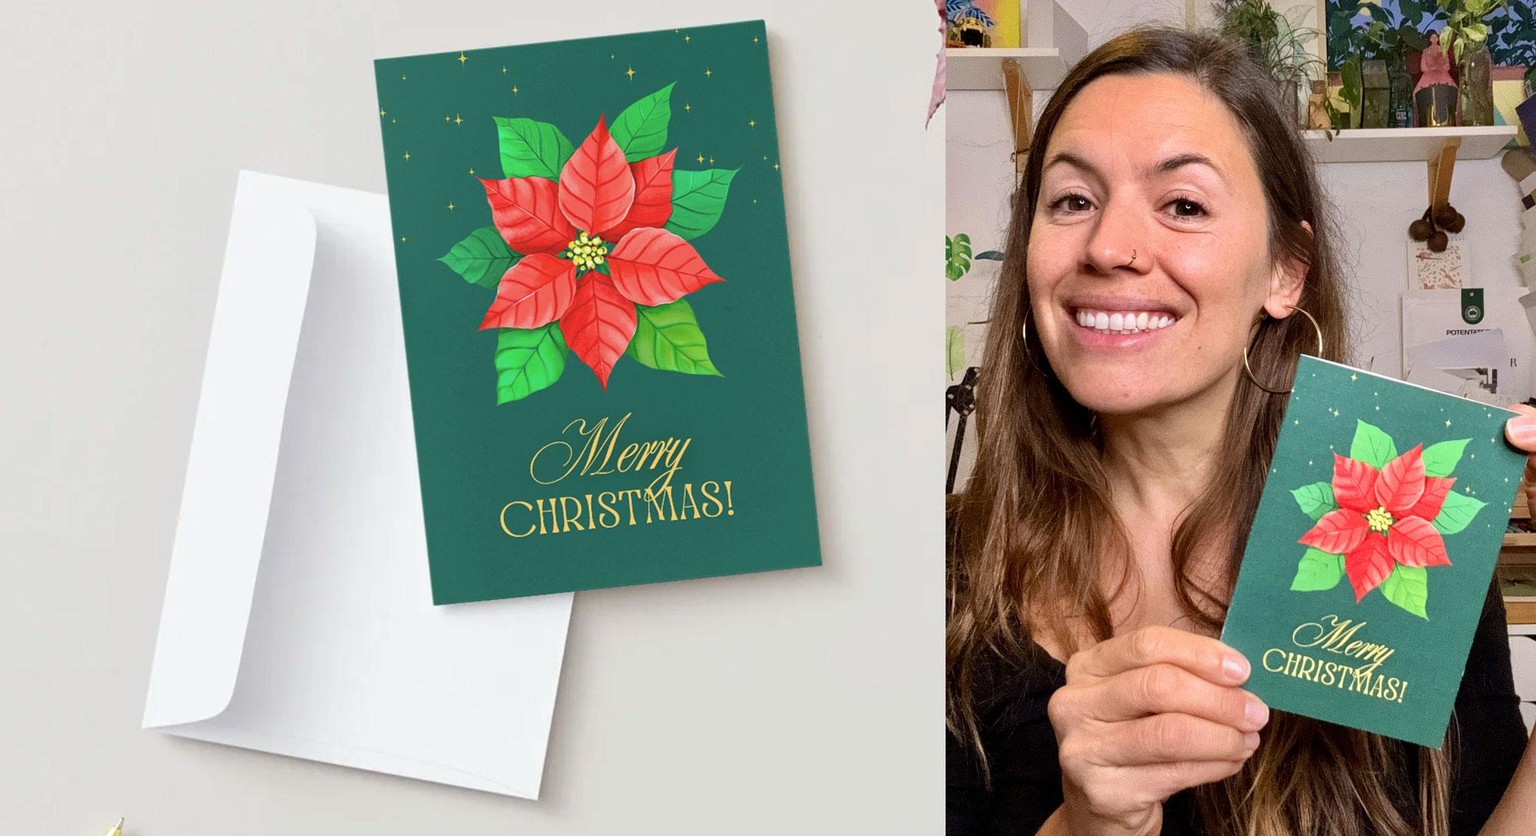
3. Printed Christmas card
I decided to take this one step further and printed my own Christmas card — and honestly, it turned out so beautiful.
This is what inspired me to add a bonus lesson to the class, where I show you exactly how to turn your poinsettia into a greeting card using Canva.
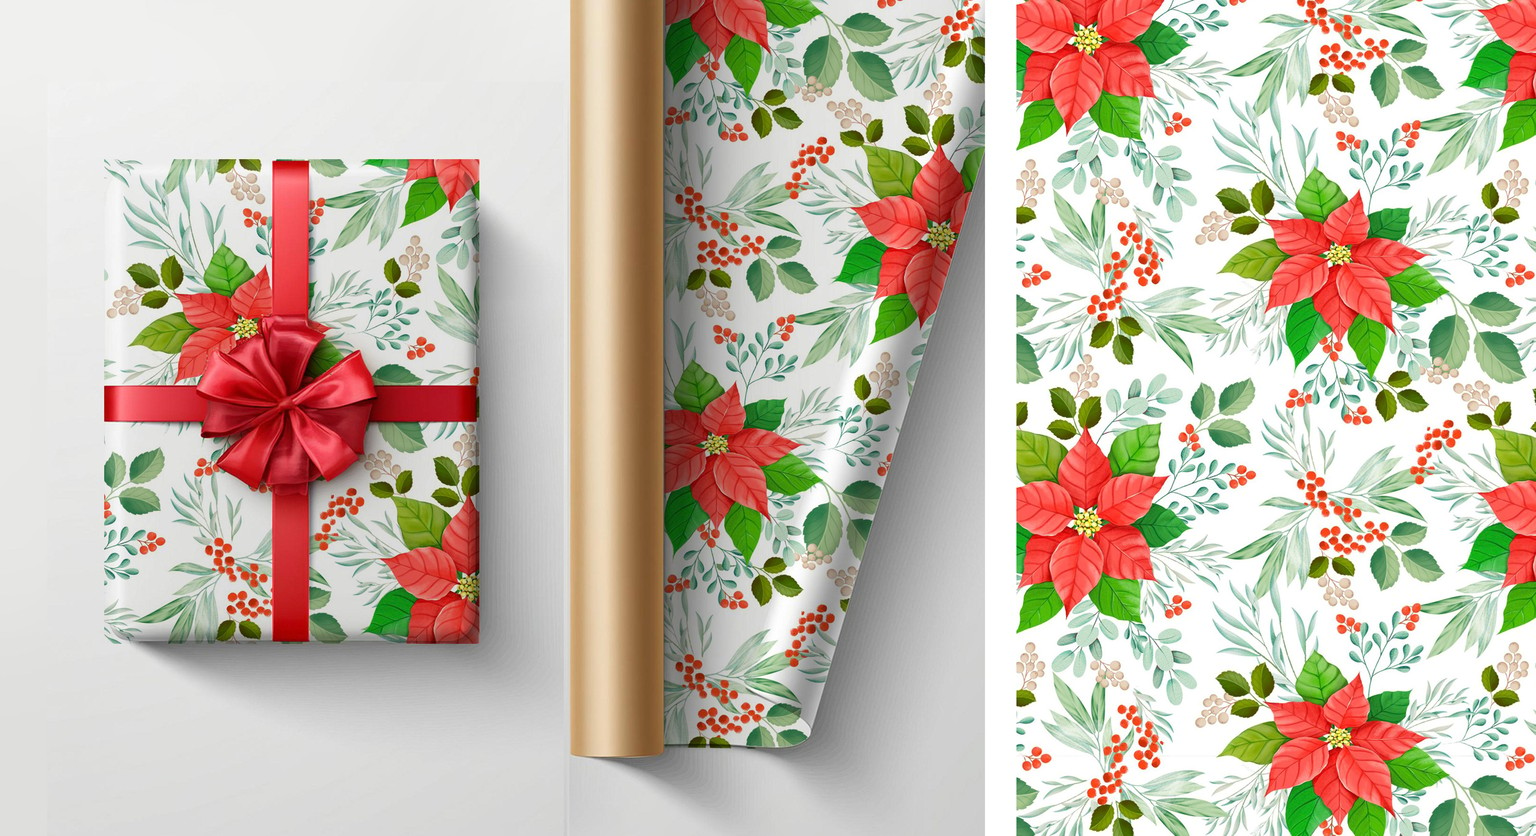
4. Pattern design
I also created a seamless pattern using this poinsettia.
If you’d love to learn how to do this too, I recommend checking out my class:
Patterns in Procreate: Supercharge Your Workflow with an Image Library, where I walk you through my full pattern-making process step by step.
I can’t wait to see how you use your own poinsettia — whether as a standalone illustration, a card, a pattern, or something completely unique!!!