Lighting and shading practice
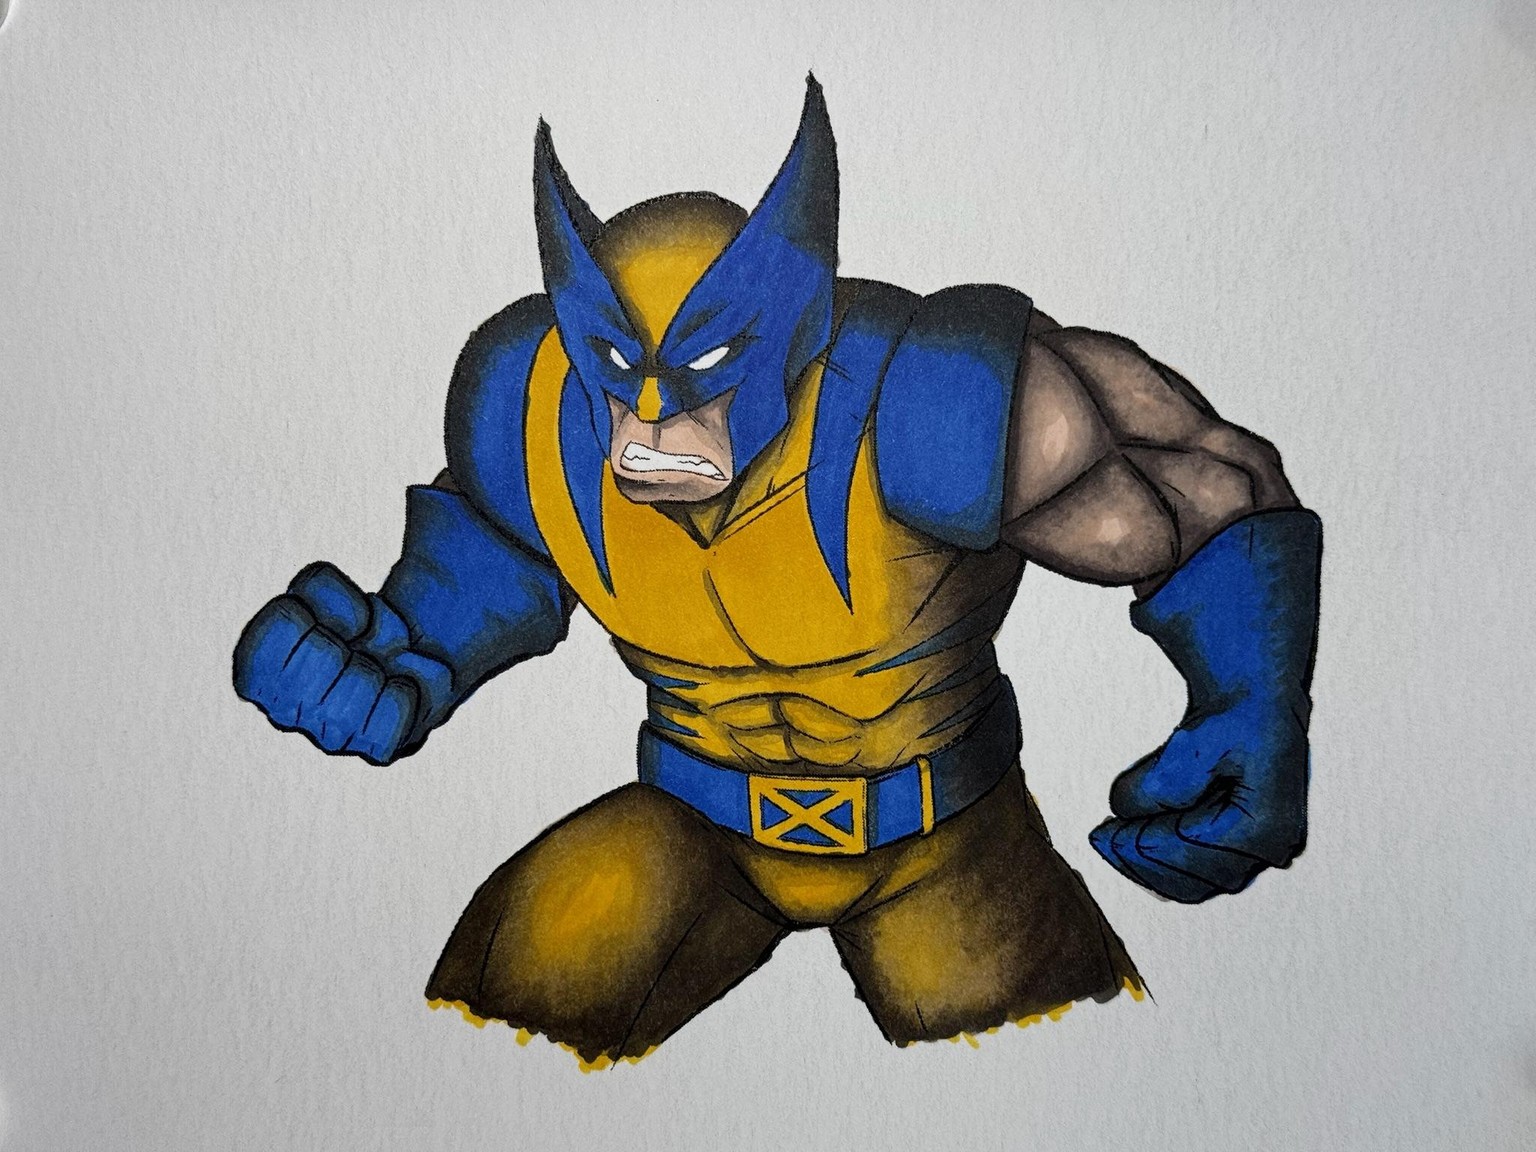
I finished the trio in the cover image with slightly different lighting after doing some shading practice with Wolverine (see pictures below). I used a combination of Altenew and Copic markers on Strathmore Smooth Bristol for the trio to do the realistic shading with more dramatic lighting. I found myself reaching for a few more grey markers than recommended to get the blending that I wanted, so it will just take more practice and runtime with the alcohol markers and paper to really understand them better. I also couldn't resist adding in an extra color for the skin.
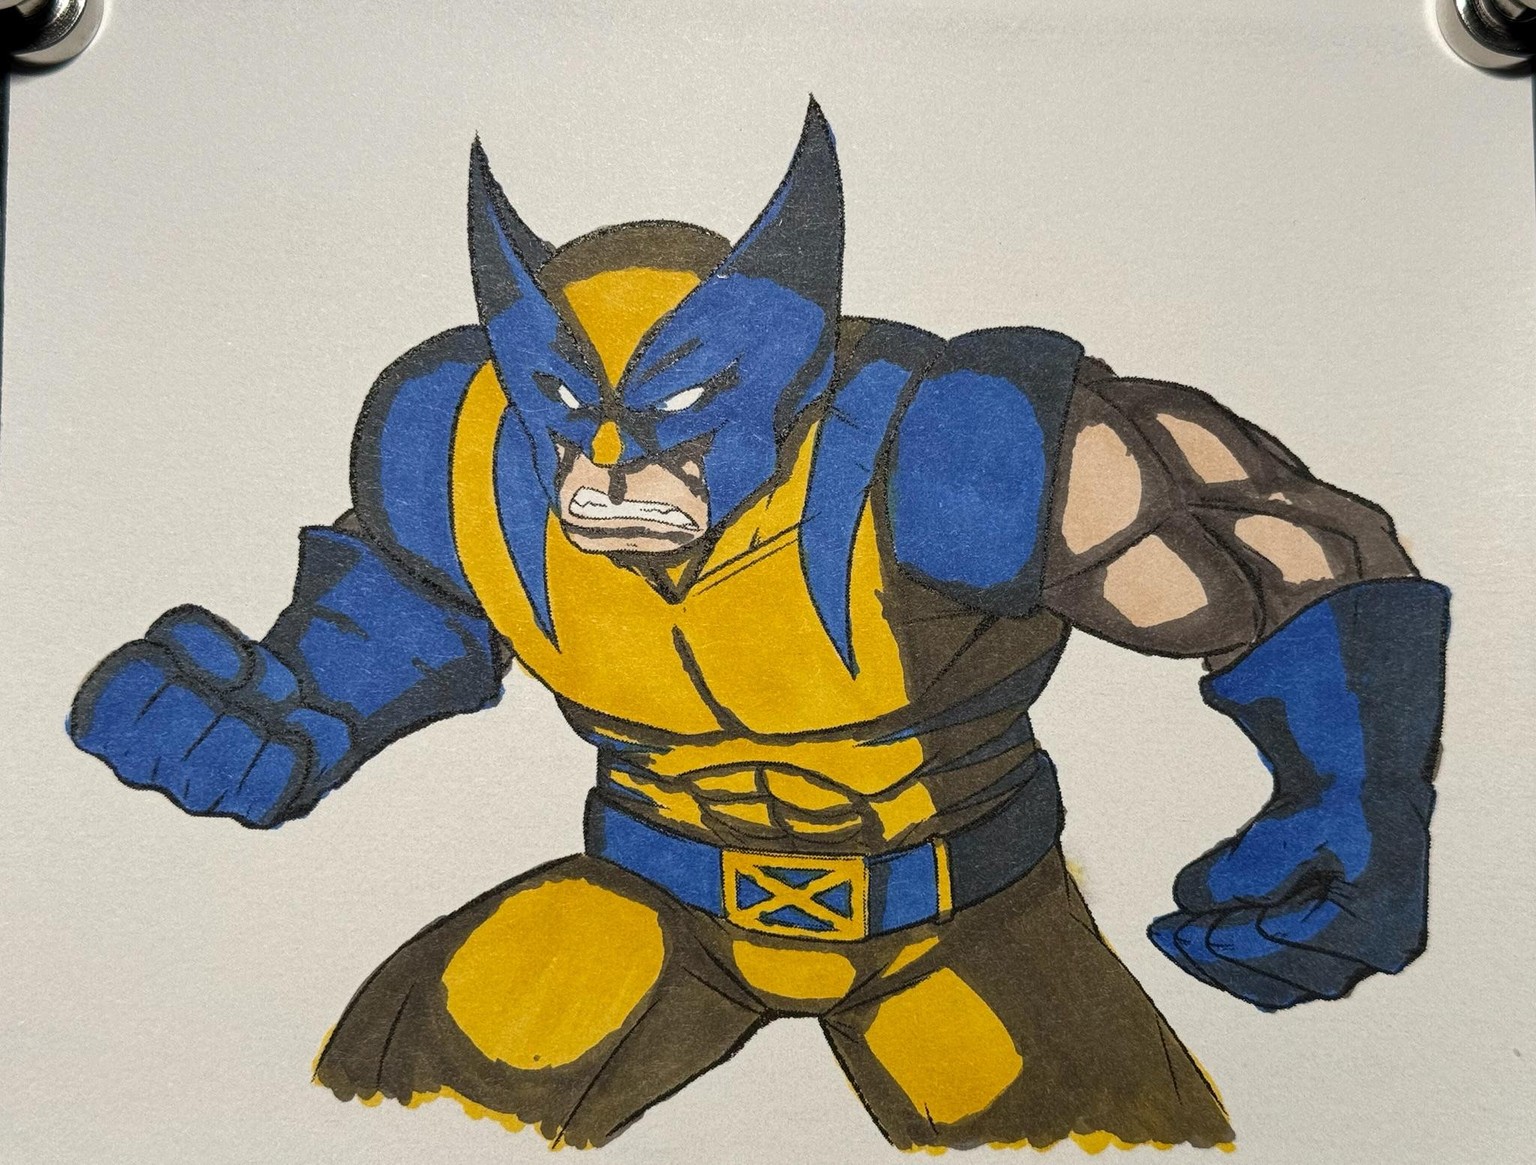
Cel shading is new to me; I'm more used to realistic shading in other mediums and found myself wanting to round off the edges with 2D shading. I took the opportunity to test out some different markers, papers, and lighting just to get more practice in. In the end, this was a really good class to help me to break through that psychological barrier that I had with working with alcohol markers for non-realistic subjects, but with realistic shading (and to understand the progression from cel shading to realistic shading).
This is Wolverine with 2D shading and Altenew markers on Hammermill cardstock.
This is Wolverine with realistic shading with Copic markers on Neenah cardstock.

This is Wolverine with realistic shading with Altenew markers on Neenah cardstock.