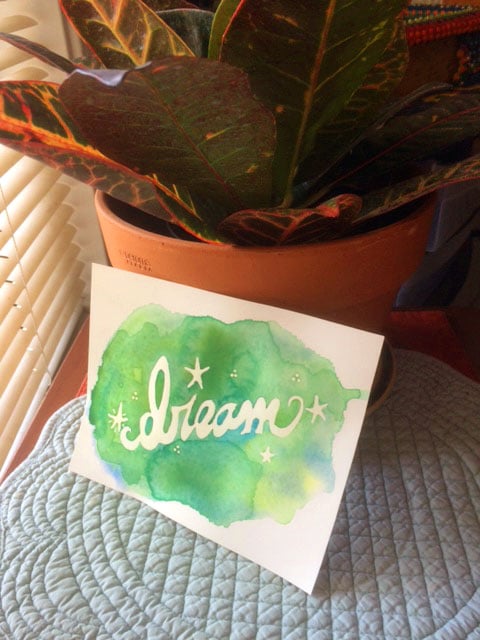
Create a "Mini" Watercolor Using the Negative Painting Technique
Are you Ready? Let's Go!
First, gather your materials. You will need:
Watercolor Paper (small postcard size)
Watercolor Paints
Handwritten or Printed Words
Pencil or Graphite stick
Masking Fluid
1) Your paper: Make sure it is real watercolor paper made from cotton fibers, at least 140lb...regular drawing or printing paper will not help you to achieve this effect.
You may choose cold-pressed or hot-pressed paper, each is lovely and will have a different look in the final artwork. Just play and have fun to see what you like! (In the class demo I am using hot-pressed paper.)
2) Your paints. Again, quality matters! You only need 2-4 tubes of color, and I strongly recommend you purchase artist-grade watercolor paints. Winsor Newton, Daniel Smith, Maimeri are all good quality brands.
Choose colors that are harmonious with each other. This lesson is not about color theory, but as you experiment you will discover which colors "play nice" with each other, and which ones turn into a muddy mess when mixed.
3) Your words. This is your chance to make this project your own--choose a quote that means something to you, or a power-word, or even your initials or the name of a loved one...make it special!
4) Your font. Try to handwrite your word(s) or find and print a font, whichever you are more comfortable with.
You can create as many small projects as you like until you find the color blends you like the best, before making a larger project.
And finally, if you feel comfortable, share your project on Skillshare! I would love to see your wonderful creations :)