Wood Troll
This was probably a foolishly ambitious project for a first-timer. All told, it took me 30 hours and a lot of headaches, but I'm completely in love with her.
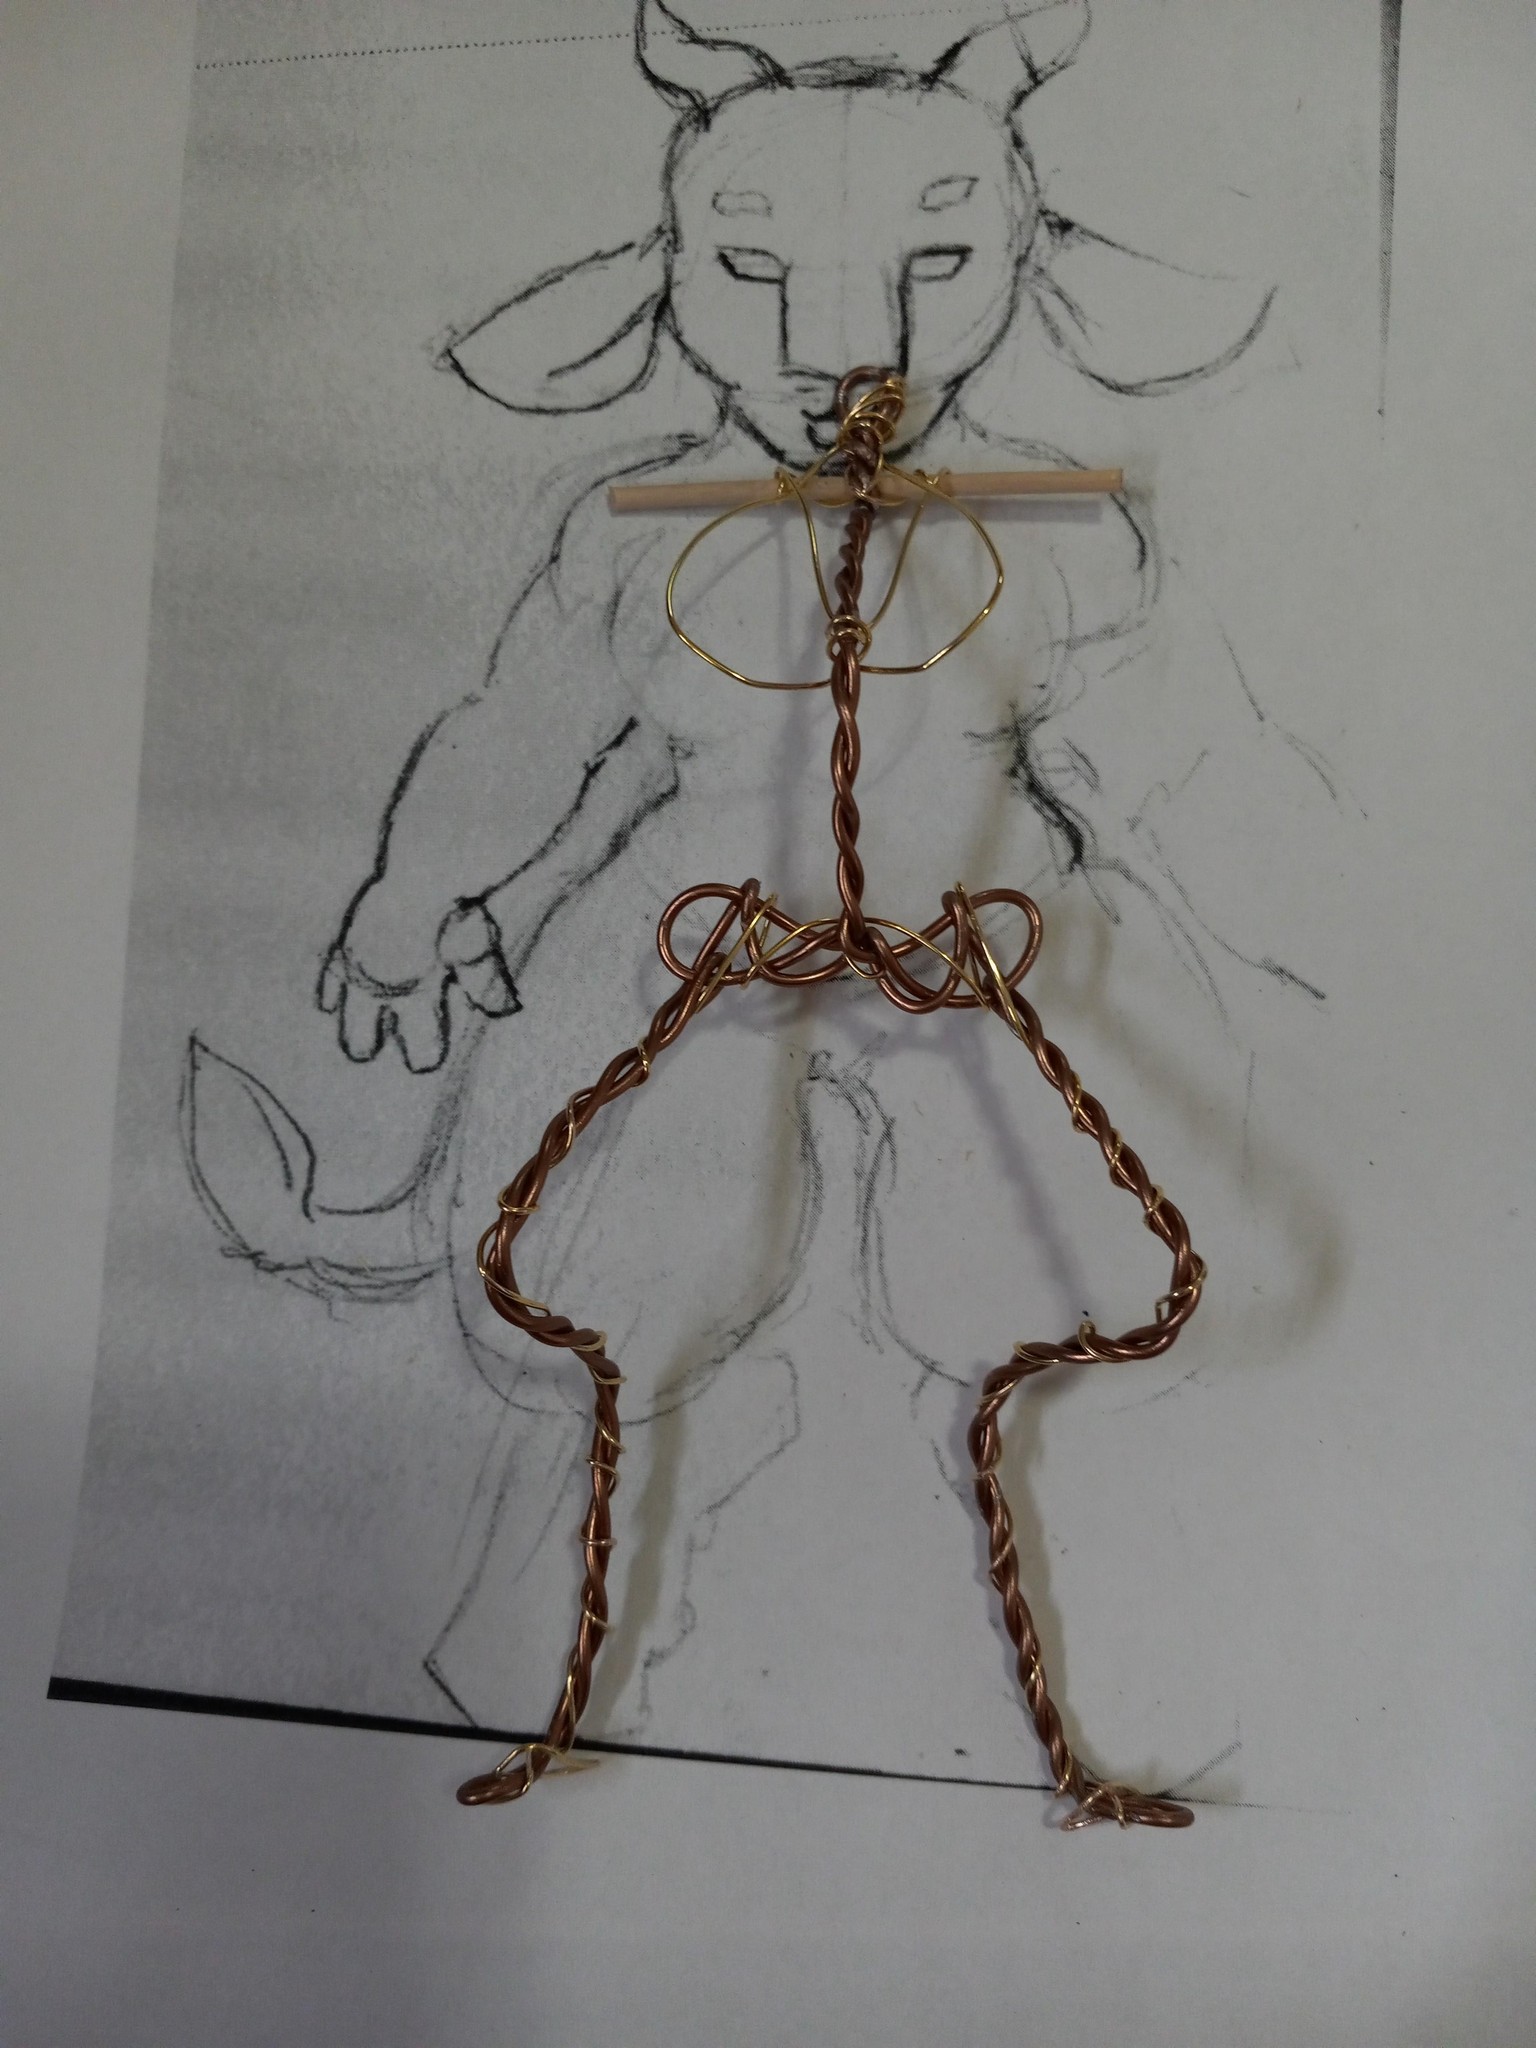
I started with a scale draft like the tutorial showed. That turned out to be a lifesaver. The head turned out larger than I wanted, but I was able to size up and re-print my draft to the correct scale. The scale draft also helped a lot when making the wire armature.
Sculpting was a lot of fun. I followed the course tips for eyes and used milky-blue glass beads. I actually loved the translucent, kind of otherworldly effect. I found a hobbyist's dotting tool and a cone-shaped kid's plastic sculpting tool to be the most useful, but I've bought a few stainless steel ones for my next project.
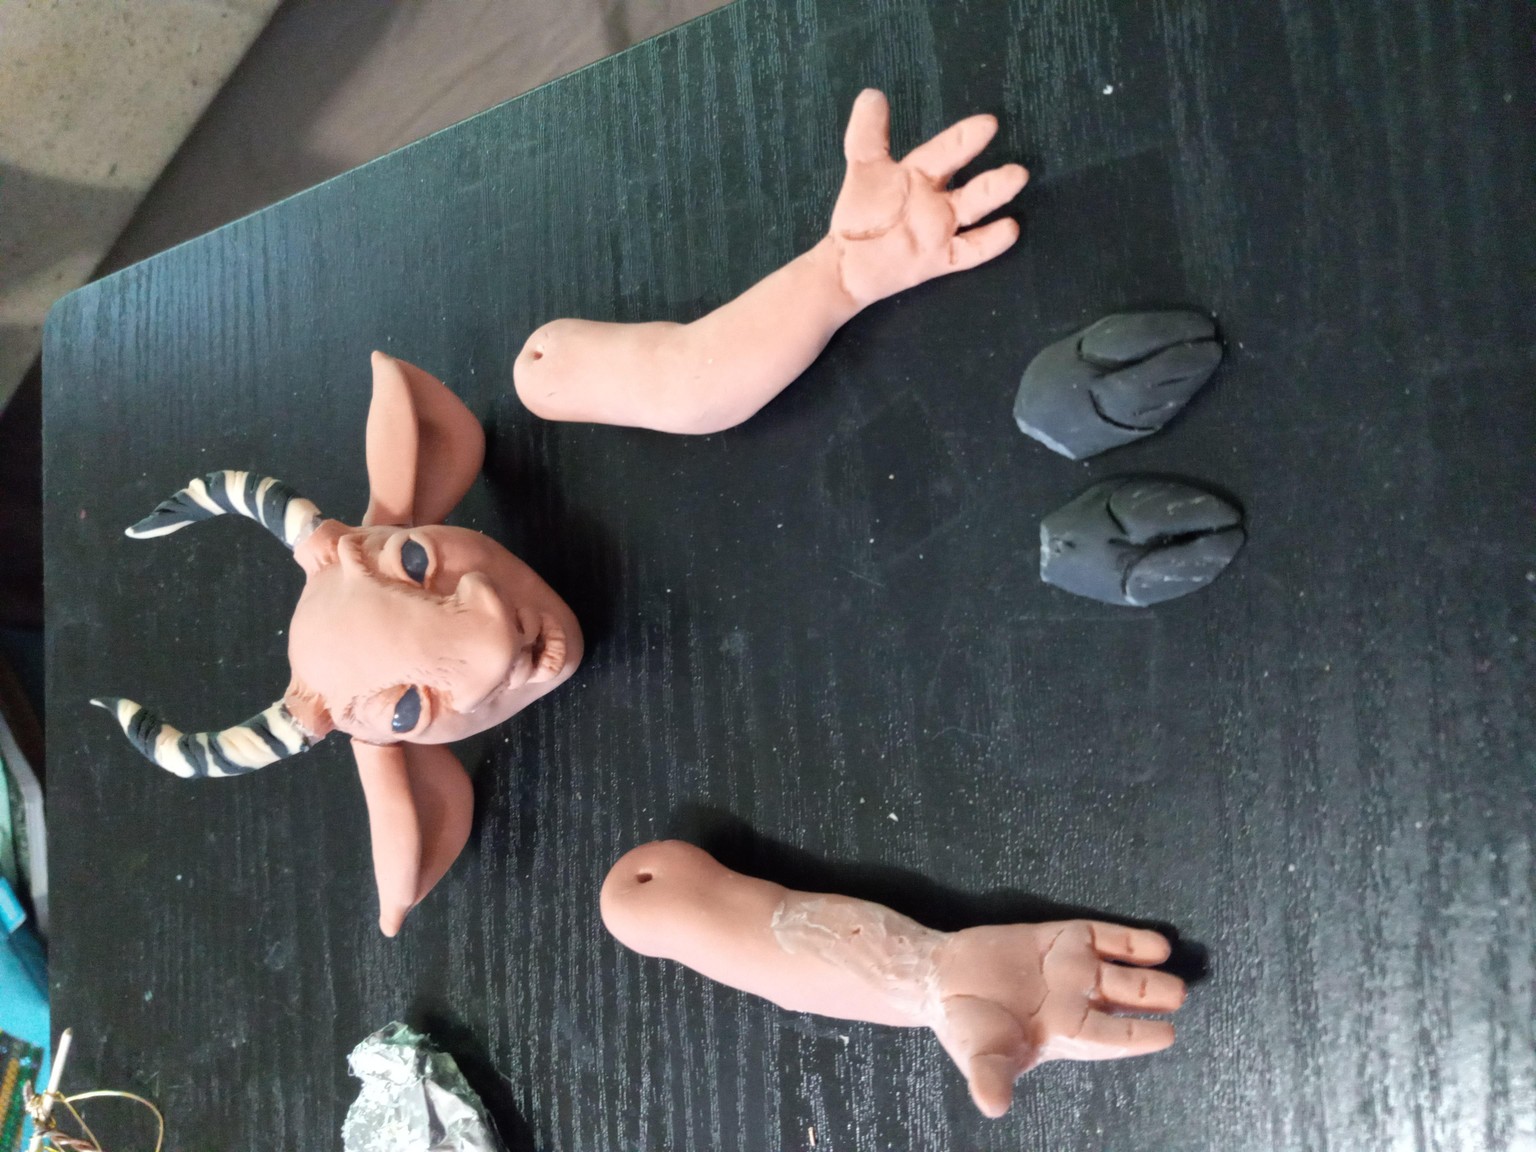
My husband had a hobby file with a elliptical contour, which came in handy when one of the arms turned out to need some re-shaping after baking.
Painting went beautifully at first, but my inexperience ran me into problems. I used Vallejo acrylic primer, paints, and varnish on top of a generic polymer clay from Amazon. The finish ended up really sticky, and it looked like I was in serious trouble as the paint started peeling and collecting dust.
After a bit of research (which I should have done first) I found that Vallejo causes problems with many polymer clays. I ended up troubleshooting with a UV resin top coat. It did change my nice matte finish to high gloss, but it worked!
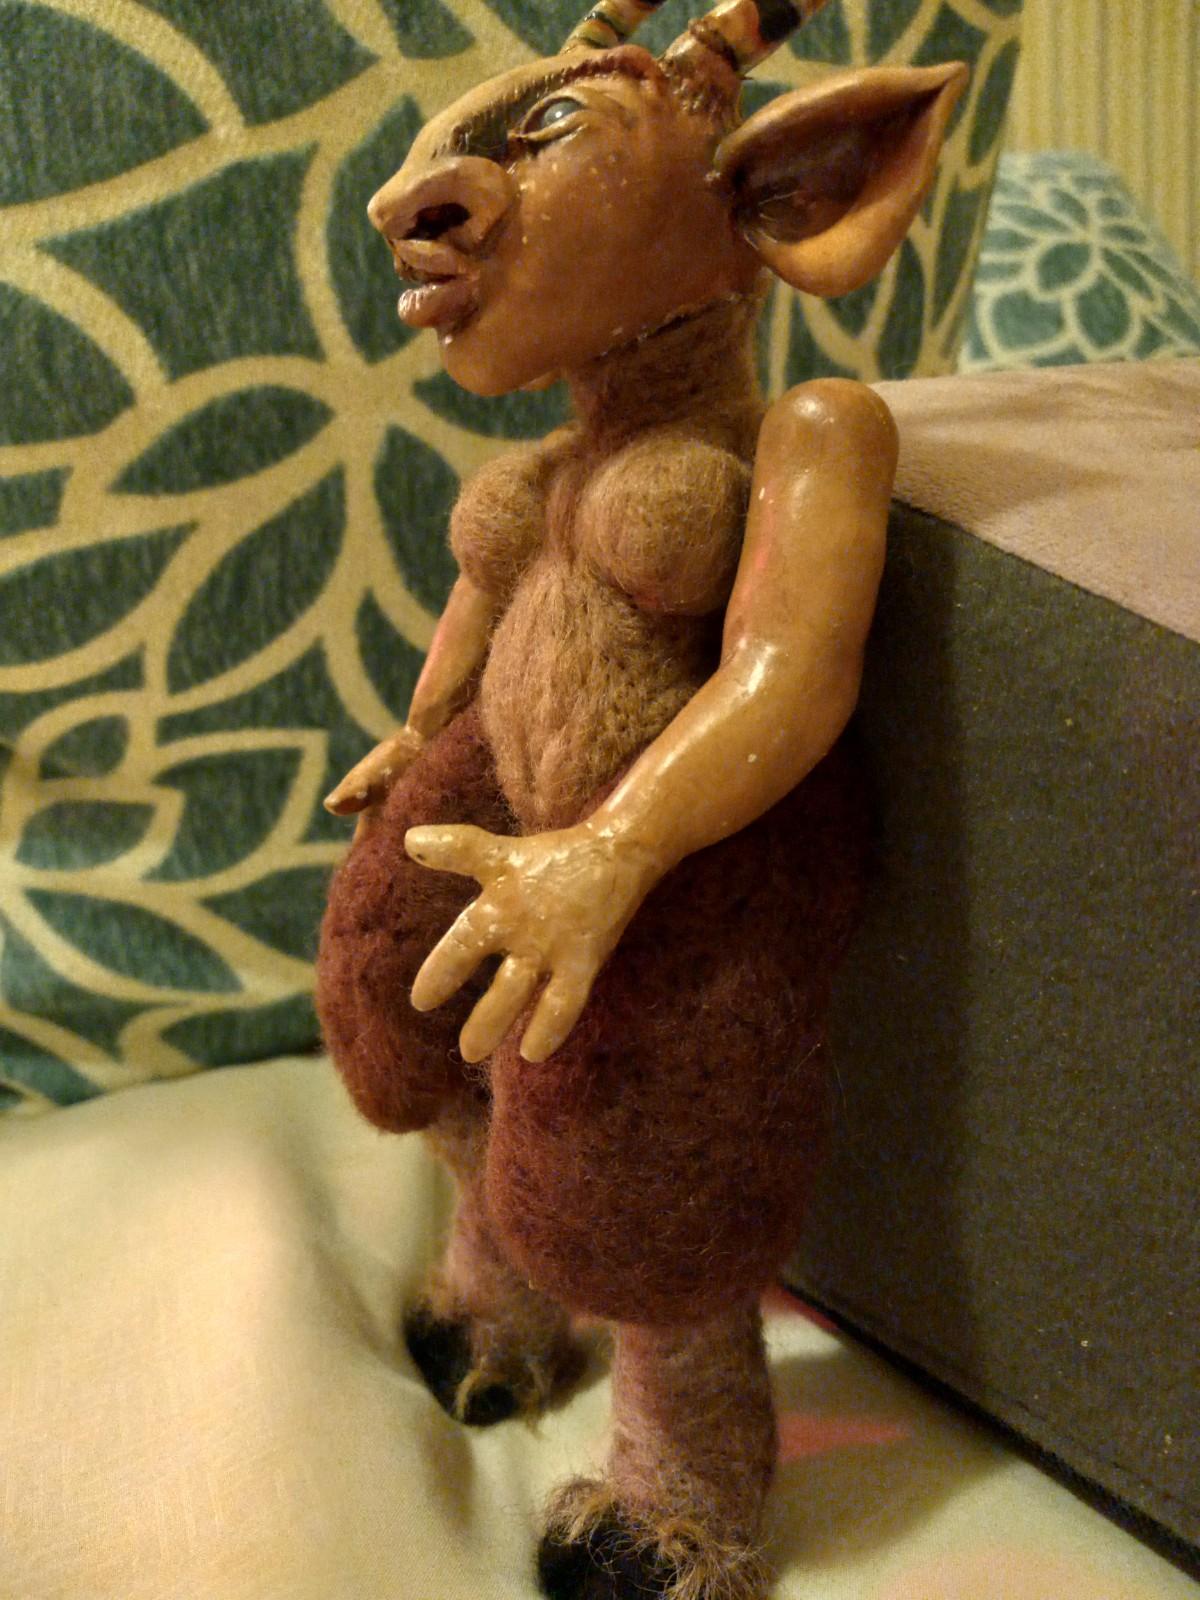
Progress after painting and assembling, but before finishing with UV resin and hair/texture details. I felted the body over the wire armature. I had to scrap the hooves I made because they were way too small! Next time I'll go for oversized feet and bake them on the armature wire for sturdier legs. I also should have sculpted the arms on wires and added them before felting the body. They were a pain to attach and I had to adjust a lot to make them hang at the right angle. For the head, I felted the neck longer and bulkier than I needed it so it would fit tightly into the hole in the base of the skull. I glued it in with a mixture of hot glue and Fabric Fusion.
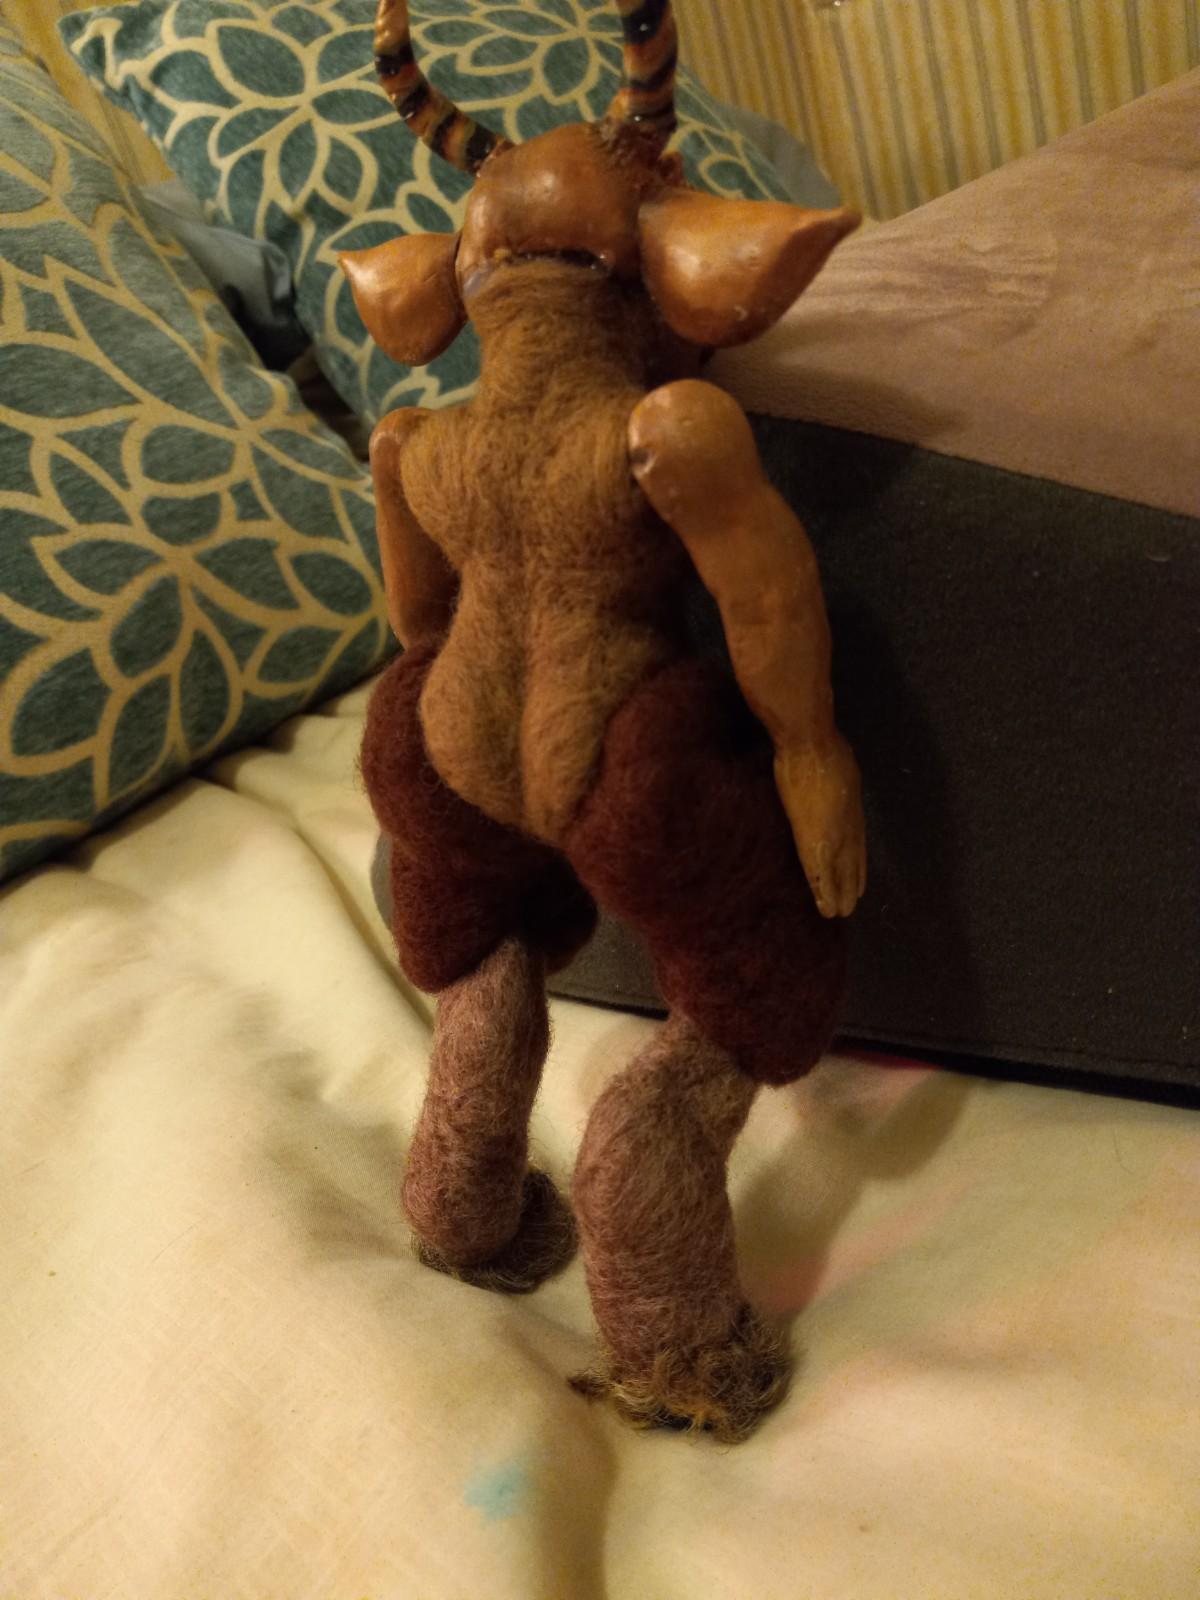
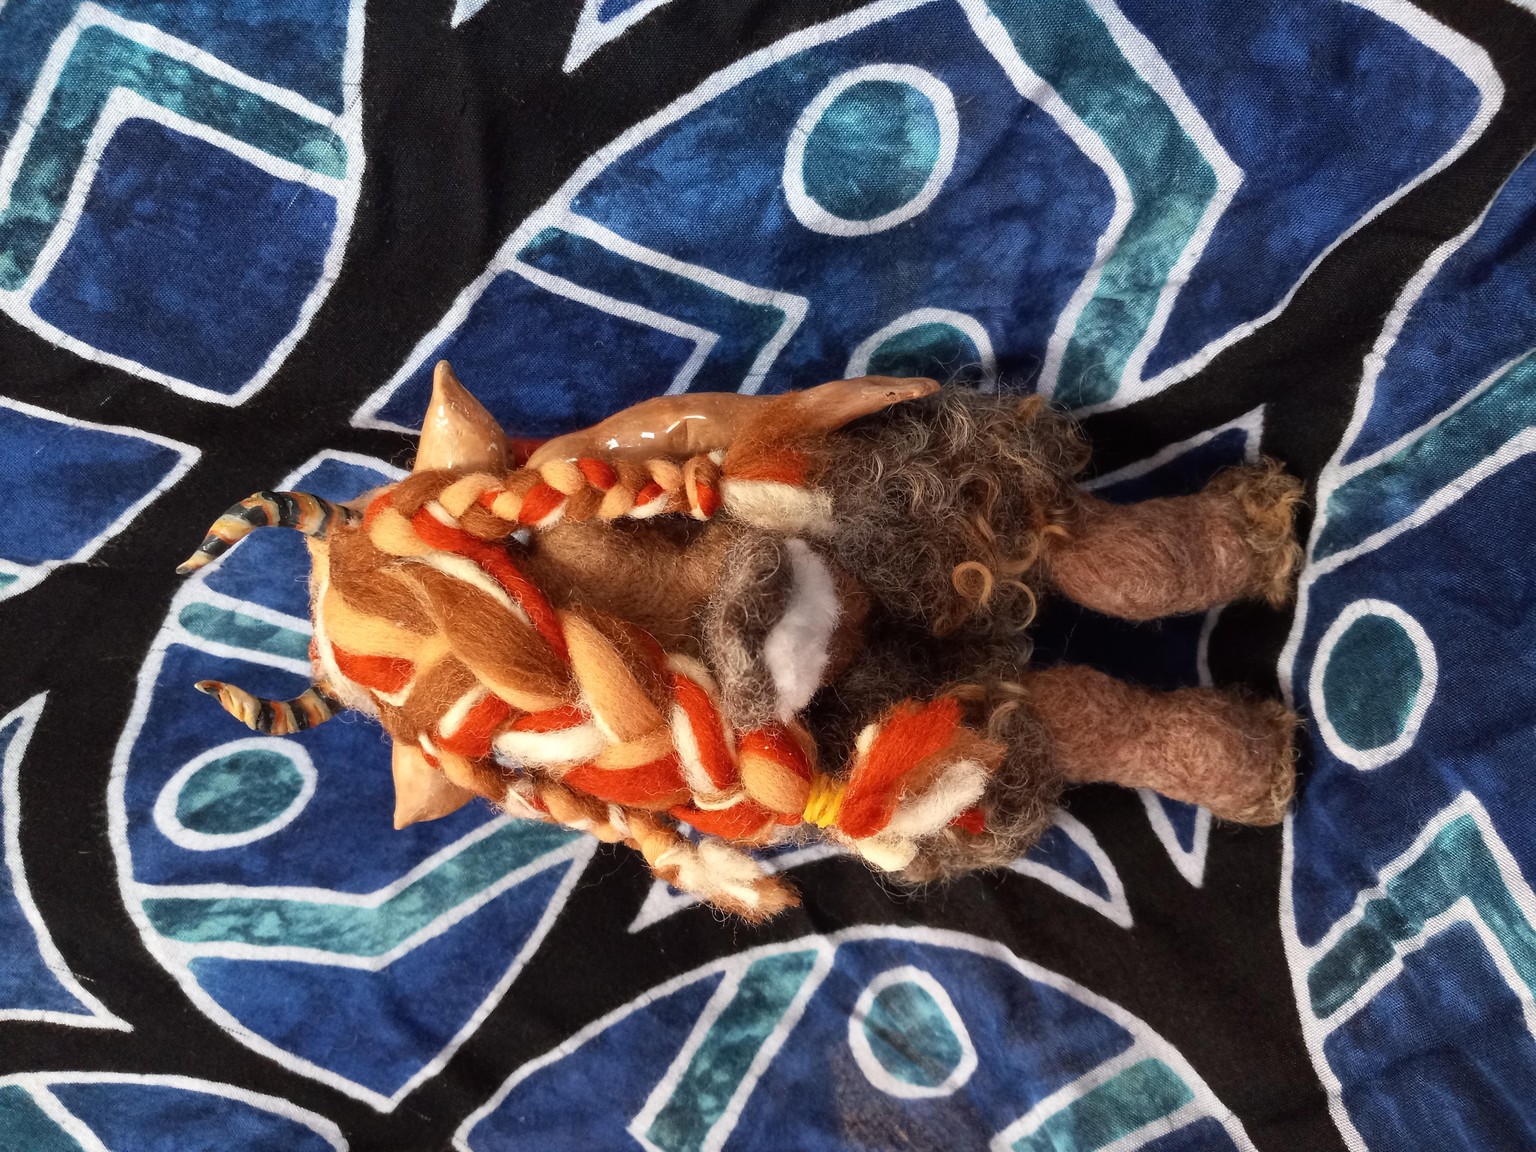
Here's the finished doll after I completed the wig, additional leg fur, and tail. Her upper legs are textured with locks of natural dark Wensleydale wool. 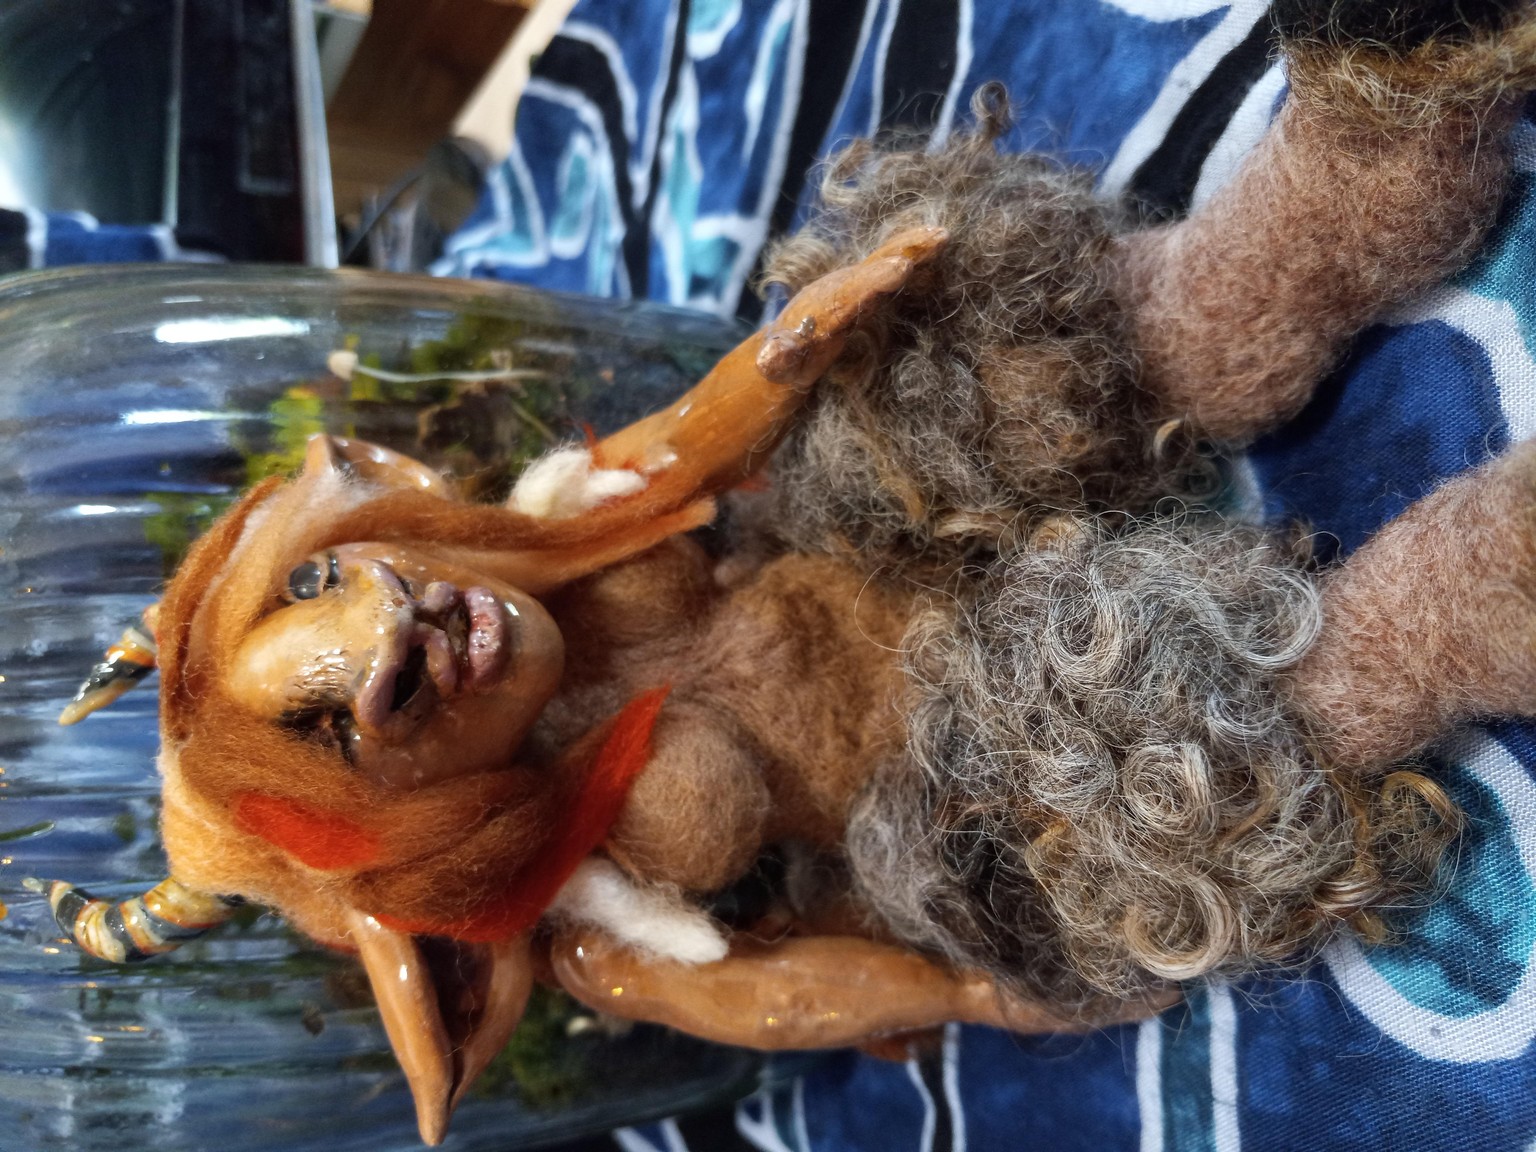
She doesn't quite stand on her own, but because of the flexible wire armature she can sit up.
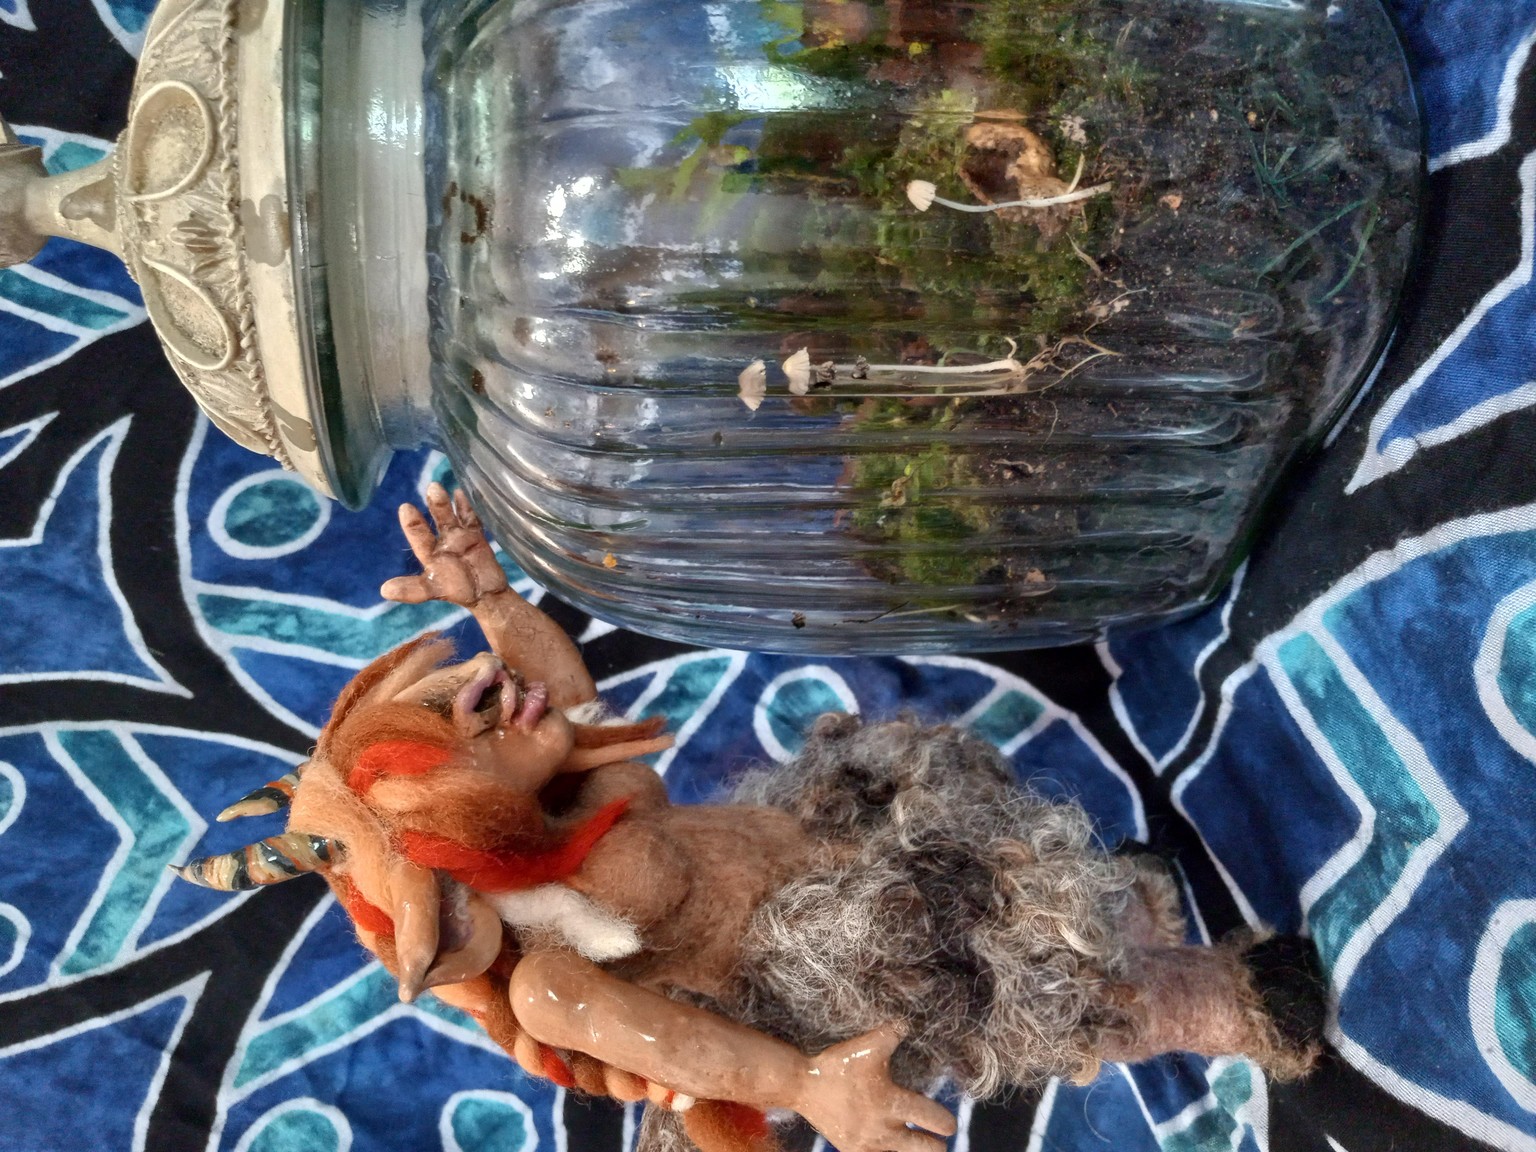
Her hair is mixed wool roving and off-cuts from hand-spun wool. I looked at lots of tutorials on wigging dolls, but I ended up hand-gluing the hair. My materials were just impractical for making wefts, and my doll's skull shape, ears, and horns made normal techniques a pain. Tacky glue worked like a charm! I had to protect the rest of the doll with cling film and masking tape to make and set the wig. In the future, I'll try adding the hair before attaching the head.
Thank you so much for offering your classes! I had a great time and made something I'm really proud of. I went way too complicated for a first project, but I'm so pleased with the result and I've found a new medium that I can't wait to explore further!