Watercolour Project
Before I started to paint the class exercises I took a look at some projects and I was thinking that there is no way for me to do anything like that. Though it is not the first time I am using watercolour, I never used it properly before. So, I can be counted as a beginner.
My first try where I almost gave it up.
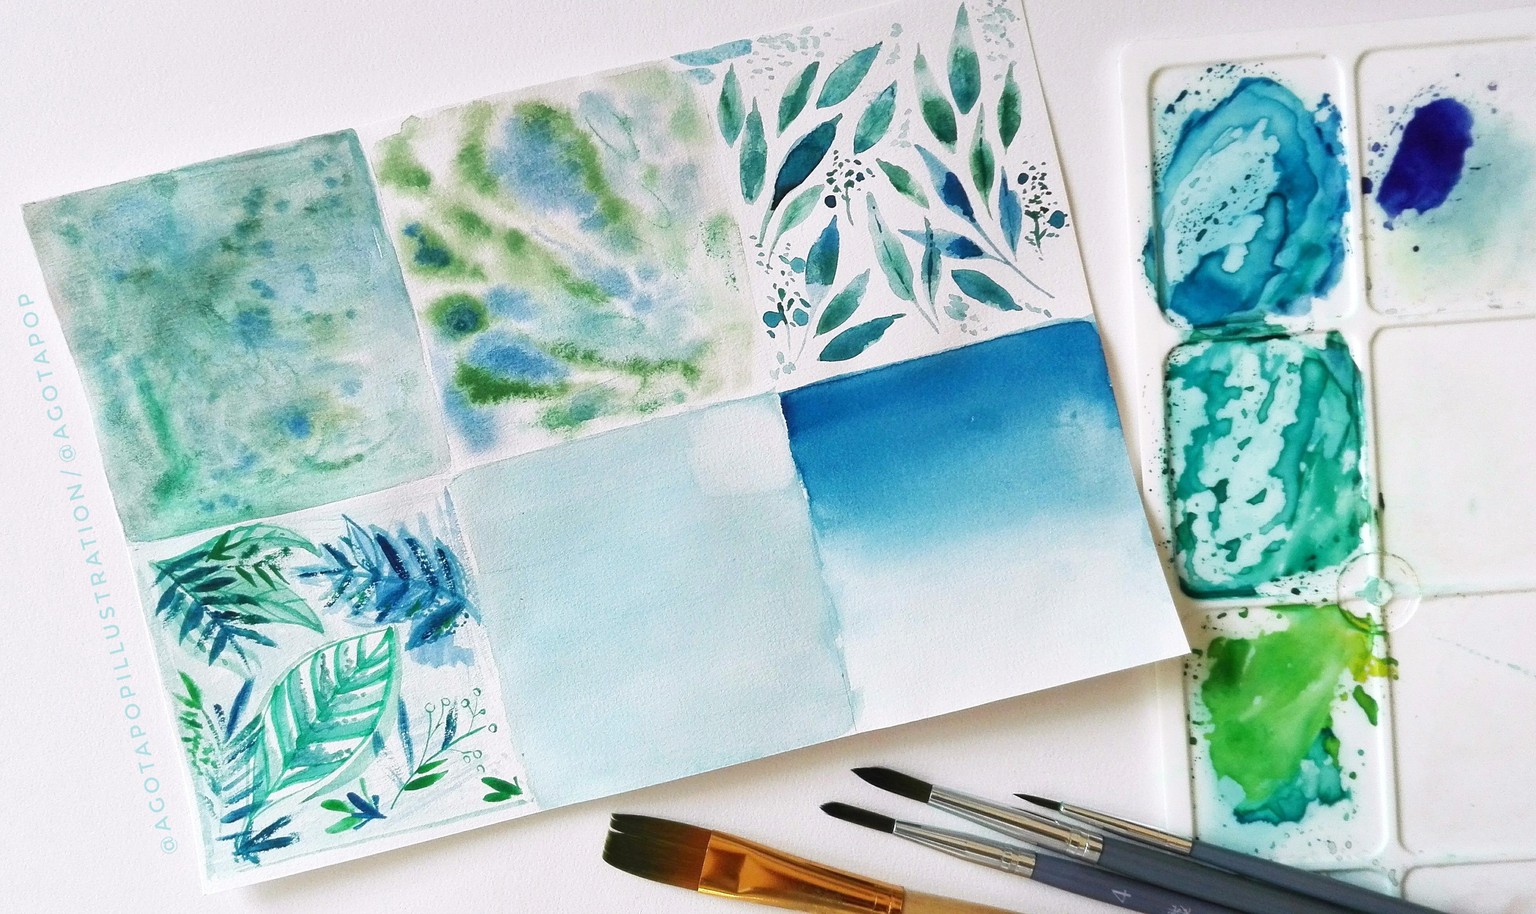
My second try.
I feel that the wet on wet and dry on wet is somehow not working out for me... Otherwise, I'm pretty happy, quite impressed. :) Finally, I think I started to get the picture on how to use watercolour.
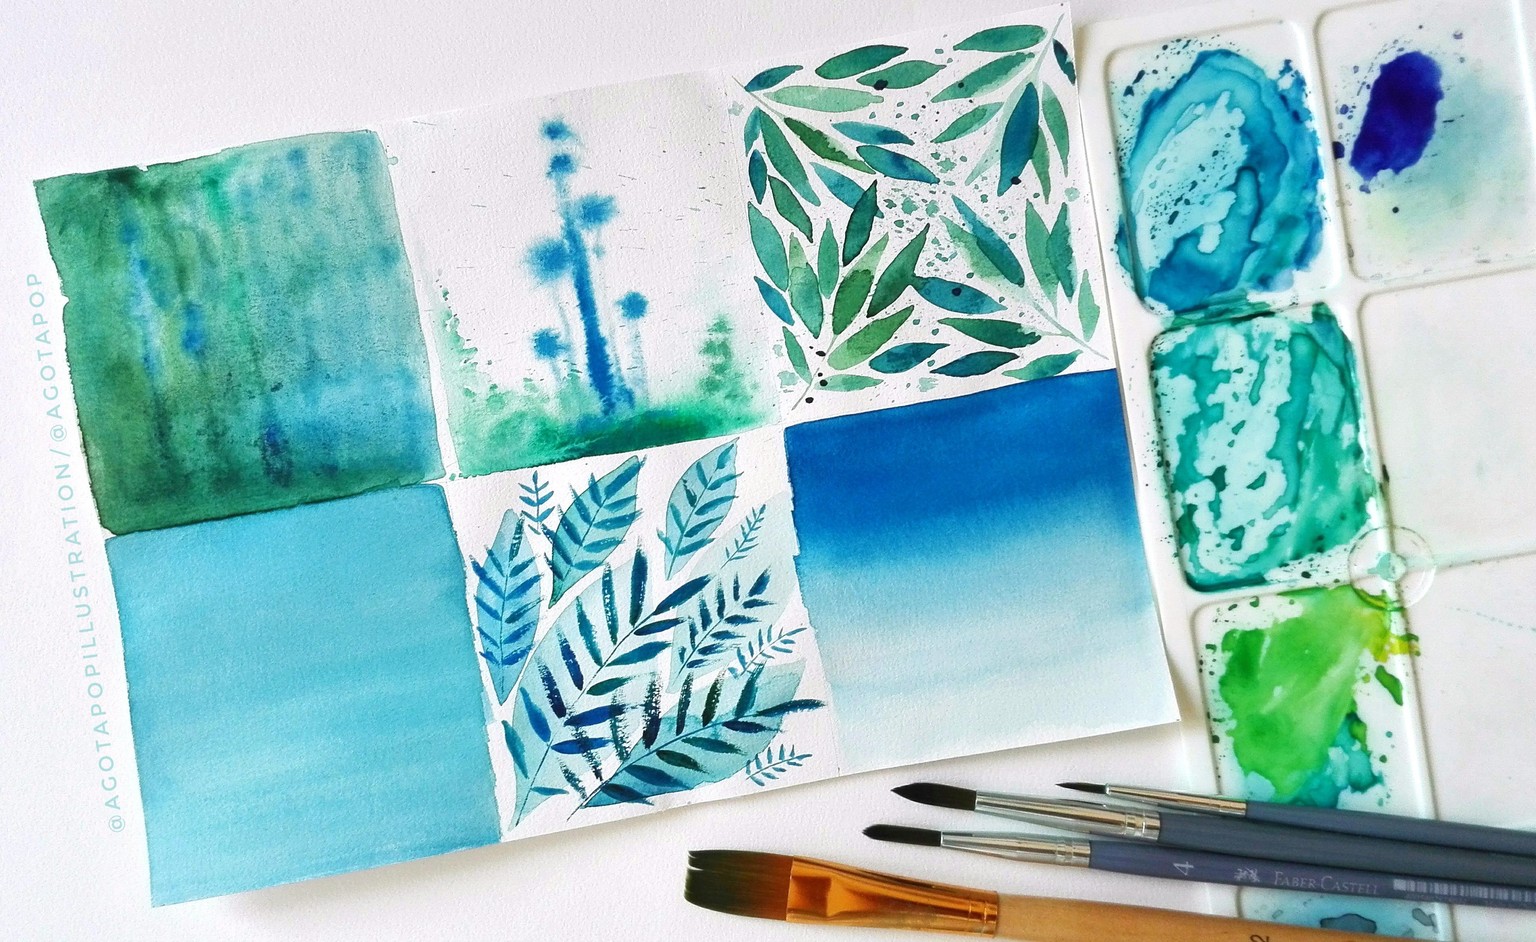
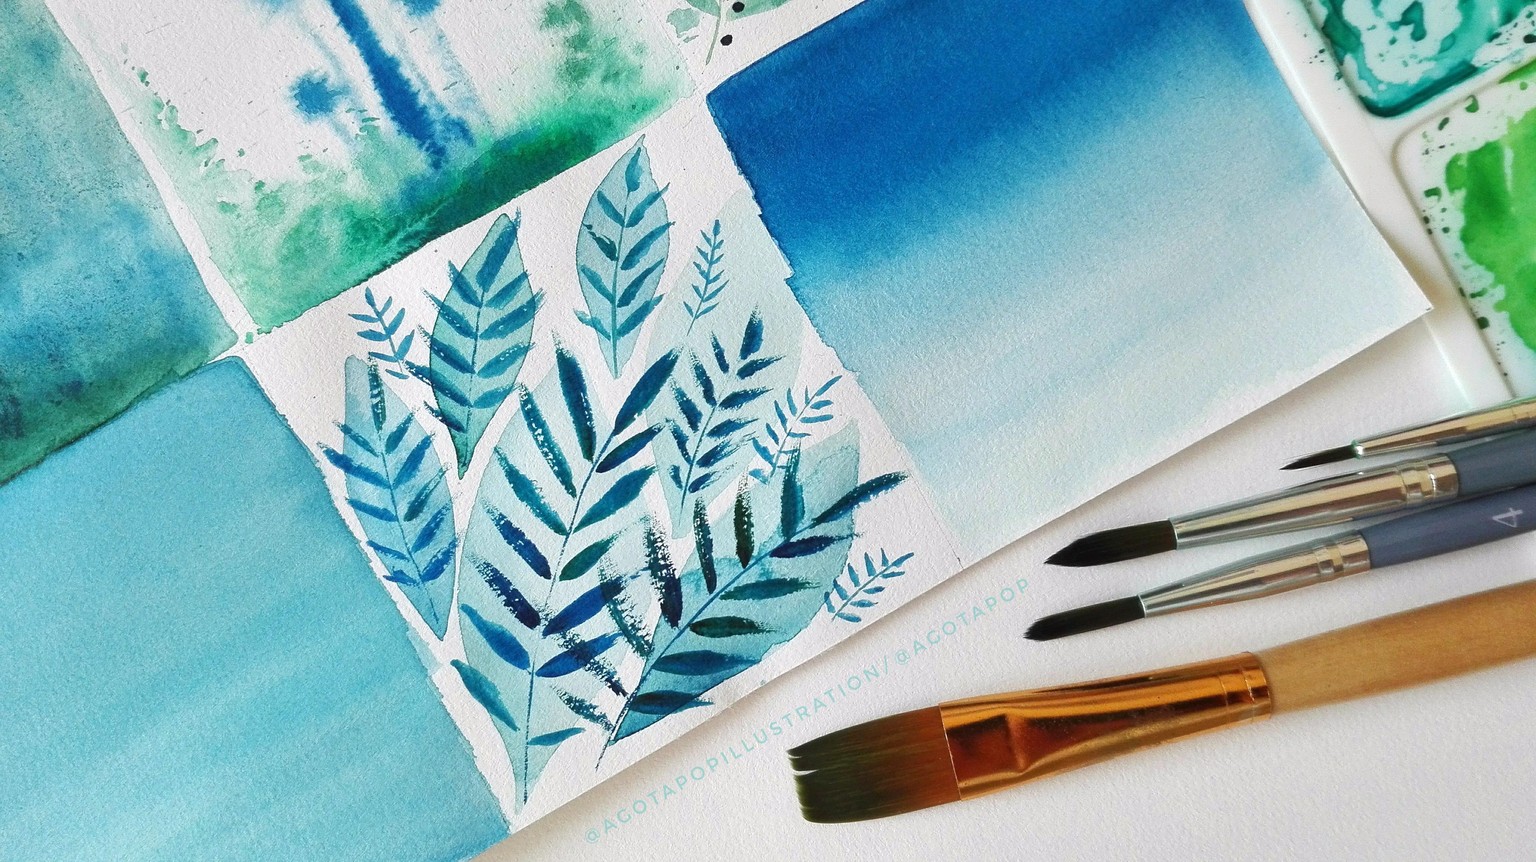
And some close-ups... Wet on dry.
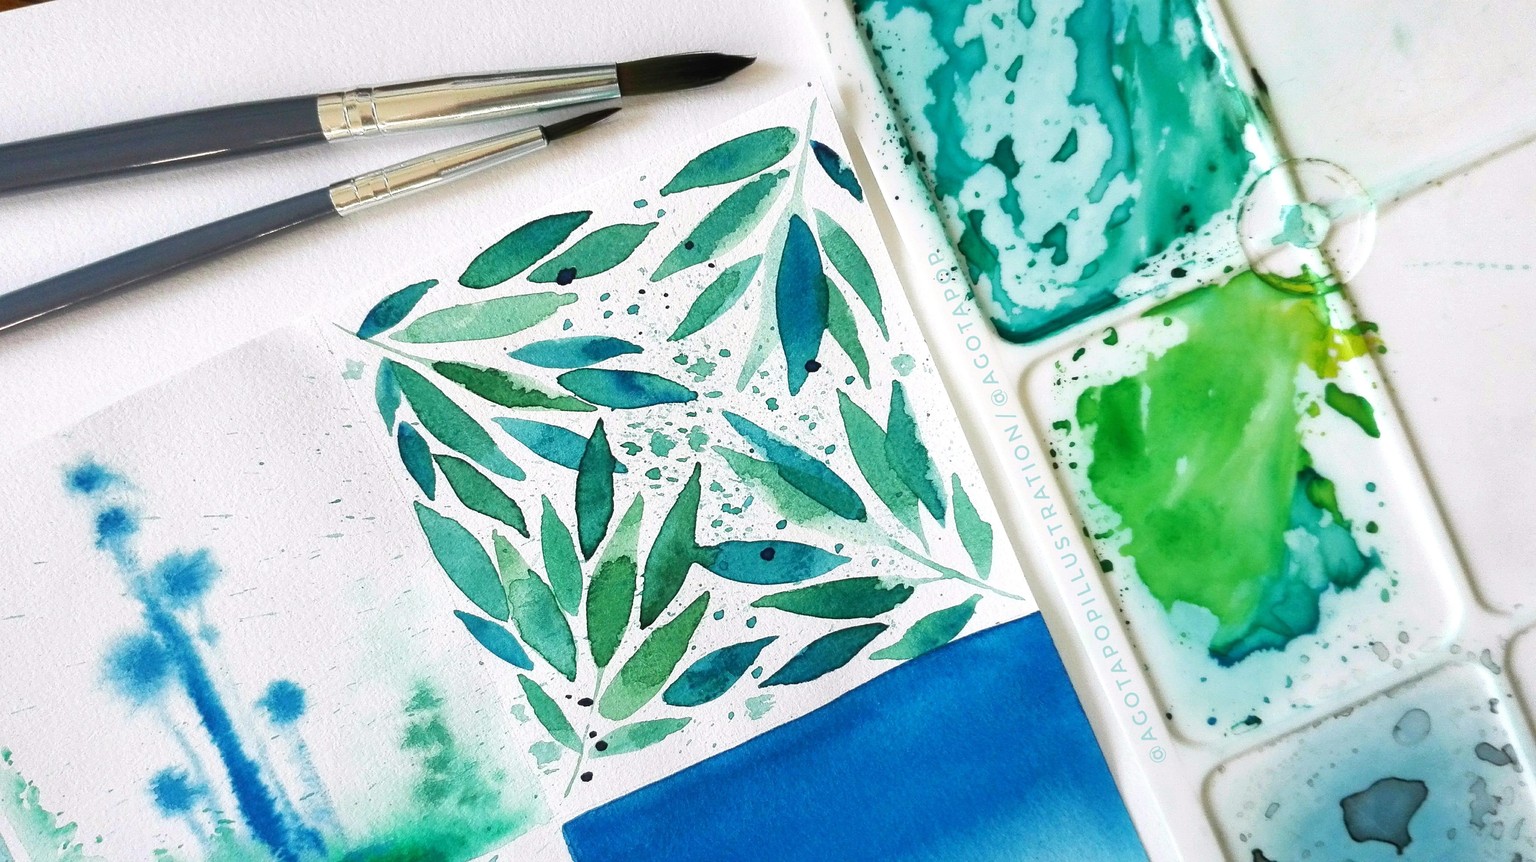
Dry on dry. Well, almost. :D
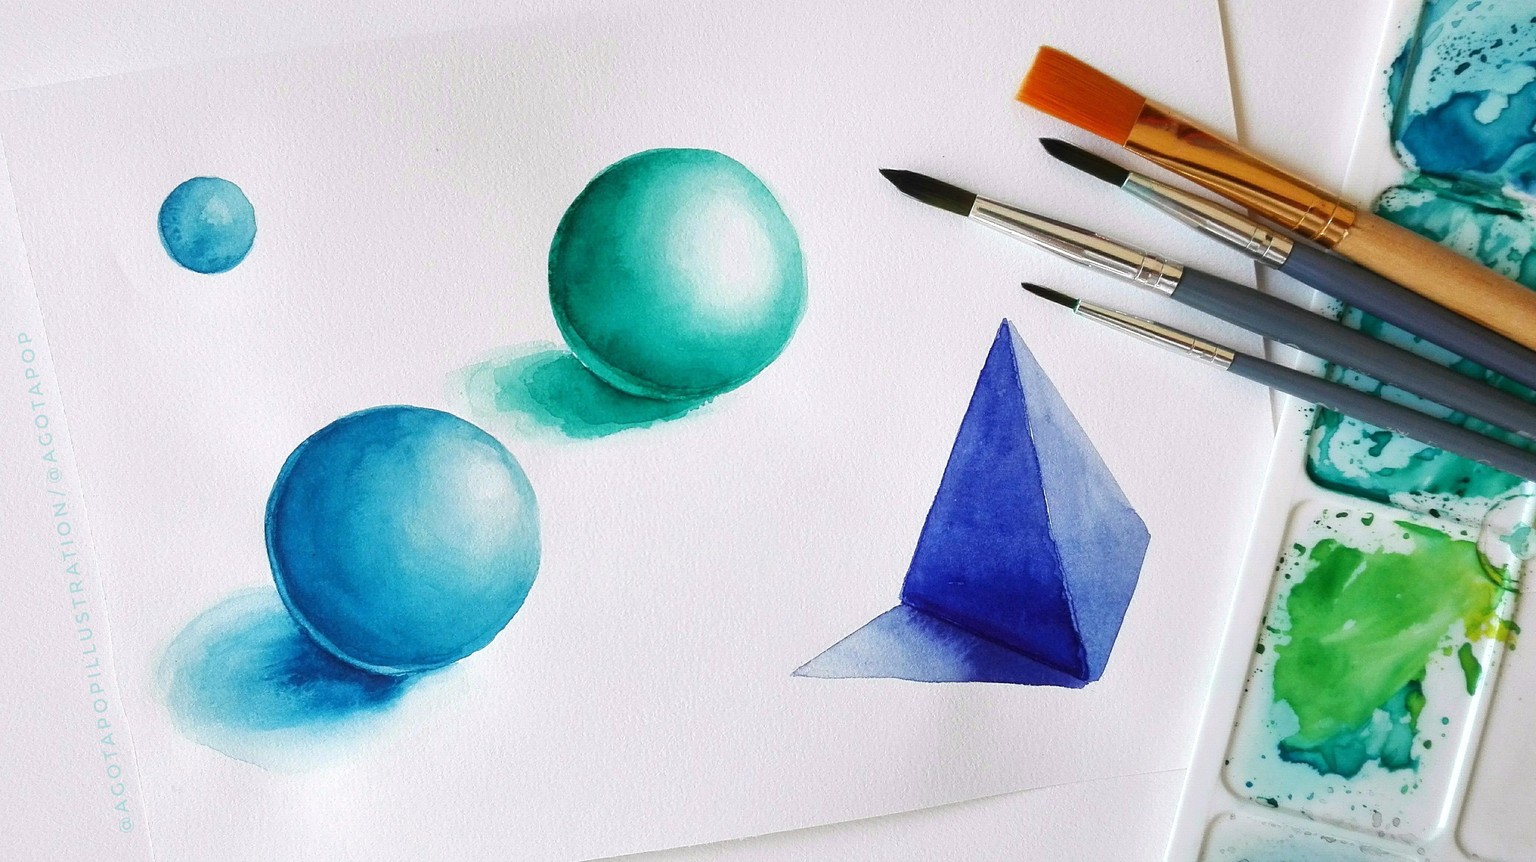
Some tries on the sphere, highlights and shadows.
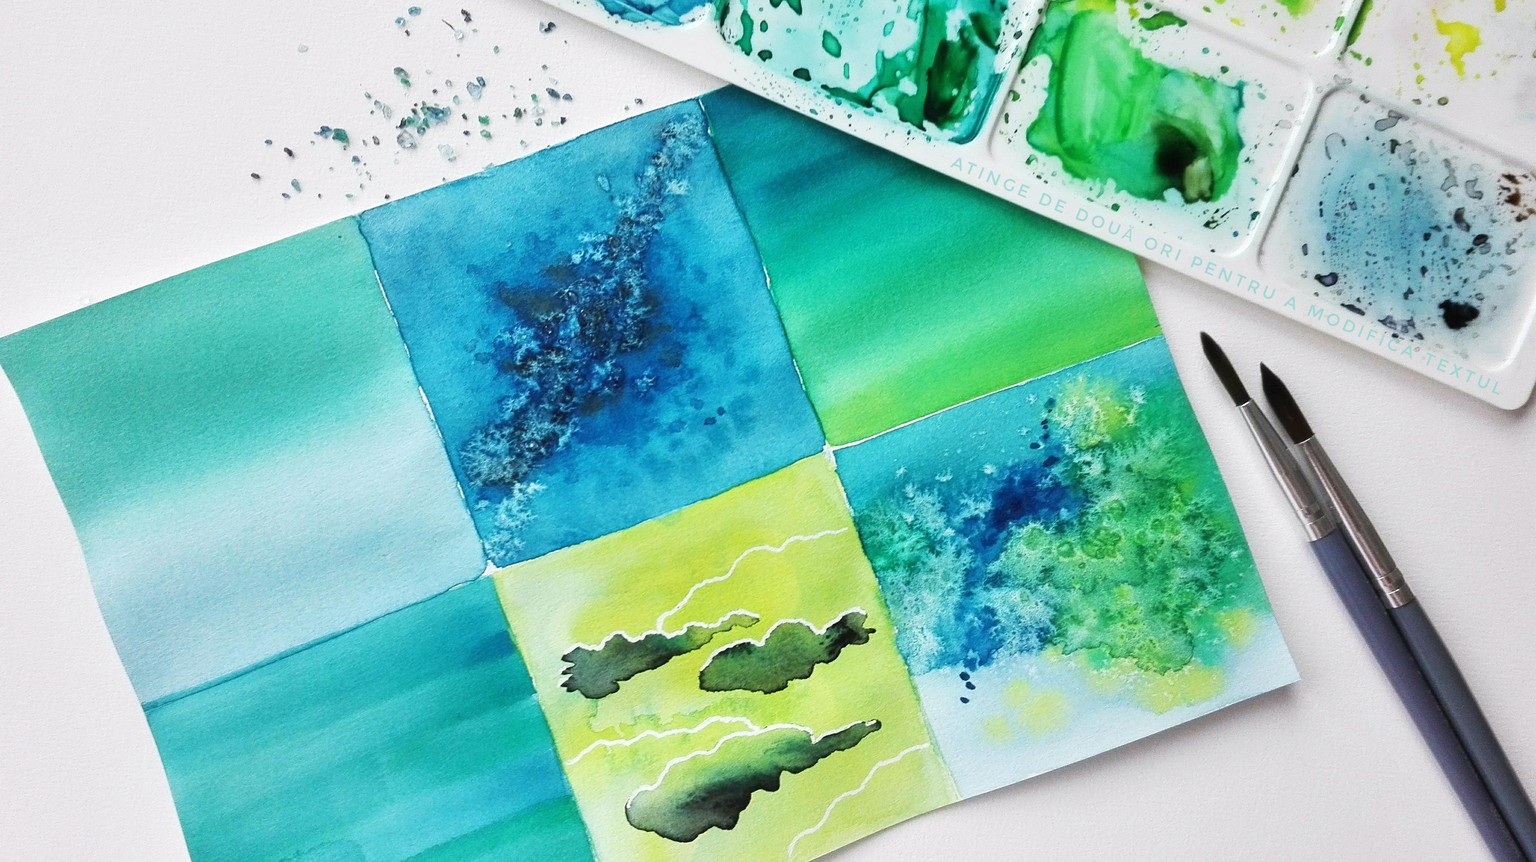
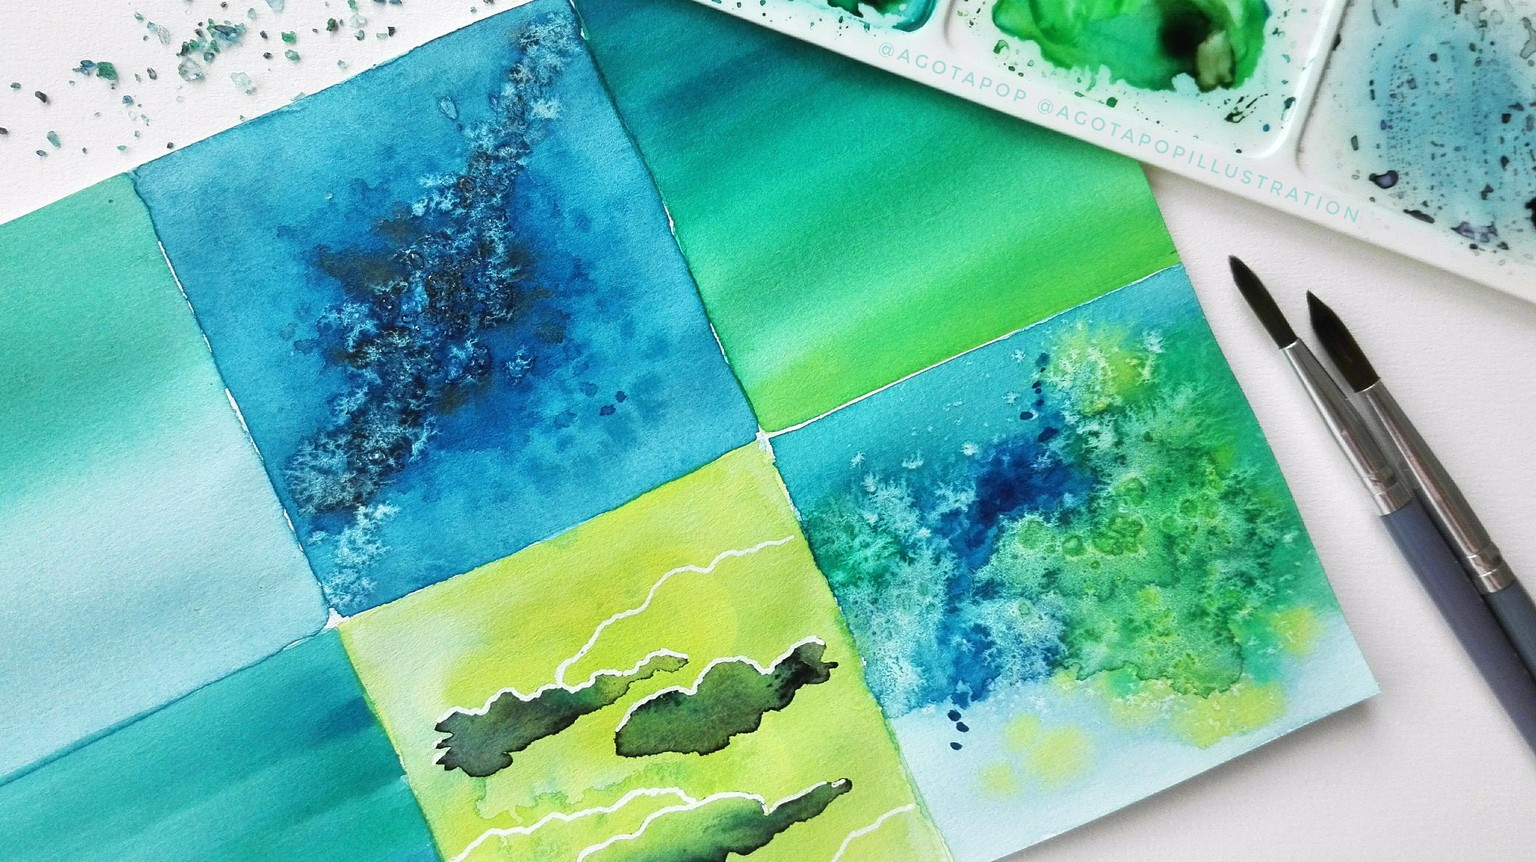
A few more experiments, including the frozen-like effect with salt and some colour gradients.
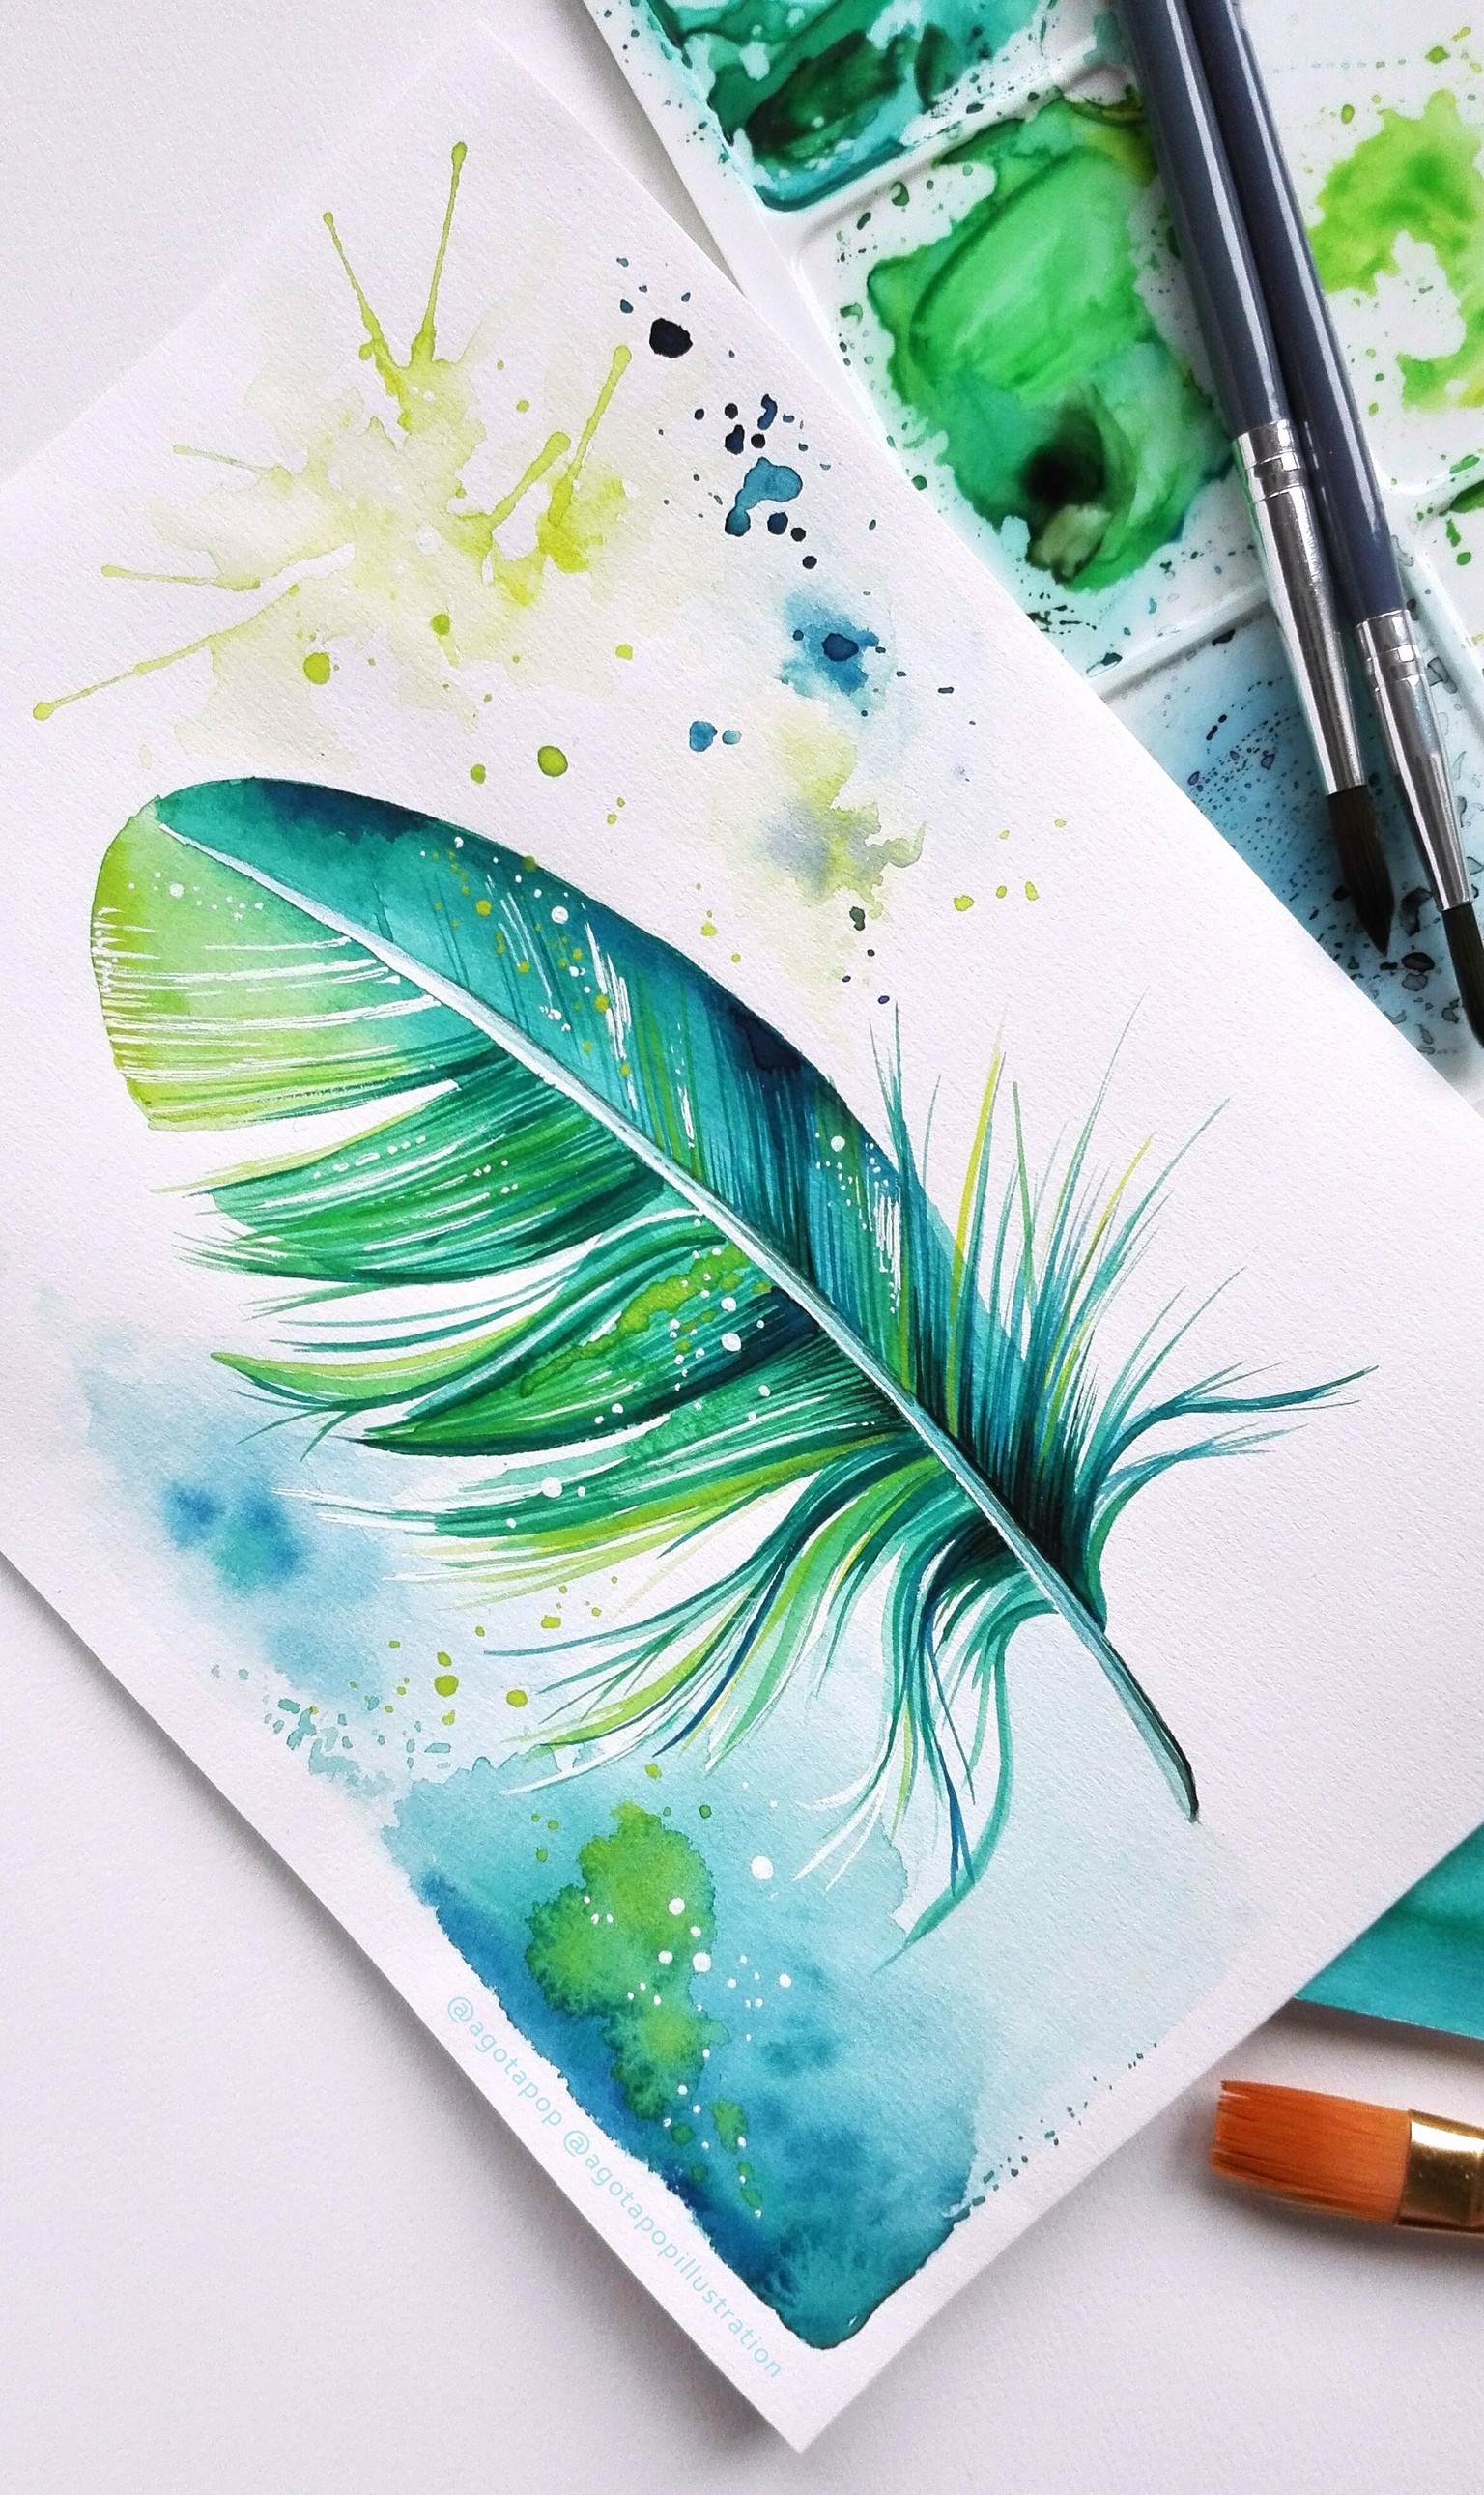
And finally the feather. I feel I was quite precise. Maybe I should have been more loose because I think this is what watercolour is about. But still very happy with the result. :)
For this project I have used some very old watercolours, some Faber Castell round brushes (no. 4 and 6), a flat brush to wet the paper and create the flat- and gradient washes and a 160 gr/m2 watercolour paper since that was what I had. For the extra highlights, I have used A Uni-Ball Signo Broad white pen.
Thank you, Yasmina, for this amazing class and helping me understand how to paint with watercolour. I liked this so much that I am already working on my second watercolour project painting cute sweets (watermelon, ice cream, cookies), also a class by Yasmina.