Visualizing a toy box
I loved Carrie's class, it gave me lots of ideas on how to visualize information in a beautiful way.
I sometimes find myself drowning in toys! When they overflow out of the toy box, I know there is a problem. To speak to this chaos, I chose my one year old's toys as my data set.
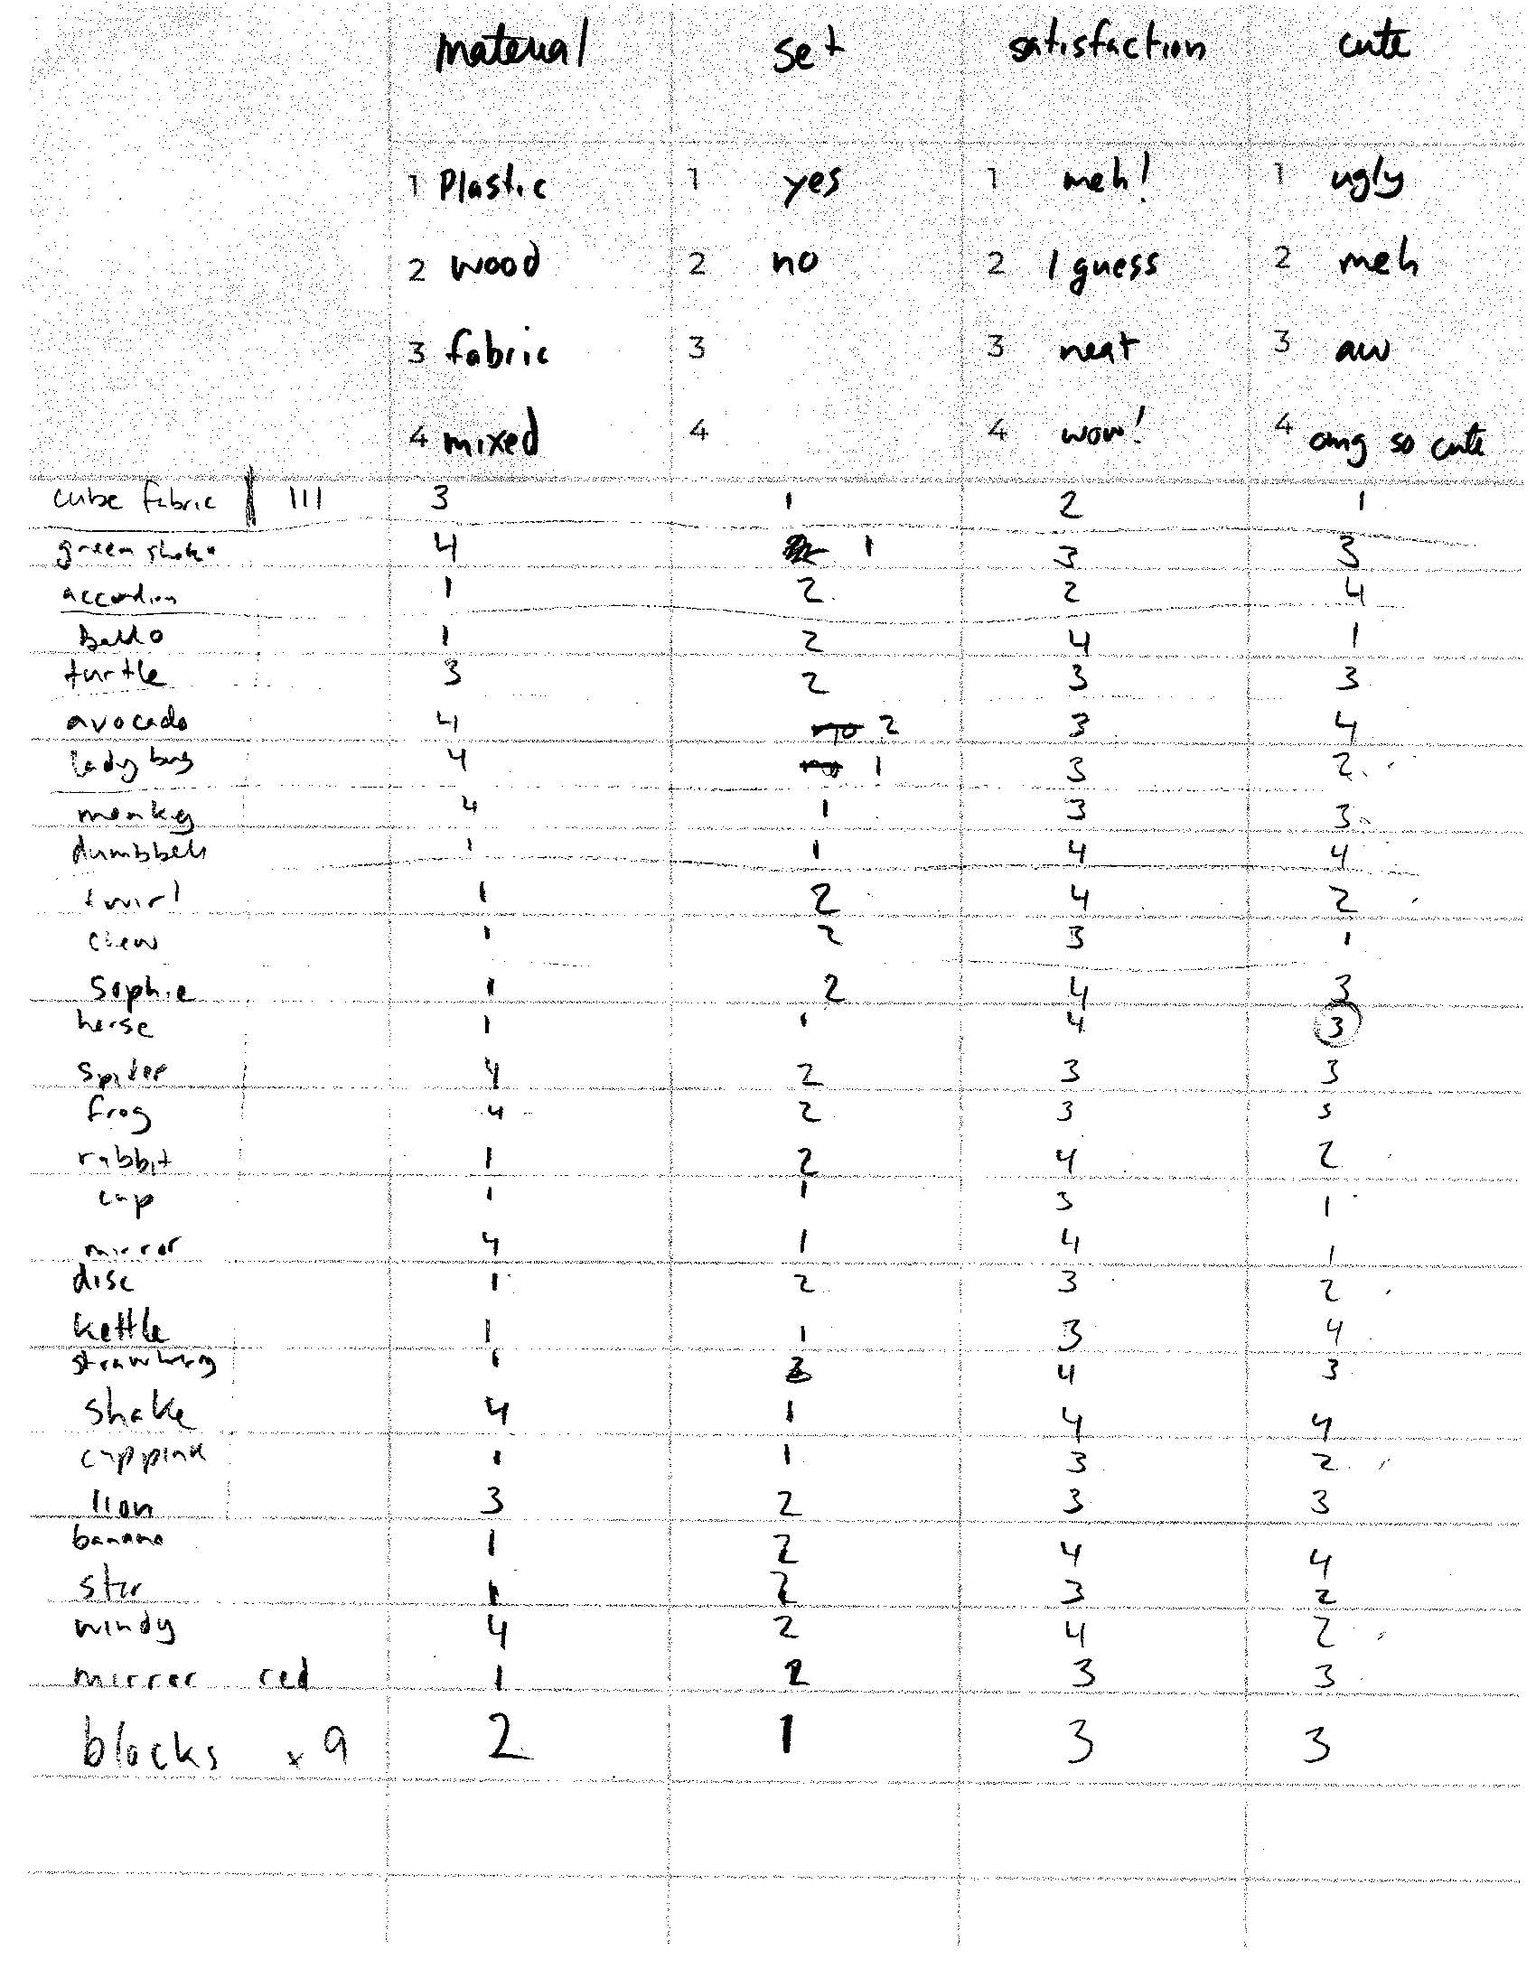
The categories I chose are:
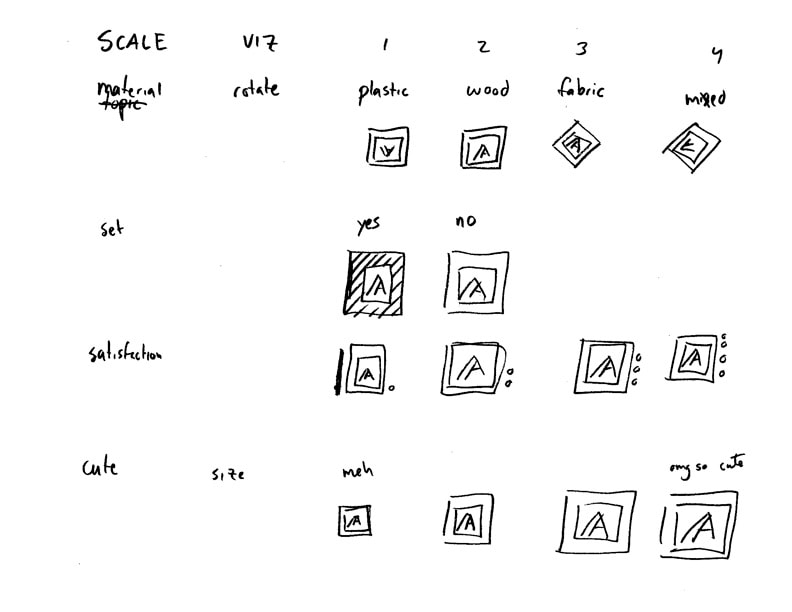
- Satisfaction (1 being "meh" and 5 being "my son is obsessed with this")
- Cuteness (1 being "this is straight ugly" and 5 being "OMG look so cute")
- Material (plastic, wood, fabric, or mixed)
- Set or individual
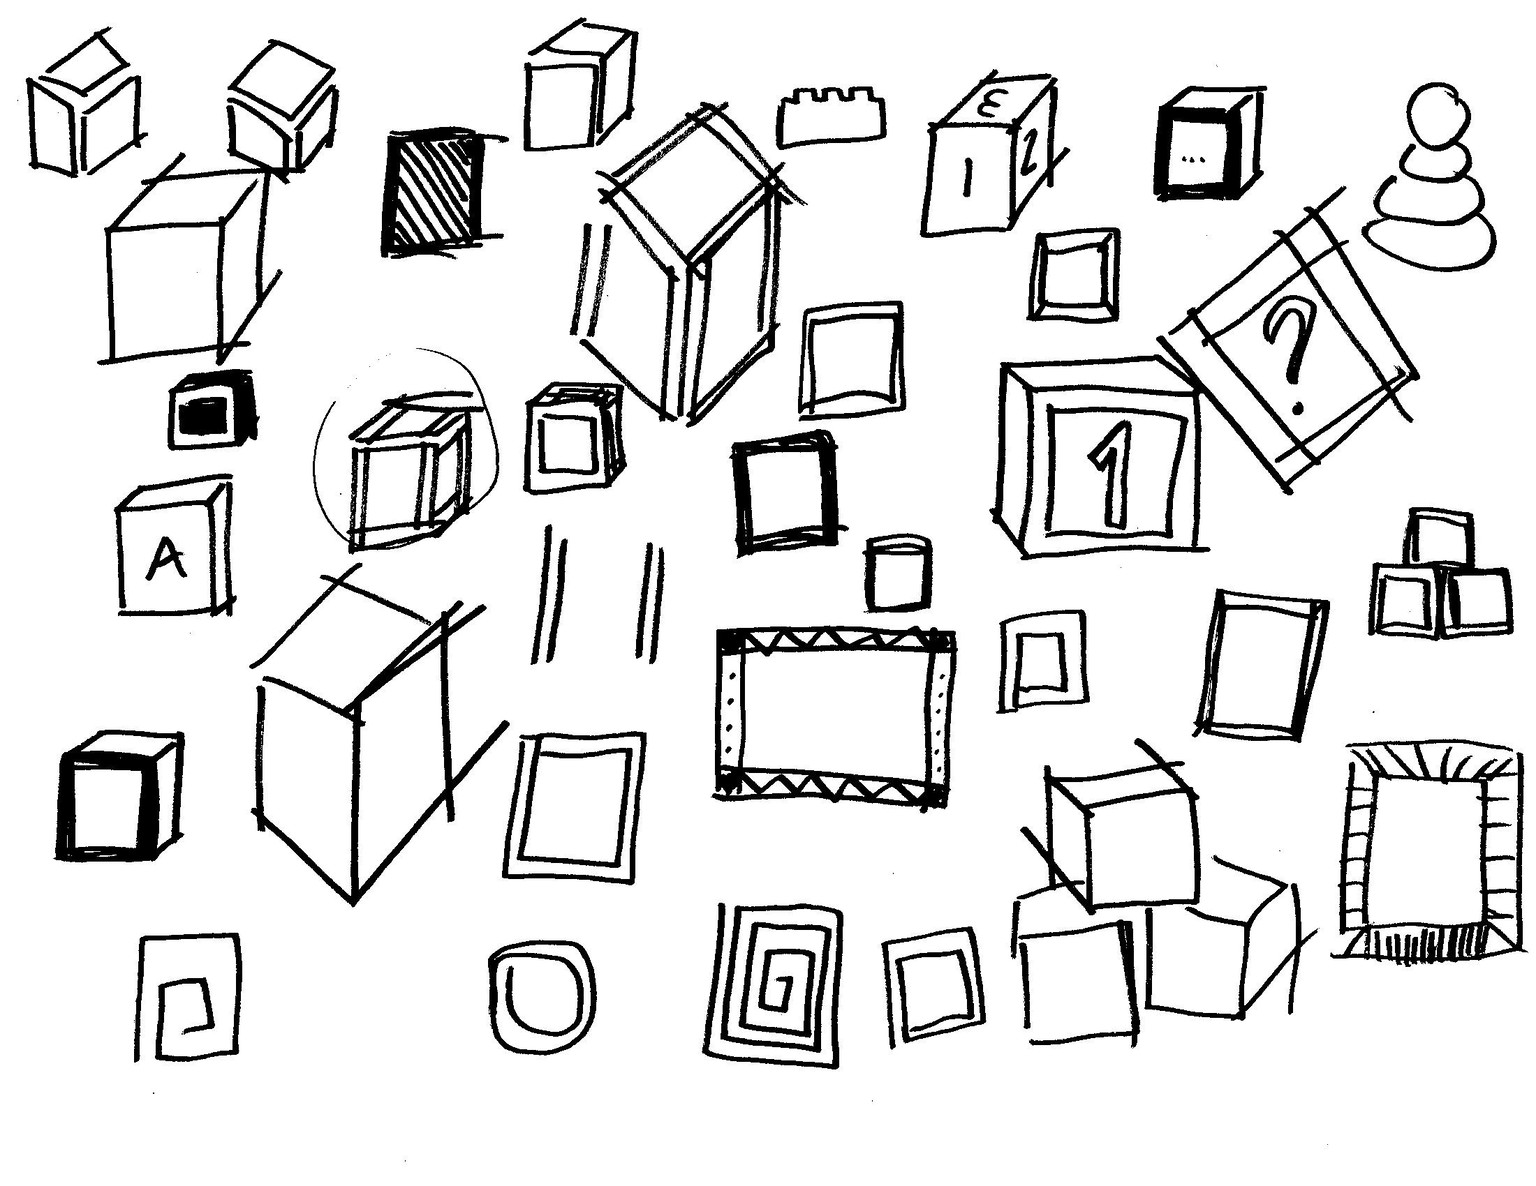
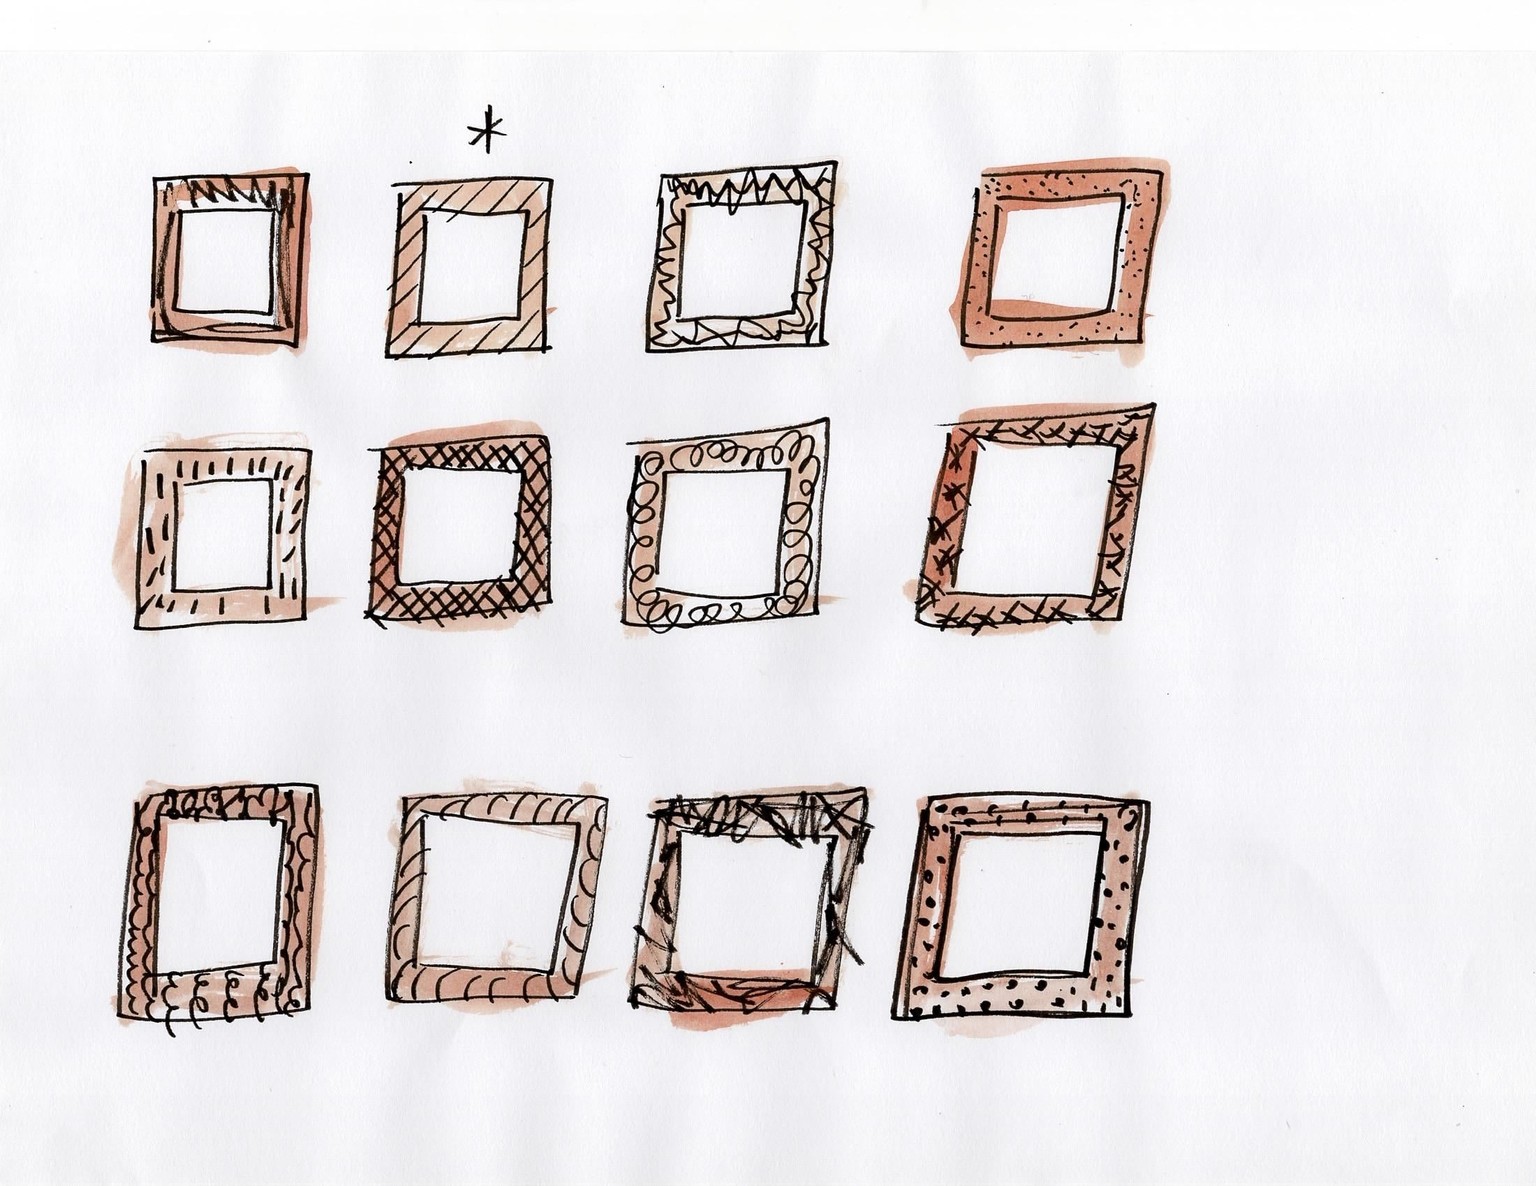
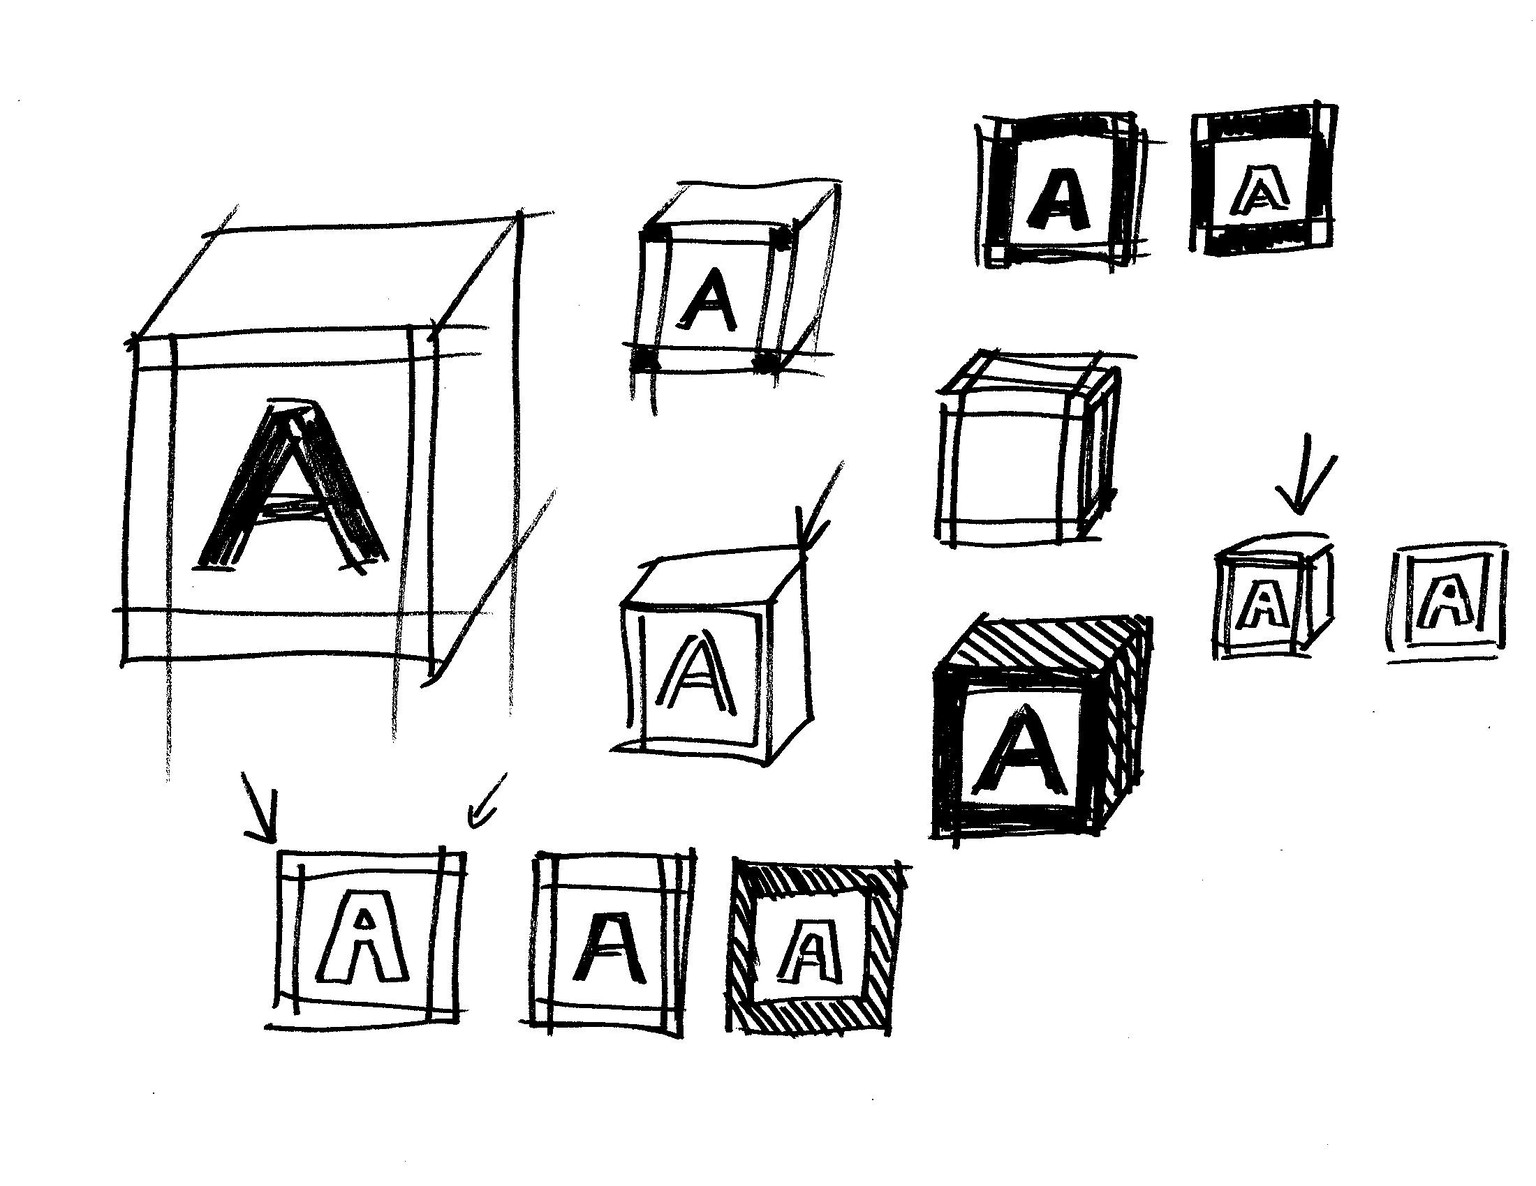
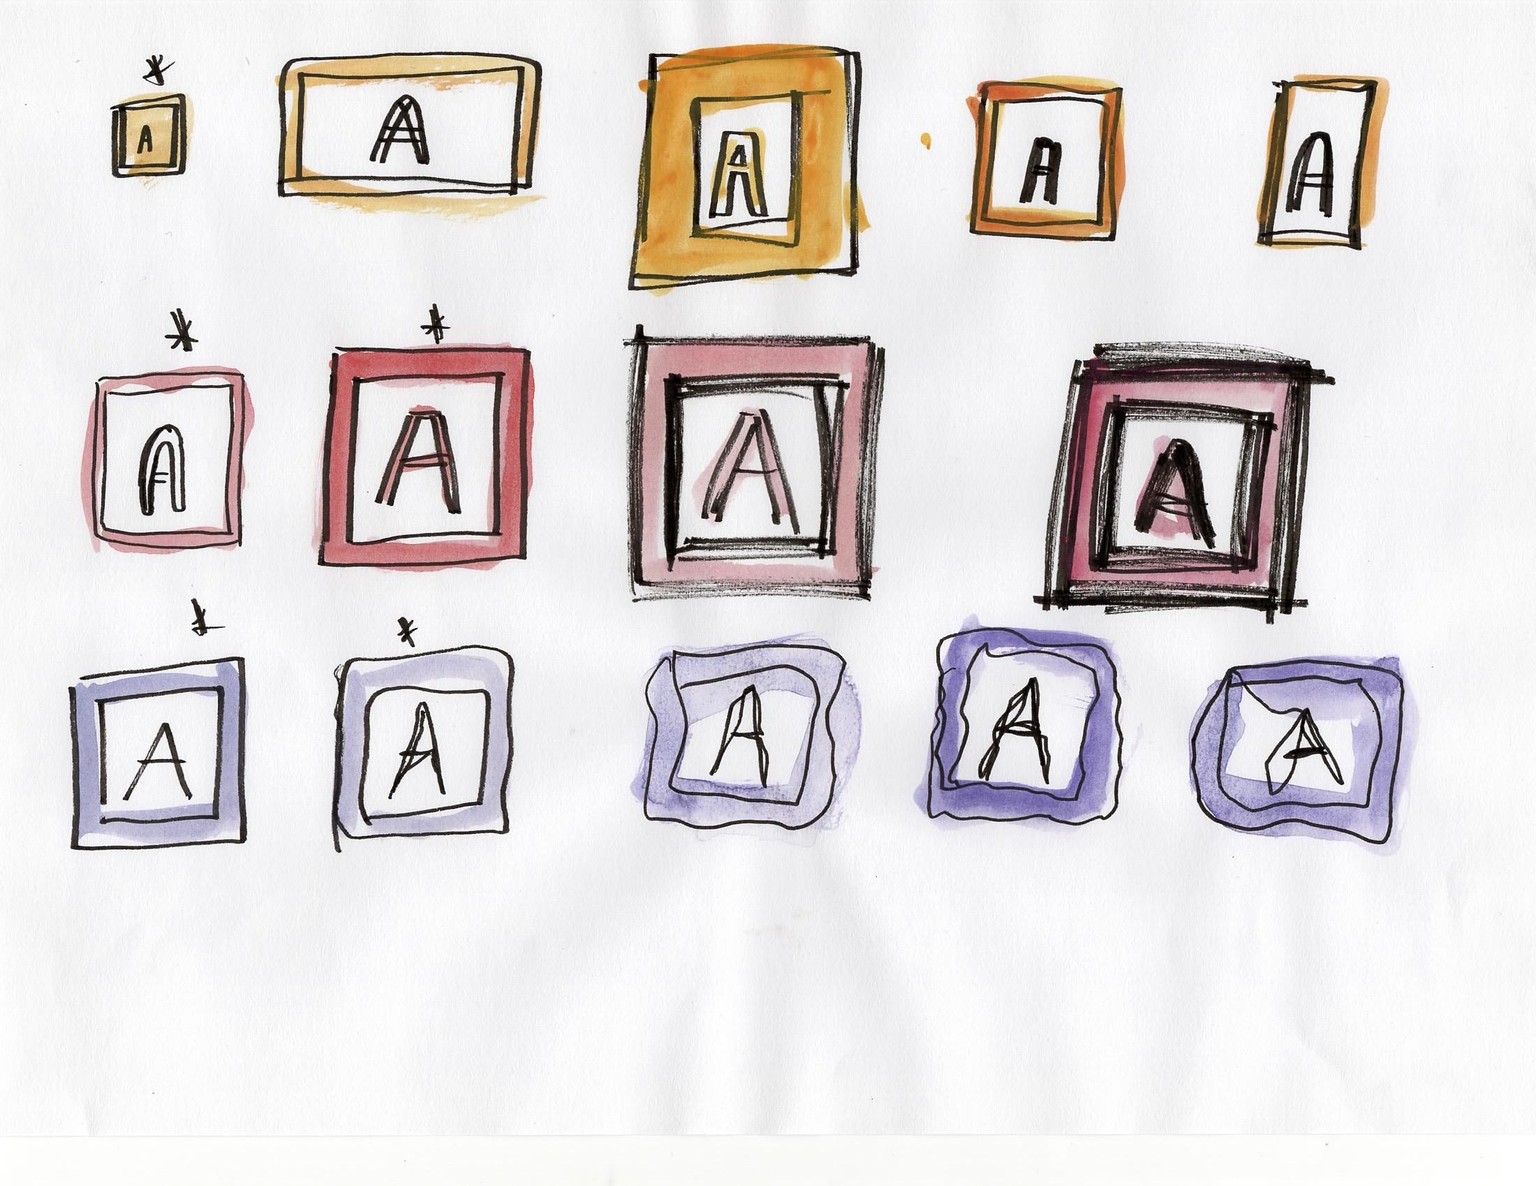
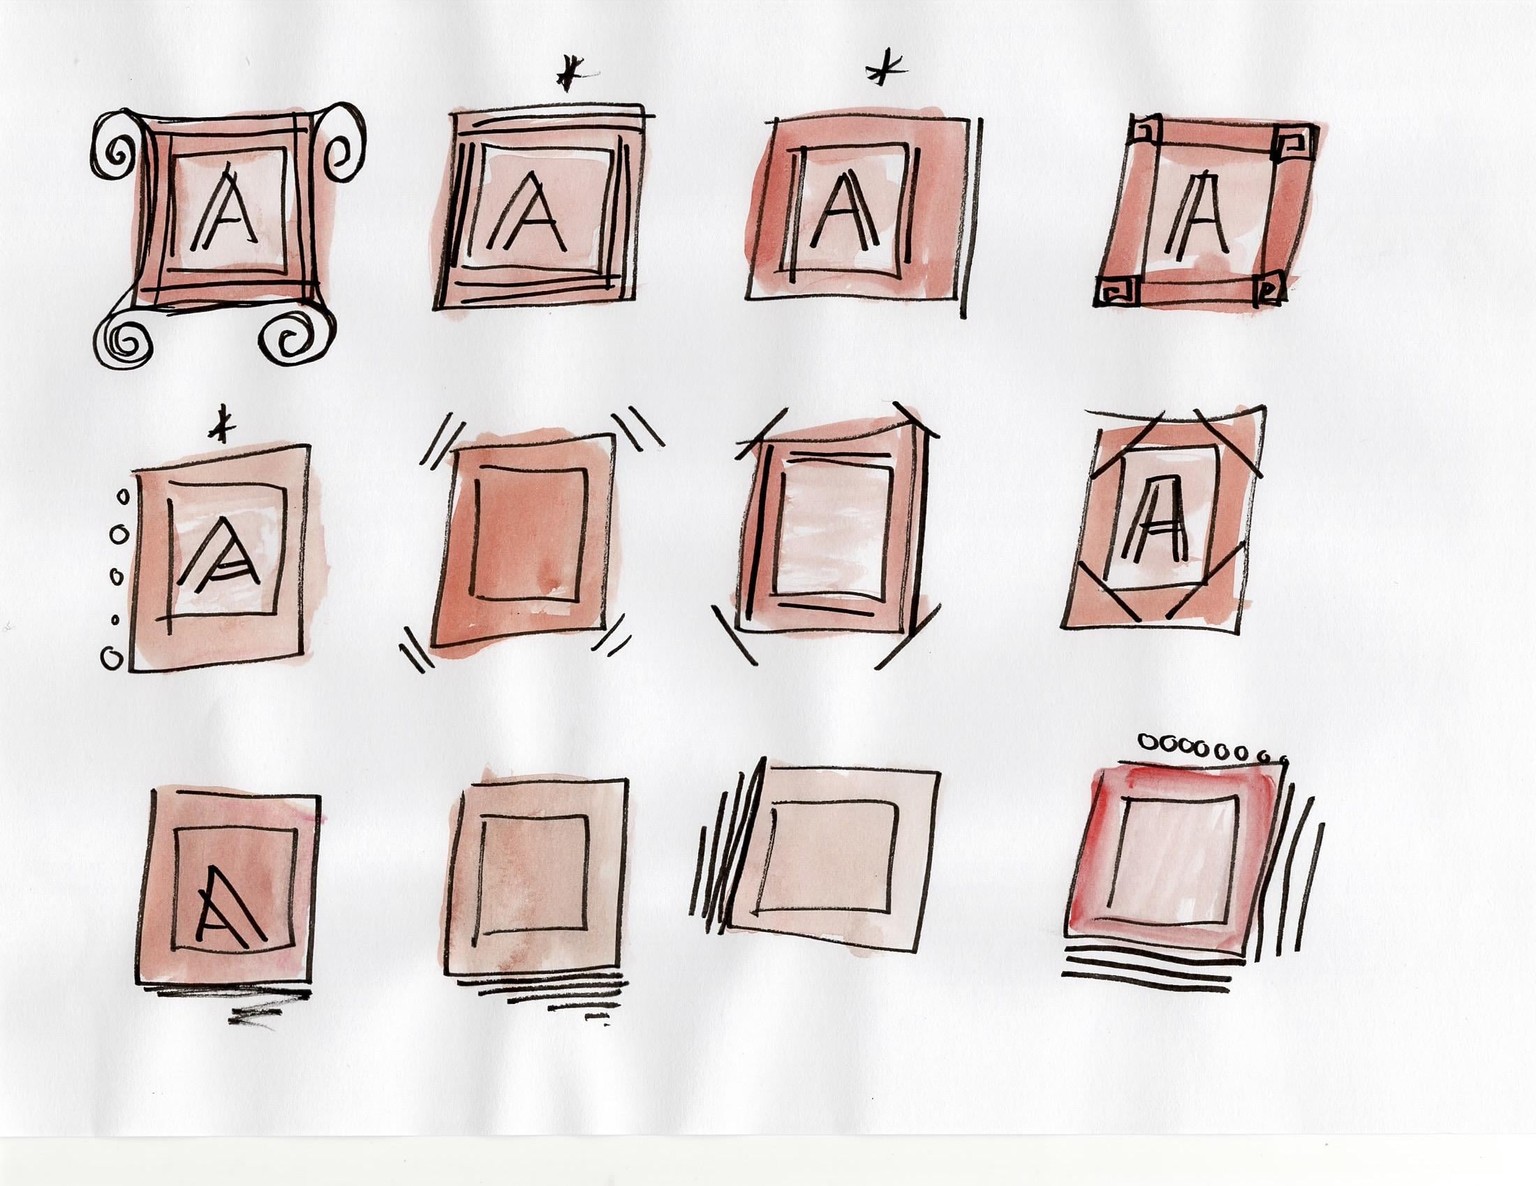
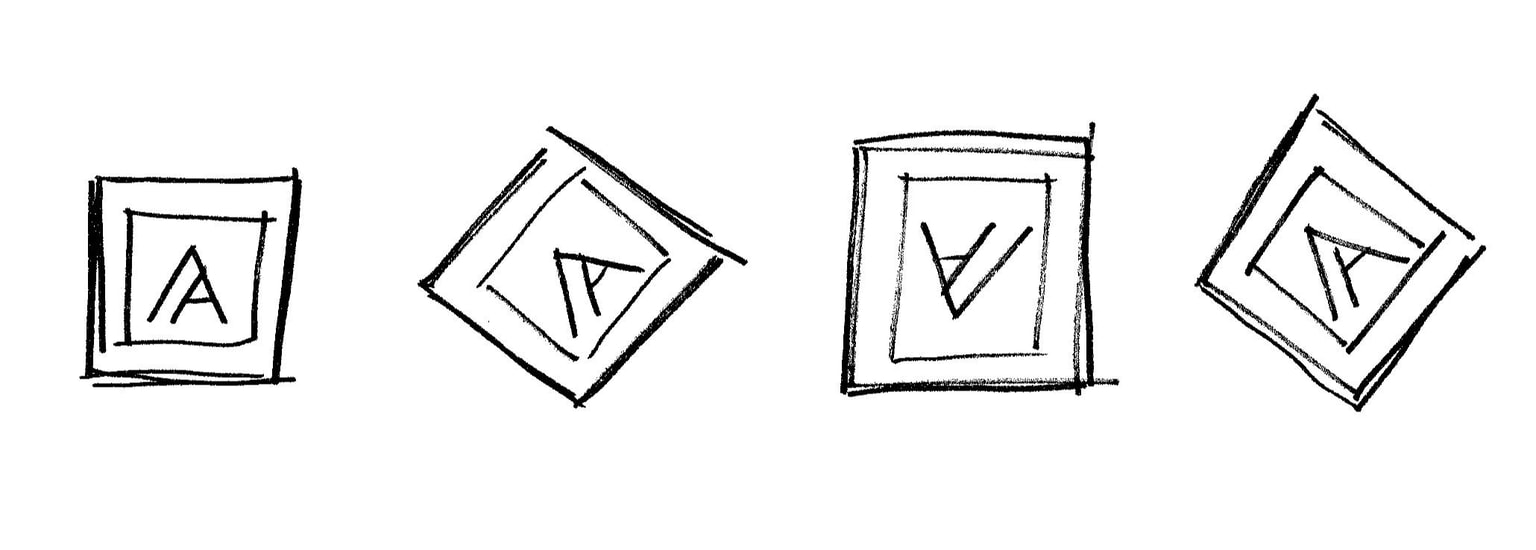
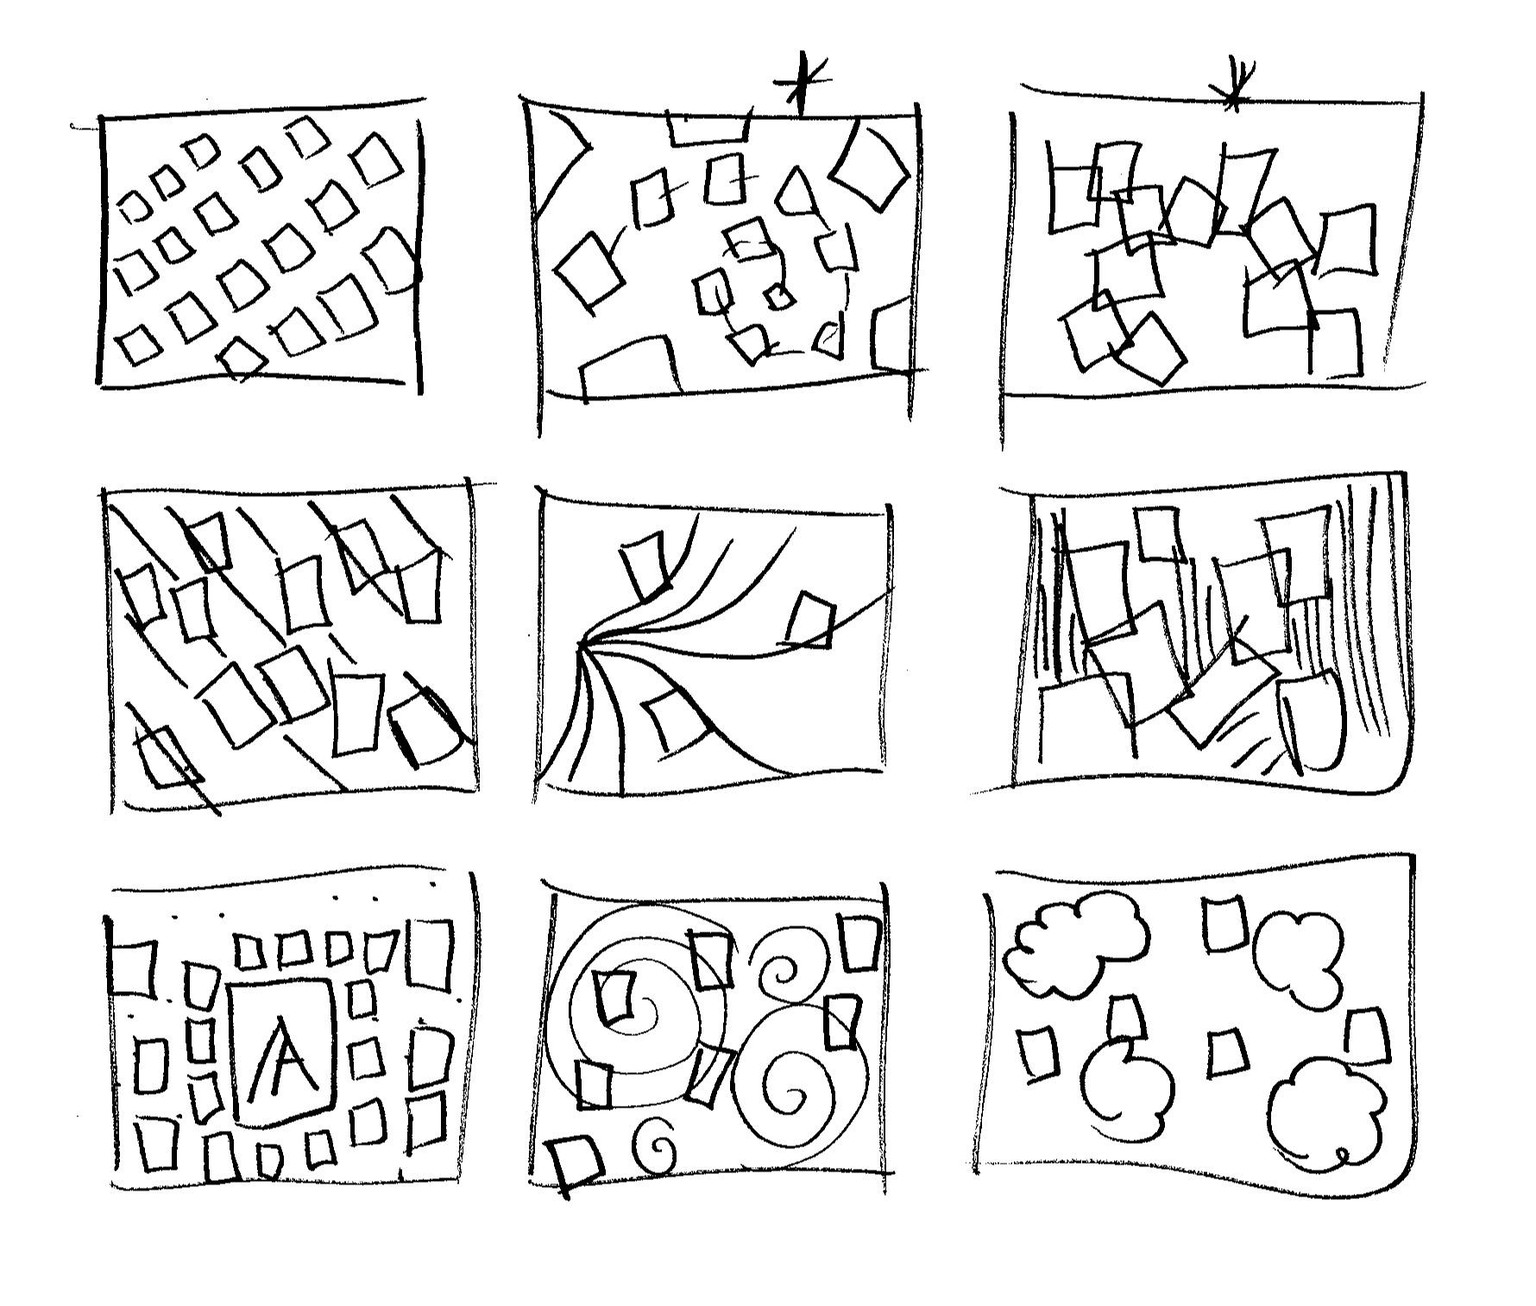
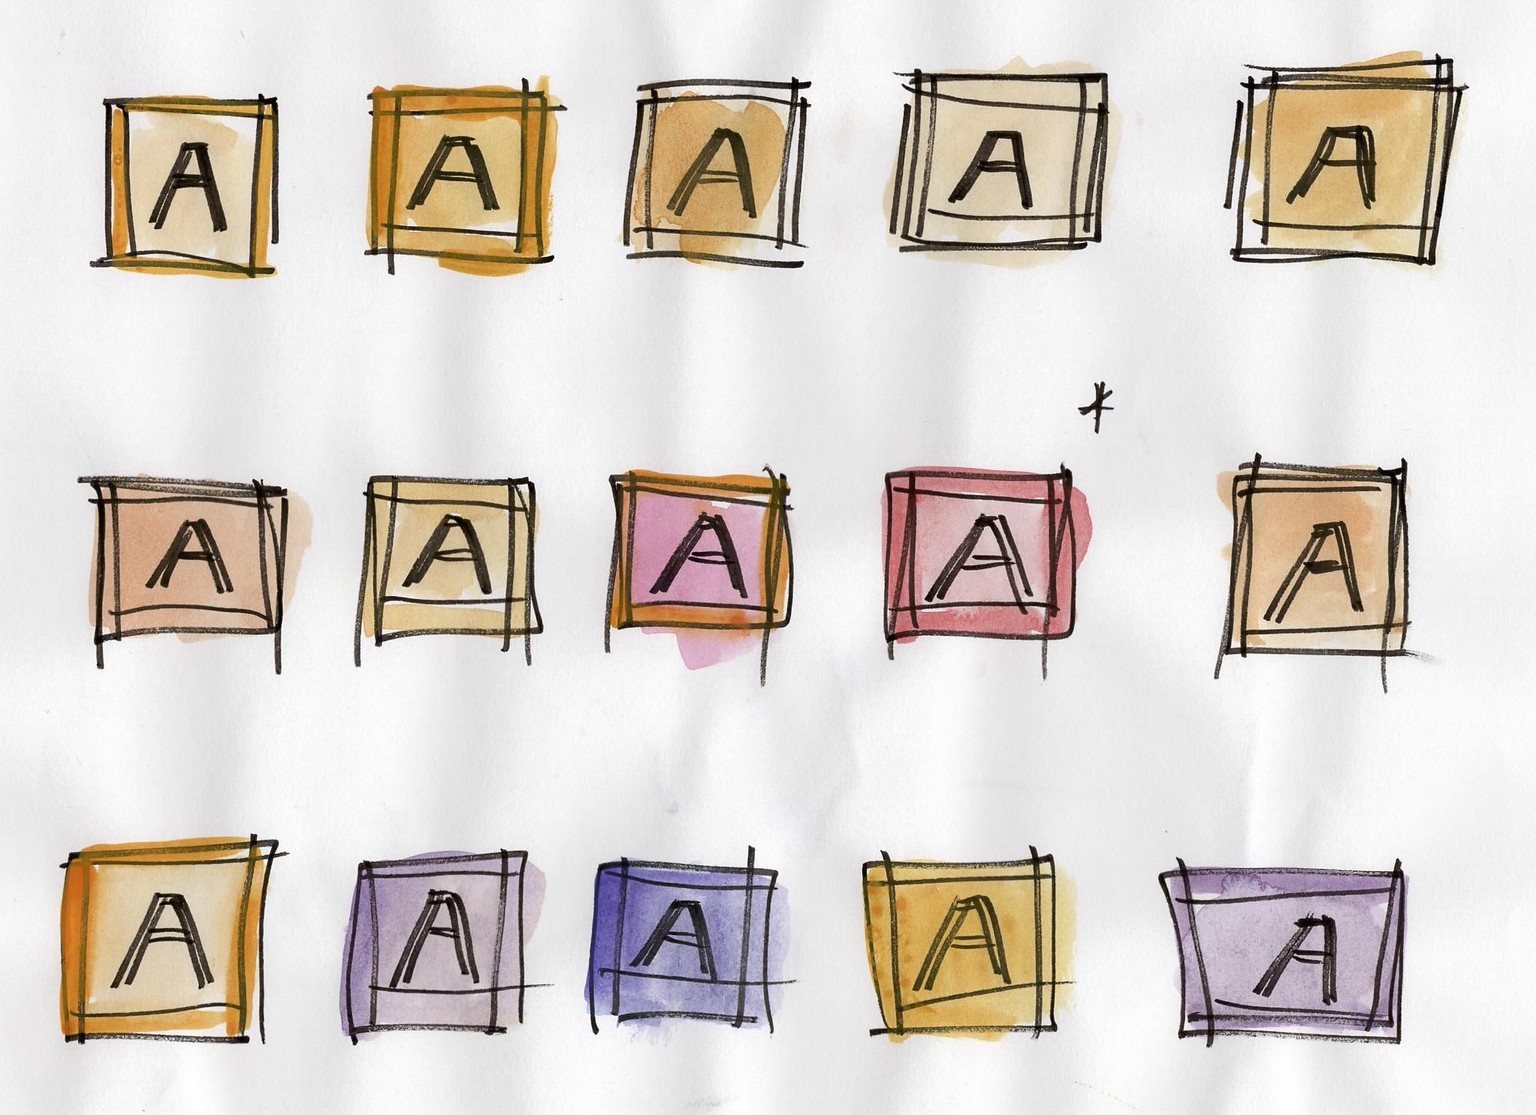
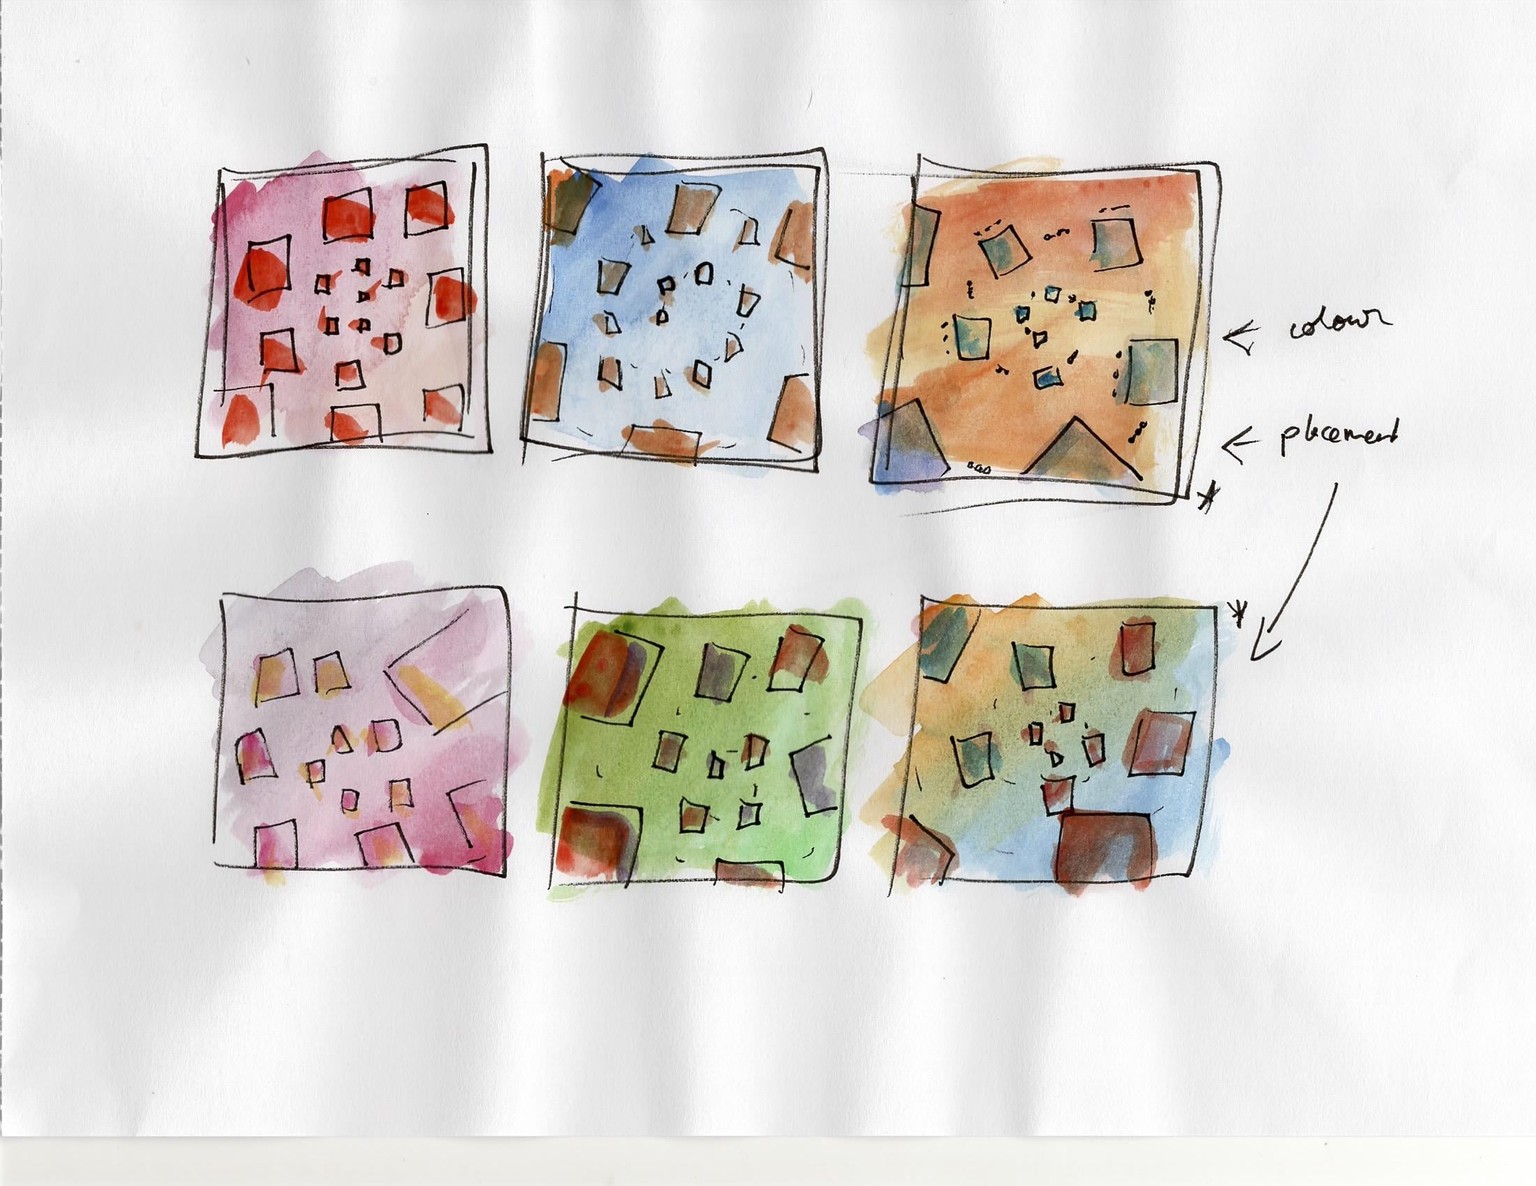
I decided on a wooden block as the symbol. It took me some time to land on the final version. I'm happy that I followed all of Carrie's steps because it forced me to iterate on my design a lot (I often move too fast in my projects!)
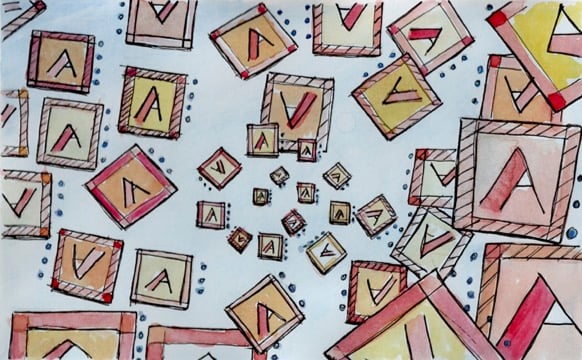
To be honest, I am not a huge fan of my final artwork (which is ink and watercolour). I wish I didn't start with an entirely blue wash, as it has muddied my blocks a little. I also think I would even out the composition a bit if I were to do it again.
But I really really enjoyed the process of cataloguing the toys, designing the symbol, and deciding on my data visualization key. I look forward to taking these lessons forward into the future!
Thank you Carrie for a great class!