PG2 | Part 2
Combos
Combos are the many combinations that can be made from a number of HYPE classes that I have used so far. The classes are: HRotate, HCanvas, HFollow, HTimer, HTween, HSwarm and HOscillator. Of course there are many more classes within HYPE, but this summary was the main part of this course.
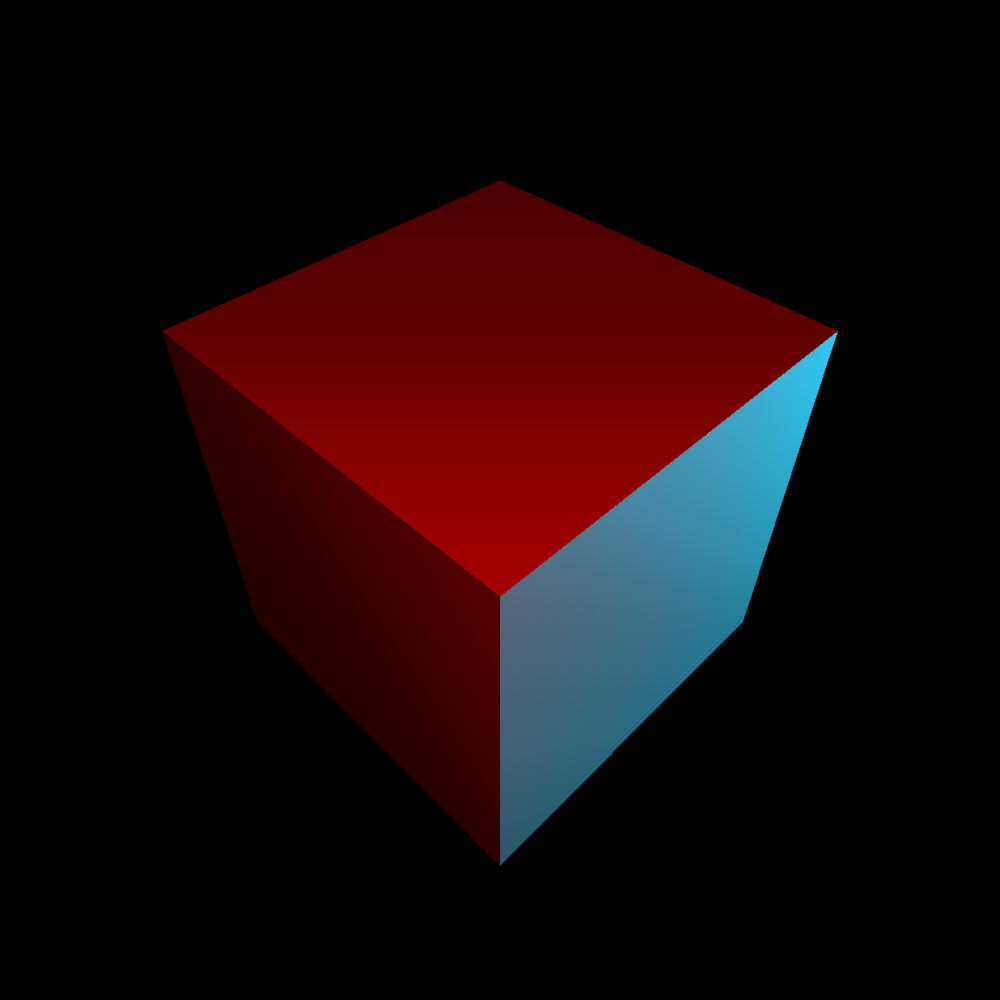
PG2_9_1_1
In Joshua's first example, I saw a white square in a black plane. I did not know what was meant in the beginning. But when I looked into the code, I saw that the white area was a 3D cube that you view at the front. And then you see a white square. There is no indication that it is a cube in a 3D environment. I put two colored lights on it and rotated the cube in a way that you can really see in perspective that it is a cube in a black environment.
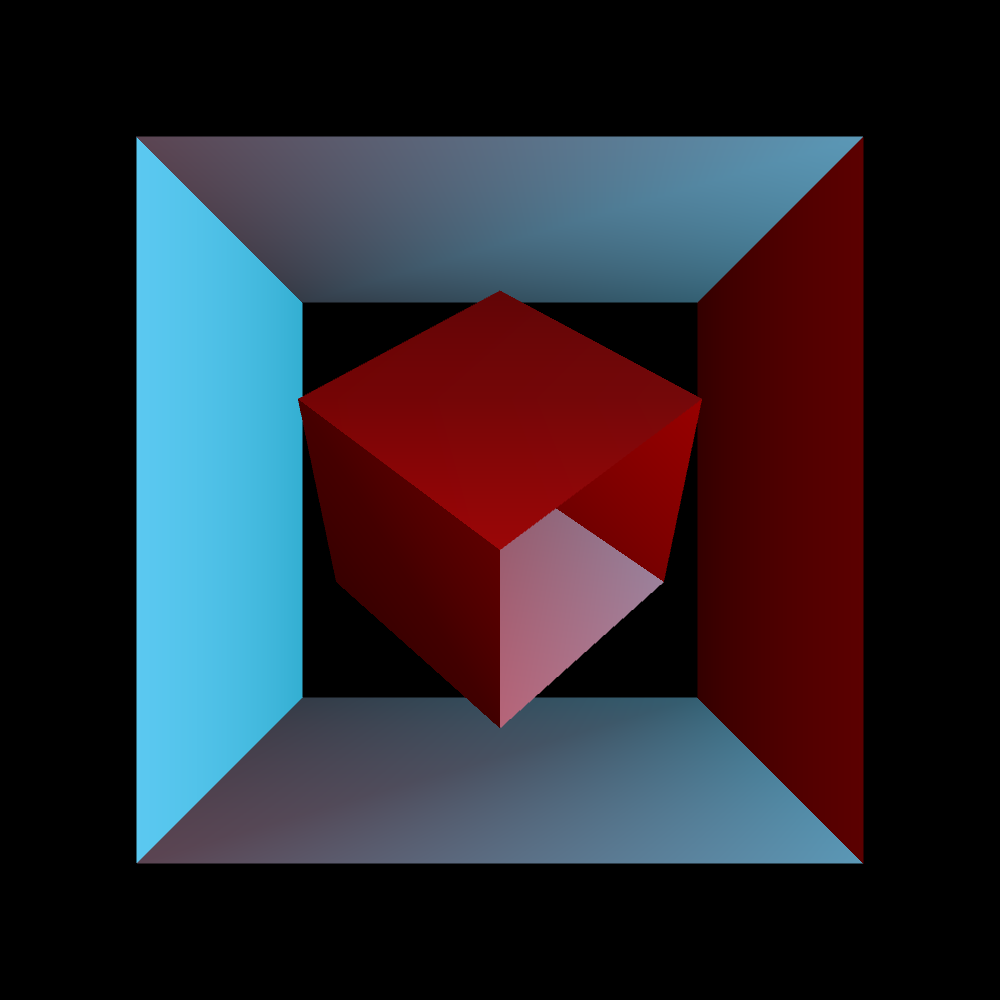
PG2_9_1_2
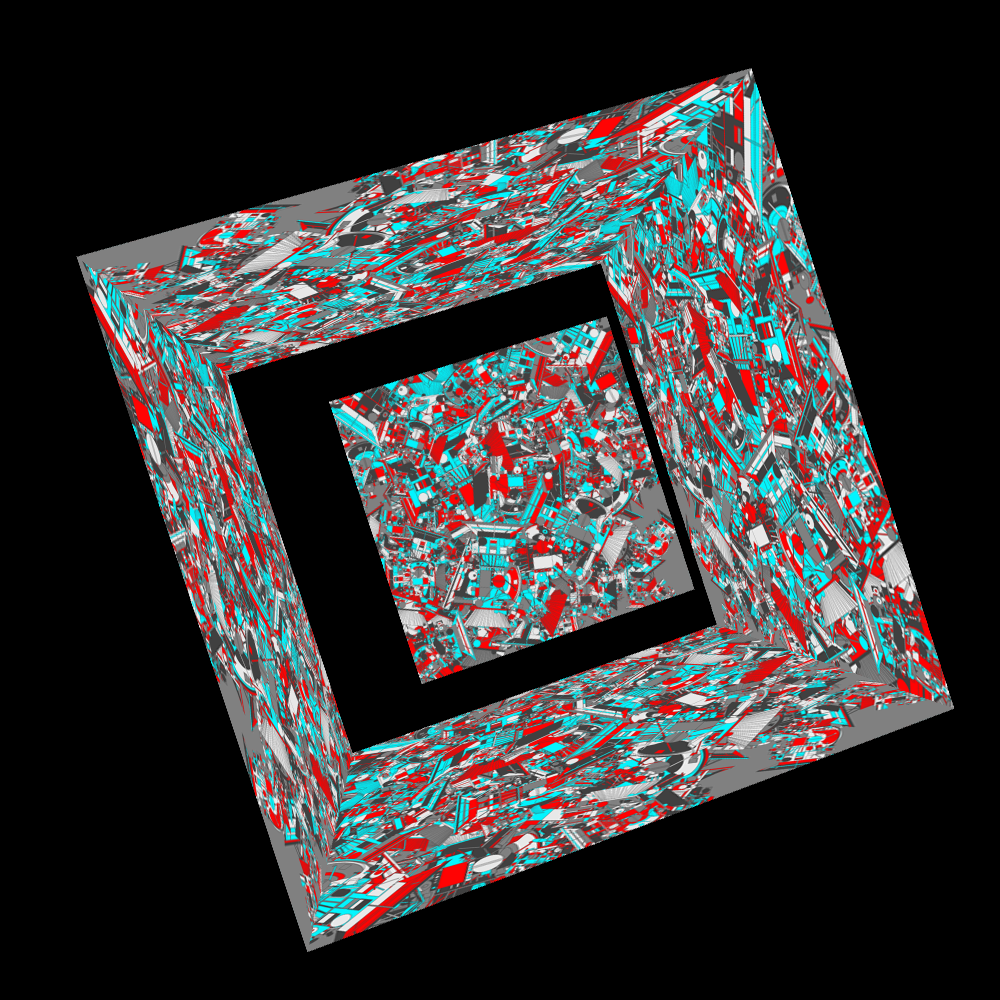
I thought it was too easy to just continue with a cube. So I left out the surface at the front and back. That is only a matter of uncommenting a number of rules in the program. Furthermore, I have placed a reduced version of that cube in the center. A cube in a cube.
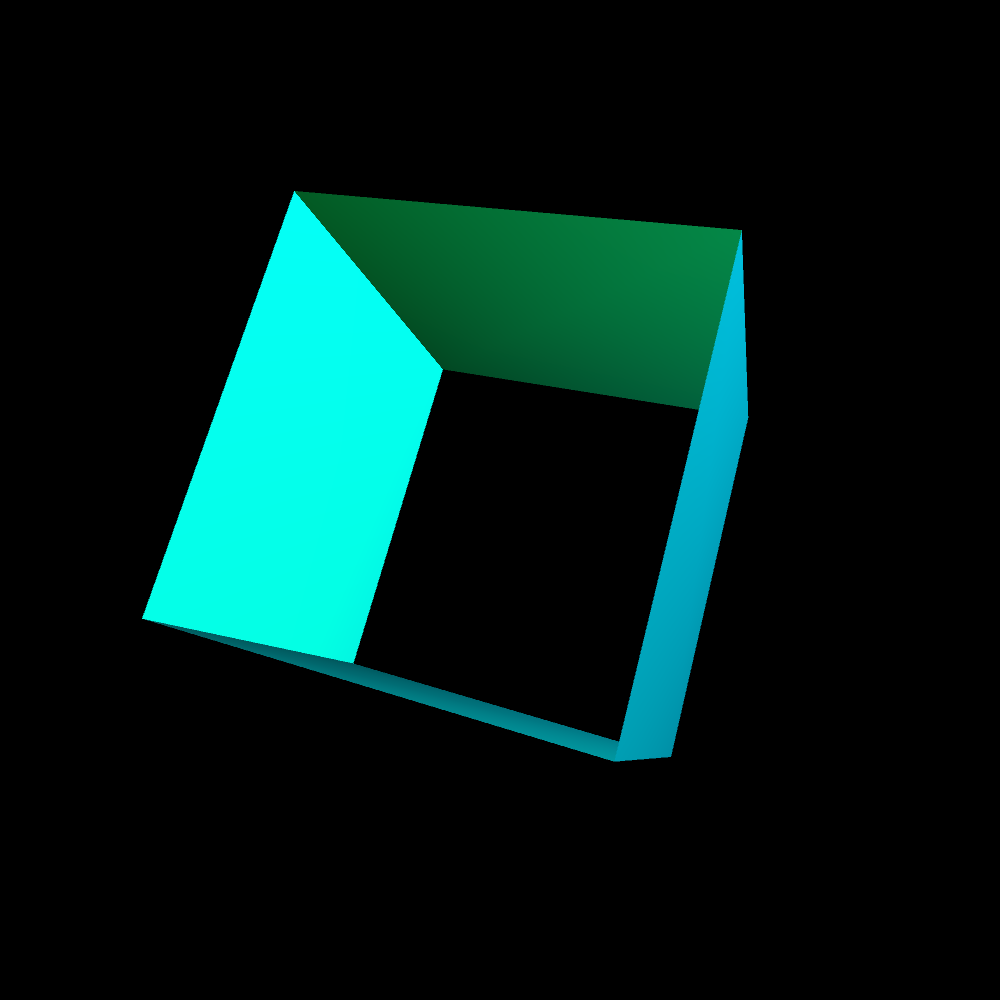
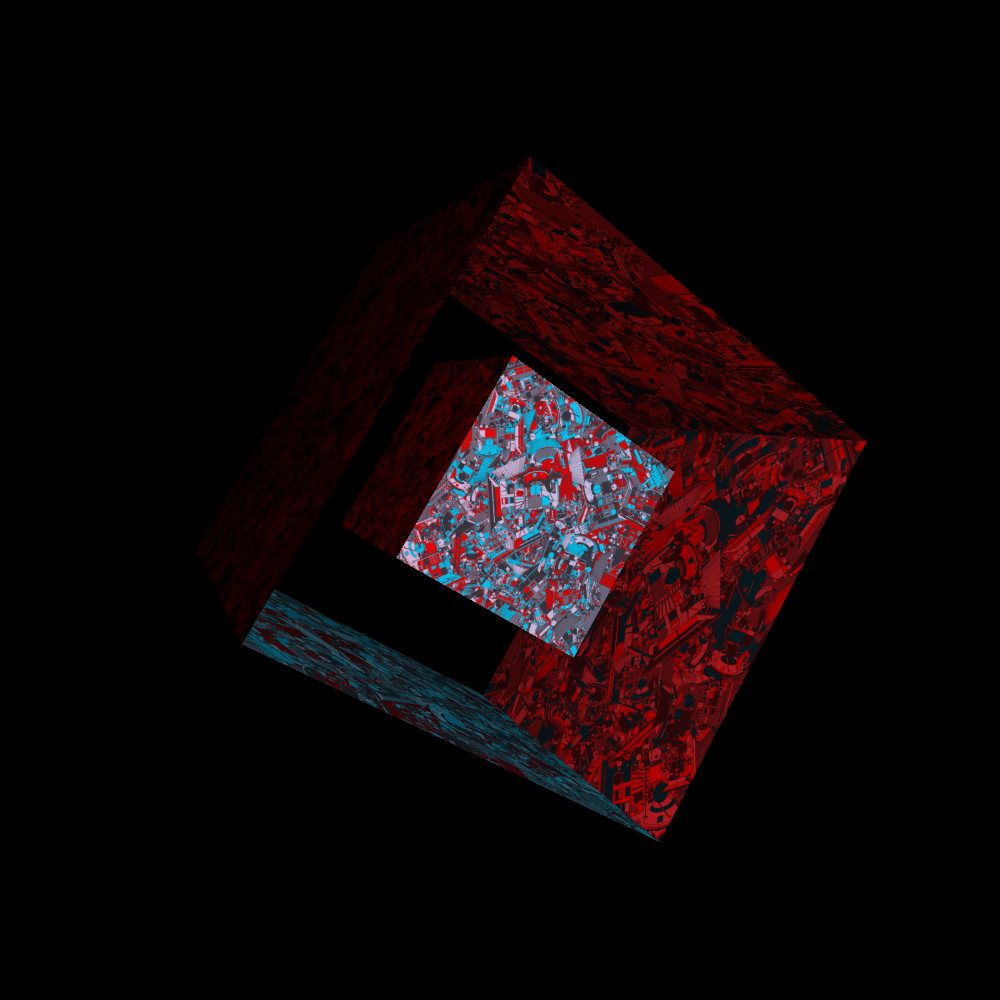
PG2_9_2_1
In this program, animation comes into the picture. Here the rotation of the cube in the x, y and z direction is added. I think the cube is a bit too wild now. So I had to tame it in its movements. To get the picture slightly more interesting, I removed the top and bottom of the cube. I also did not like the color scheme. I have now opted for a blue and green pointlight.
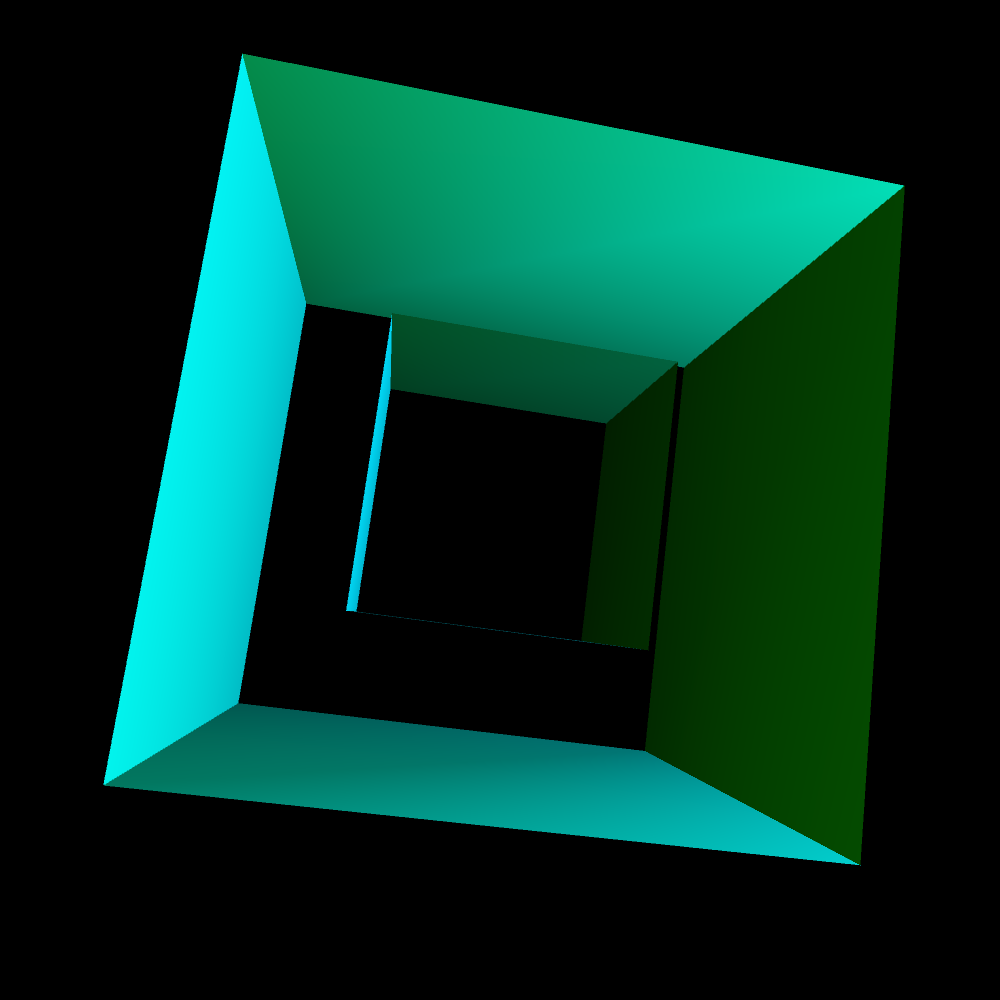
PG2_9_2_2
In the previous animation I have added an extra smaller cube in the larger cube. The animation and lighting has not been changed.
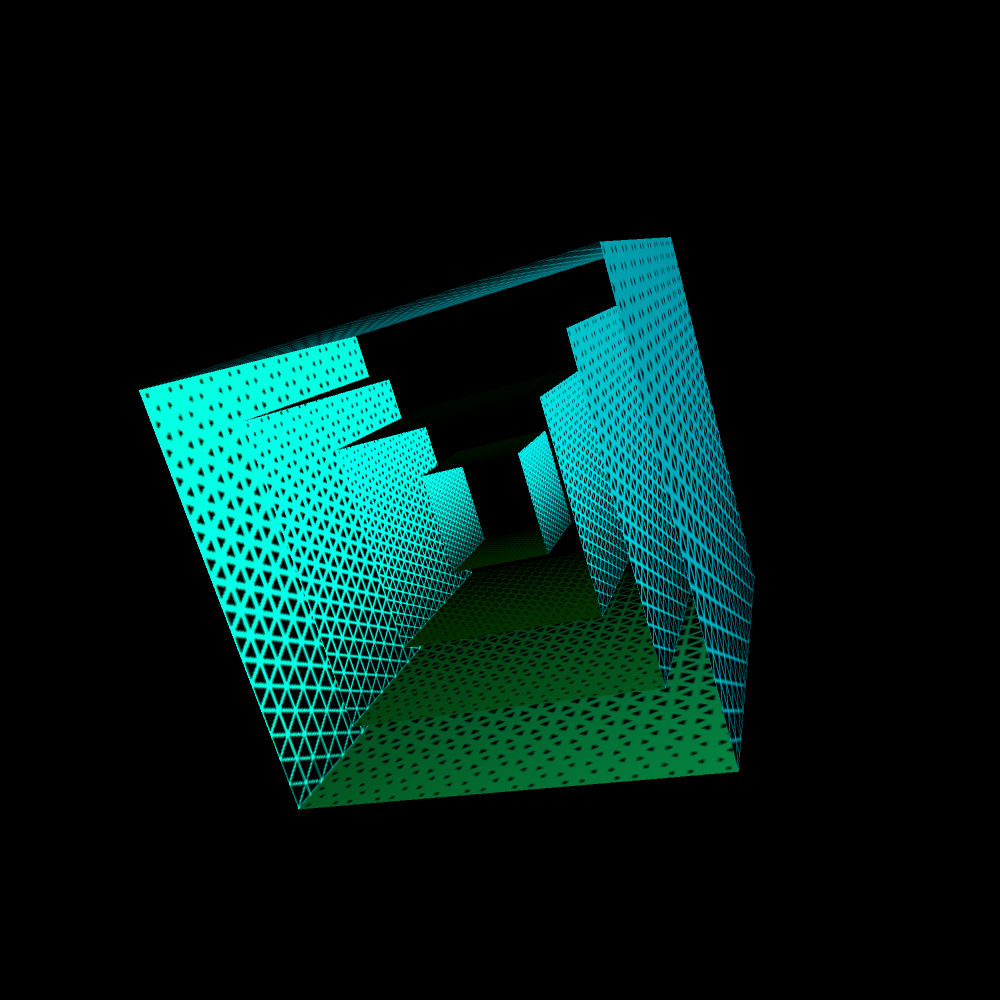
PG2_9_3_1
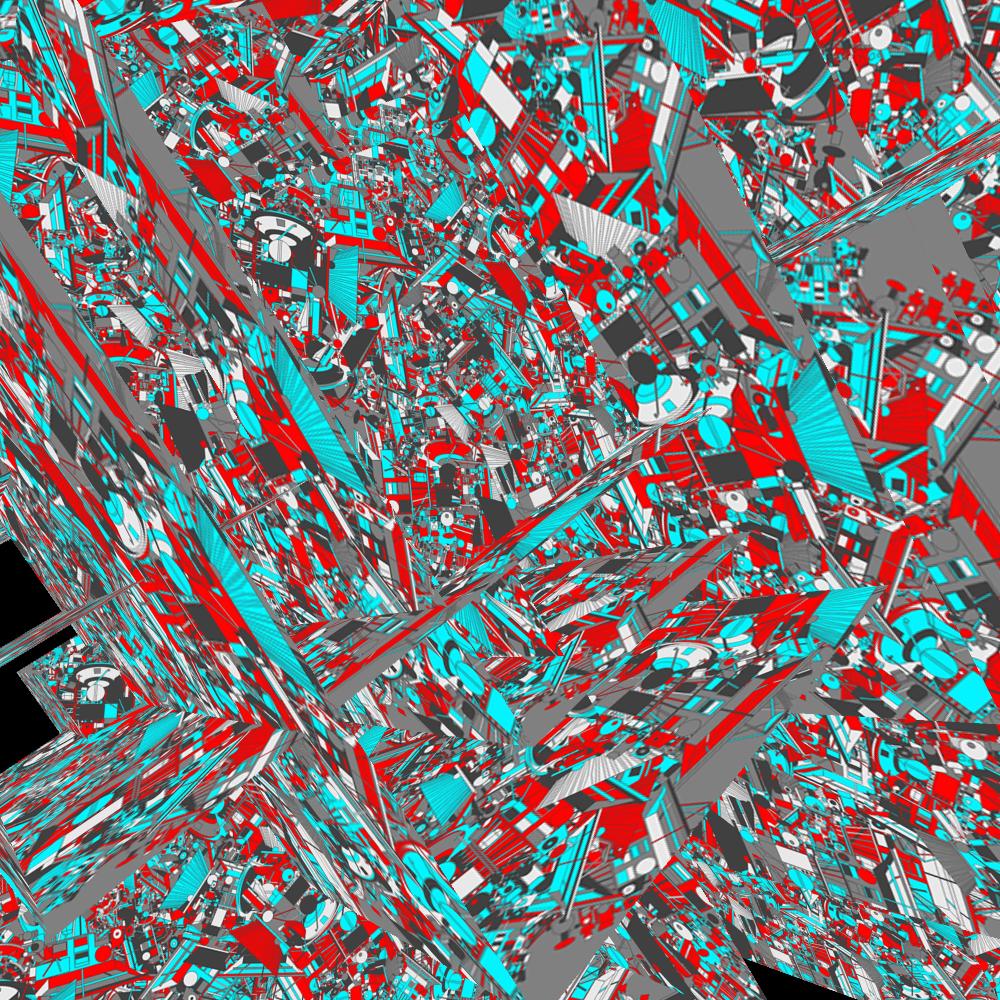
I added a few extra cubes. I also added a pattern. Which of course makes the image a lot more interesting. I do feel that the resolution of the pattern is a bit too low.
PG2_9_4_1
I have removed two of the four inner cubes. On the two remaining cubes an animation is running that I made in the previous chapter (HOscillator). What I do not like about this is that the black part in the QT should actually be transparent. Because sometimes the other animations are hidden under the animation that is running in the foreground. That might be possible by changing the settings in the QT file. But it may also be that this chapter has another solution for this problem.
PG2_9_5_1
Another cube left out. This is a cube with an animation that is repeated four times on the surfaces. I am not completely enthusiastic about this version. Also because the movie is compressed. As a result, the image quality is actually much too bad. But it is a nice option that you can display QT movies on a cube. I have been busy adding an alpha channel to the QT movie. But that did not yield good results.
PG2_9_6_1
These are two open cubes with a choice of six random patterns. I only use images that I have made in the previous lessons. In this case, it is the Cassiniremix-file from PG1, HShape. I generated six jpg's with that program. But actually this pattern is a bit too wild. Another thing that is remarkable. In a for loop you can also apply ++i instead of the usual i++. No idea what advantage this has but it is possible.
PG2_9_6_2
These are the same two open cubes with a choice of six random patterns. But now with a red and a blue 3D pointlight.
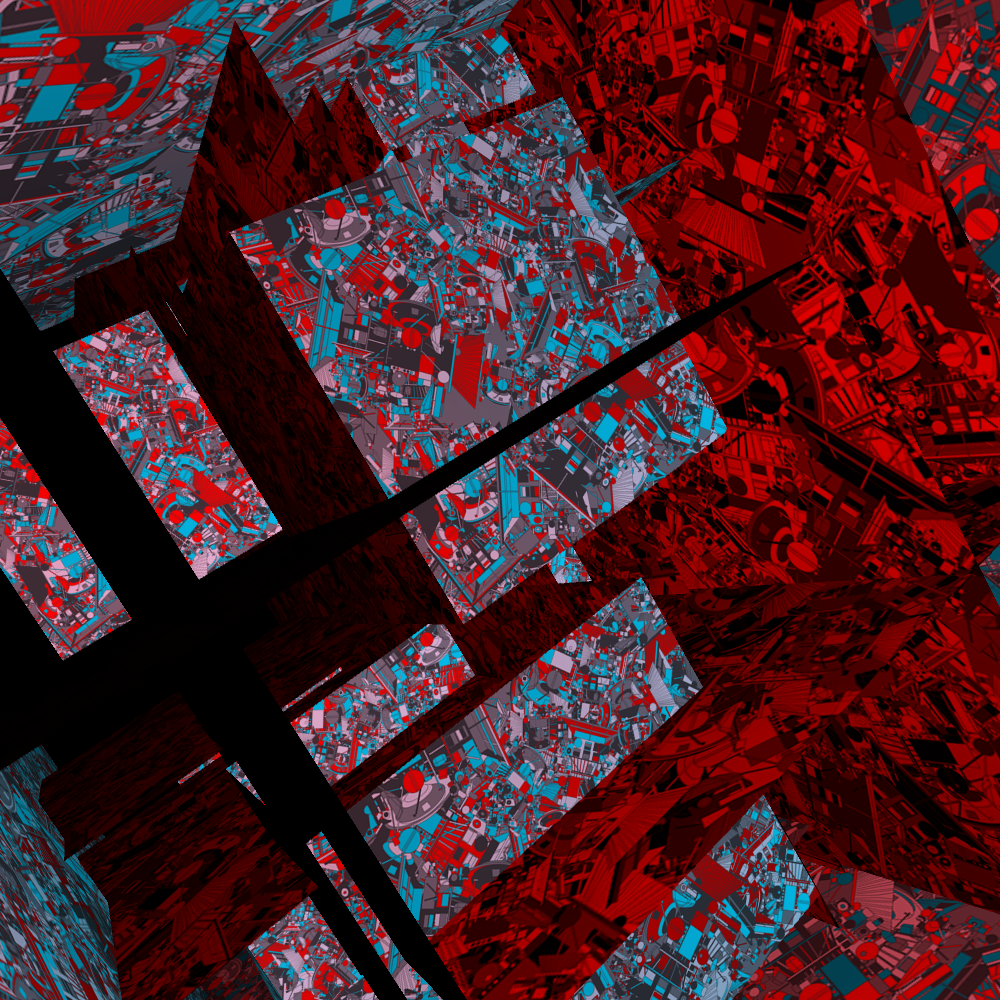
PG2_9_7_1
Not much different from the previous sketch. But without the 3D pointlights. The amount of cubes has been increased to sixteen. And we are now extremely close and almost in the cubes. This also has the disadvantage that the resolution of the jpg’s becomes visible.
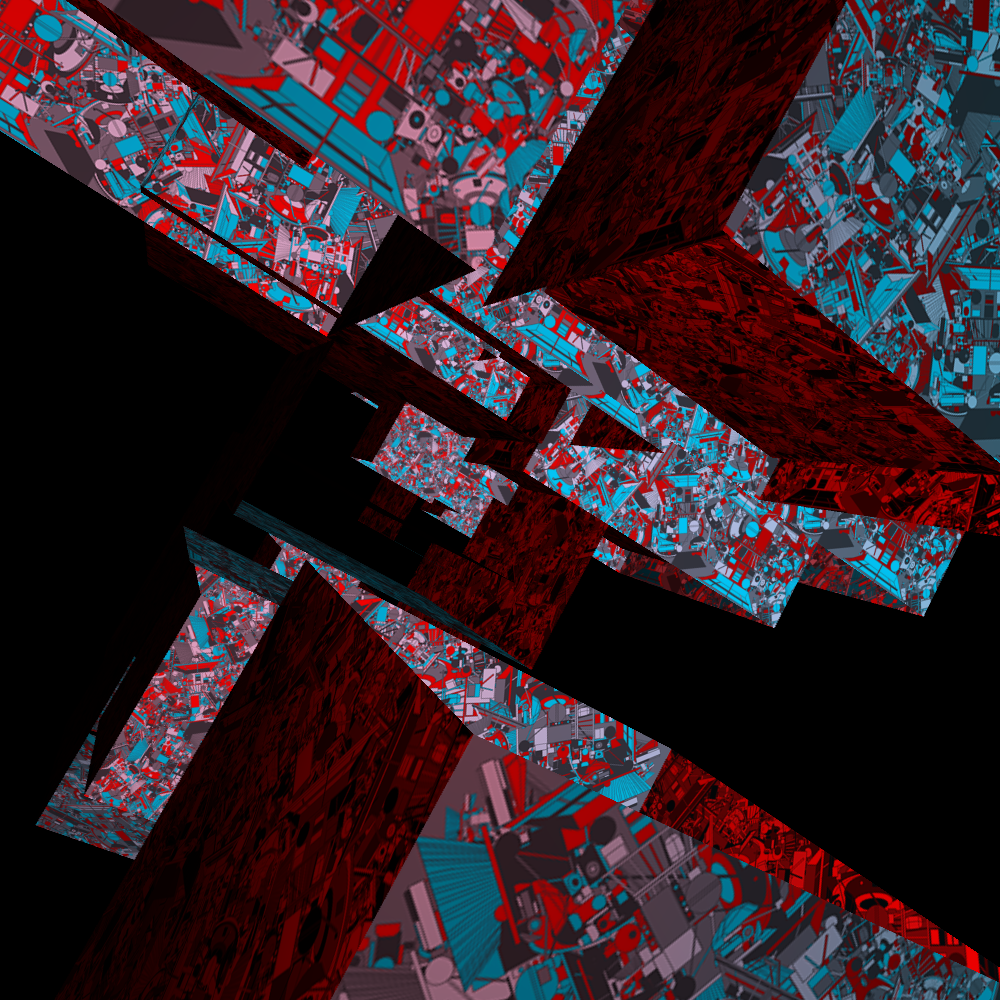
PG2_9_7_2
The 3D effect is easier to see with a blue and red 3D PointLight. And it is also more attractive.
PG2_9_8_1
A sketch with several cubes of random formats. There is now also a minimum and a maximum size as variable available (minScale, maxScale).
PG2_9_9_1
And this is a partial solution to the PG2_9_4_1 QT problem. Where I wanted the part that was black in the animation to be transparent. These are the same cubes as in the previous program. But now covered with png files that contain transparency. The png files do not yet provide animation. But hopefully that problem will be resolved later.
PG2_9_9_2
The same cubes. But now covered with png files on which a square is shown that is at an angle of fourty-five degrees. So there are of course a lot of possibilities to make variations.
PG2_9_10_1
The cubes now have a choice of three colors. A surface becomes yellow, blue or gray. And over it a black and transparent png file is mapped. In fact, the same png file is actually mapped on the cubes.
PG2_9_11_1
There is now a jpg file with a gradient in the background. This is read out in a color by pixel location via the HPixelColorist Class. But I also turned on the green and blue pointlights. That makes it even more interesting.
PG2_9_12_1
In the previous sketches, all cubes were rotated separately. In this design the total field is seen as a large constellation. That constellation is then rotated around its axes. The whole constellation flies by and comes to a halt at a certain moment. After which everything starts again.
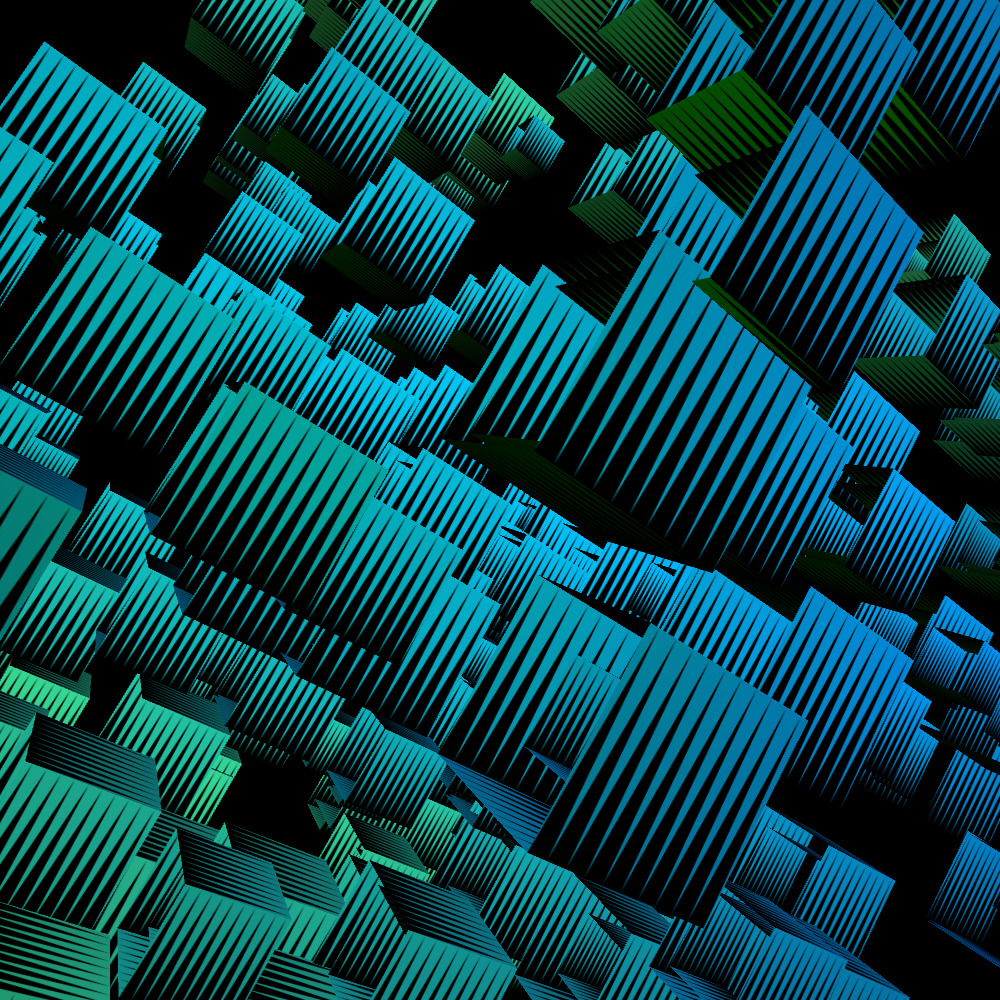
PG2_9_13_1
In this setup you always look at the center of the collection of cubes. All cubes are at the same angle and all move in the same way.
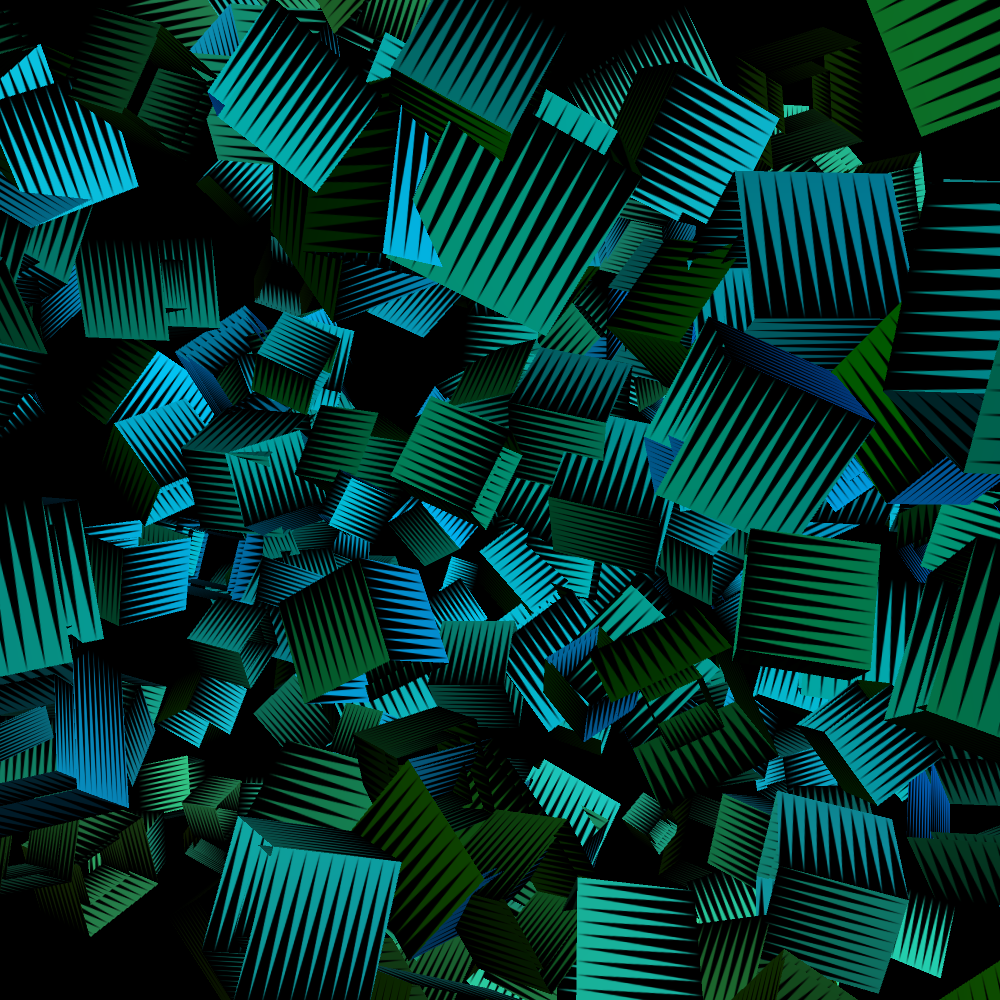
PG2_9_13_2
In this setup you look again at the center of the collection of cubes. All cubes stand still at different randomly chosen angles, but they all move in the same direction.
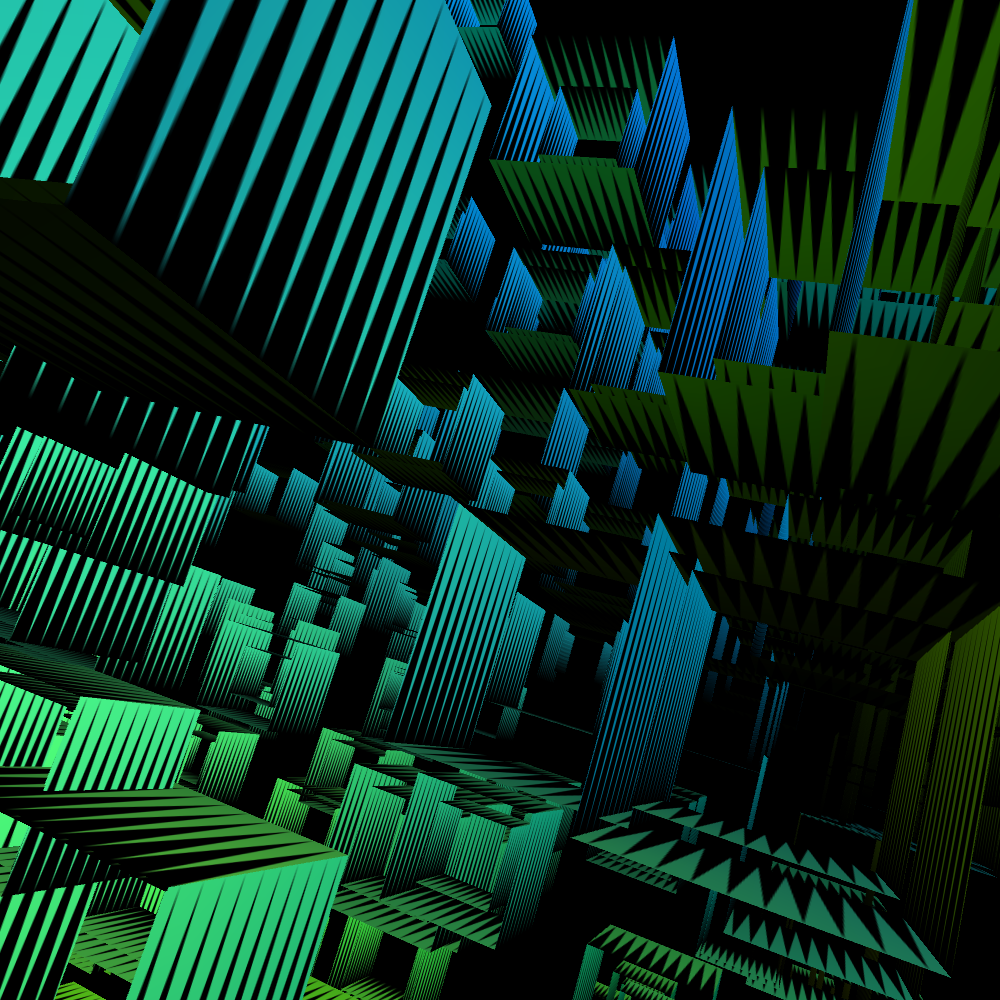
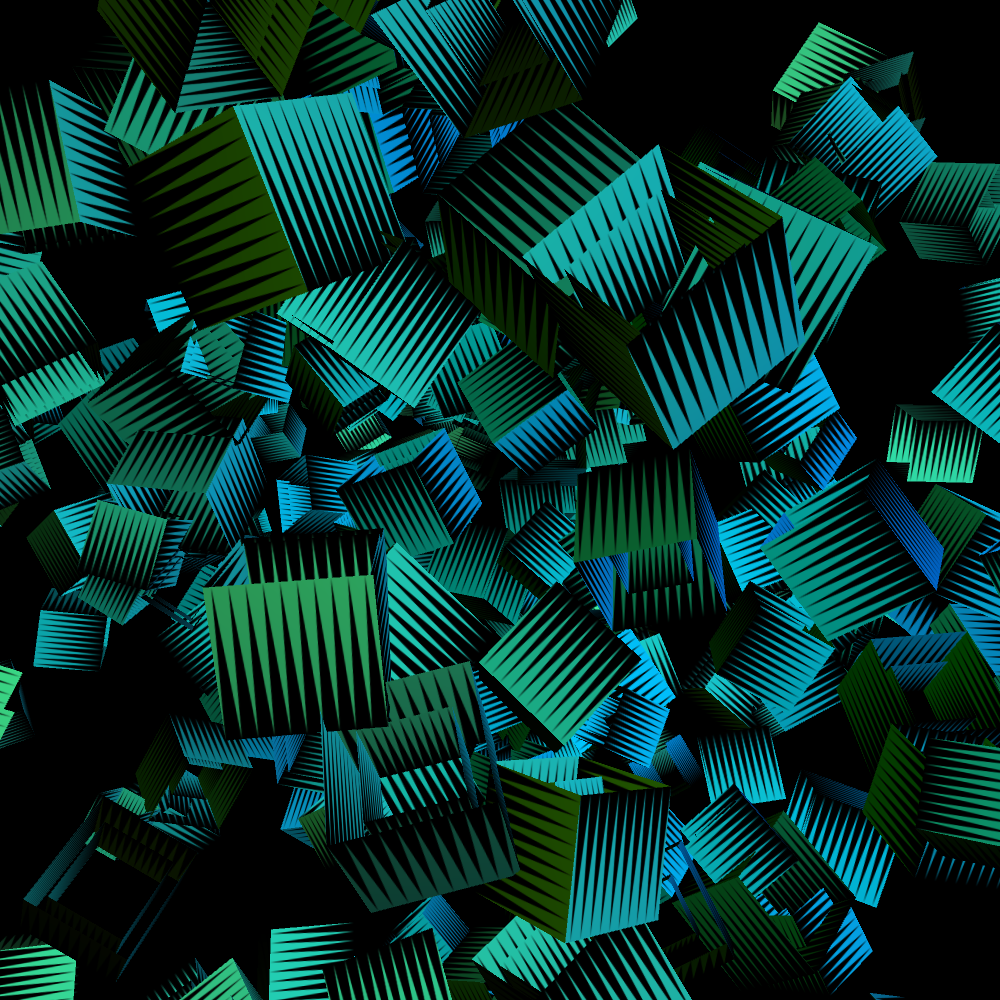
PG2_9_14_1
You are looking at the center of two hundred and sixty-four cubes. All cubes move constantly under different randomly chosen angles. And within that constellation they are all moving different now. This is caused by the frameCount function.
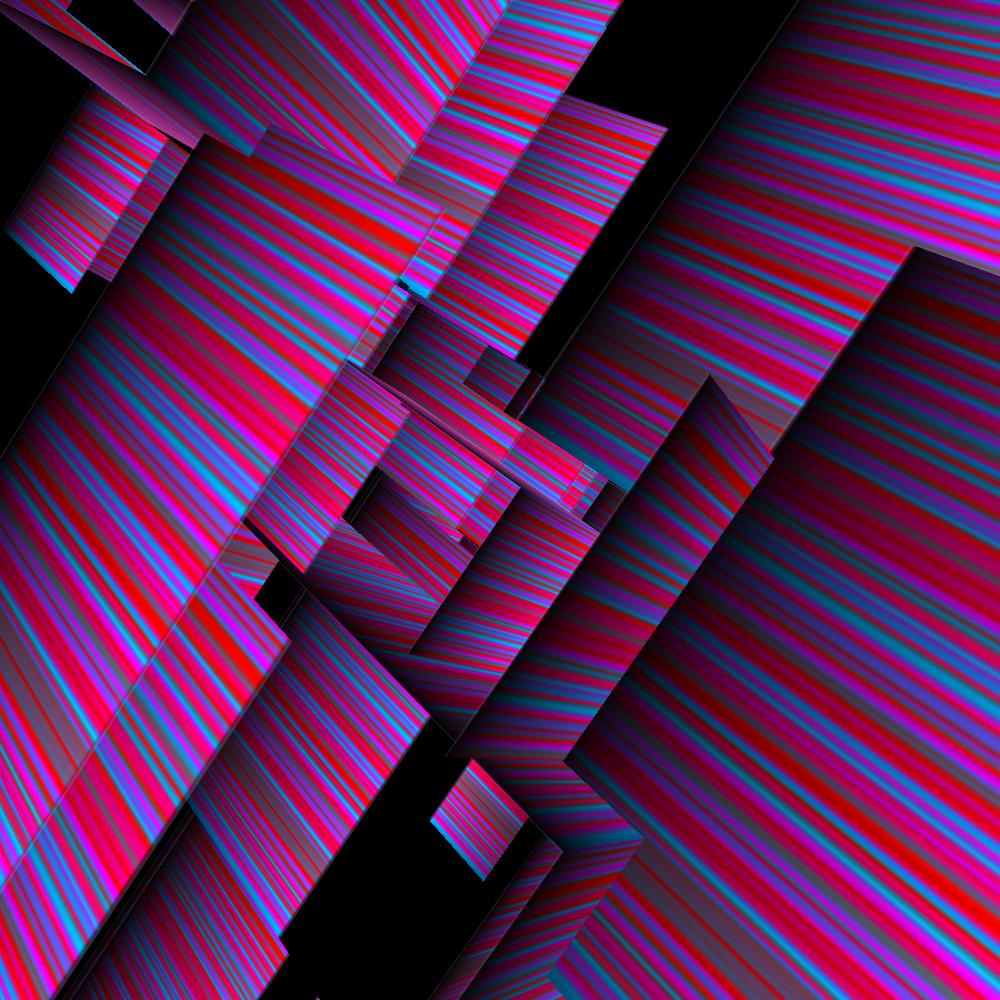
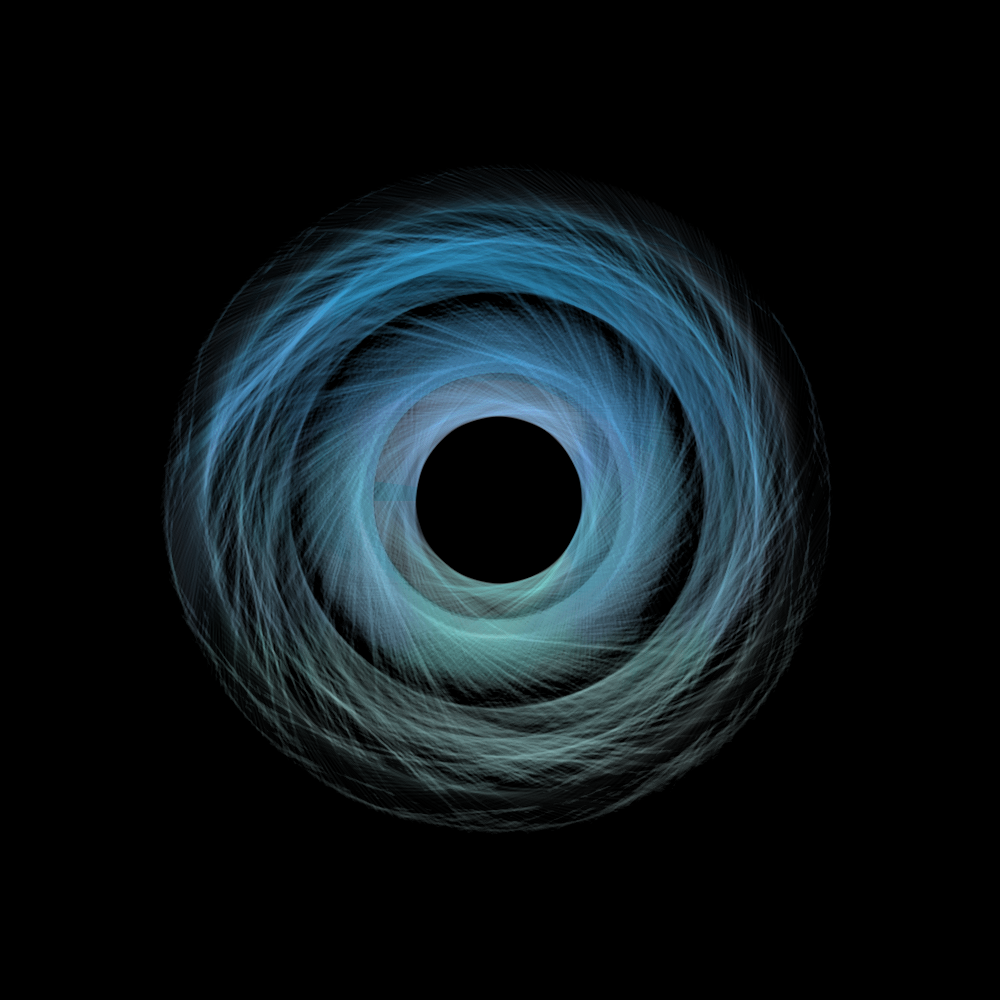
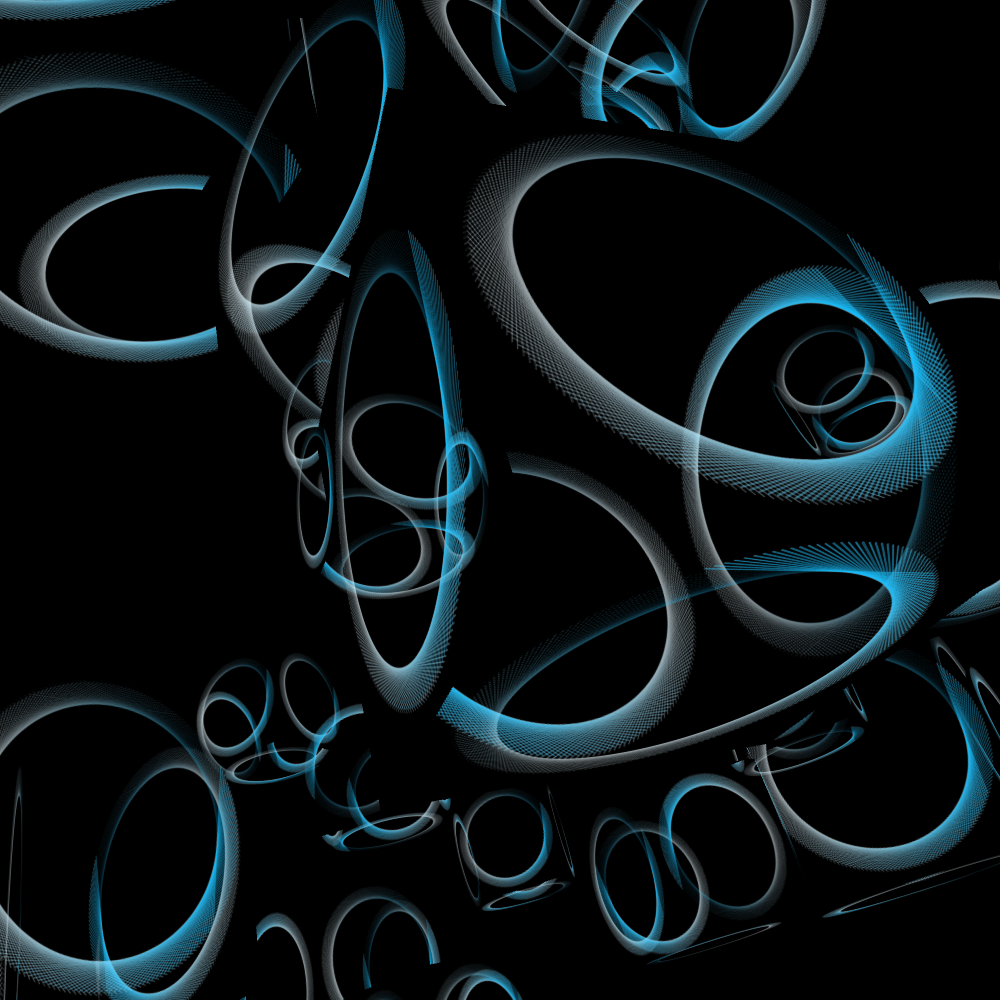
PG2_9_15_1
Back to the 2D HSwarm world. This is a very fickle animation. This is probably due to the twitch function. The animation uses a very low transparent alpha channel. In the background is a blue-white gradient that creates the color nuance in the image.
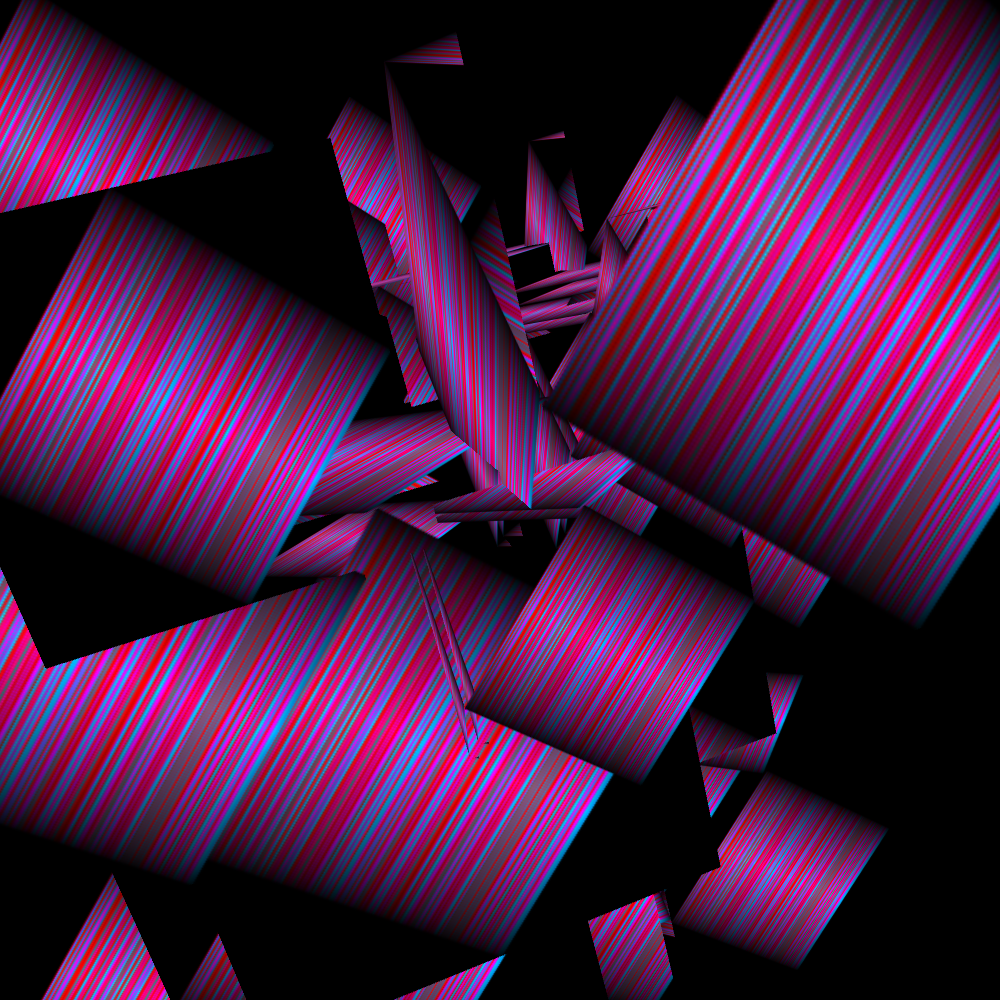
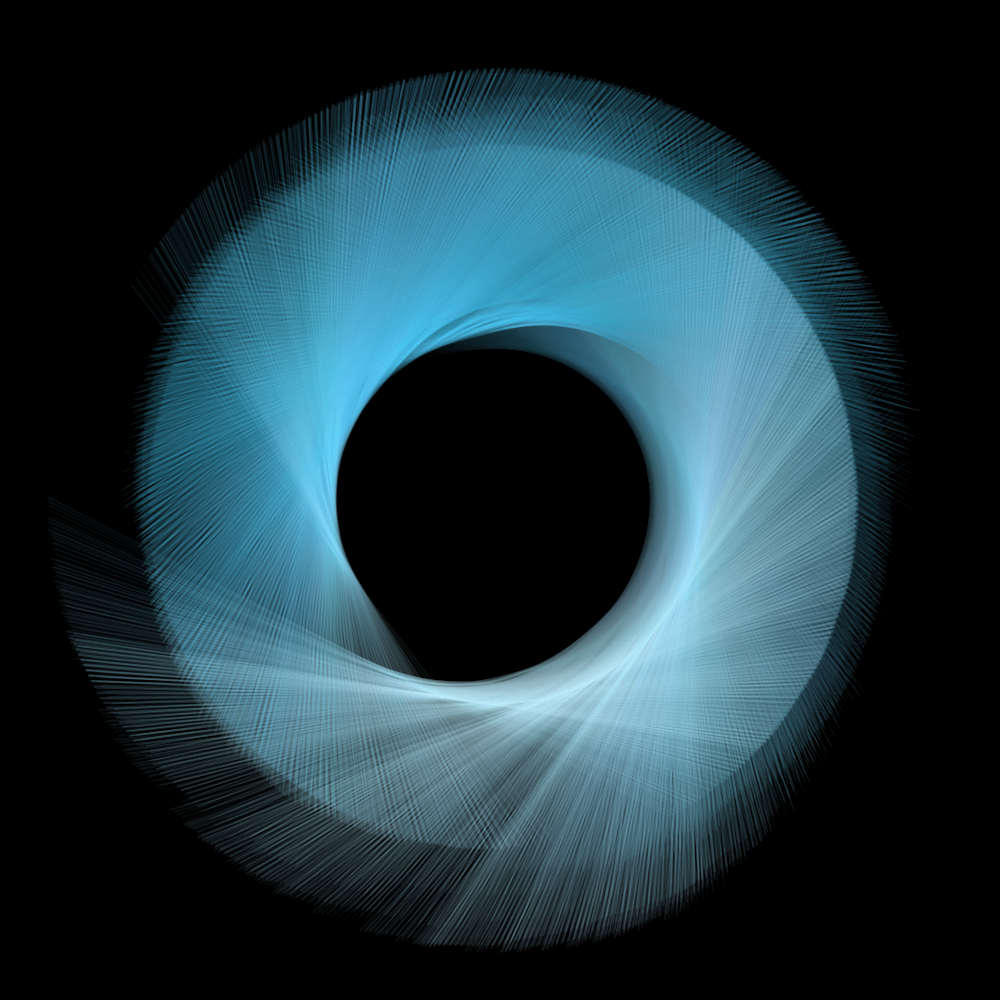
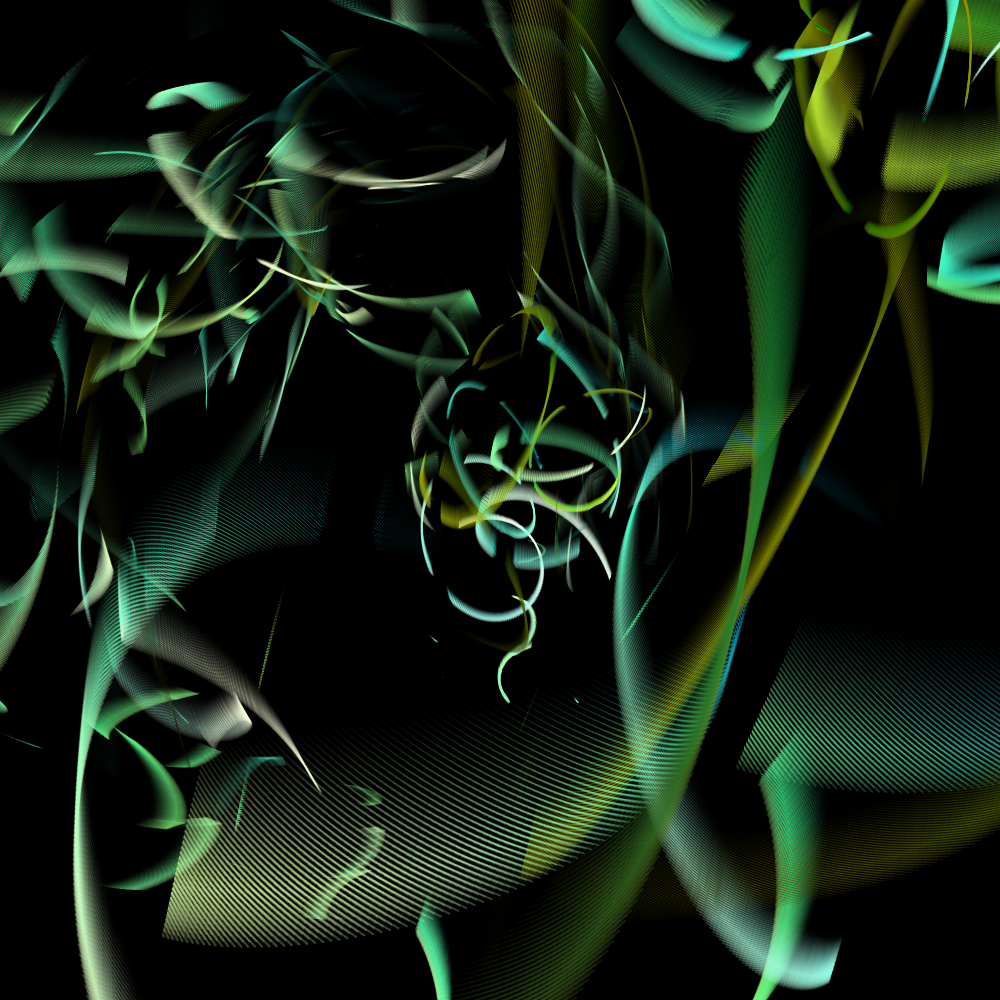
PG2_9_15_2
The twitch function is now set as low as possible. And then, as far as I am concerned, it is a good effect because it keeps changing and continues to create new forms. This without making too much chaos.
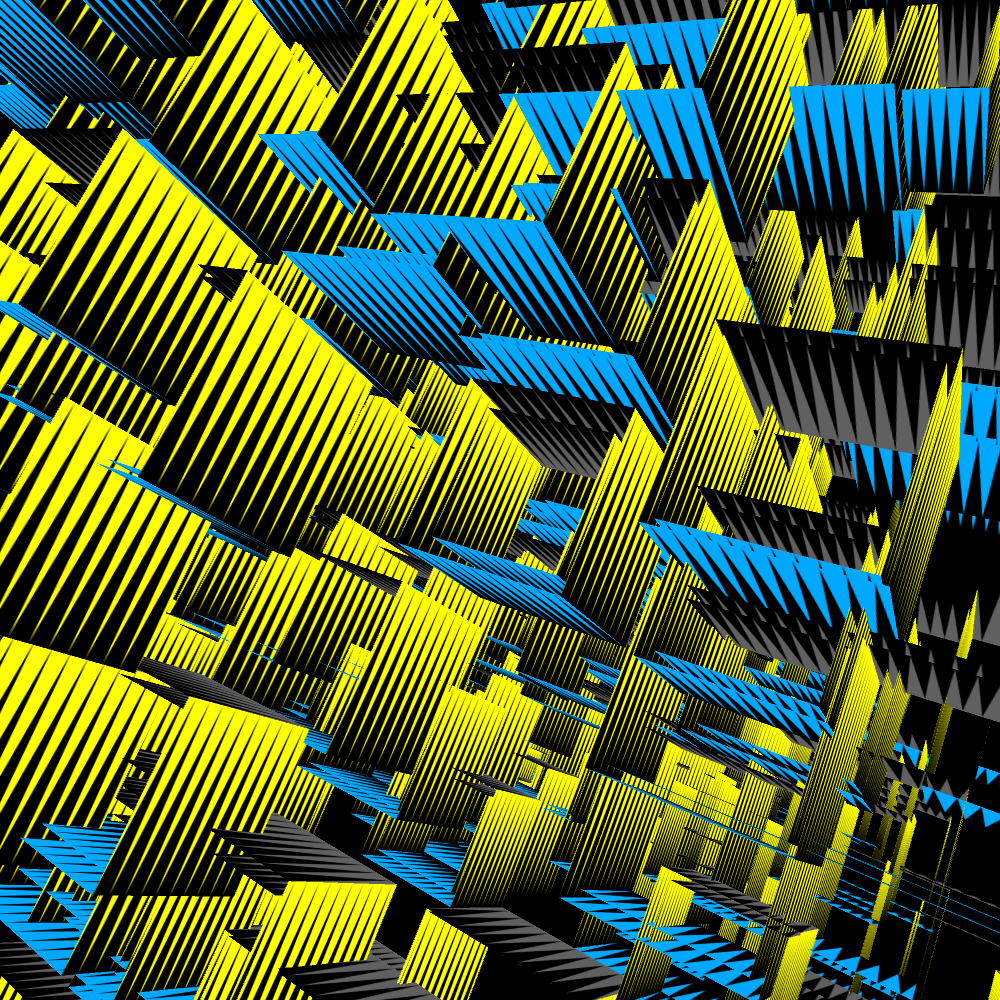
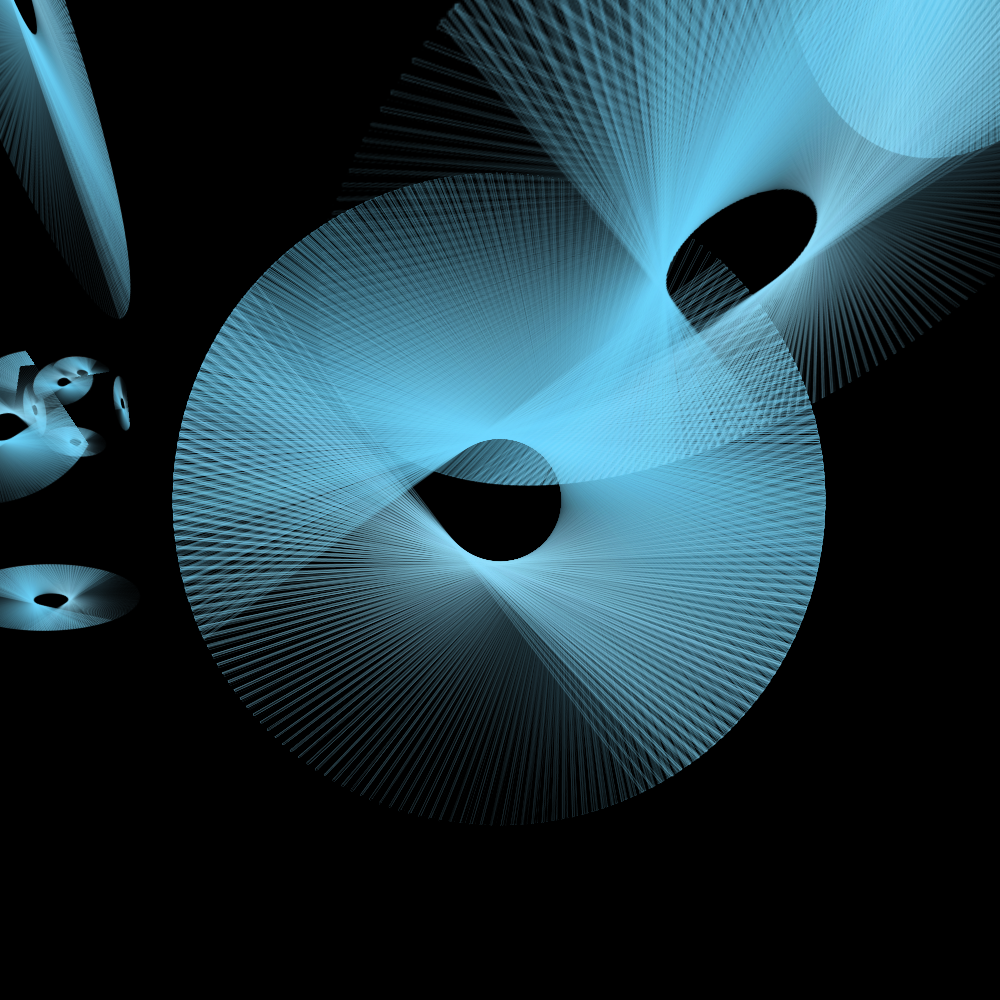
PG2_9_16_1
There is an animation in the background in 2D. But that same animation is also displayed on all sides of 128 cubes. I think it's an overkill. Actually that 2D animation has to be gone. And then my previous problem would be completely solved because I do not have to use QT movies. But how? The solution appears to be quite obvious.
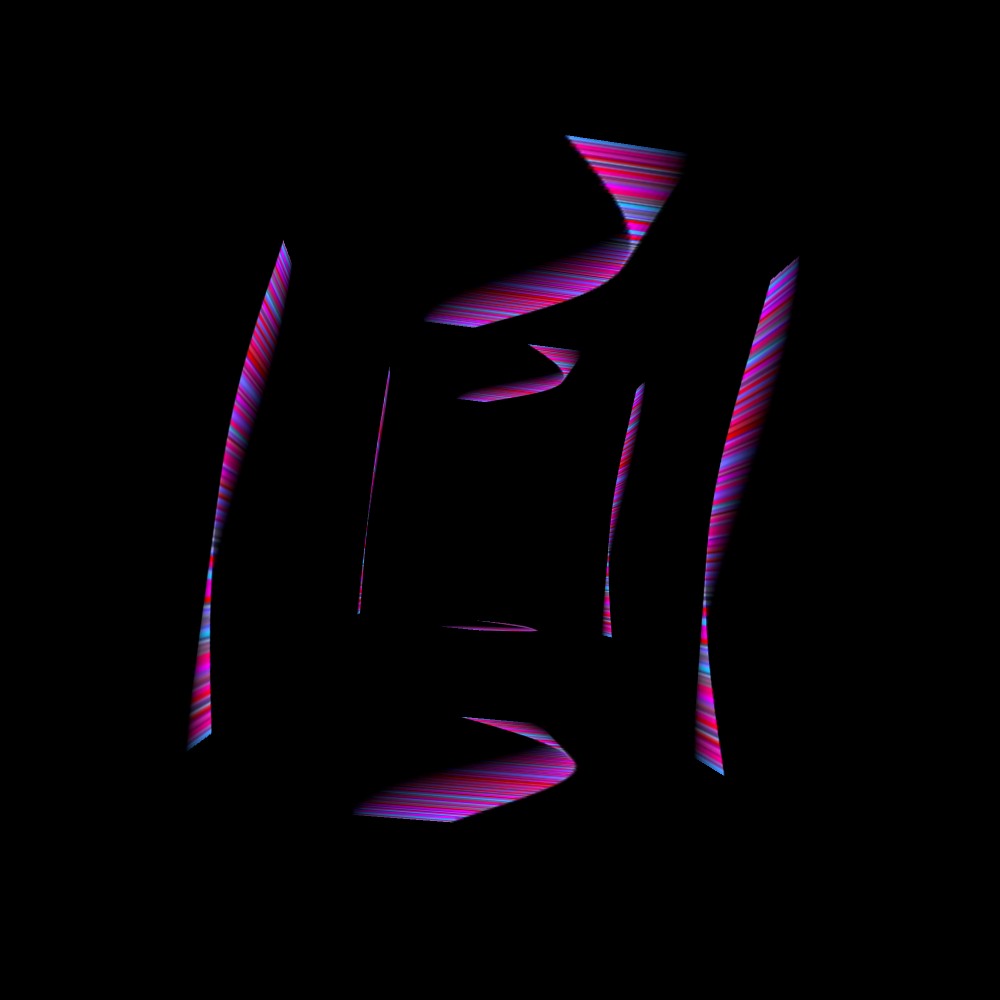
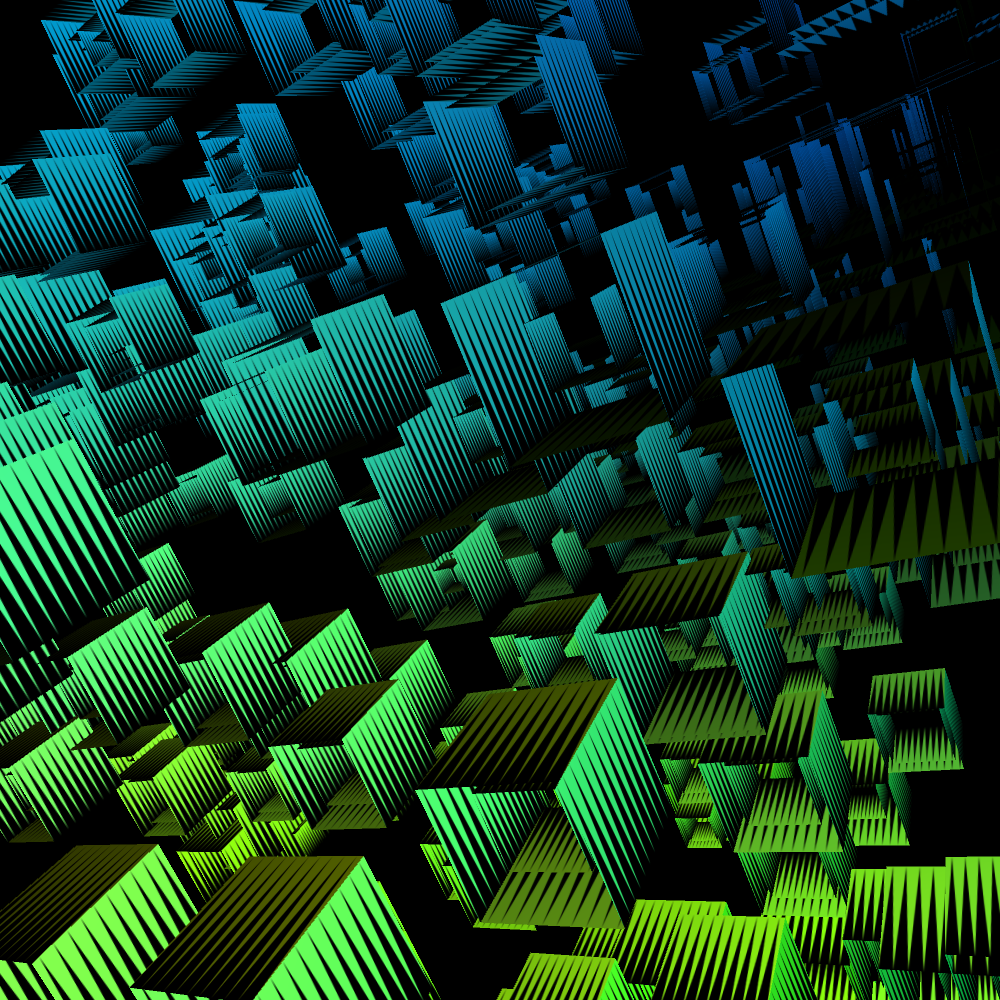
PG2_9_17_1
The 2D background animation still plays in the background. But I wanted to have it out of the picture. In this program the 2D background file is literally out of the picture. So the animation is running but outside the display image. You only see it displayed on the cubes. Strange is that there are black holes in the animation. After a while the animation disappears. And it also comes back to unplanned moments.
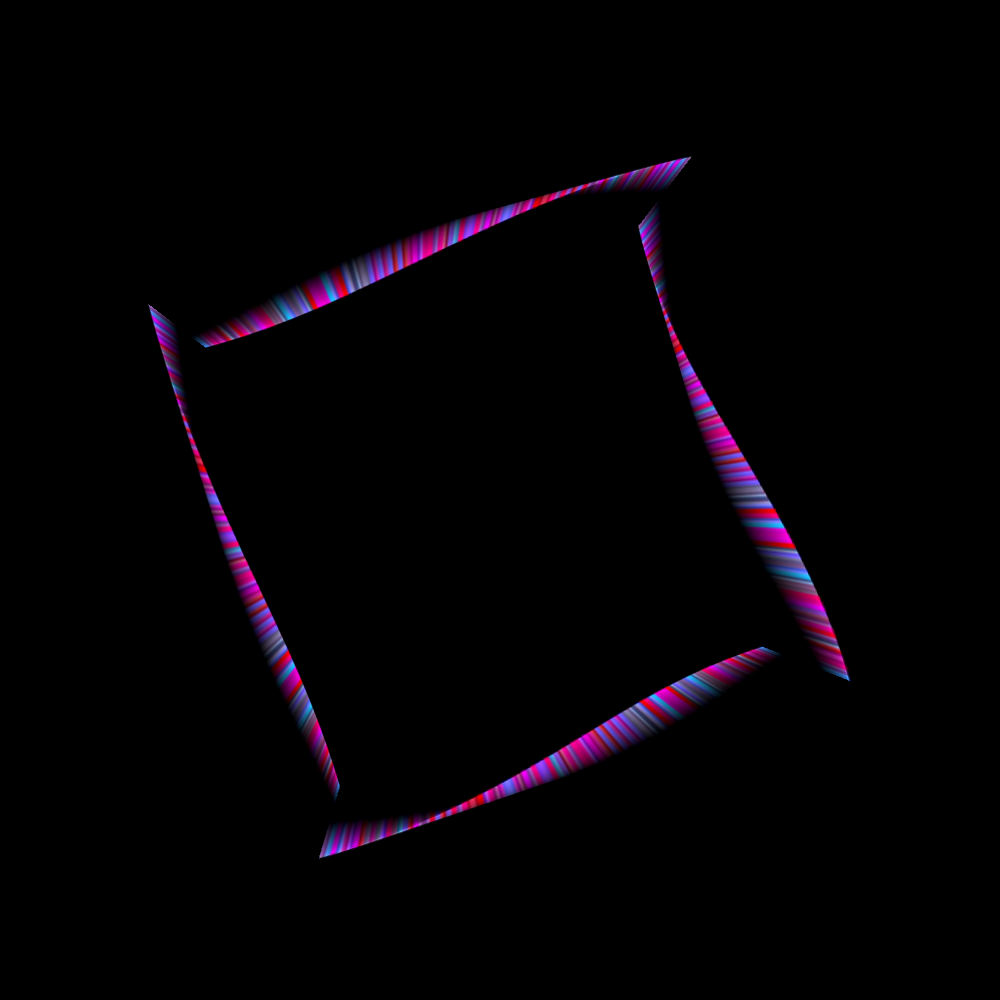
PG2_9_18_1
Another variation on the previous animation.
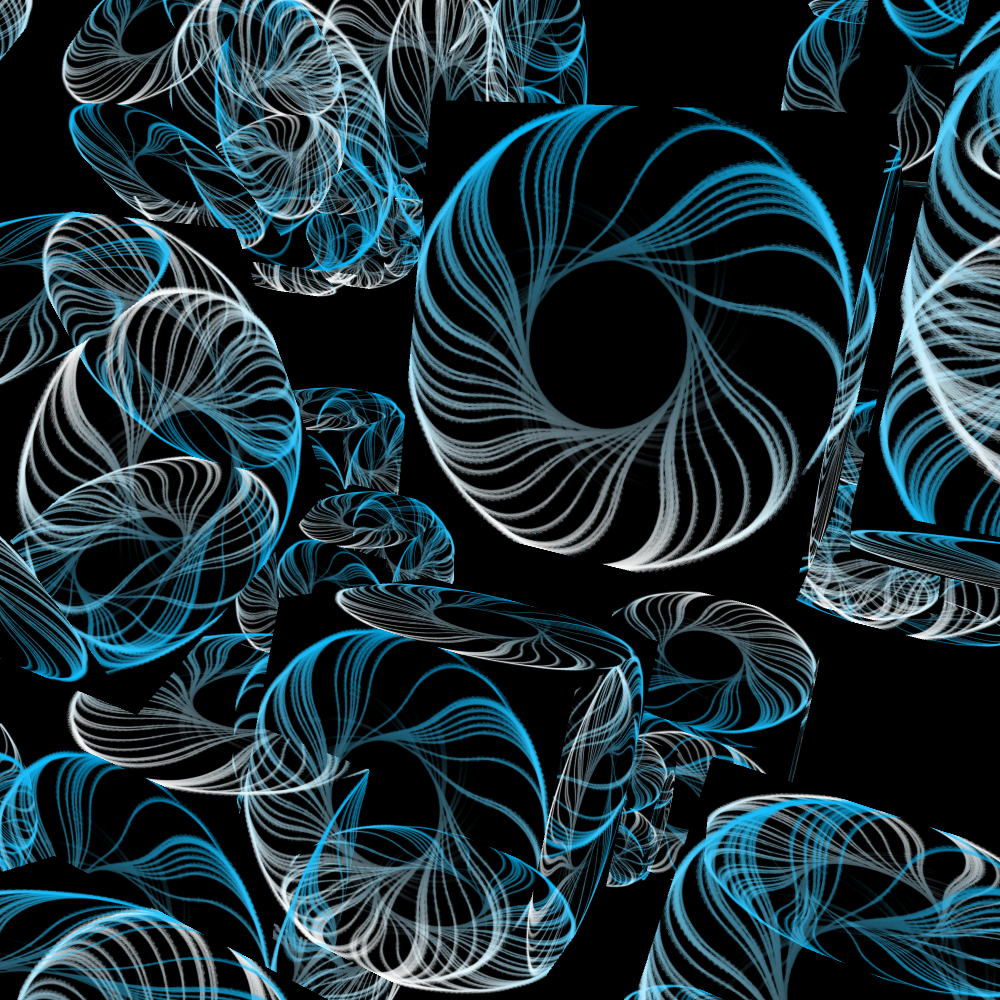
PG2_9_19_1
This is an image-making tool rather than an animation. And I have just lost my way. What exactly happens here? This is exactly the same thing as in the previous sketches. There are only some settings that have been changed. I only have no idea how those organic forms arise. That is still worth some research.
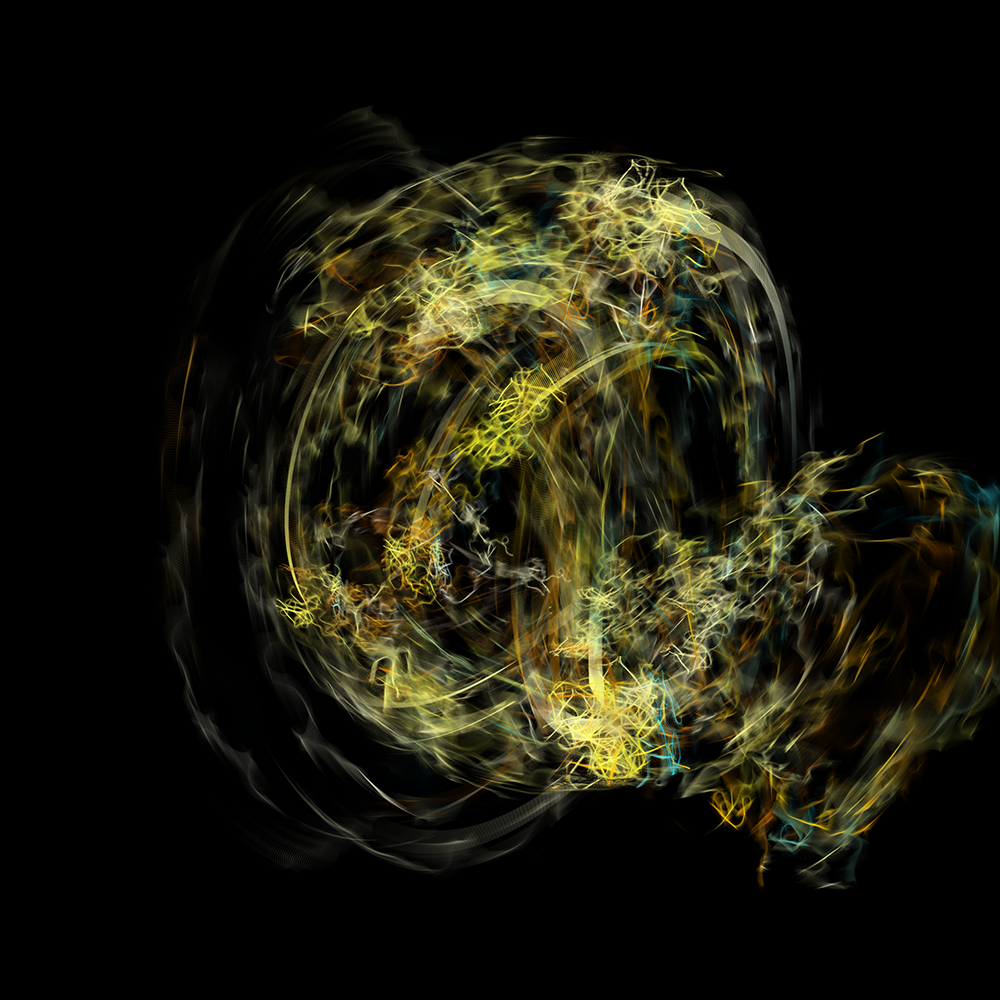
PG2_9_20_1
This program makes pretty unexpected images. And you never know when it's done. Or stopped. Suddenly something is added again. And every image is not reproducible. I have decided to render these versions at two-thousand by two-thousand pixels because there happens so much in these images. At a thousand by a thousand pixels the fine details would really be lost. The disadvantage is that I can not see the end result because the illustration is larger than my monitor allows. I never expected to end with these images when I started this. A worthy conclusion to this Programming Graphics 2 course.