Mura's Notebook Scene Mockup
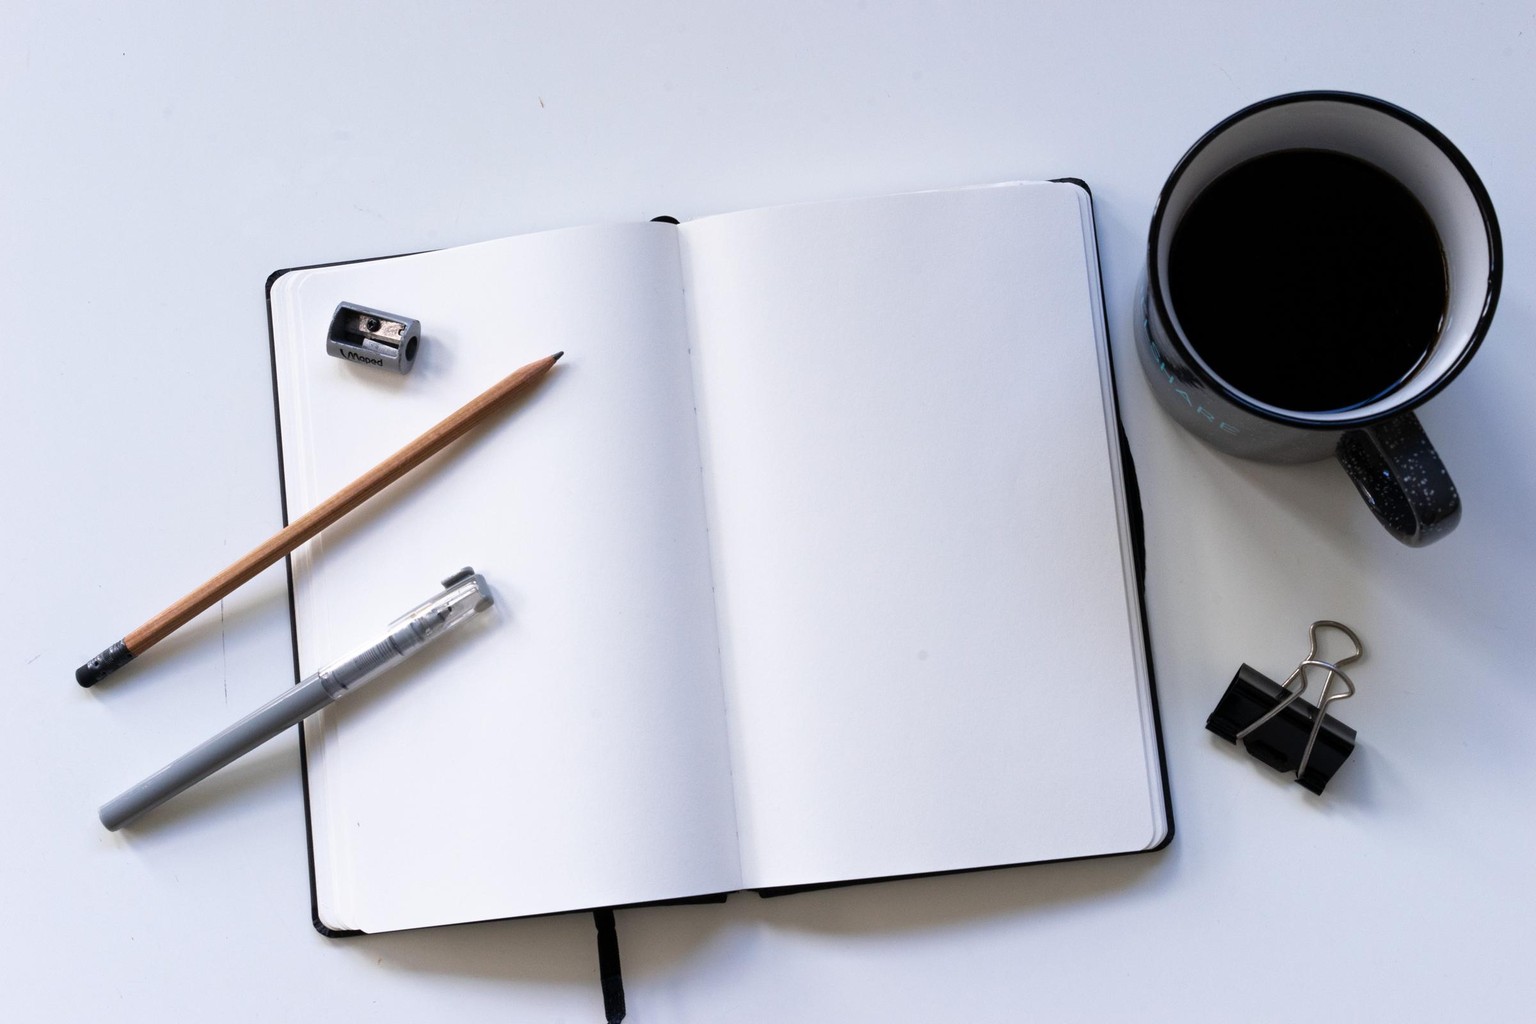
PLACE OBJECTS
Look around your room studio or home for objects you can use for your mockup.
Things like pencils, notebook, mugs, books, mugs, clothes, stickers, pins etc.
TAKE PICTURE
Took a picture with my sony a7, Using your PHONE is just fine!
- Get directly above the objects so it's easier to edit and looks better in perspective.
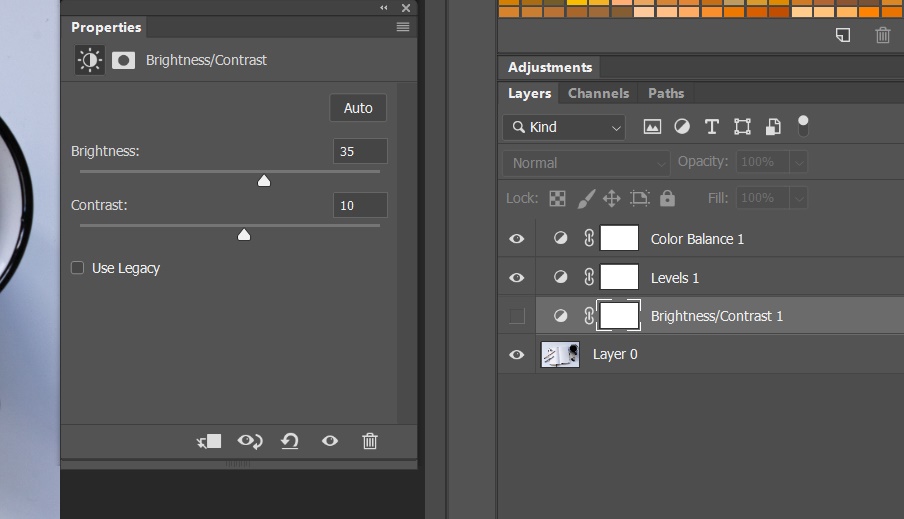
You can add minor adjustments, Iike to use 3 basic adjustments.
- Color balance
- levels
- contrast and brightness.
Add your logo I like to copy and paste it from illustrator directly if you don't have the vector version use a transparent png and drag it into photoshop
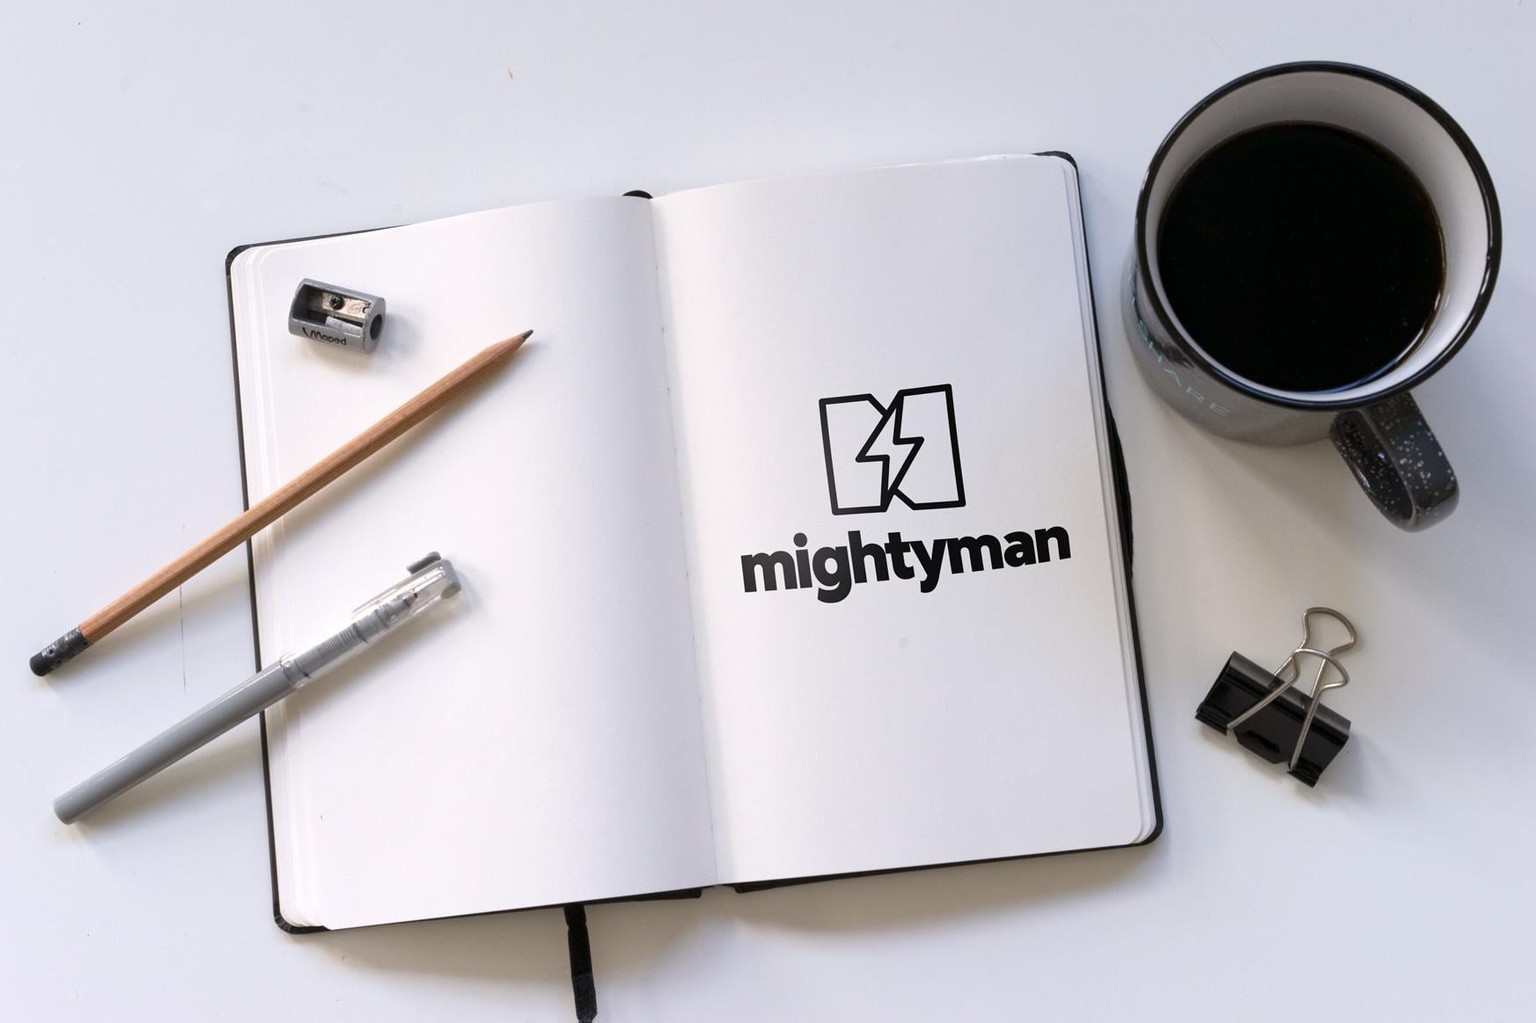
Set blending mode to multiply I like to make it 90% opacity this helps blend the layer.
If you want to go even further you can use the edit > warp and paint custom highlights as shown in the class.
EXPORT MOCKUP
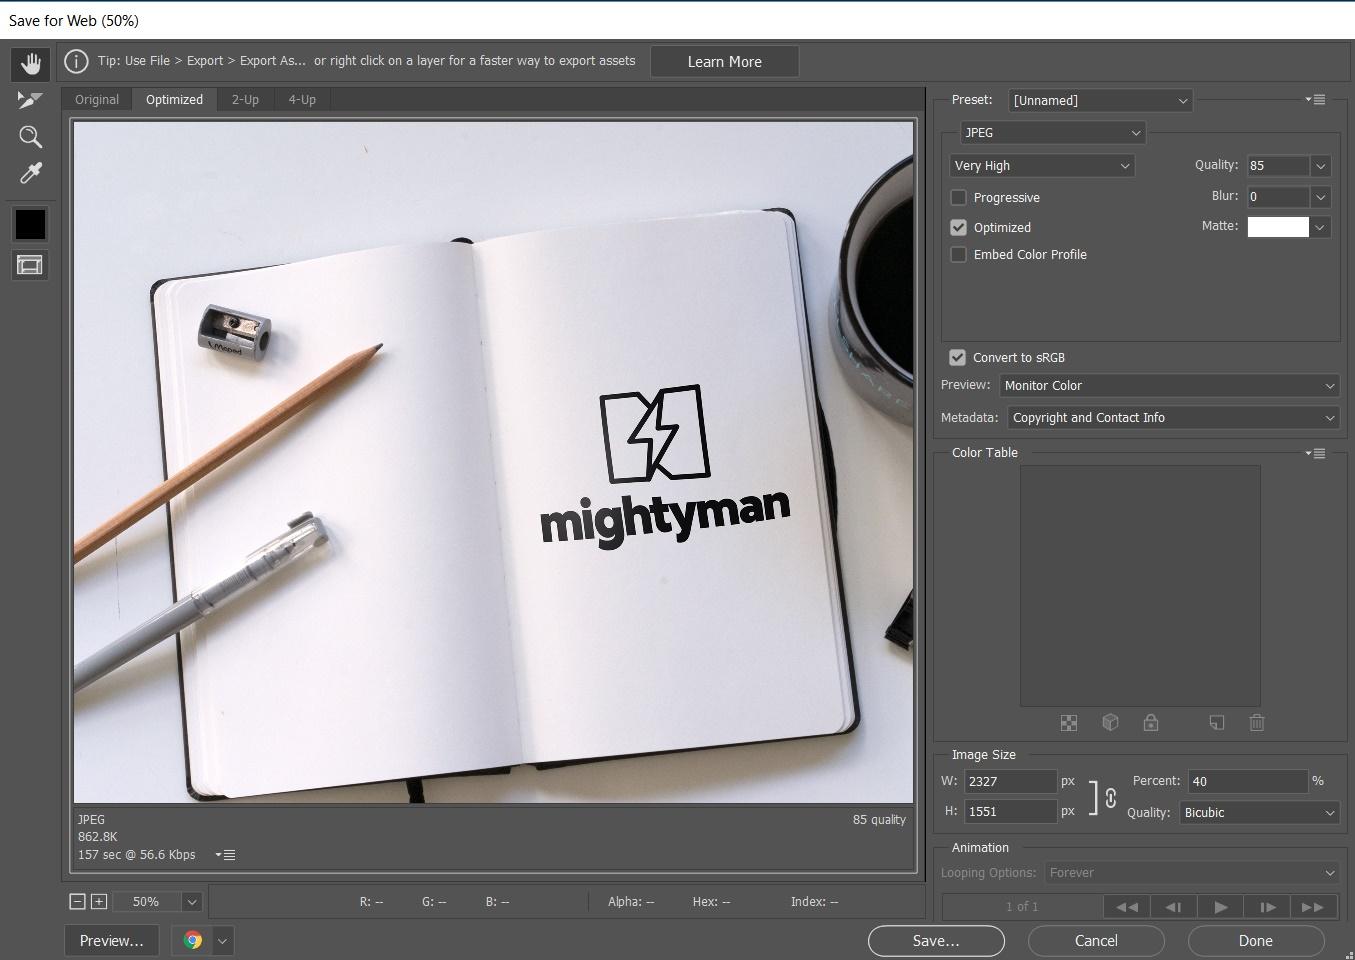
To export your mockup in high quality do save for web as shown below.
- File > save as > save for web
You'll get this window that pops up you can use my settings to get good results while keeping the file small enough.
You want it as a JPEG
At least 80 quality and the pixel ratio keep it at least 1500px.