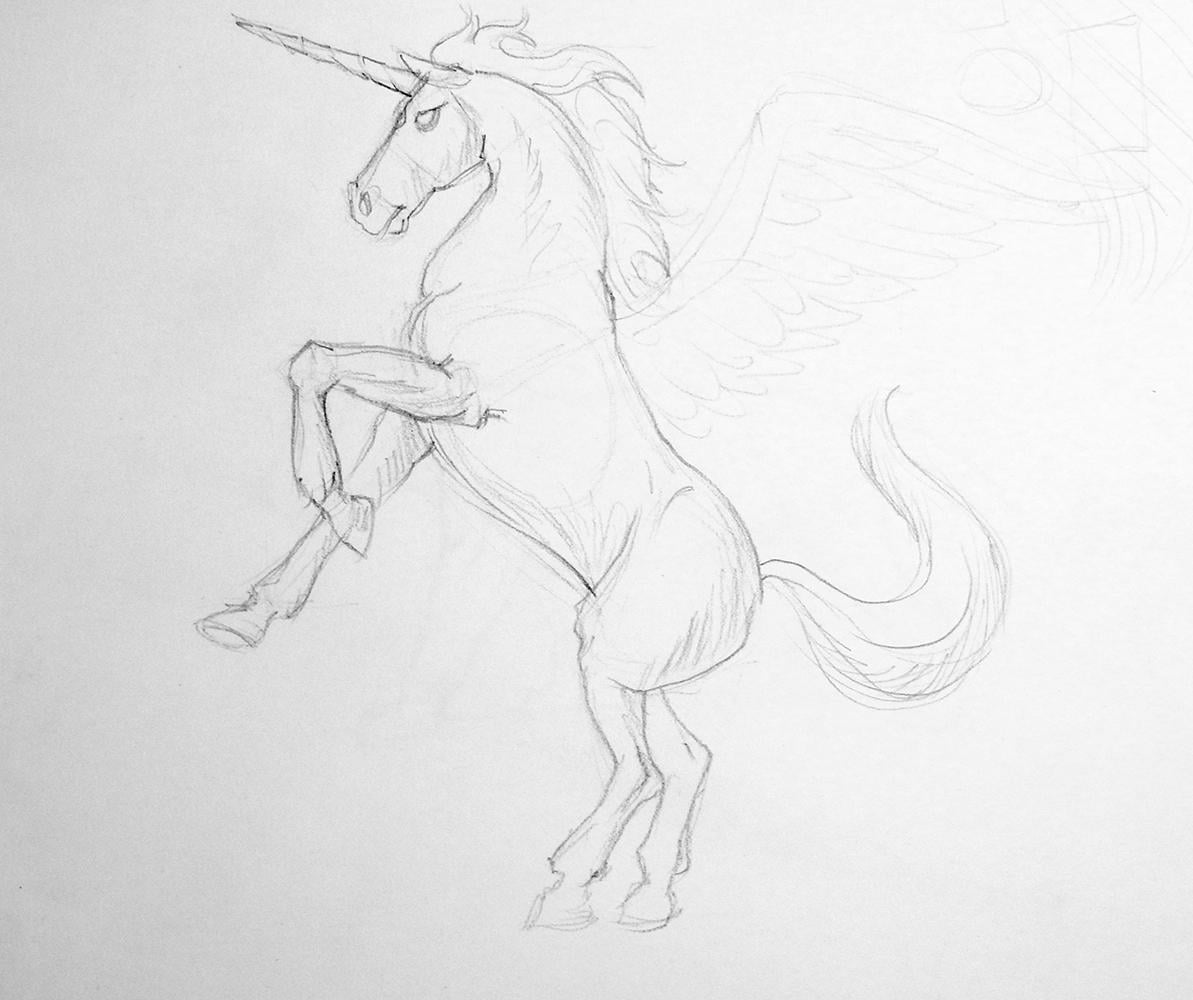
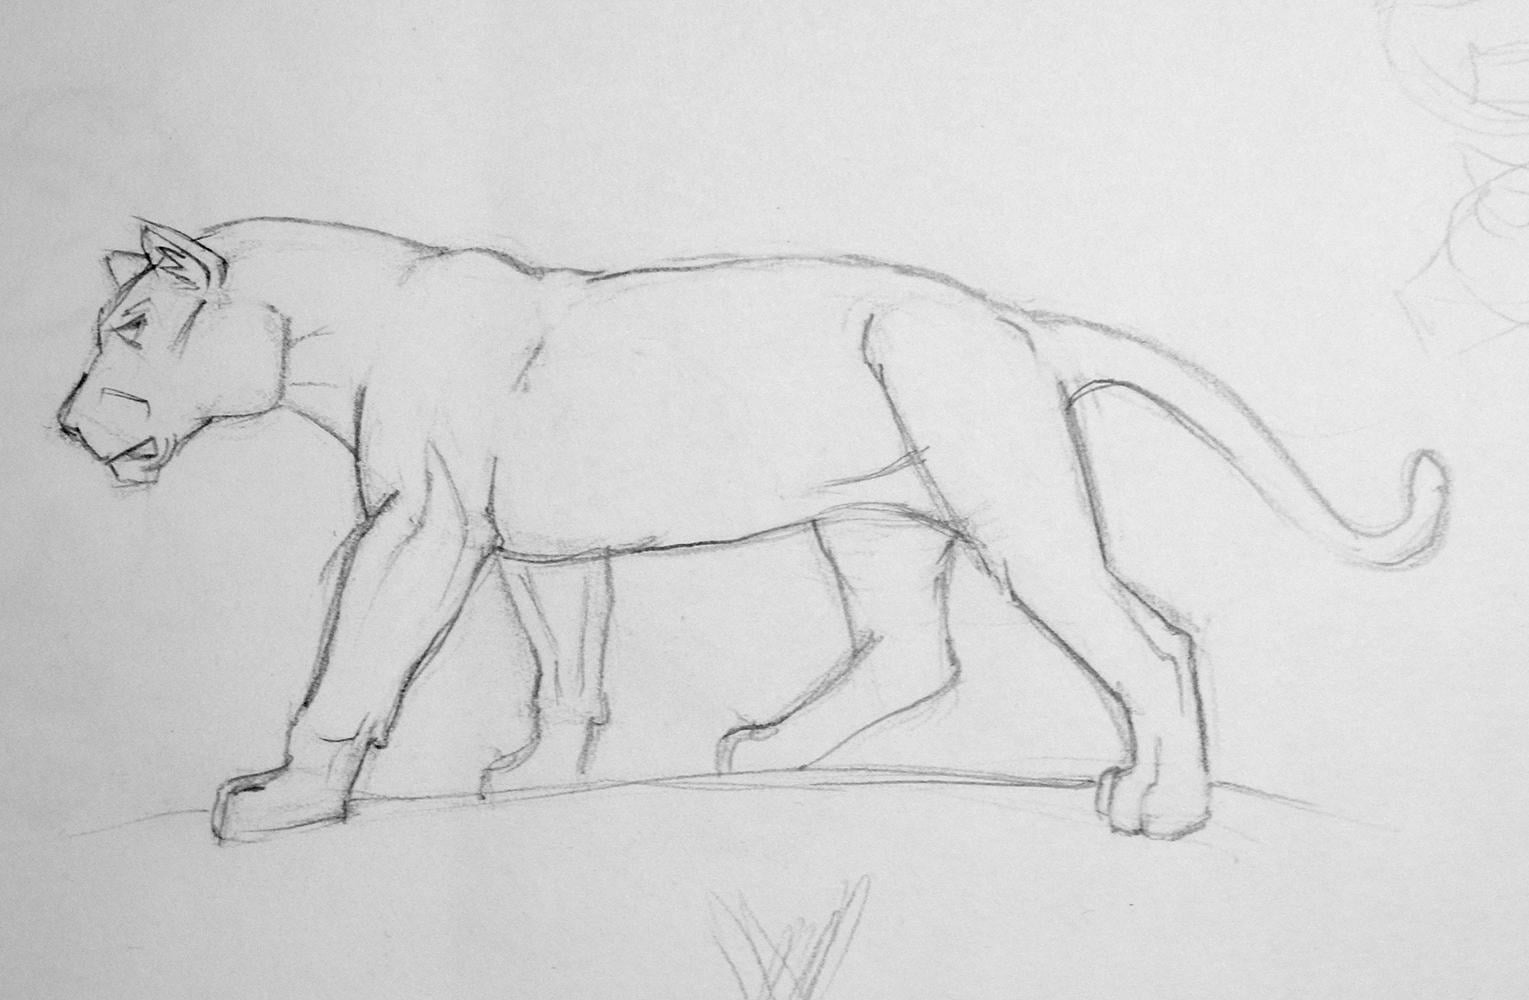
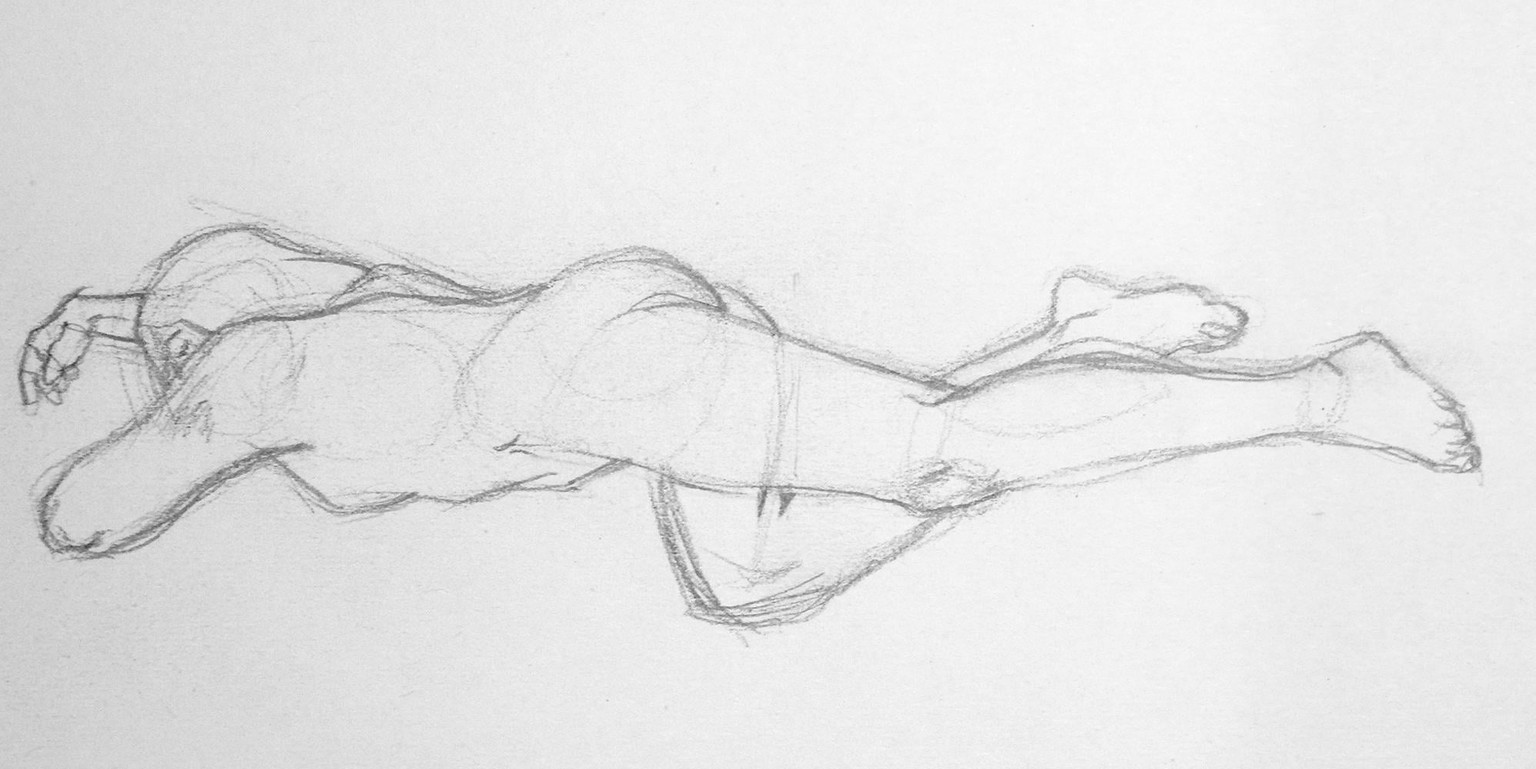
Freehand drawings - 12 to 15 minutes
Here are the examples I made in this class. I would love to see your work, so feel free to share it here.
Ami, one of the latest students in this class, had an interesting question about how to distort basic 3D forms to fit the subjects she is drawing. In the next segment of this project, I'll try to answer and give some tips that I hope will be helpful. Once again, thanks, Ami, for sending this question.
Combining 3D forms is about thinking structurally—seeing the subject as a collection of interlocking volumes. It’s not just about placing shapes side by side, but about merging, wedging, and intersecting them in space to build believable, functional forms. One suggestion would be to practice with Real Subjects.
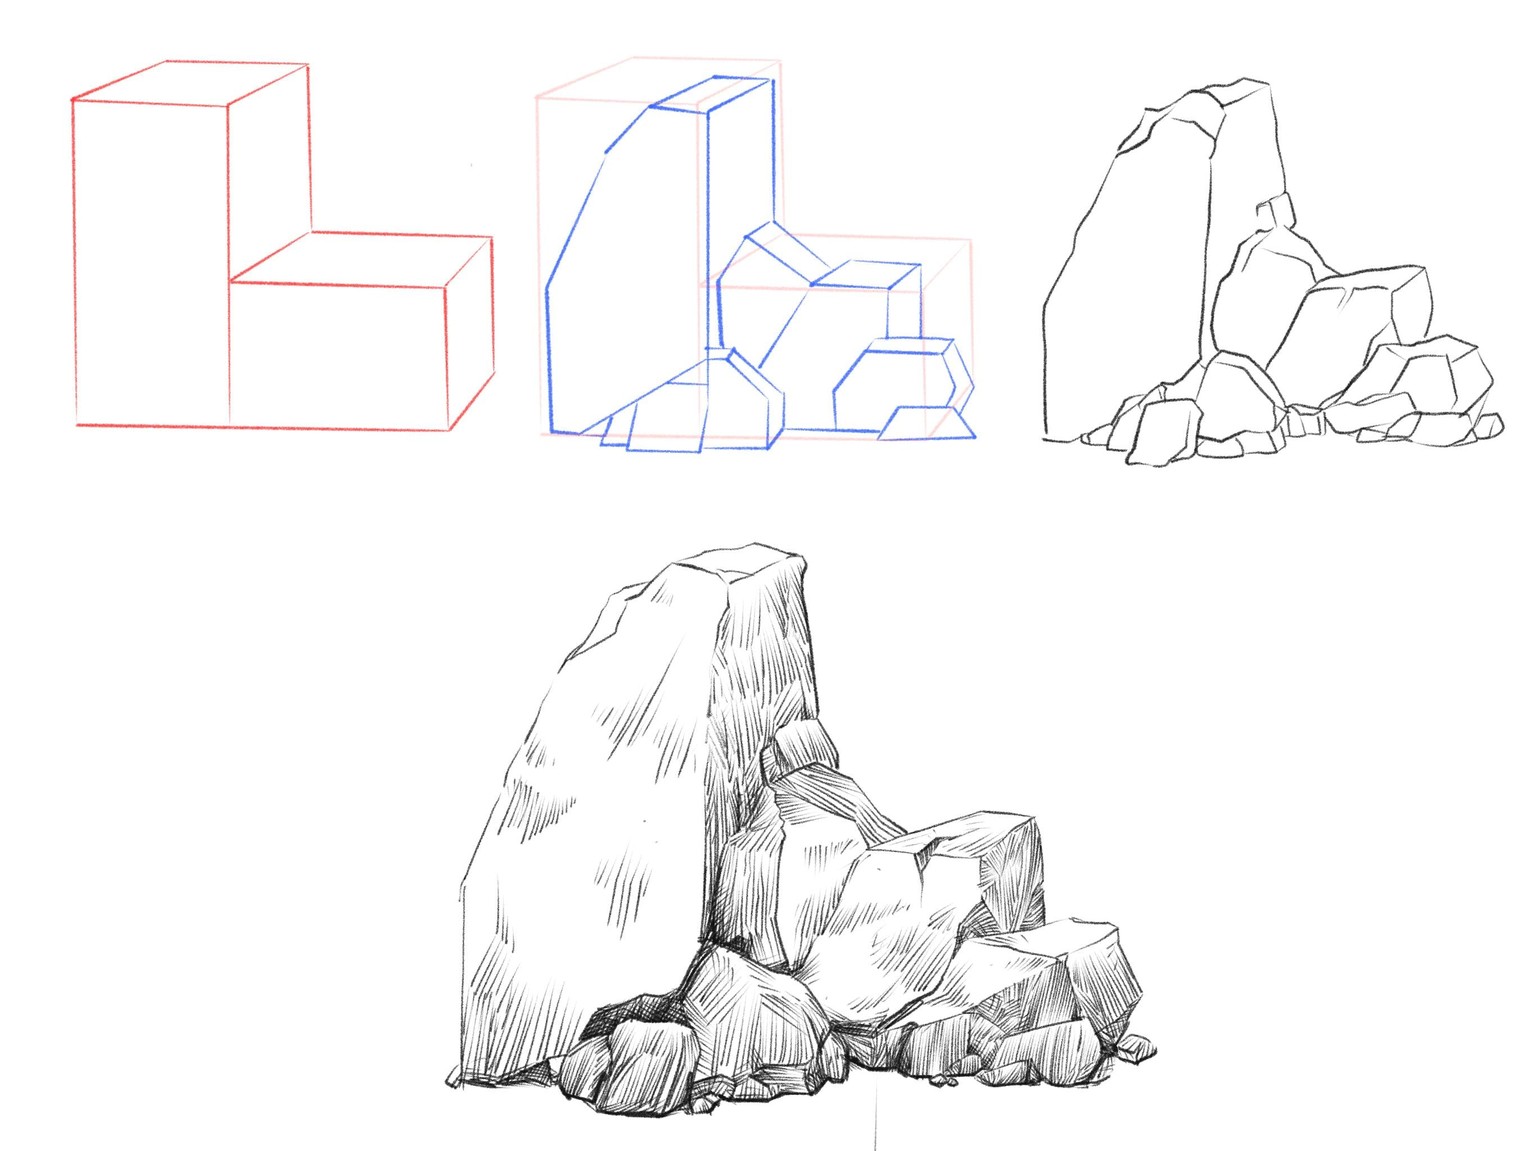
- Pick simple objects like a flashlight (cylinder + cone + sphere) or a mushroom (cylinder + dome) and break them down. Going further, you can make things a bit more complex, јust like in the example below.
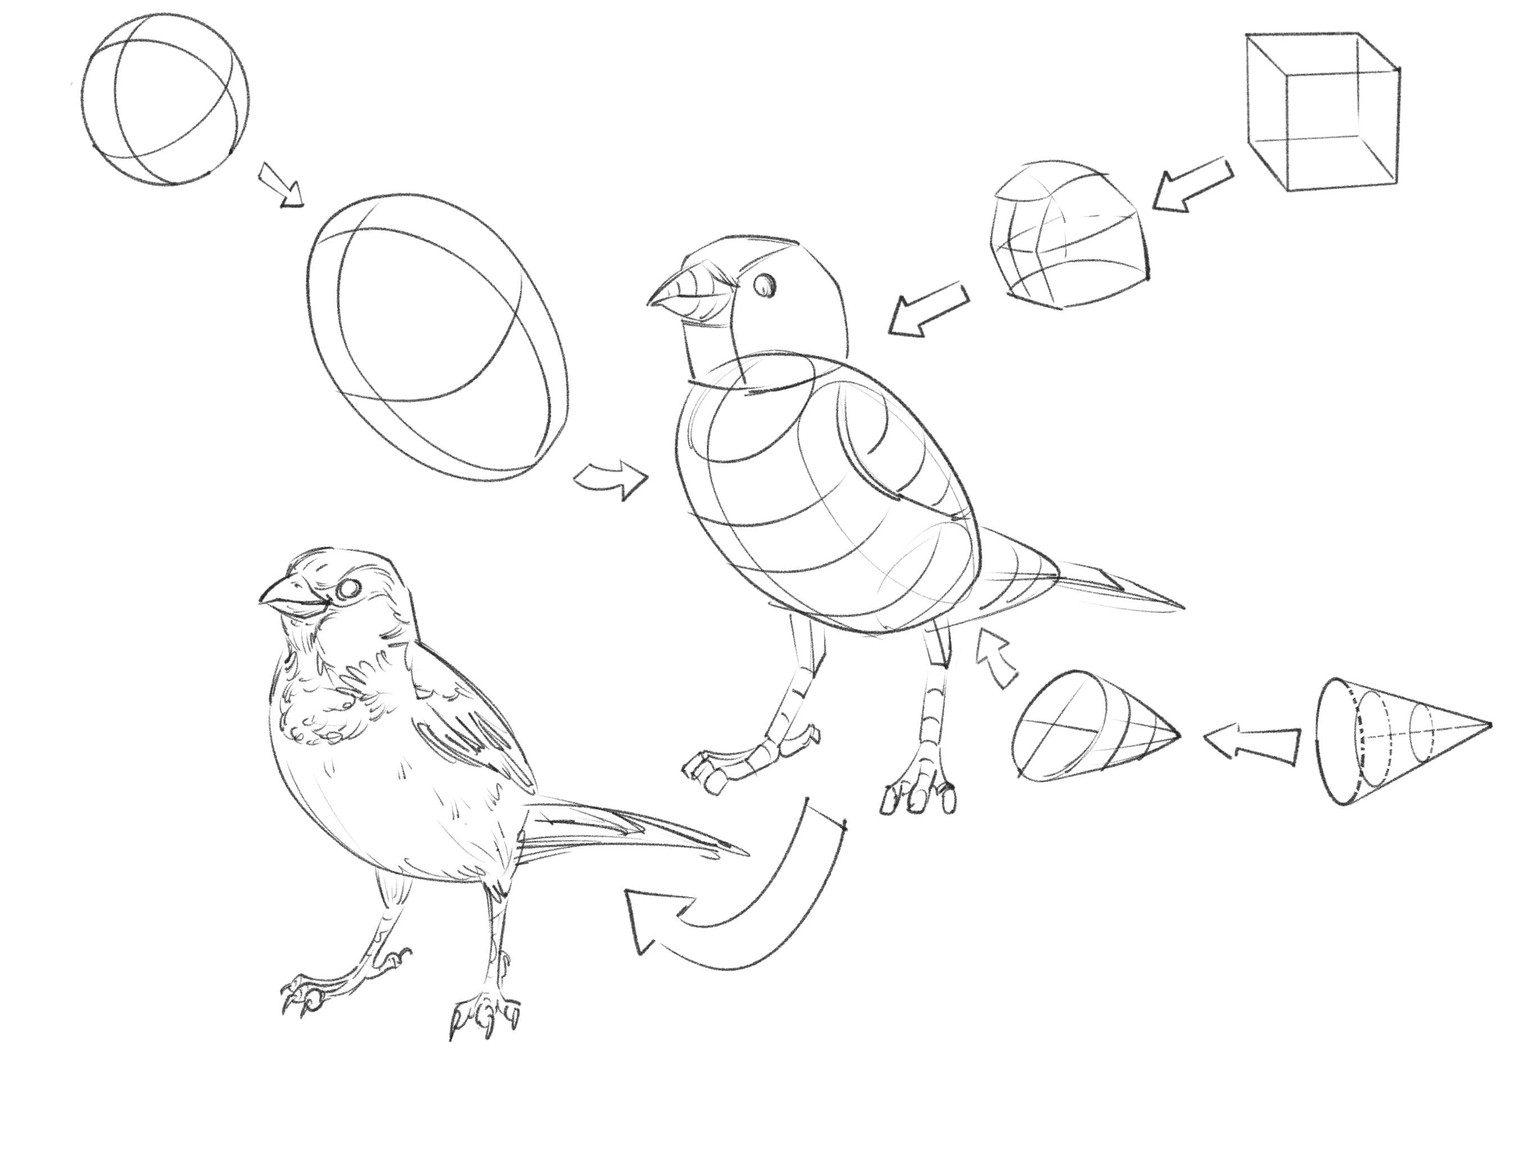
- Use Transparent Wireframes. Drawing transparent versions of the forms helps them understand how volumes sit in space. Next, draw transparent wireframes of your forms and stretch or bend the lines. This enables you to maintain volume while experimenting.
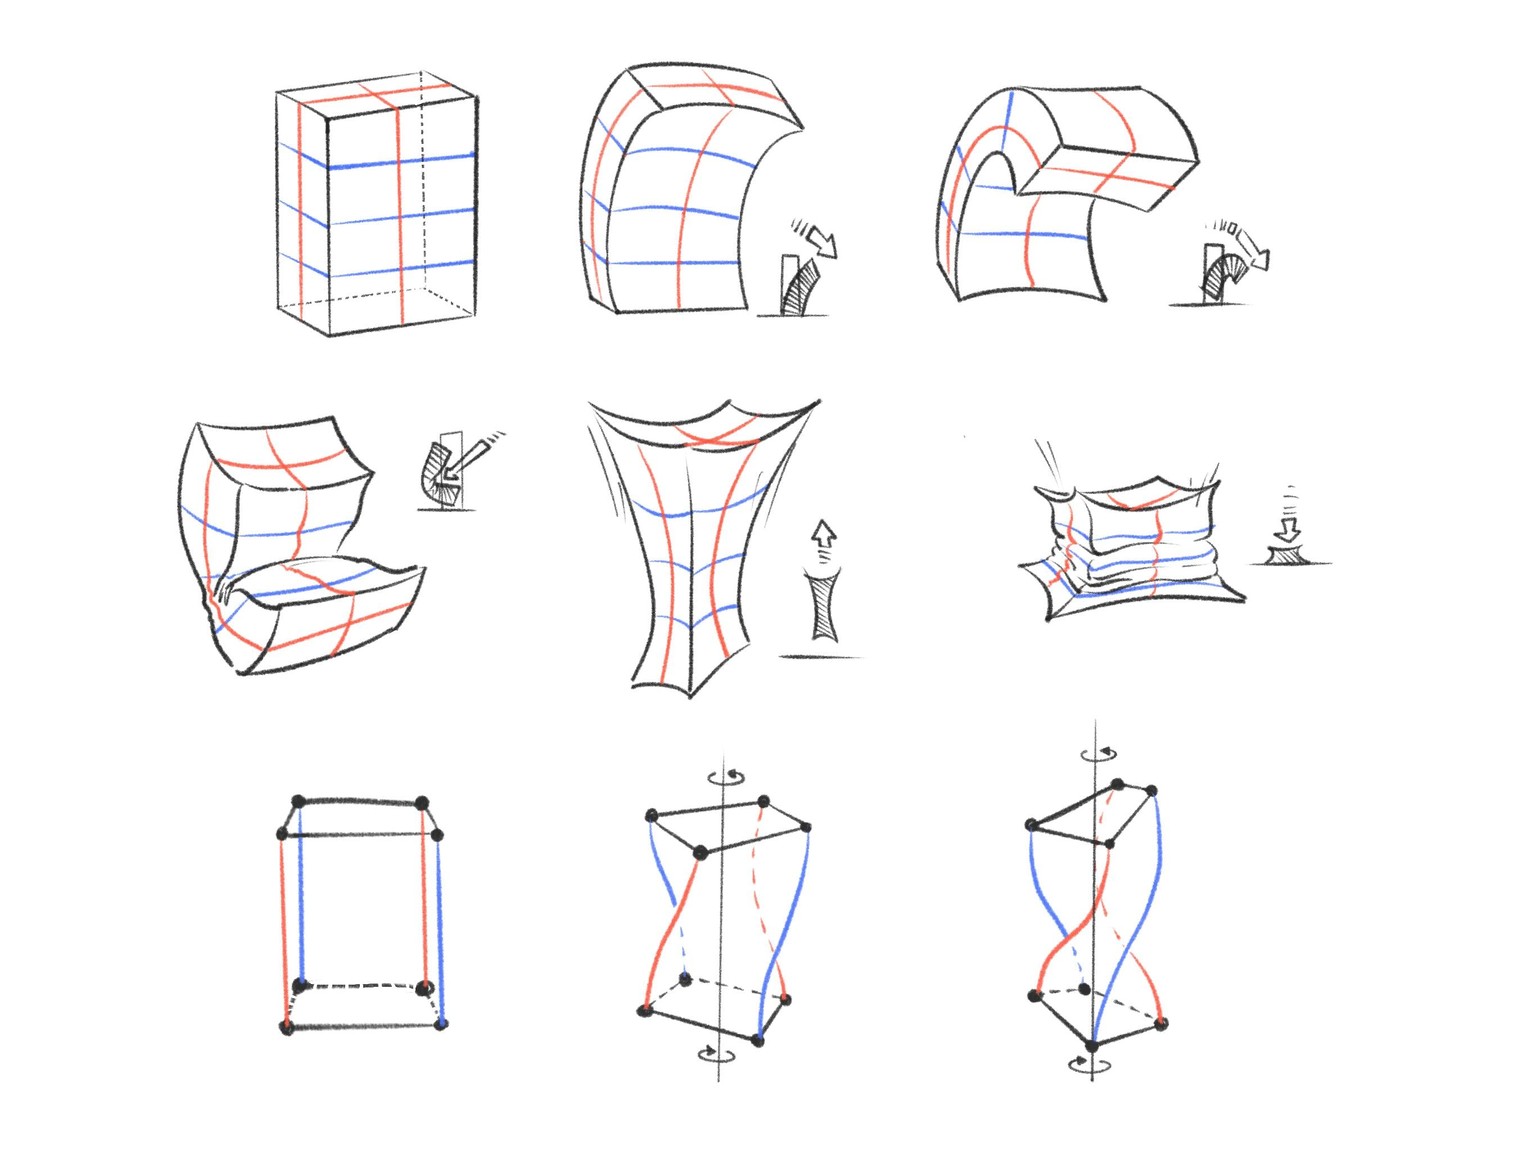
So, as you can see, once you’ve mastered cubes, cylinders, and spheres, the next step of learning how to bend, stretch, squash, and twist them to meet your needs is much easier, and the transparent wireframes, I think, help you figure out all the new positions. Here are a few additional tips:
- Understand the Underlying Volume
Before distorting, make sure you can visualize the form in 3D space. Think of it like clay—you must know its mass and orientation before reshaping it.
- Learn the Principles of Distortion
Distortion isn’t random—it follows perspective, anatomy, and gesture rules. You can:
- Stretch: Elongate the form along one axis.
- Squash: Compress it to show weight or impact ( If you're changing the basic shape just to simplify the object that you're drawing, then you don't have to think about the weight or impact ).
- Twist: Rotate parts of the form to add dynamism.
- Taper: Narrow one end to create flow or tension
- Use Bounding Boxes
An excellent method is to place your form inside a bounding box and reshape it to fit. Draw a bounding box and fit a form inside it. Then distort the box ( or add new, smaller ones ) and reshape the form to your liking.
I hope this will help Ami or any other student with similar problems. If any of you have other questions related to this class, feel free to leave them in the discussion section, and I'll try to answer them as soon as I can.
Have a great day and... keep on drawing. :)