Flatly Workshop
Phase 1: Theme
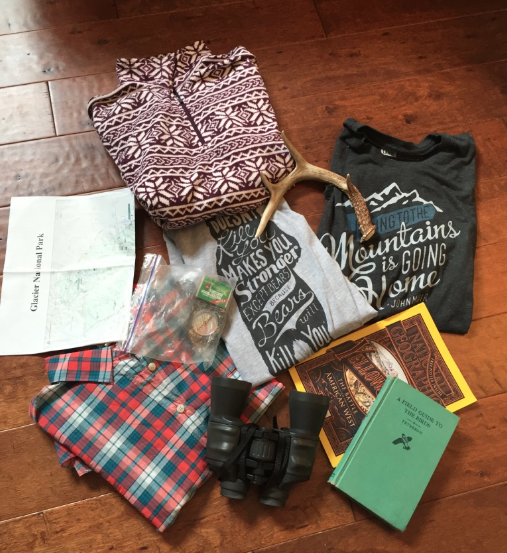
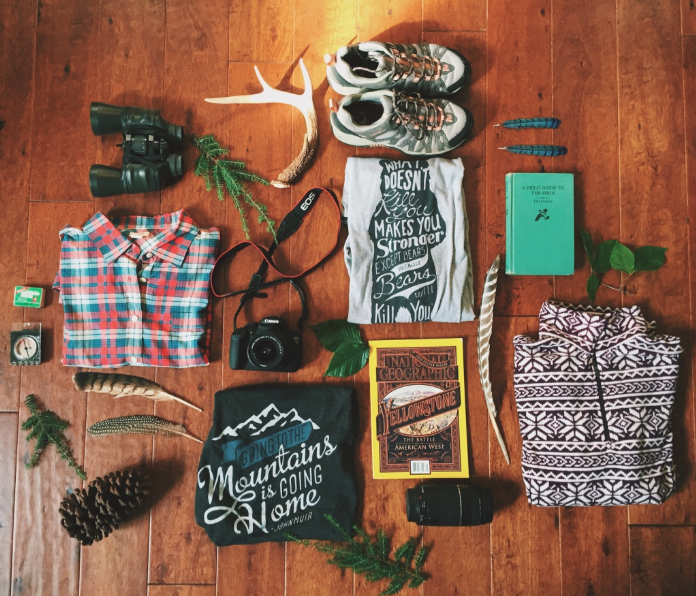
For my flatlay, I knew I wanted to do something "outdoors" and hiking themed for my trip out west. I was inspired by images I found on Pinterest of hiking and travel-themed flatlays that included components like wood textures, earth colors, and the gear being packed or used.
Phase 2:
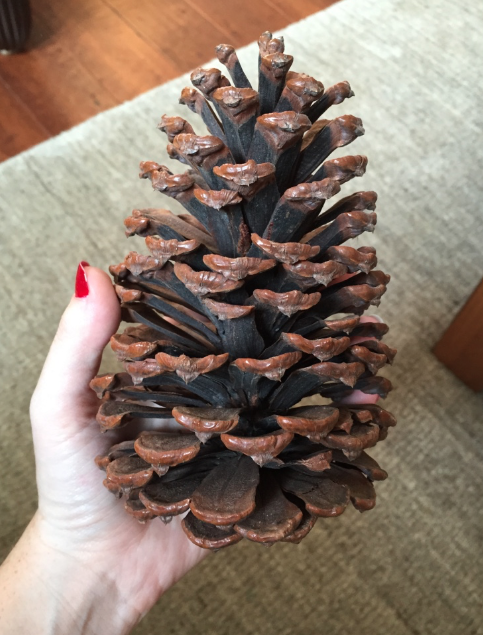
Since I'm going on a trip, I wanted to include some things that I would be taking with me. I also thought including some natural elements like leaves and feathers and pinecones would go well with the theme and give the photo an outdoorsy feel. I even had a Yellowstone (one of the parks I am visiting) issue of National Geographic to toss in.

Phase 3:
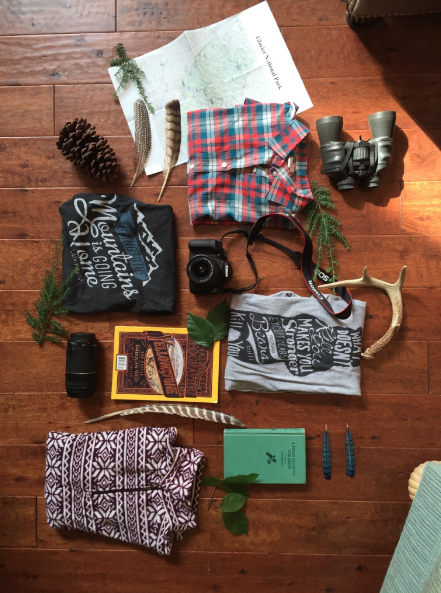
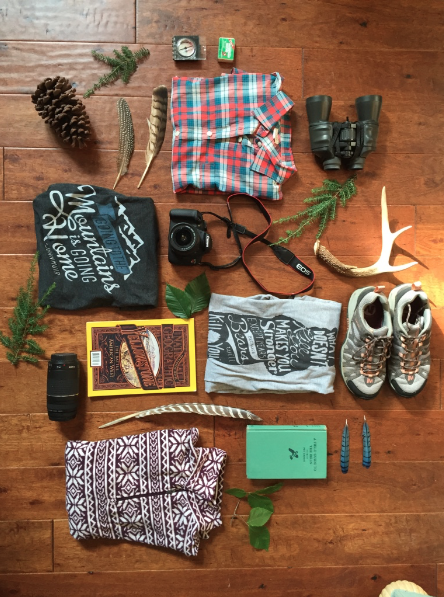
Sorry for the delay in posting these final steps, I was on my vacation and had limited wifi. For this phase I basically began laying out objects and arranging them as I went and was pretty happy with how they looked from the beginning. I snapped pictures and tweaked a few things until I was satisfied with the result. Since it was only small changes, these images are pretty similar.

Phase 4:
I chose the third image as my final choice because I liked the way it filled the frame and was satisfied with the arrangement of all the objects. I edited it in VSCO, cropping it, changing its orientation, adjusting contrast, fade, and adding the C1 preset.
I'm quite happy with the way it turned out, and when I posted it on Instagram, it got me a record number of likes and comments ;) You can see it on my profile (carolinedillard)
Overall, I've really enjoyed this class and learned a lot, so thank you for all your help and feedback!