Brave flowers
This was a big step for me, I'm usually dissatisfied with my loose watercolor results, specially florals! But this style of painting with water first felt really comfortable, like the stepping stone I needed for more spontaneous painting. So, I'm really happy about this project!
I also took the opportunity to try 2 different watercolor papers (from the test pieces you get from Jackson's) and definitely my (soon retiring) scanner prefers super smooth paper that sticks evenly to the glass. Alright, flower time!
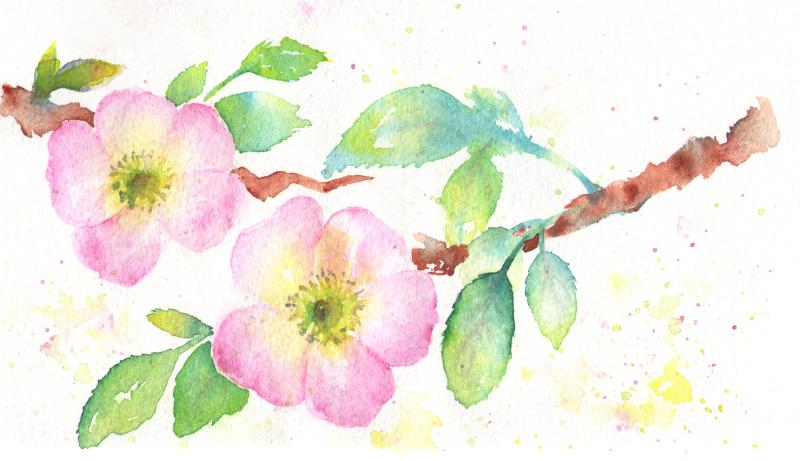
Fabriano artistico 300g fine grain
It took a while to get used to this paper, even if it says fine grain, it felt rough to work with. I was expecting Arches behavior but no, pigments don't flow as nicely
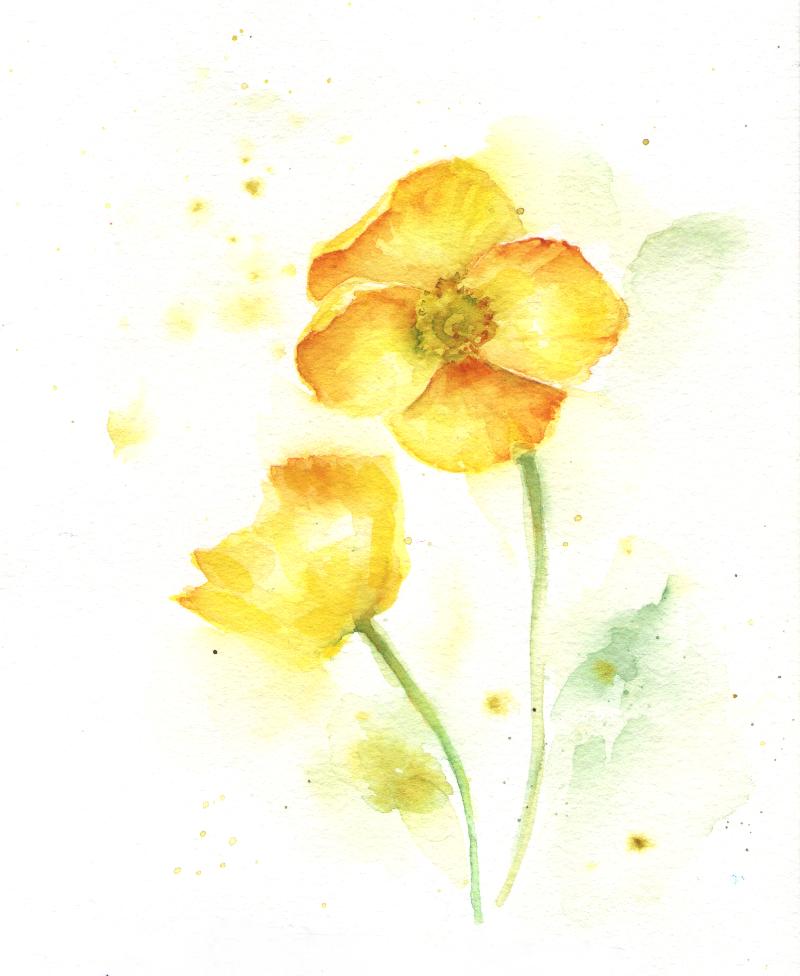
Fabriano artistico 300gsm fine grain
Oh boy, paint dried soooo fast! and I was having a super hard time to smudge part of the flowers so I grabbed my spray bottle and *wishhh!* and yeah it felt like it would help but no. I don't understand this paper, I had to use more water and still didn't work. I splattered blue over the wet paper and you can see that it didn't flow. I still loved the painting and the colors I used. Scanner didn't like the paper either, more buckles means more shadows.
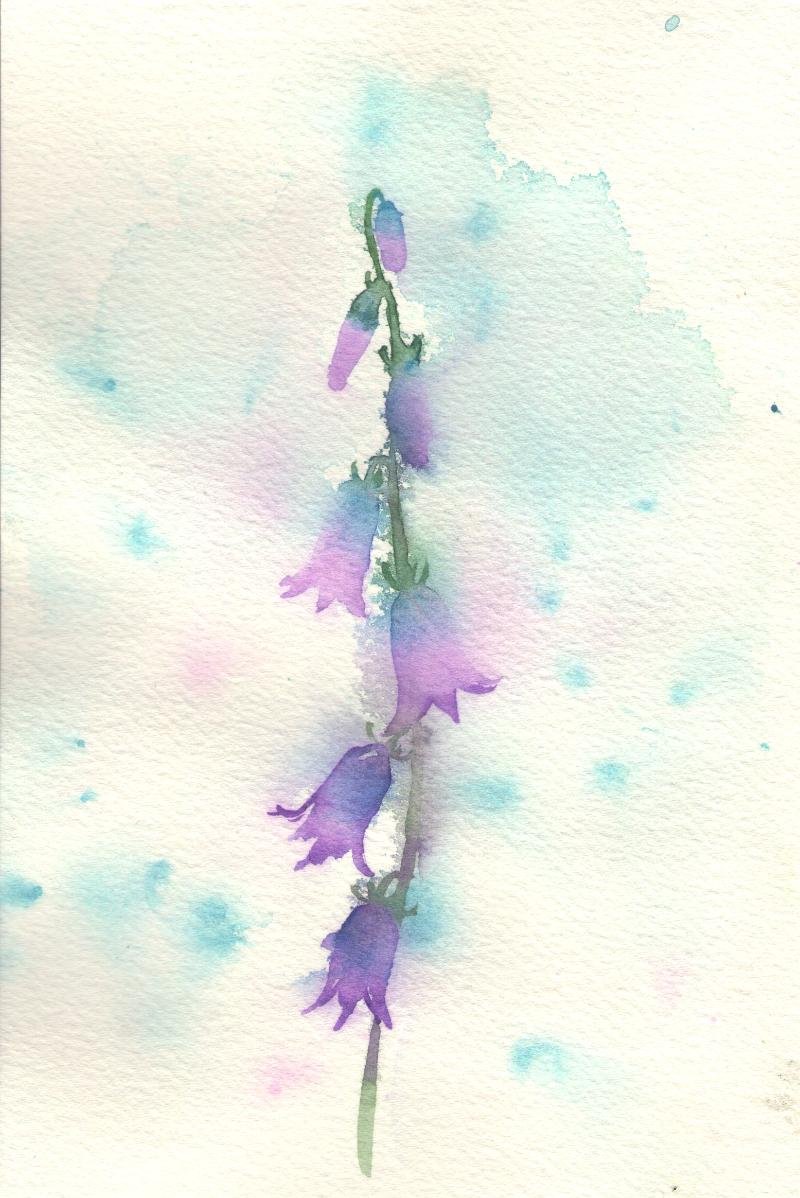
Fabriano artistico 300gsm fine grain
I worked at super speed, I still blame the paper, scanner still not happy, it looks better in real life! I looooove bluebells
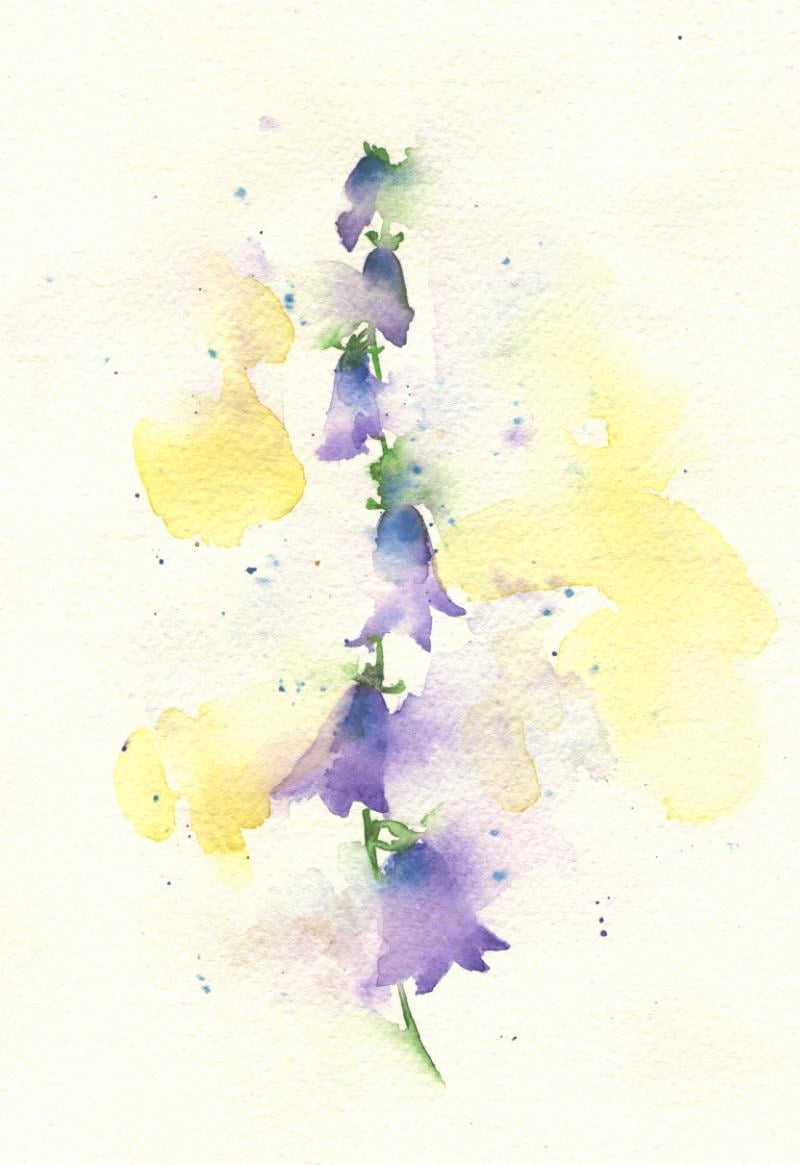
Fabriano artistico 300gsm fine grain
No watery backgrounds this time and here is where I felt I got it. Working with my 3 brushes at the same time and focusing more on the painting rather than just how wet the paper is. I'm still quite shy with my splatters.
Moulin du Roy 300gsm Fin (textured side)
Now THIS paper was loved by my scanner and me. It had smoother surface and it was waaay easier to blend borders afterwards without visible lines. Didn't need to struggle to lift some of the color.

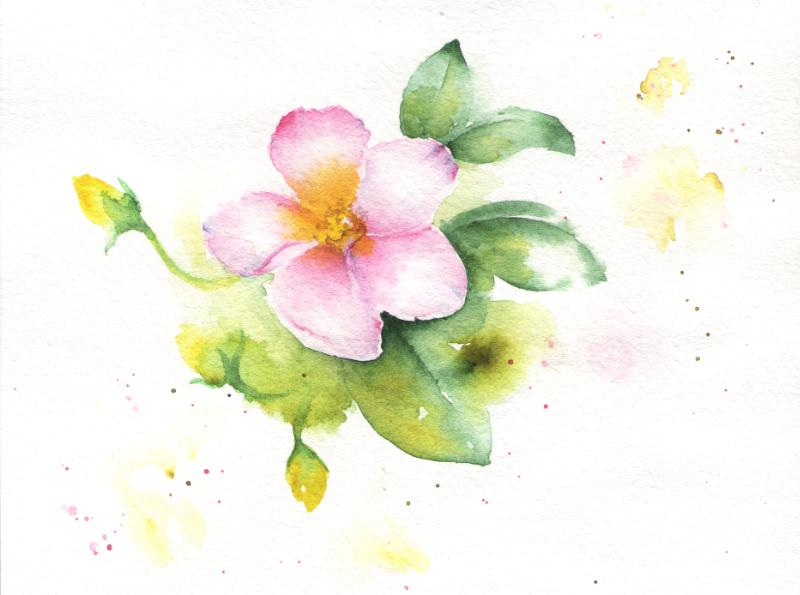
Moulin du Roy 300gsm Fin (super smooth side)
Once I started to get confident, I experiment, because that's my middle name "experiment" :P So I made the flower on the middle and then wondered "what if I put water around the area of my flower first and then paint?" So I did, and it gave me super crazy bleeds!. In other words, I didn't rub the borders of my 2nd and 3rd flowers with water, I painted them and let the water that was already nearby do whatever it wanted. I was fun!.
Thank you Nina!