Battle armour
Creating armour has been something I've wanted to do for a long time now but I've always found it extremely intimidating. I'm glad the rendering process was broken down so easily so I could follow along.
My process below:
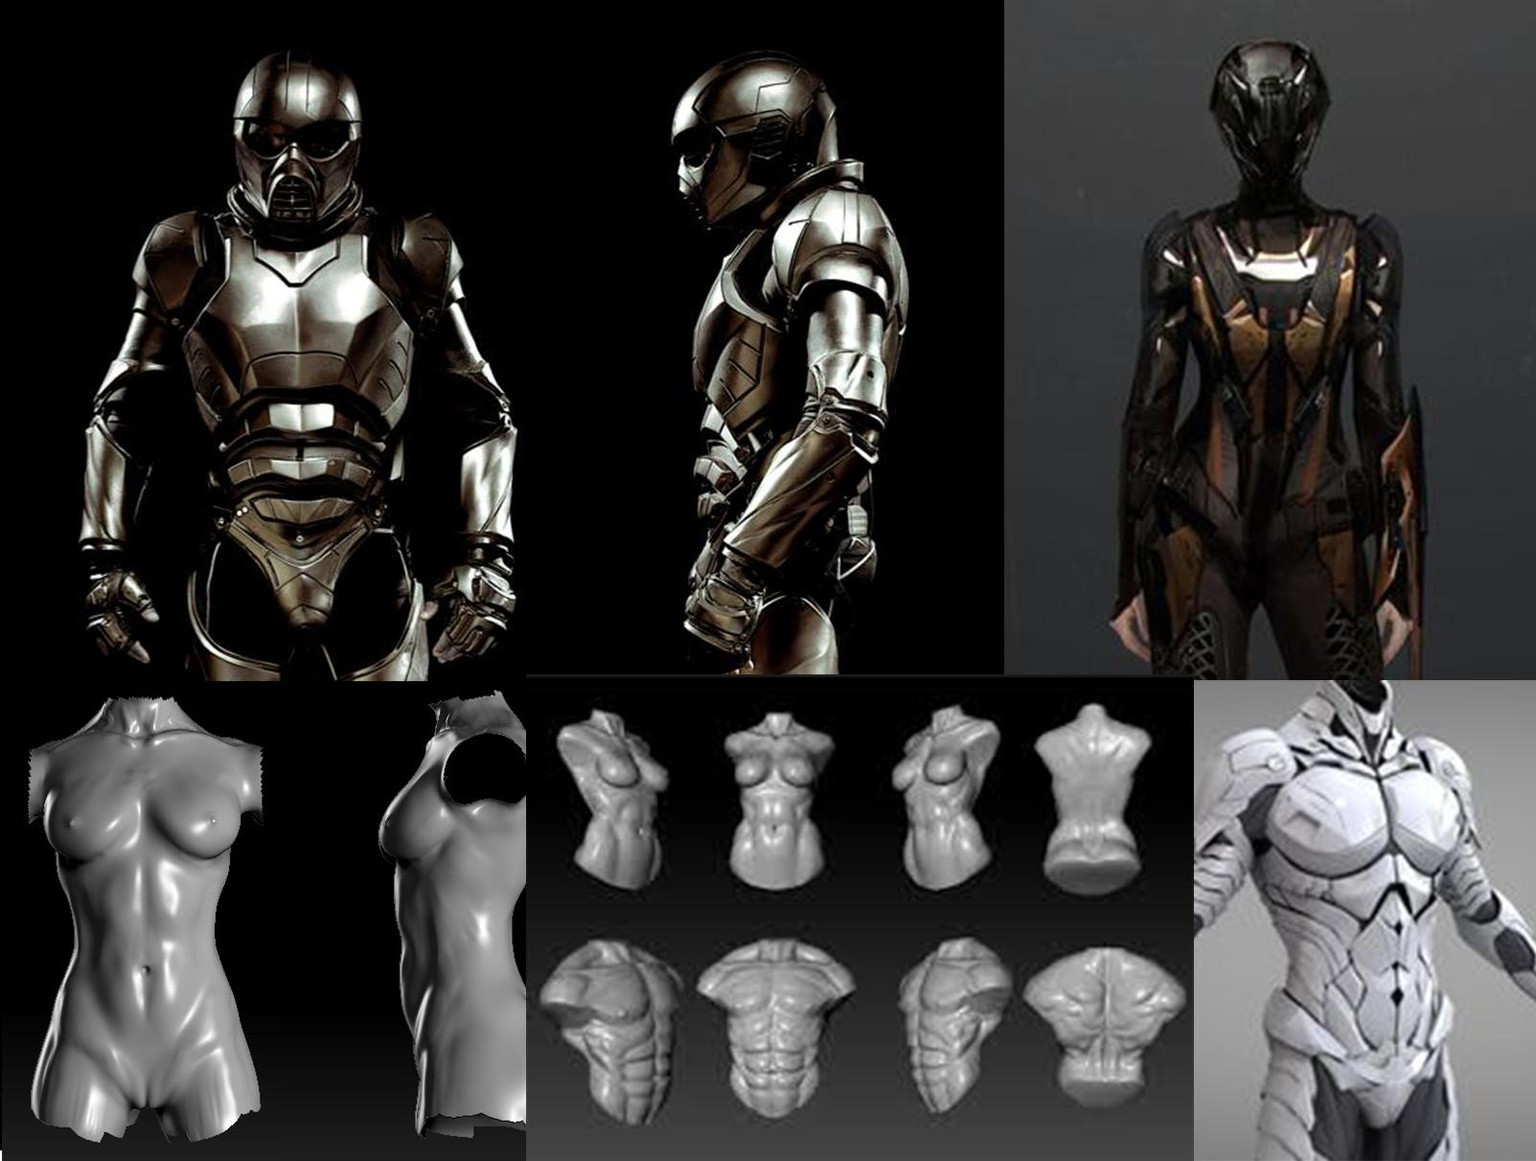
Sketching and concept - I figured since I'm already out of my comfort zone with armour, I may as well just completely throw myself off a cliff and try a futuristic/space-like suit. I wanted to make armour suitable for a woman to wear in battle so I plucked some reference shots off Google, including some anatomy images of the human torso. I found having both female and male references helped a great deal.
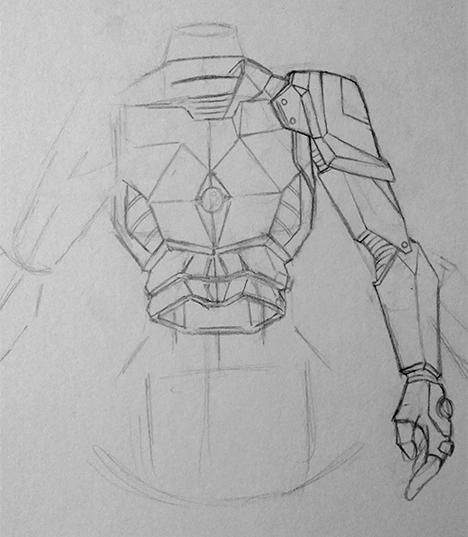
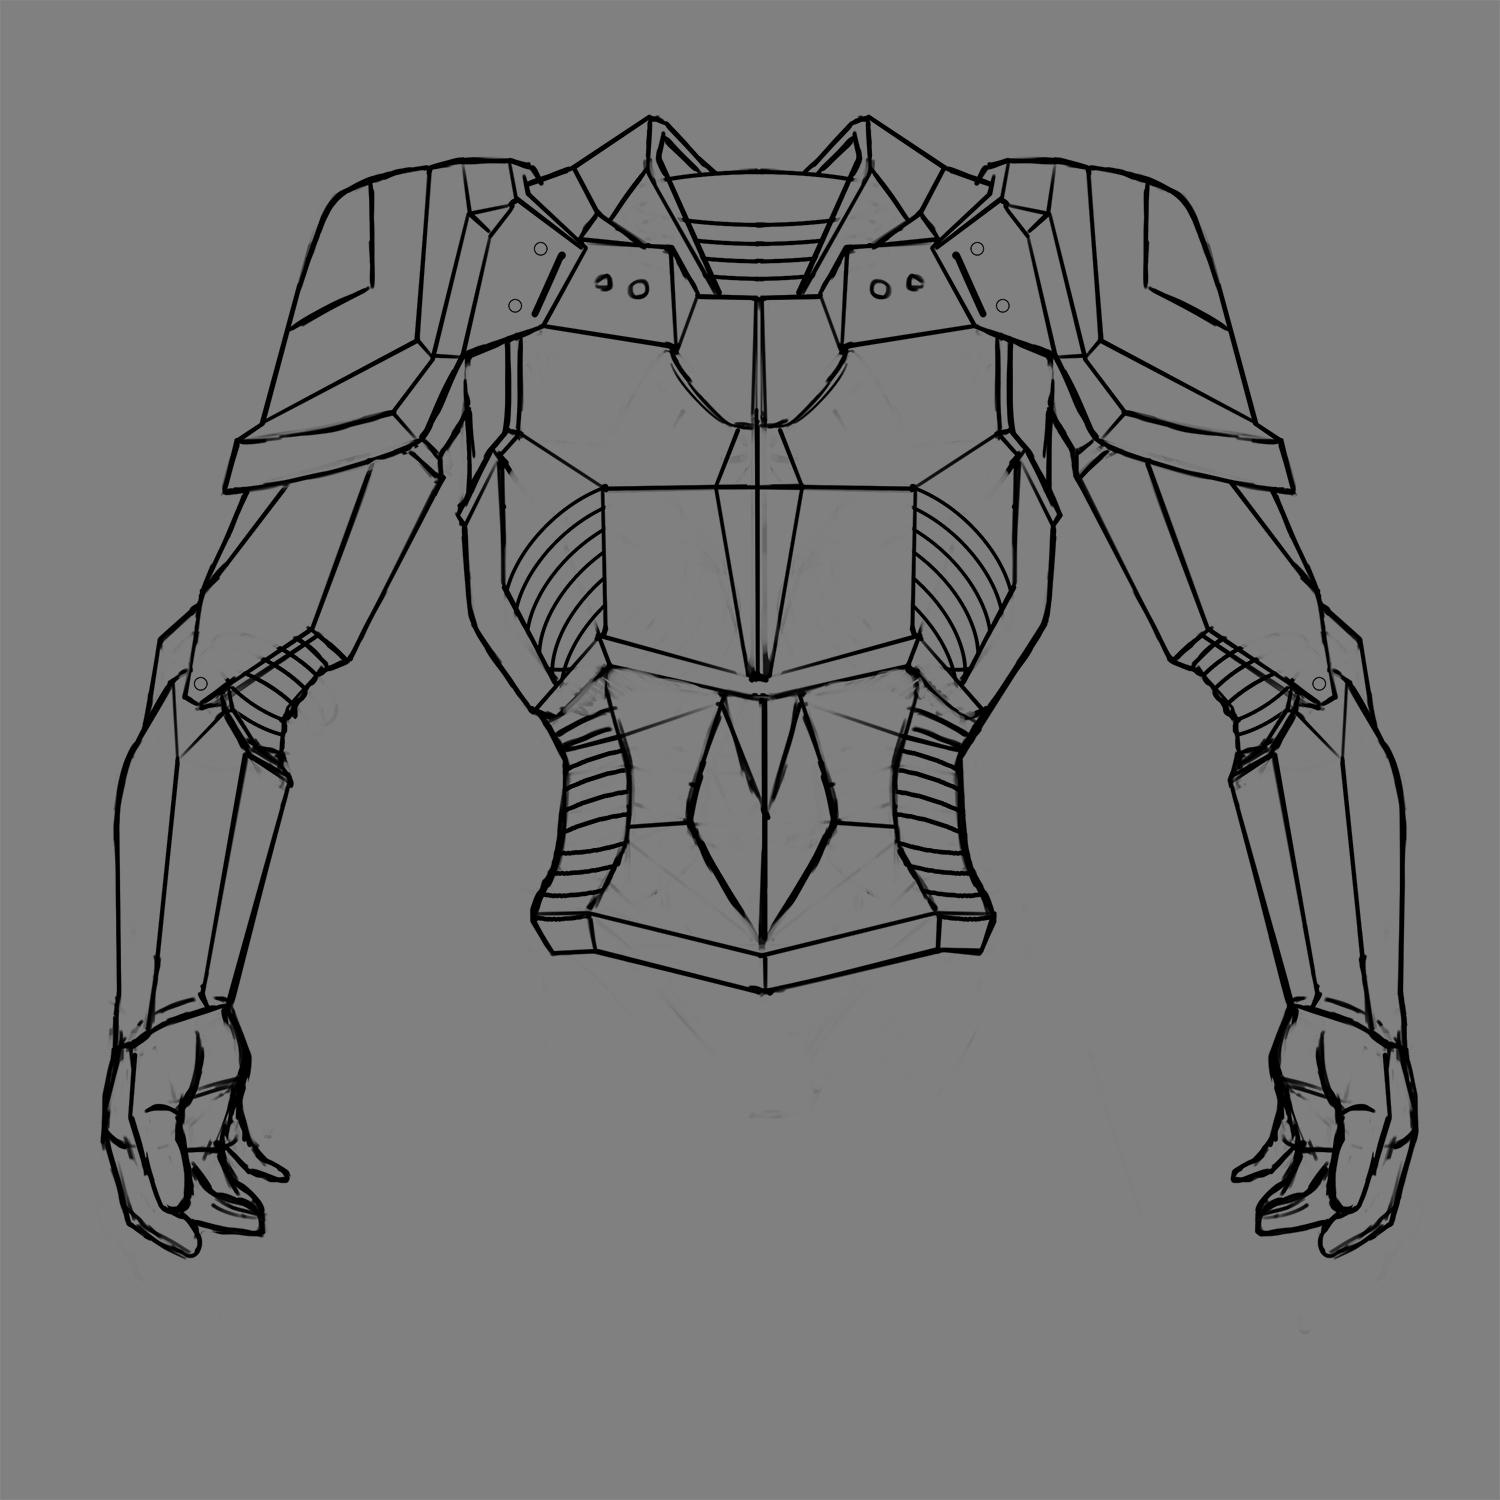
I started sketching out my idea on paper first. I only drew about half a suit since I knew I wanted to pull the drawing into photoshop and duplicate the other side.
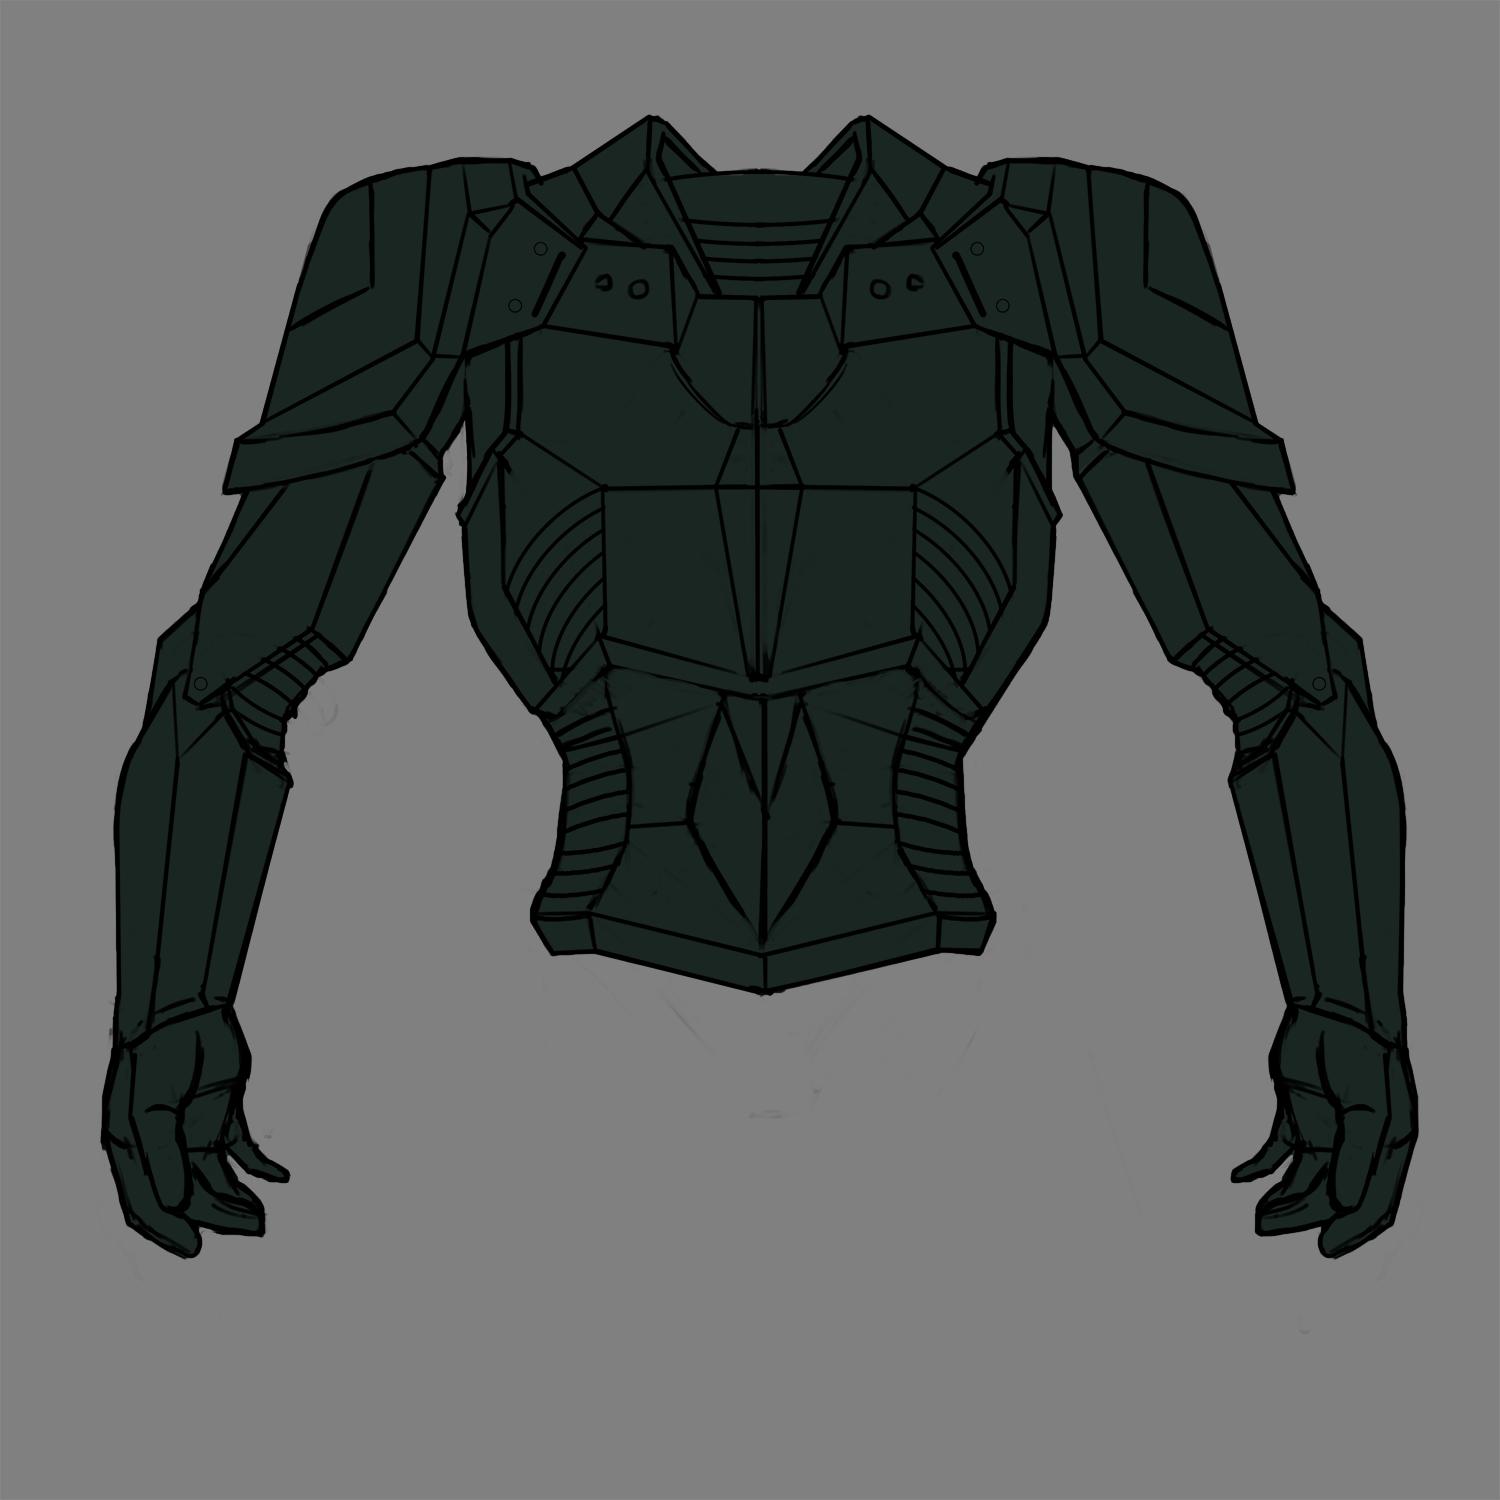
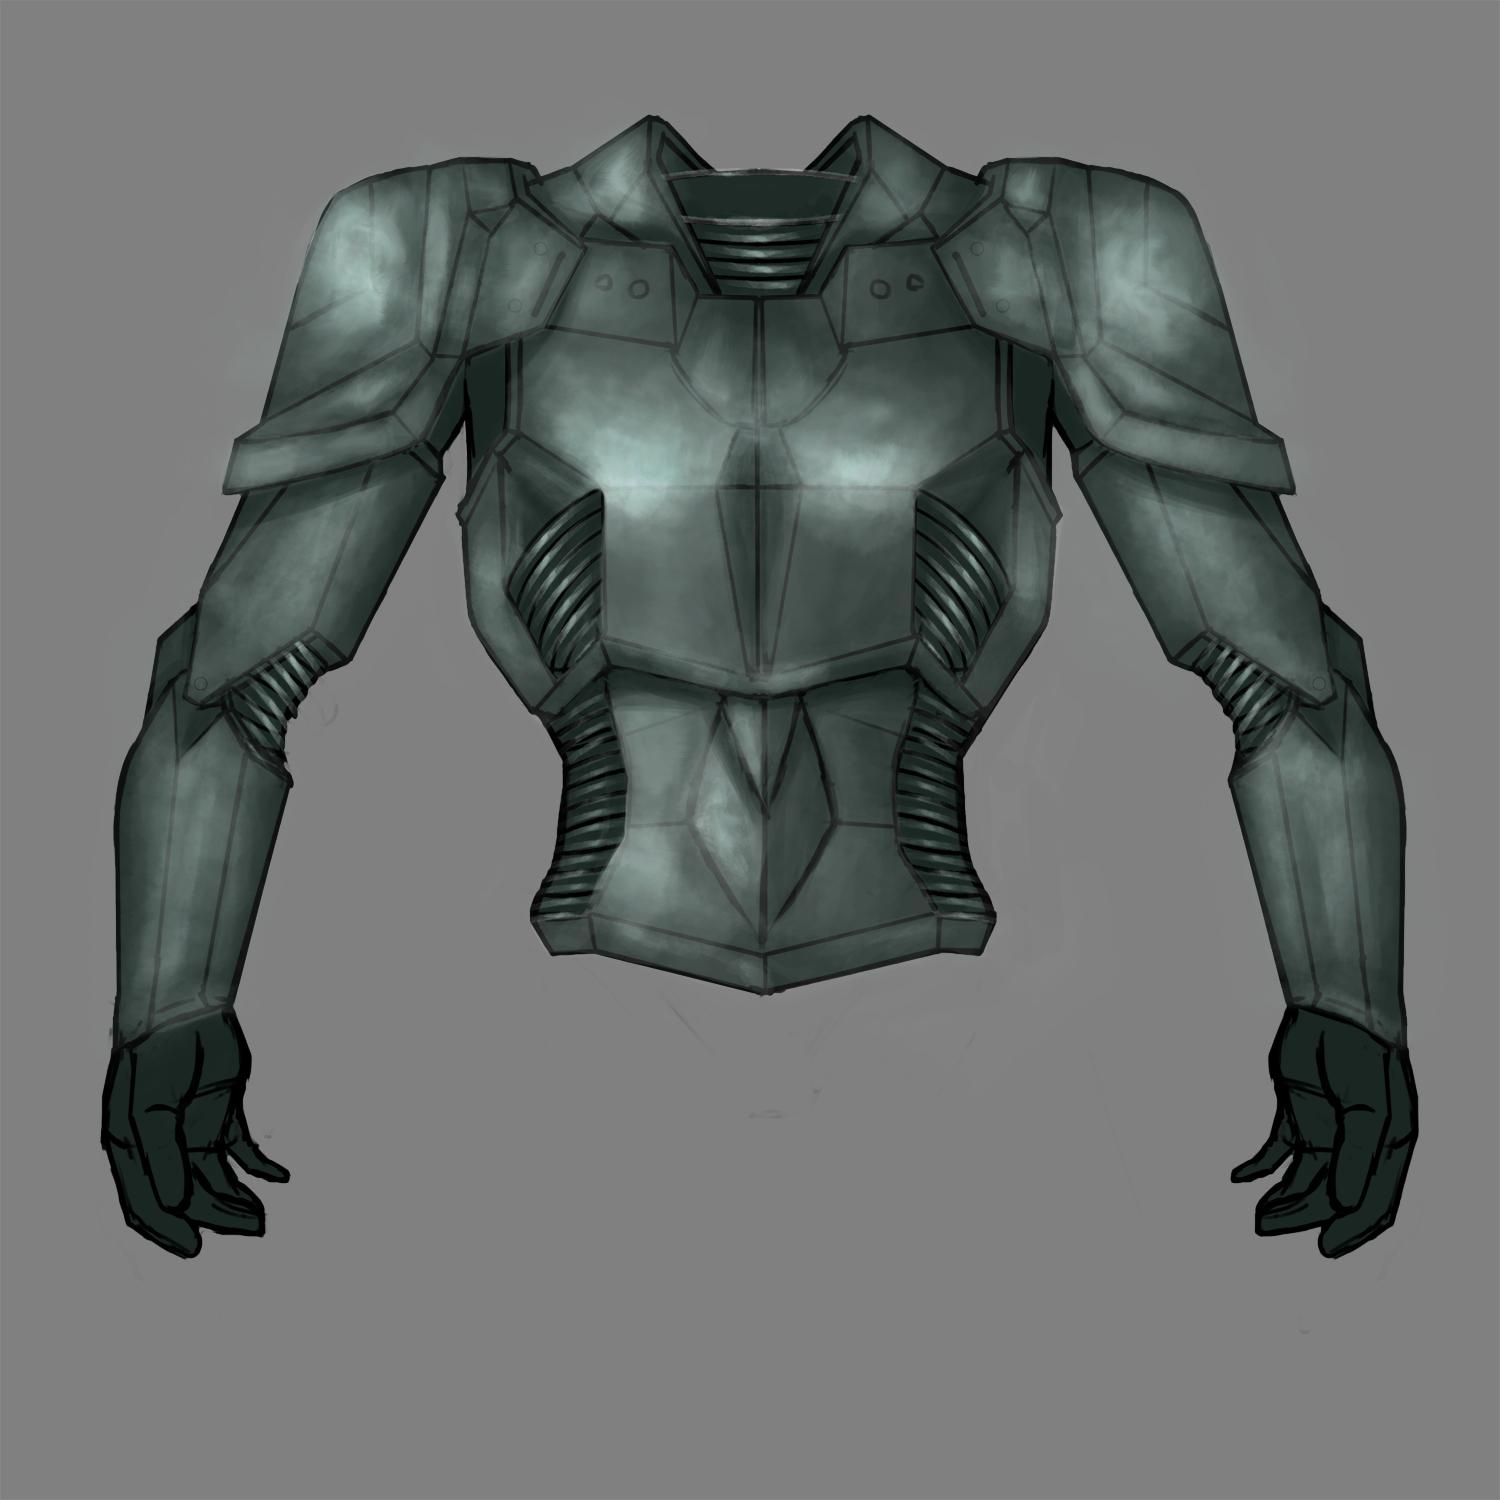
I ended up changing some elements of the design. Below is the final inked version and base colour:
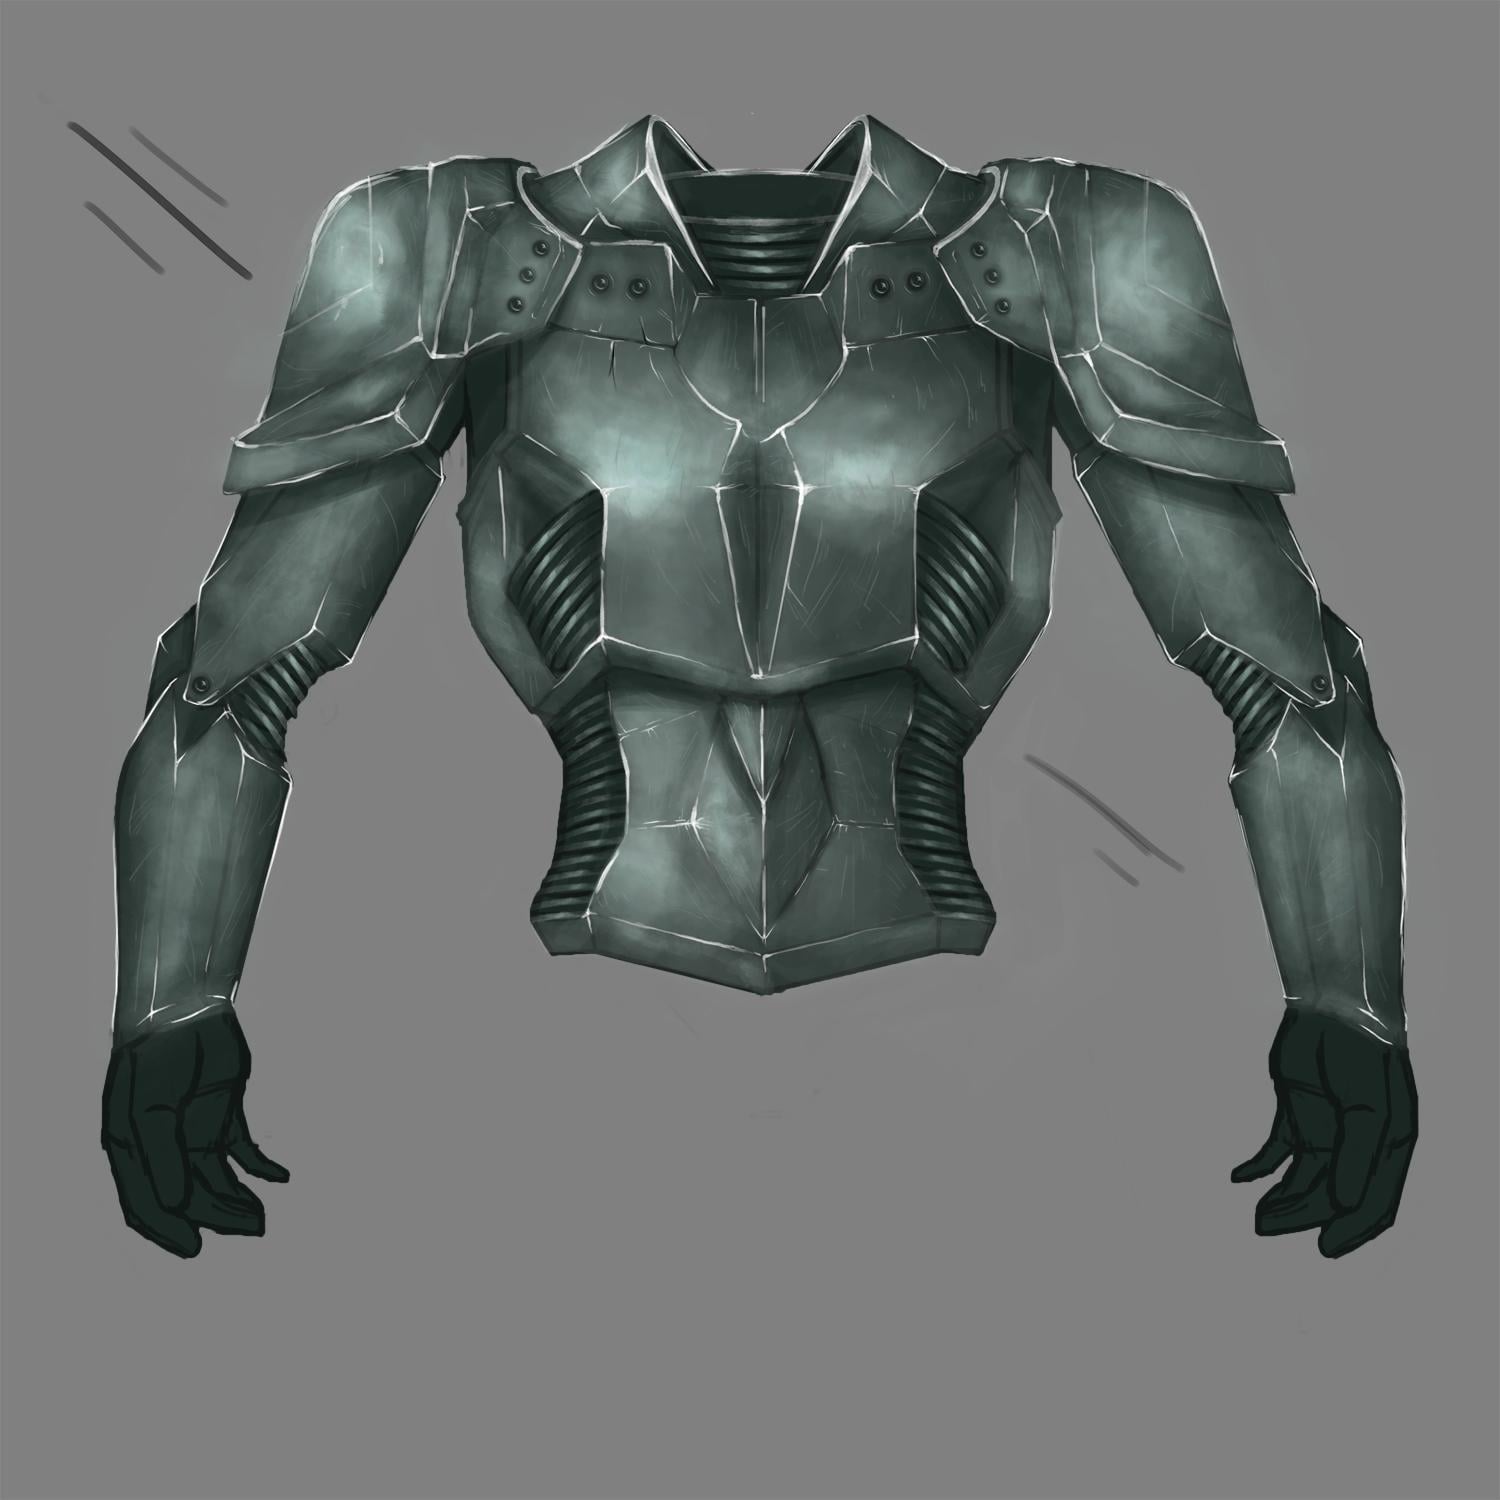
And finally, I started painting:
I realised that adding in the bits of white light really do help me see the forms I'm trying to make. Before adding them in, I was ready to trash my work because I thought it wasn't working out well.
I changed the colours here, going for a more neutral gray. I also kept some of the green and added in a bit of red to make it look a bit rustic. I spent forever making scratches and cracks, and quickly learned that this is the kind of project I need to declare finished otherwise I'll just keep adding more and more.
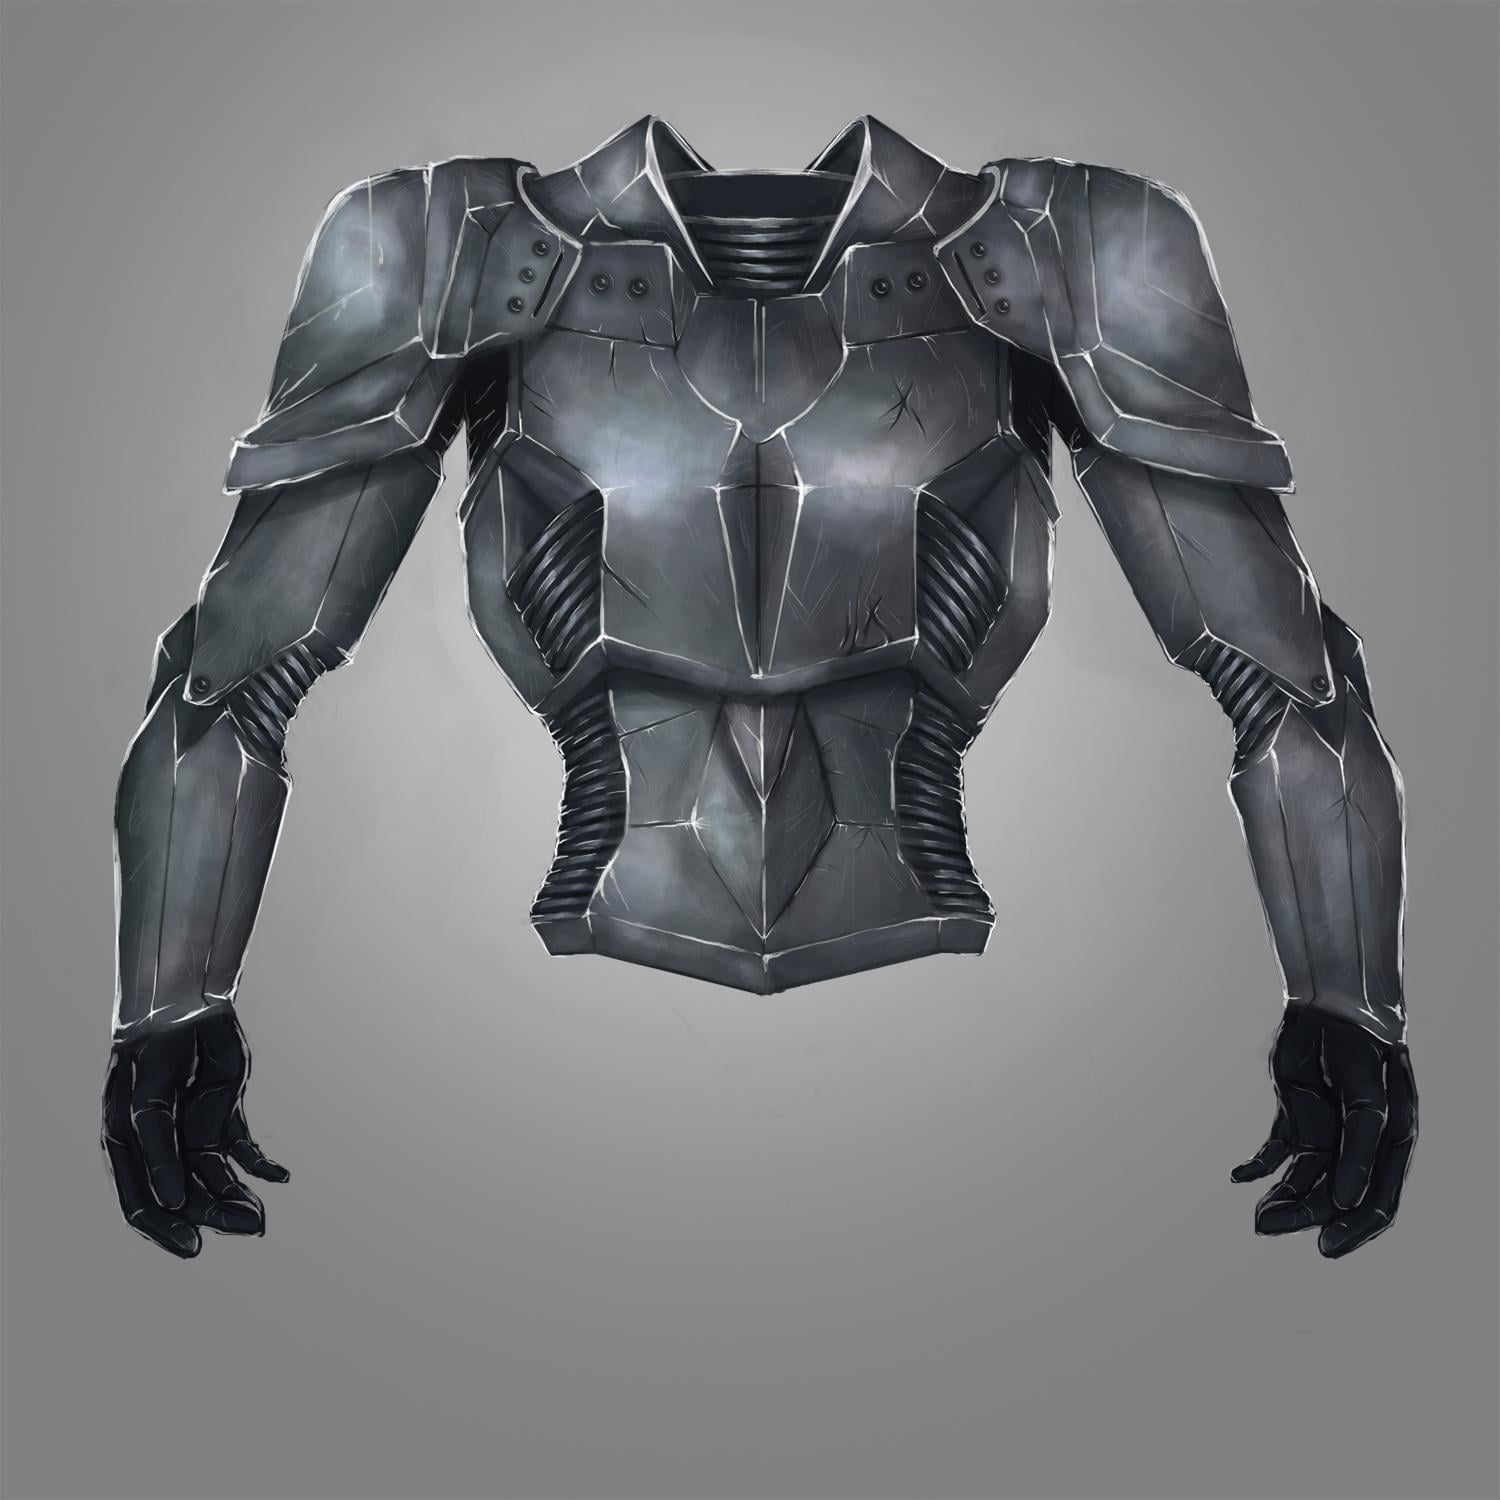
And that's it! I'm thrilled because I never would've thought that I could have fun making battle armour and I've got more painting tricks in my bag thanks to Hardy!
Thanks for checking out my project, I'd love your comments and feedback :)