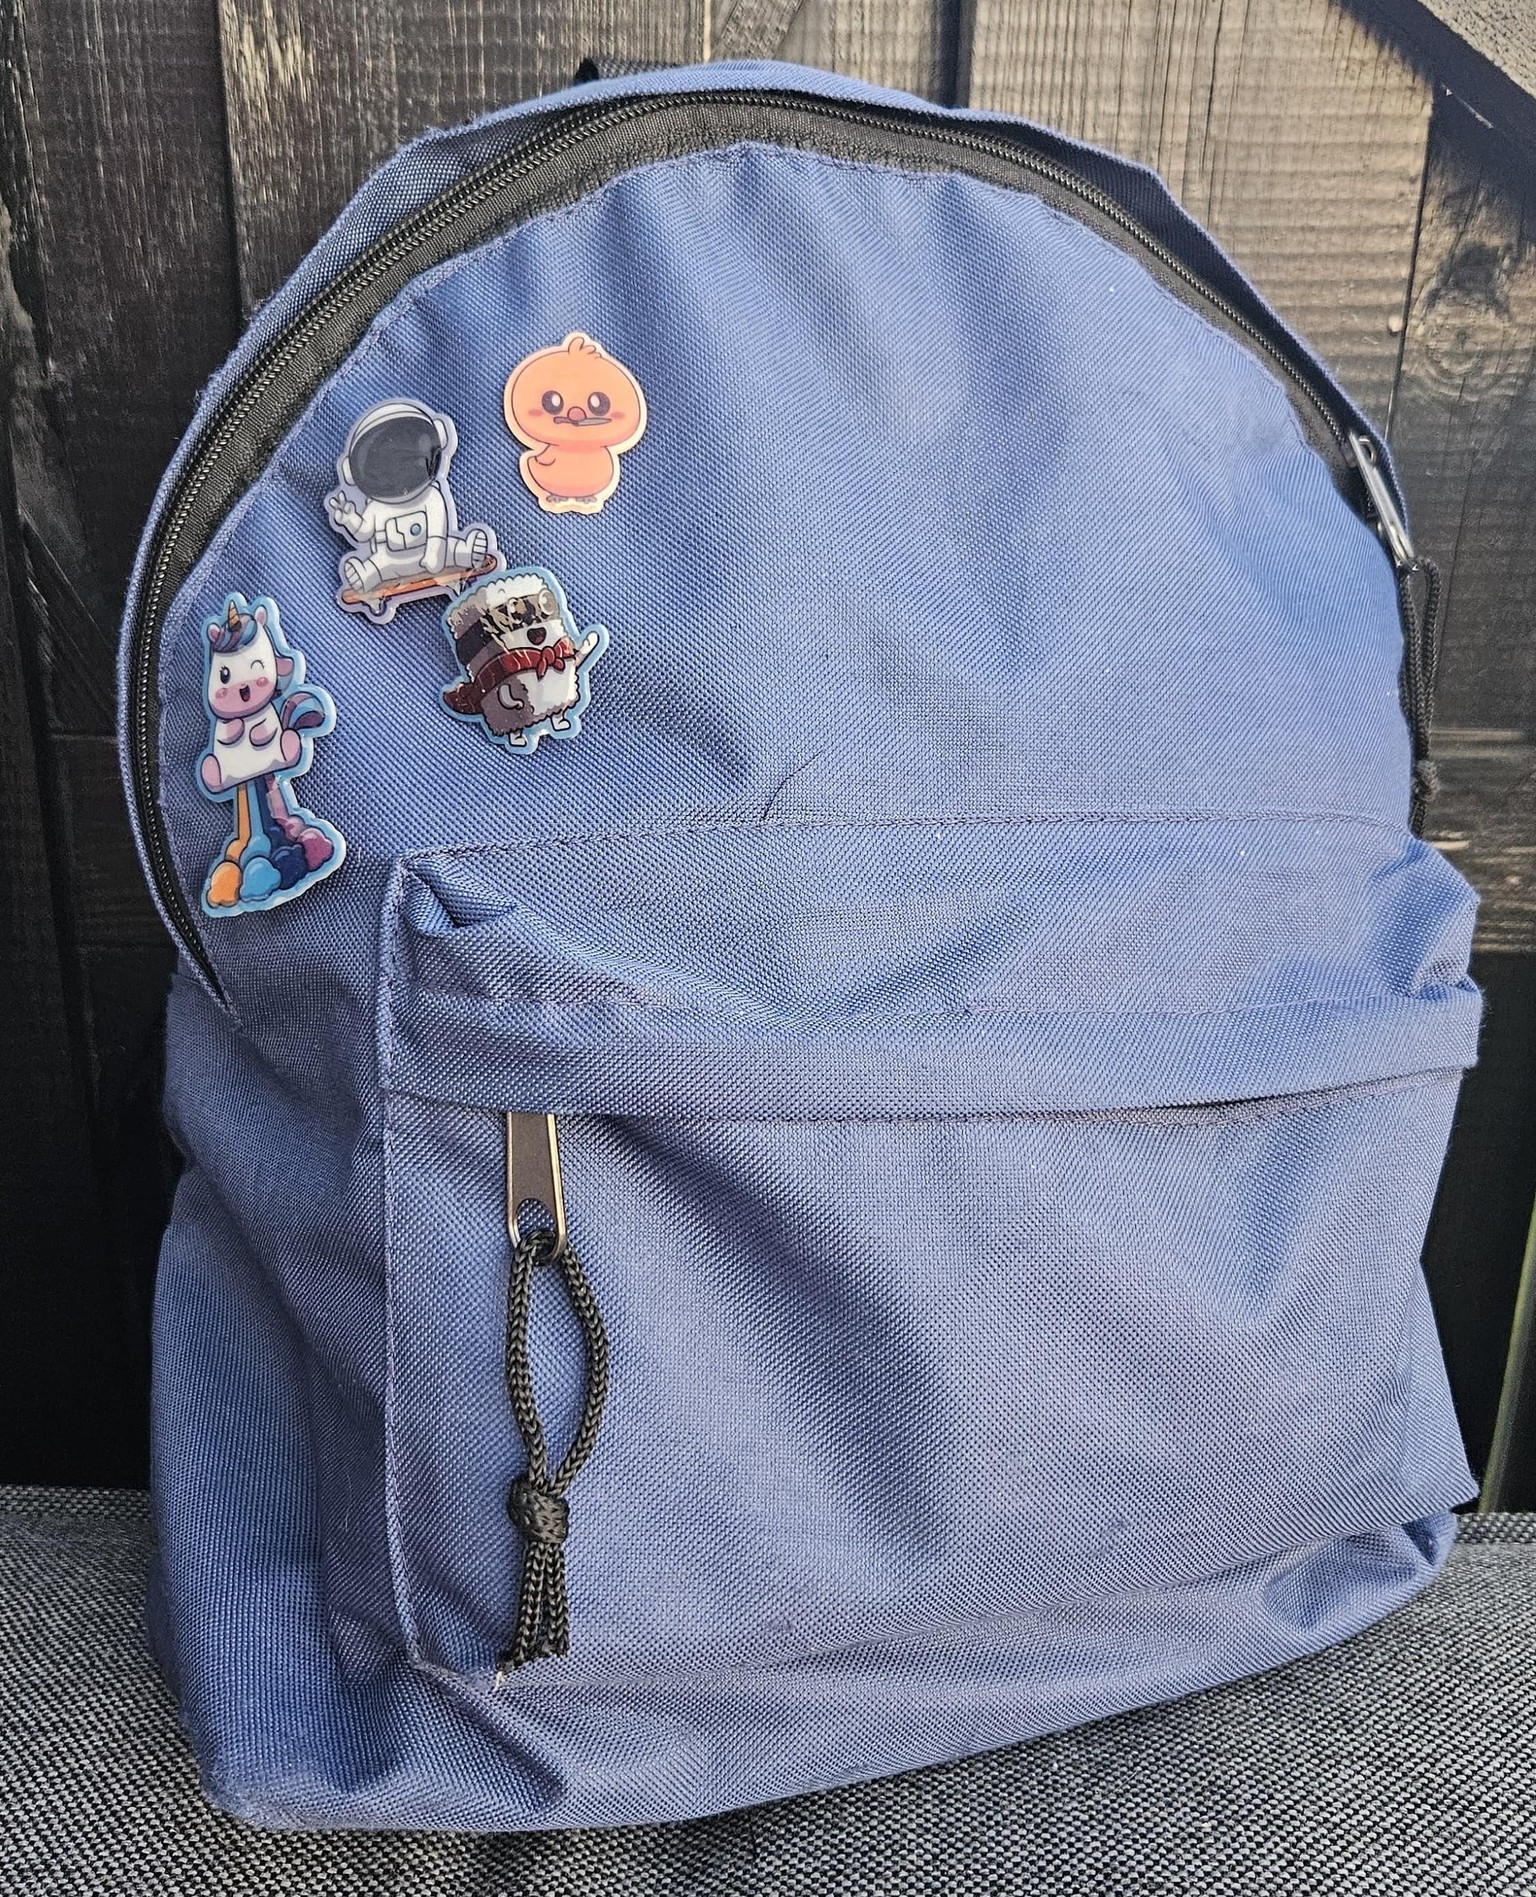
Backpack pins (using freepik)
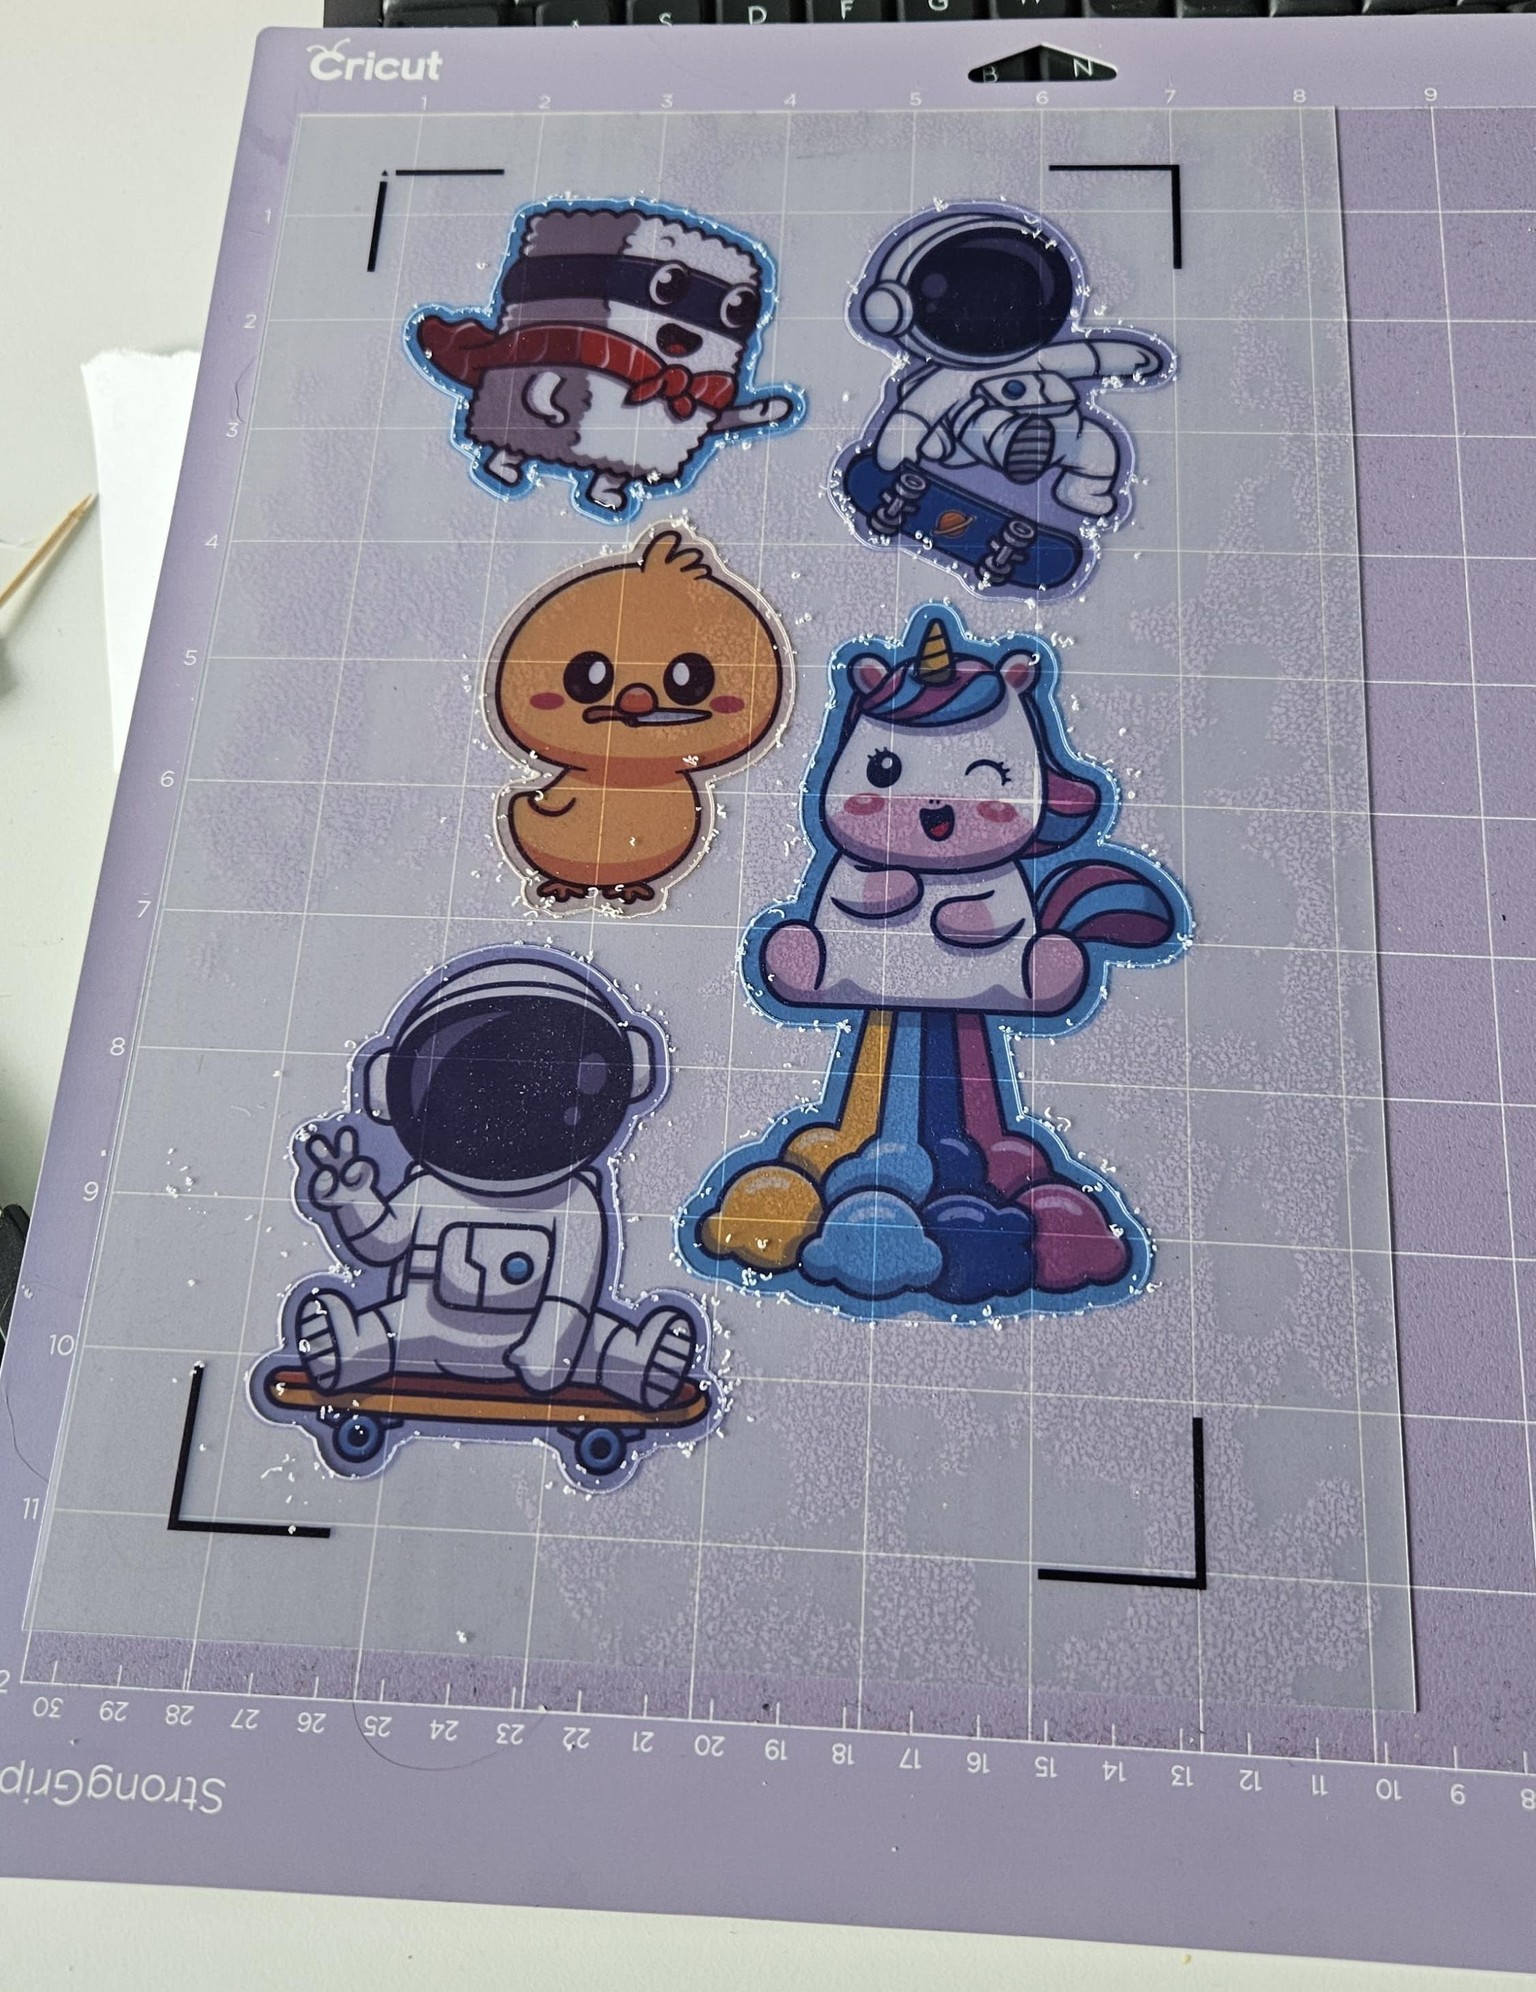
This was my very first time making shrink plastic pins, and I had so much fun with the process! Since these pins were made for personal use, I downloaded some cute graphics from Freepik. I customized the designs a little and used Cricut's "Print Then Cut" feature to print and cut them precisely.
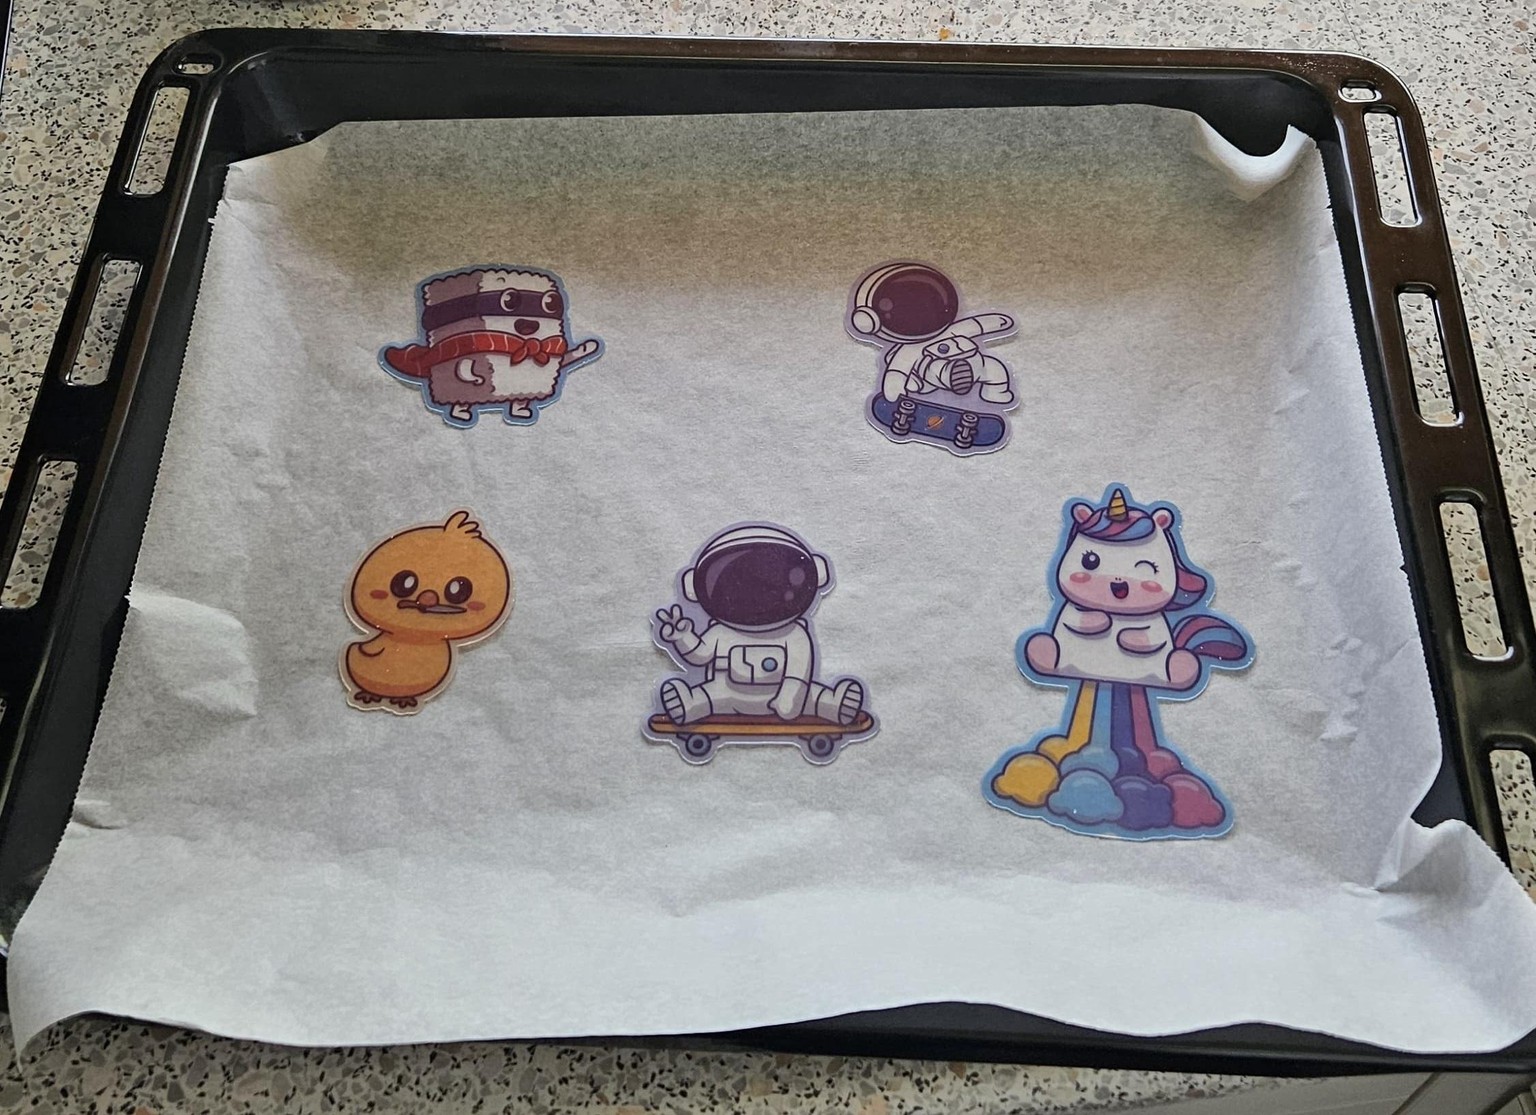
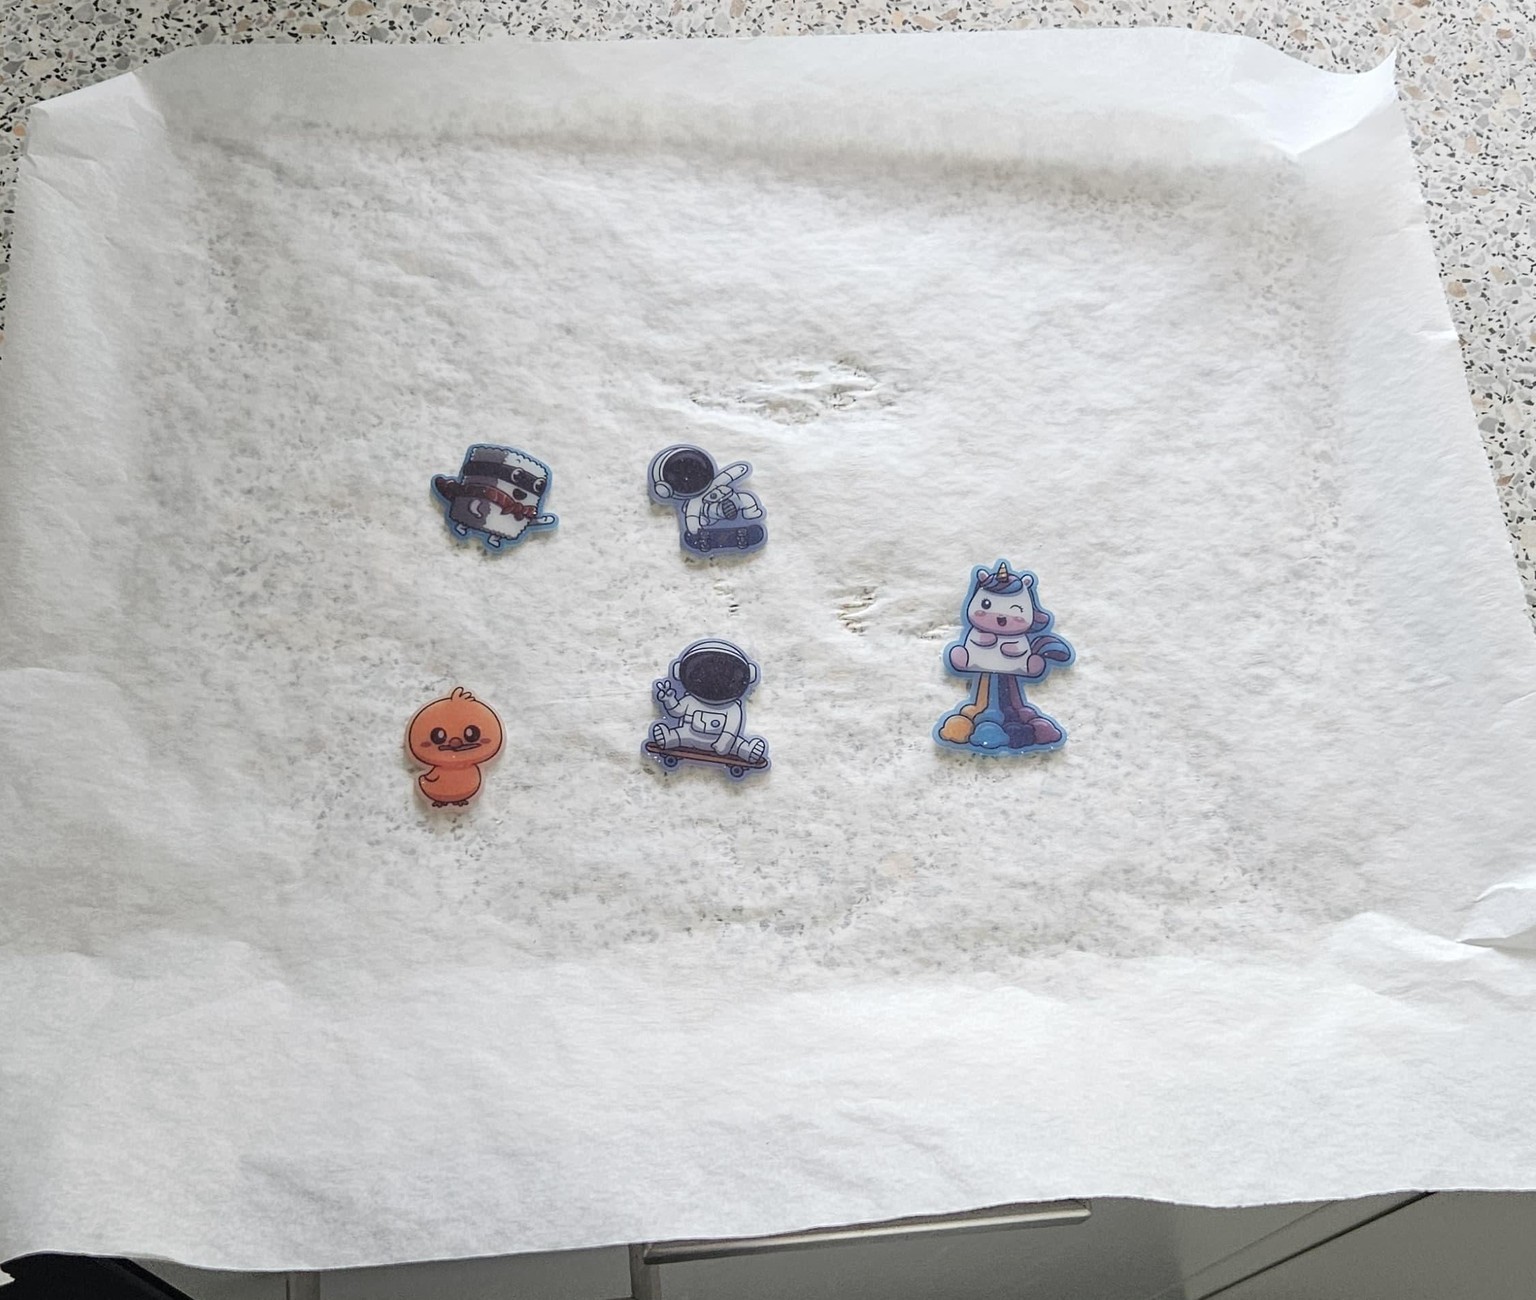
To shrink the plastic, I experimented with both a heat gun and a regular oven. In the end, I found the oven to be the quickest and most consistent option.
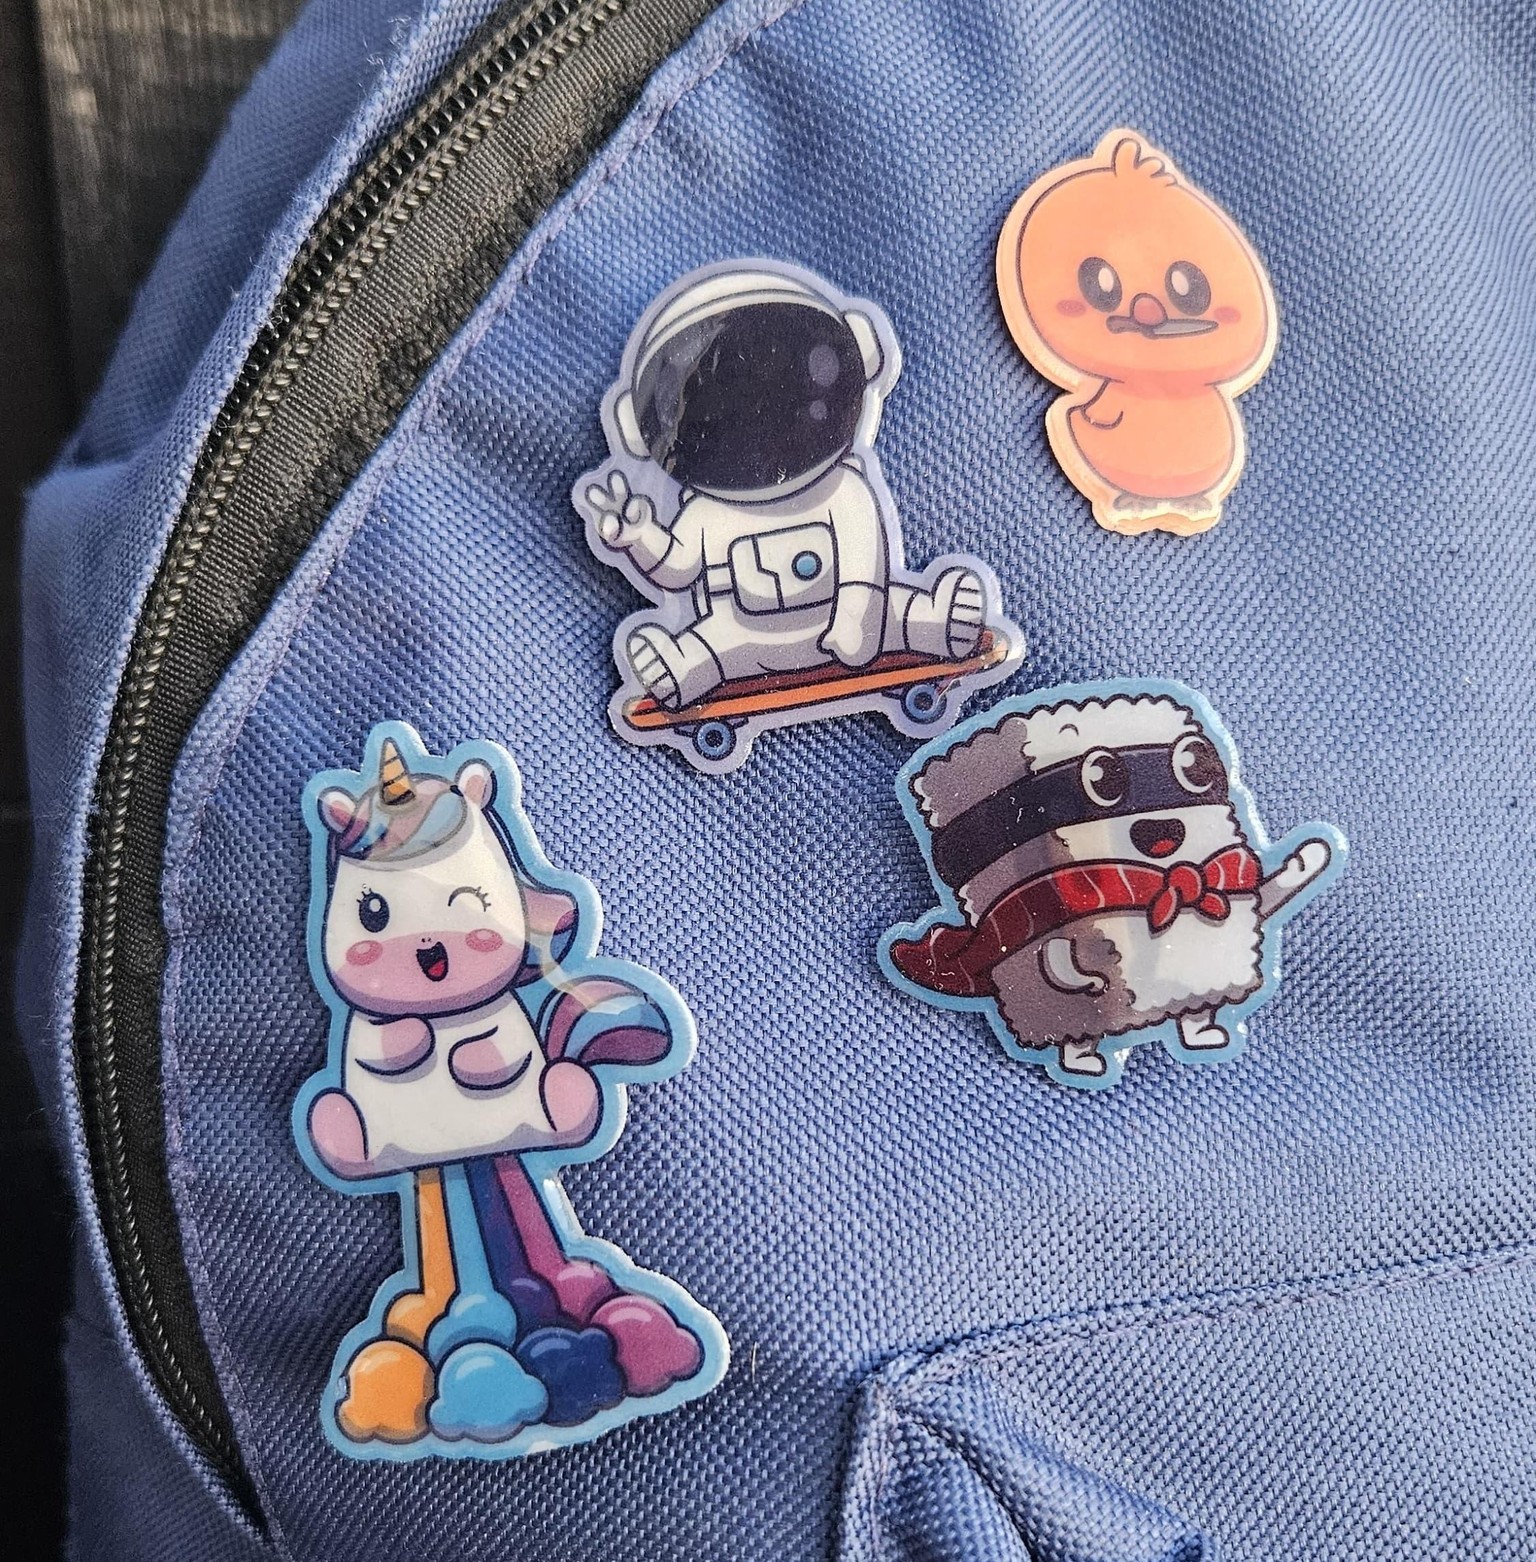
For the finishing touch, I coated each pin with a glossy layer of UV resin, which really made the colors pop and gave them a professional look. I also used UV resin to securely attach the pin backs.
It was a nice project and I will do it again with my own designs! Thank you for the course and the inspiration! ^^