Annoyed Bunny & Cactus
You know how they say "parenting a teenager is like hugging a cactus"? Anyway, this is my first ever project on Skillshare! Thanks so much for this class, Matt! I learned a lot of new things.
Let's dive right in!
STEP ONE
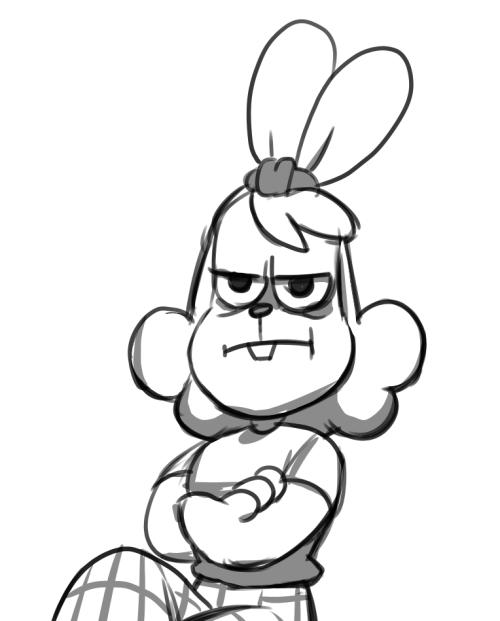
I used this old sketch to get started. Initially wanted to give her a happier face for the sake of the project but it just never looked right... so yeah. This bunny is not amused.
STEP TWO
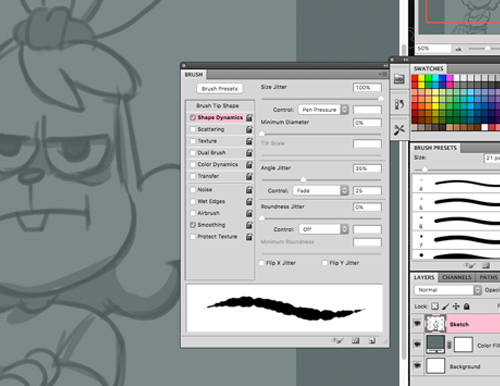
For the brush, I really like the jittery effect. It's like the G-Pen tool in Medibang Paint Pro (the software I use for all my recent digital artworks).
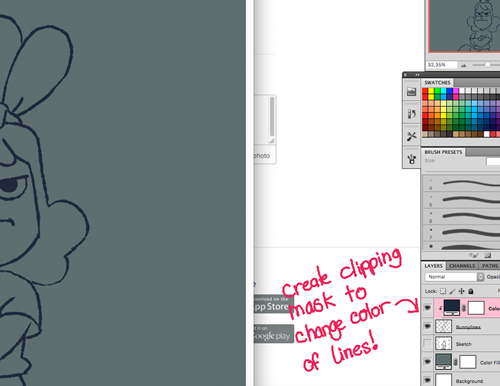
Next, I set the sketch layer to a low opacity and started inking. I like to use quick strokes, so I usually don't zoom in too far. Also, I like to change the color of the outlines so I created a clipping mask to do so!
STEP THREE
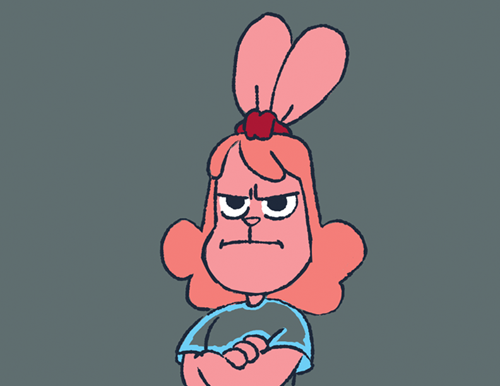
So here I've already started filling in the flat colors. I tried a couple of tools like lasso and magnetic selection, but didn't really like it so switched over to pencil to to outline and fill in the color parts with the bucket tool. I created separate layers for hair, fur and clothing so I could easily change them if necessary.
STEP FOUR
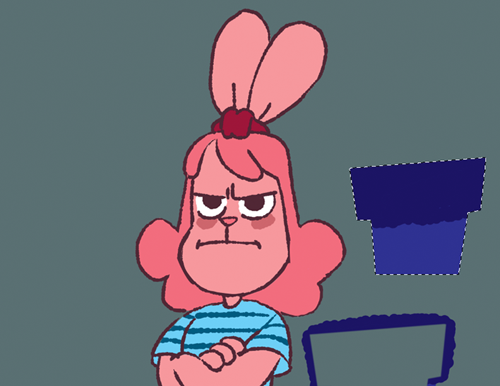
Decided to change the outline color once again, plus played around with Hue/Saturation. Setting the clothing layer to "Lock Transparent Pixels", I added the stripes!
The bunny alone felt a bit boring so I added a cactus.
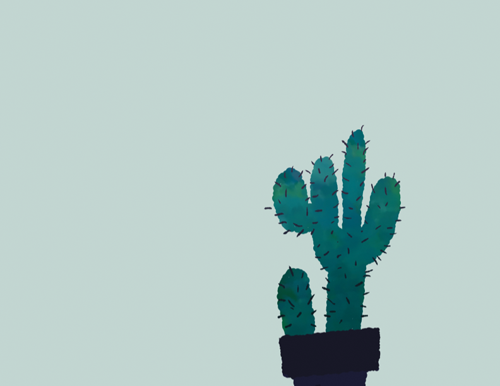
Played around with differrent brushes for the cactus texture.
FINISHED PIECE
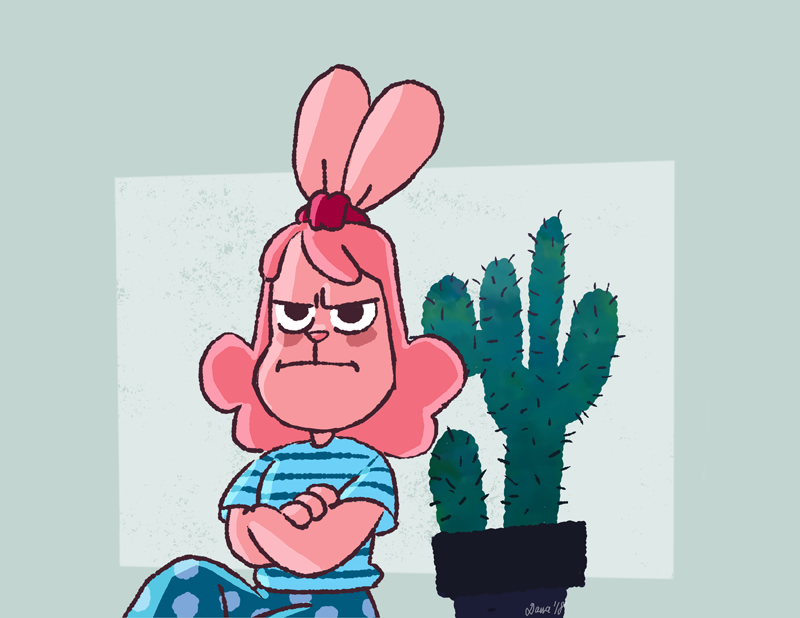
For the shading, I set a clipping mask for each layer, set those to "screen" and added highlights accordingly. Finished!
Hope you like it!
- Dana
http://danalekim.com