Transcripts
1. Welcome to the Class!: Previously it was, I am getting maximum of n. This is class about making good, nice-looking thumbnail in Photoshop for your YouTube channel. I'm really old YouTuber because I started to make videos on YouTube in 2004. Teens. I know nothing and I have made really terrible and not working thumbnails. But you are lucky one because you are watching right now how to create a good partner for your YouTube channel. I will show you Principles, Guidelines, upgrading, have good thumbnail. How to define this is good thumbnail. This is byteNum nail, your unique style of thumbnails. And also I provided two examples to create a first one, really simple thumbnail and second One, more complicated thumbnail. And we will learn it during this class, this class for YouTubers who want to improve your content, improve your toenails. Because this is a big theme and you can speak a lot about how to make nice thumbnail when requirement for this class is having installed Photoshop on your VC mock or anything else, but you can apply this same methods are the same techniques in different photo editing apps. I don't say goodbye, it's you because I will see you in the next videos.
2. Definition of Good Thumbnail: Previously was an atom Skillshare class. This is weird here. And the first video will be about differences between but thumbnail and good thumbnail. And I have a lot of different and interesting examples for a year of creating a good, nice working thumbnail. And this is a really hard task and you need to, you need to spend a lot of time to understand how this works. You need to spend some time to understand your thumbnail. So how they look, how Luca, different thumbnails from different YouTubers, for example, from your favorite one, you will see main rules. So main guidelines, how to create nice looking thumbnail. And firstly, what I wanted to say is simpler is better. You can open, for example, Marcus broadly and you can see it's really clean, simple, and the Readable, readable thumbnails, for example, Tesla board. And you can see Tesla board, markers and log of Tesla. That's all. You have only three items inside this thumbnail. Speaking about iPhone, you can see again, iPhone, just an iPhone. Nice backdrop. And that's all you need to have for 12 maximum free when objects inside your thumbnail. So it could be your face. And I highly recommend you to use your phrase because you can sell more because you're showing your personality. You can act in some ways for different emotions of surprising or a negative one. And you can use these emotions and bring additional value to this thumbnail. And as an example, open Skillshare type for example, Final Cut Pro. And you can see, and this is nice thumbnail is Alia doll because he has emotion and the hemo, this person because very popular. So this course will probably interesting and working for you, helping for you, helpful for you. You can see that there's 54 thumbnails are looking corrupt region, nicer, pretty simple, but they are boring because you don't see personality inside this thumbnail. I rather click on this one or this one, or this one because I see a person inside this frame is this is really important, was the most interesting about adding your own personality is that if you have unique look, unique style, Unicode type of clauses, you have elder different rings that those you can use a this inside your thumbnails. For example, if you open Peter McKinnon, he has a lot of different tools and you can just take a photo of your arms and you will understand that this is Peter McKinnon and because this is his arms, you can find a lot of different thumbnails without his face because his hands speak from his personality from Peter McKinnon is because, for example, this thumbnail, this hand, you understand that this is Peter MacKinnon hand as a viewer. You understand, okay, this video from Peter McKinnon, if I shoot the same time they are, it will be not. So understand the understandable, understandable to viewers and this is my video. So I need to put my face on my damn nails. And other advice is about creating unique looking style on all of your thumbnail. So if you open Medea villa, you can see that he has unique look on his thumbnails. You can see pretty clean, minimalistic, metro way to create thumbnails without vivid colors. You can see that main colors are gray, white, a little bit of a warm colors, and a little bit of a cold colors. But you can see that inside of this minimalistic style, he has a lot of different types of shots. Again, a lot of faces. And you can see maybe 80 percent of these thumbnails can then his face. Another example of this minimalistic style is Ali Abdullah. And the main difference between Madeira and reptiles that he has a lot of different icons, text, book texts, for example, word, ego or imposed her. You can see he's unique style of thumbnails is combining her personality phase. Again, face, and a lot of different objects, icons, texts I recommend you to spend sometimes analyze your favorite YouTubers. For example, enter, write down what you like the most. You like a neutral colors or you like visits and neon colors. Like I don't have clean workspace, so I need to cover it using these colors. Do you need to use additional elements, for example, text, icons or for your apps or something. You just need to analyze and write down what you like the most. And yeah, you can see, this is my first YouTube channels that I started in 2014. And you can see it looks super nice. Making YouTube thumbnails is kind of art and you need to just spend additional time to analyze and understand how to make good Tap nail. So next tutorial, please.
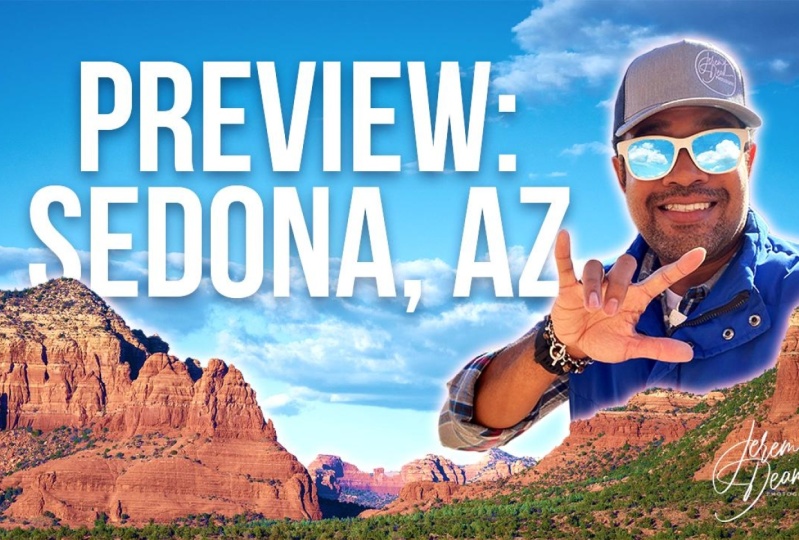
3. Take Perfect Shots for Thumbnail: This is a cubic lesson about taking photos to create a thumbnail. My main recommendation about taking photos tried to make as much as you can because I have I had as a sedation when I make a lot of different photos and I don't like them at all. So for example, this is a folder with my photos from a one shooting and you can see it's around 34 doors. And I tried to make some improvisation with time because this was a course about bring your probe and a life hack. So save your Sam. And I have this one. And also I tried to use so my laptop and put Premier Pro logger in this place. And I tried to make something from this, but it didn't work for us. The thumbnail of my course from this photo, I put Premier Pro login here, and that's all. But I replace this thumbnail laser. I called my friend, professional photographer and we go for a walk and I just need to create additional photos, thumbnails for my new course, third course, and also for different videos. We spend around 1515 minutes on this shoot. And we have four and have hundreds of photos from this big block of photo, I picked eight for those. And you can see this is first one seconds. And I created a lot of different stuff from this 15 minutes shooting. I can show you final results, final thumbnail. So first one about the course or Final Cut Pro. Also. I create the banner on my YouTube channel from Harris for those. Also, I create additional new thumbnail for course about life hacks and bringing her bro and also for a video on YouTube, also video Premier Pro for beginners. Video about canon ADD. And yep, that's all. I created. A lot of different stuff, different stuff for different platforms from one shooting. So you just need to be patient, I think, and find the right emotion, right frame, the right composition. I think the easiest composition, you divide your frame into two parts. The first one, I will be your face. So in second part of your thumbnail, you played something, for example, you can see, I place it, ADD nice understand. Logo of Premier Pro, logo of Final Cut. And it's much easier to do it. It's much easier to handle. They are really clean and I don't need to spend so much time to edit this, to create this tab nail. My next time nails I shot in this place and I create something like this. I used a new style of editing tab layers. So you can see purple background and I isolated my, my face from the background. In the next two lessons, I will show you two examples of creating thumbnails. First one is pretty clean, so I think like this. And second one is more complicated if you want to create Luke looking, look looking. So I think it's so moving to our next tutorial. So it's Sam to open Photoshop and gets off work.
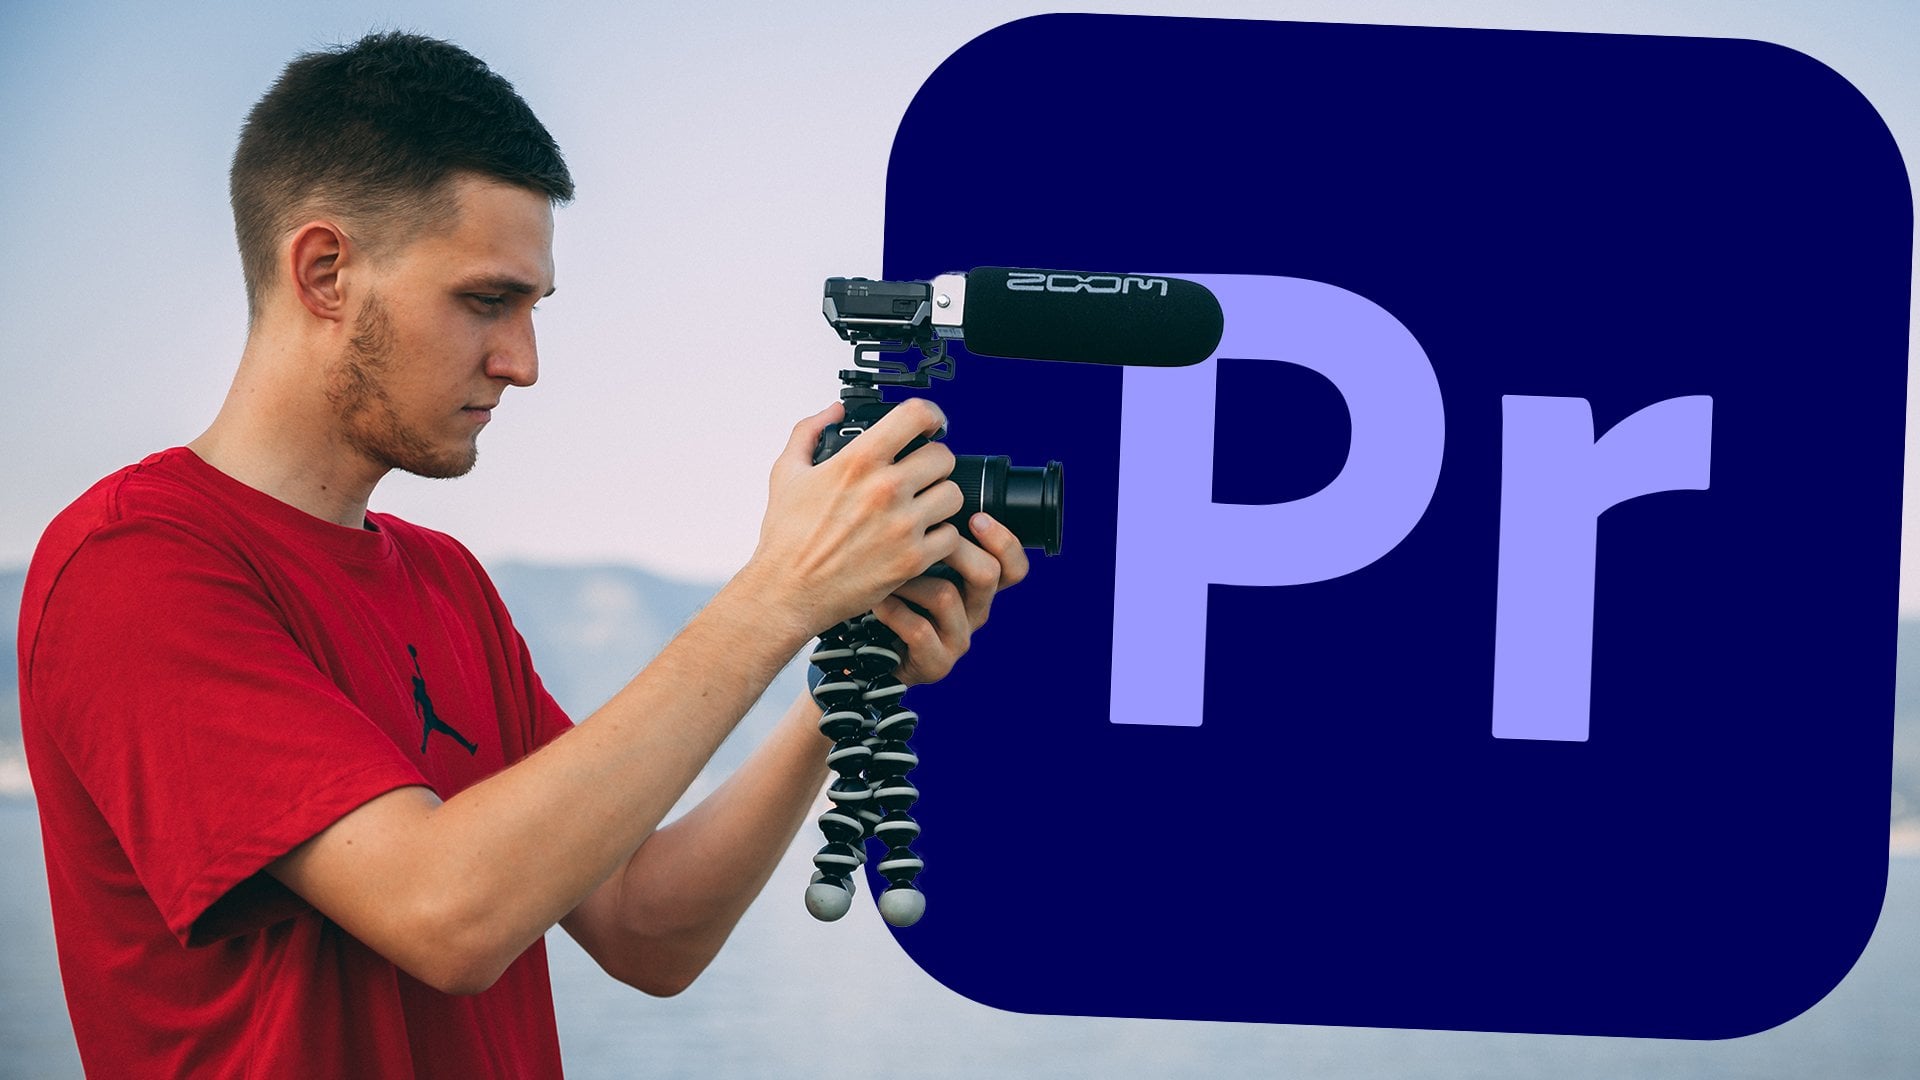
4. Creating First Simple Thumbnail: Let's create a new thumbnail. And firstly, what they recommend to do is open project file, Project Window and find the test files. And you can see, I put two files. First one is this really nice boy, and second one is this boy. And and right now in this video we will make a clean, nice-looking thumbnail and I will use this photo so big this one and open Photoshop and create a new project. We exert resolution. I recommend to you to use simple HD resolution so you can see 1280 by 720. You have no need to create in full HD because again, you compress your image and your image from this one will look something like this. So just use simple HD format because steel YouTube cress, limitation up to two megabytes of your final file, final downhill and click on Create. And right now what we need to do is firstly, import our photo and we just drag and drop. And so we will open Camera Raw. This is raw shot and firstly, we need to adjust it before we drop in our project. I'm not a big fan of super color correction. What I usually do, I open presets and open my presets and I use the presets or from Chris how, or from Peter McKinnon. So I use Heathrow because you can see you have a really nice looking or powerhouse. And it looks really nice. But I won't use presets in this tutorial because you probably don't have these presets. This is lethal protein because you can spend less time because you just using code, your preset and you are ready to go. I will add some contrast, may be some whites. To make a clean background, I played with shadows because my skin tone is dark and I want to add additional may be temperature or vibrance or saturation because you can see that I have dead skin tone. This is raw format and you can change everything inside of this photo. I think that's all. So this is before and this is after. We will apply additional color correction before experts in our final thumbnail. So we just click OK and replace this photo, something like this. We don't need to have this white background, default background. We need to cover all thumbnails using this photo. And I place something like this. I don't want to cut my arms. So I will make something, something like this. Again, I will put Final Cut Pro or Premier Pro or Photoshop was some logo I will put in this place. So I need to place my body in one part of this frame. So I will put something like this and click OK. Next one, I need to put a logo with a transparent background because for example, you can see I have additional folder is my icons. And you can see you don't have, for example, this white or black background. You can easily drop, for example, Lightroom. And you don't need to spend additional time to cut this background separated and the leaves, you can just write, for example, Adobe Photoshop and PNG. And that's all open cartoon images. And you need to find with PNG format and you will have this transparent background. So I will use this one. So I just Save Image. As you can see at the end of this file, you have PNG. So this image, we'll probably, probably will have transparent background. I'm just dropping this logo and booted staffing like this. And that's all you can say that you created at thumbnail. Please don't forget that you are creating a small thumbnail. If you open YouTube on your iPhone, you will have really small and tiny thumbnail and other recommend to do is create additional tests, proof. Is it good, thumbnail or bad? You just make action something like this. And you can see, if you can read from this thumbnail something so you can read it. This is Photoshop and this is me pointing on the logo of Photoshop. I can say that this thumbnail works. Your viewer will watch on your thumbnail something like this, not from this way. Only, only a something like this or or even smaller. Don't forget about it. What I also do, I double-click on my icon. So you can see this is layer style and I open drop shadows and make something like this. I just want to. Make a little separation from my background. If I am showing my face, you can see I have different scratches. I have not very nice picture of my face and I need to remove the staff to make a clean, clean look of my face. So I open spot healing brush tool, click on this one, click, Okay, we make it as a smart object. I just need to remove all these spots from my face and from my arm, for example, you can see I have this scratch. It's so easy to do for the shop, uses his own algorithms or his magic. You just pick the right size of your brush and you make something like this. And you can see there is no scratches and I make the same with my face. You have no need to be super accurate. So you make just remove all of this stuff because again, you will have super small dominate, but still you will have much cleaner picture if you don't have this noise. I think this is a noise on your thumbnail that right now we have cleaner result, much cleaner result and to my face, look nice. But again, I have this guys that I I, I can't remove them. And the last action before experts, I add additional contrast. So I moved to adjustment windows and find curves. Click on this one and right now I just want to put the sulfur here. I create simple s-curve if you don't know curve. So left part is our black tones and right part is our whites. I'm making simple S-curve, so you create 1. So where's your blacks located? And the same with your whites. And right now, I just low a little beat my blacks, end up my whites. And right now you can see we have additional contrast in our image. Again, it will looks much better when you need to compare with other thumbnails. Because again, you compare with a lot of infinite amount of videos and infinite amount of thumbnails. So much to have to speak. I think about YouTube thumbnails as a movie posters because they are super unreal and that's okay. You will have just boring picture without this effect. So I recommend you to just allele. They'll be either pure silicon contrast, maybe more vivid colors, and the you will have nice thumbnail. So right now we have clean thumbnail and it works nice as a small thumbnails and we need to export it. So File Export, Export, As I'm choosing, JPEG quality are great and I just export it. And what I also do, I save this project because sometimes I maybe don't like how this looks and I want to correct a little bit. And I want to have a regional project to change the staff and don't make the same homework. So I recommend to you too, have a copy of this project on your computer, PC, or the web in the clouds. I will say with names, I think like her Photoshop tutorial and click Save. Yep. And that's all. So we created the first really simple thumbnail and next one will be a much interesting. We will use more, much more tools and let's open second project. Let's go.
5. Creating Second Thumbnail: This is our original photo and this thumbnail will be much interesting and I hope you are ready for this. We again creating a new project 72 and GP create and we just drag and drop our beautiful photon. So drag-and-drop Open Camera Raw. And again, I don't need to change a lot in this. I just maybe put more contrast because I want to separate, I want to see this background. Separate my face, my body, from this background so we need to make it visible. Main thing about this color corrections. You don't need to overexpose your main objects. So for example, you can click on this one or this one and you can see this place is overexposed, but this is okay. This is background. We will, we will not worry about it. So you can see it's just a little whiter. So this is before and this is after. So we click Okay, and again, open our image and place it, something, something here so I don't want to have these wide white wall. So I put my phrase something like this to make better crop and buzzer positioning. So open your crop tool and you can see this grid. And I recommend you to put the most important, for example, subject objects. My eye on this cross point when you were kids, I think and this point, this point, this point, it's much easier for our eyes to read the image. And again, this is basic of photography. By the way, if you want to learn more about photography, maybe I need to make additional course. What do you think about it? First action is kind of boring, but we need to do this. We need to make additional layer with my face, with my, with my body. Because I want to separate it using different effects. So we just pick Quick Selection Tool and make action looking something like this. So I just beak everything that belongs to me. I make something like this. And you can see here is the most difficult part of, of selection. So don't worry about it. If you pick the wrong place, for example, this one, you can just click on this button and right now you just delete your selected area. And we have picture looking like this. And again, you can see beards is works really strange. You can easily switch between adding and removing your selection just using option button. But I don't know if you're using Windows it will be or control or Alt. Just try it out, right-click and select and mask. And I prefer to choose View with overlay. And you can see right now what we didn't choose. So I need to choose my finger. Obviously, why I like to use this mode, because you can see edge detection and you can use smart, smart radius. And I pick two pixels, and I also just add a little smoother. And that's all. It's really easy to use and it's really easier to make a really nice accurate selection of your object, of your subject, of your everything. Open our output selection and we can, for example, make a new layer, new layer with layer mask, I will just make a new layer and click, Okay, you can see Photoshop created a new layer only with my selection, I bring back my background. And right now let's add additional effects To background ends to my face. So firstly, let's adjust more fully. So double-click again on layer with only my face and find Outer Glow. And I won't do maker according to color of my background. So you can see purple and also a little bit red. So I pick my color and find what I want to use. And you can see, I will be, maybe, I will pick this one and I increase this glow. Maybe a little spread and size. I don't want to make this, this is too much, so I just low my capacity as this small little glow around my body and click, Okay, and this is, for now, it's okay. Double-click on our background. And right now I want to add a color overlay. And again, we need to pick our color. I will use again, somewhere around verbal and I will change my blend mode enter, this is up to you. You just need to pick this one, okay, this looks not so good. Overlay or k. This is nice, but I need to slow down my capacity. And right now you can see we have this purple across all my image. And maybe soft light, hard light, no vivid Light. Just try it out too. I like soft light. Click. Okay, and it's right now you can see our image that it's changed. Really nice, just using this to do effects. Really nice. I don't like that background is too light, so I dropped down my capacity, but we have our background, white background because I created project with this background so I can open a layer style color overlay and big black one using normal and capacity 100%. And right now you can see we have a nice separation from our background. And right now we are ready to add additional texts, additional layers, additional icons. And for this video, let's deal be a five-foot deeps in Premier Pro, for example, why not DKA type tool or press on t? Choose font? I recommend to use the bus. It's one of the popular one because it works really nice and you can put a lot of different information using this font. So you can see, I will write, I forget the number. I also want to add additional MOZ with emotion. And Mozi visit emotion. Wow. So I think like wow, mind mind-blowing. So I want to put nine, please for emoji, for logo of Premier Pro. And the next one, next line, we'll be Gibbs. So 90s, we need to make it in white color, and that's 0. And I use a transform tool, command plus t and place it something like this. I don't like that we have would be gaps between lines. I open character window. If you don't have this one, click on Window and find the character click on this one and you can see this window. And I want to make this one. I just make solving Clegg this 45 pixels, 45 points, not know, and I increase my size of this font. Enter. Yeah, right now I need to change this. Okay? By the way, you can make interesting effect when your body close this text and you can see, you can compare. I think this one looks, looks interesting, more interesting. This is really simple. And again, double-click Layer Style. I put additional outer glow to separate. This is not so noticeable. And also I want to add additional shadow and make something like this. And right now you can see with the facts, just simple text and this one is much interesting. Don't overdose with effects. A little glow, a little shadow, maybe a little stroke, and you will have nice result. And we need to add additional files, additional objects. So I open again my folder reason why P&G photos to to to to tune Premier Pro. I already have this one, so I drop it and place it something like this, something here. And I need to find my emoji. So I need to find images of mind blowing a manager. And again, right, PNG and right now Open Images. And you can see you have different tune. For example, this one looks like B and G. And if you save it, you can see PNG. But if you open it, you can see you don't have transparency at layer. So we will just because this one, because it's nice quality, nice resolution. I save it. I just dropped this image in my project. Click. Okay, and we need to delete this white background so you can delete this white background using your quick selection tool. But the union to my blank verse, it's too long. I recommend to you to click on Select Color Range. And right now you just need to pick this white color and maybe adjust this fuzziness and click OK and you can see you have your selection. So we just select inverse. So right now we selected all this stuff. And again select and mask. And right now we again use Edge Detection, use smart radius. So moves maybe, maybe we don't need to use it in this one. And again, output 2 and UX layer. Click Okay, perfect result. But you can see we have this little small white border and we just use Erase tool, eraser tool, and just delete this one. And that's all. So I just make something like this. You can also hold shift and you will have clean horizontal line and you don't need to just make an accurate, a good mouse movement. So right now we have this emoji, really nice, really clean. And to again, Pangea positioning, suffering, something like this. And I need to move Premier Pro little bit. So something like this. Pilaster things that we need to do is copy this layer style. So I pick my nine tips, Right-click and find the Copy Layer Style. And we pick our files, right click and paste layer styles. And you can see we have picture looking something like this. At the beginning we have this one, and right now we have this really nice looking thumbnail. Also, you can reattach my face, an additional color correction, for example, Cure S curve. I teach you before in previous lessons, but this is basic editing of thumbnail. And I hope you'll like this result and you can make the same. You can see it's not so much stuff to do, but you just need to be a little creative about creating. Great, about creating wow, grading thumbnail. And we need to save it again, Command Shift S. I will name it as 95, certainly mirror pro, safe as BSD and safe as a simple Japan. And that's all we create a second thumbnail and let's move to a conclusions.
6. Conclusions and Useful Tips: So let's make a useful conclusions from this class. And firstly, what I recommend to do is think about your thumbnails because you need to understand it, because this is forced a level of indirection with your potential viewer. If you have good thumbnail is intriguing title, you will have much more click-through rate because people want to see what inside this video, because through this thumbnail, look really interesting. I really don't know golden number or fuzzies click-through rate. But if you have higher number, you will have much better performance of your video. But again, you need to understand that. Again, thumbnail is first-level. Think about your video. Also. Make good video. If you don't know how to edit video, I have classes about editing videos in Premier Pro and Final Cut Pro, but this is an acidotic. In August I had click-through rate 5.4, and in July I had 7.6 and it's a little higher. Absolutely 100%, you will have different numbers, but again, 5, 6, 10 percent click-through rate. I had one video about canon ADD and click-through rate, 8.8%. So you need to understand this is a really high number of this value, half of percent or 1% percent, 0.5. This is a bed value, so I recommend you to work with your thumbnails because people can't watch your video because this is really bad tab. Now, my second recommendation, again, think about colors, about forms, about framing. And if you have problems with defining your style, again, open you to open your favorite YouTubers and just think what you like the most from your favorite YouTubers. Again, be careful because you need to be unique. You need to have your own unique style world. Don't want to see another copy of Peter McKinnon or medea. Well, you can combine different stuff from different YouTubers. For example, colors from one YouTuber forms from second YouTuber, framing or emotions or type of clothes from 30 zebras. At the beginning, there is a unique combination will help you. But again, don't forget, YouTube is all about personality. So don't be a copy of my favorite YouTuber, be unique personality and have unique. Domino's. Next tip is kind of obvious. Think about how to make good thumbnail so you need to understand basic principles of photography A-frame. And I highly recommend to you to use really simple rule of thirds. So you just divide your frame into nine even rectangles and you place your subjects, your objects, or your faces, your icons, at these crossing points and you will have much decent results. Think about life, think about framing, about focal length of your camera. So this is a little bit complicated. Again, good thumbnails is with good click through rate numbers. This is super obvious, but connect your title with your thumbnails. This is part of a big chain. So if you have, if you're speaking, for example, entitle about cars and you are showing curve vegetables all your time. Now, this is kind of strange situation for your viewer because they won't understand that what the hell is going on here. And you can also improve your title using a thumbnail. So you can use really clickbait title and you have really click wages are really emotional thumbnail and they are connected and you probably will a much more click-through rate. Again, numbers are important and my last deeper, you have no need to learn a lot about photo editing apps. You just need to learn how to make really good, really nice looking picture. And you can use really simple editing technique. I showed it in my first example, my face logo, that's 0. But these thumbnail works because it's simple, it's clean, it's readable, it's understandable. So your understand this is a lector and this is AP that he will speak about. Really easy. This is why in this class, I showed you two different examples. Simple one and more complicated one. And what's the most interesting thing about it? Videos, visa, these thumbnails still don't published and I really don't know which one will be performed better. I will have a better numbers on simple version or on a more complicated one. I really don't know and I will learn it later. That's all what I want to say about these thumbnails for your YouTube channel. And let's move to the outro. And I will see you in the next and last video in this class.
7. Check Other Classes!: So thank you for watching SPI, CBA is a promoter. This class is going to end anti. Want to say, thank you. And I hope that your new thumbnail will be much interesting. More shinier, and all other nice stuff about good working thumbnails. If you have any questions, you have discussion page, and also if you make something and you want to share it, I recommend to you to share your knowledge, share your passion, share your work, and this is the most important one. I use project page and drop your works if you still don't know, I am guinea Maxime of anti, her YouTube channel. And also I have additional courses, additional classes on Skillshare. I have two classes about editing in a Premier Pro, one class. So be really, really Beacon full of information class about editing and Final Cut, bro, and small, small costs about how to edit your photos fast and efficient on your iPhone without any additional apps. So I hope you learn something. You thank you for watching. See you in the next video in coming sections, discussion section in another class. And we have a lot of stuff to learn. And I will see you in the next video. It's by Sima Qian. Goodbye.
 Evgeny Maximov, YouTuber + Filmmaker