Transcripts
1. Intro: A fundamental part of making music is of course, the drums. I believe Ableton is one of the greatest tools
for creating drums. It provides plenty of creative opportunities to
create the best drums possible. Within this class, I will guide you through
everything you need to know to start programming your own drums
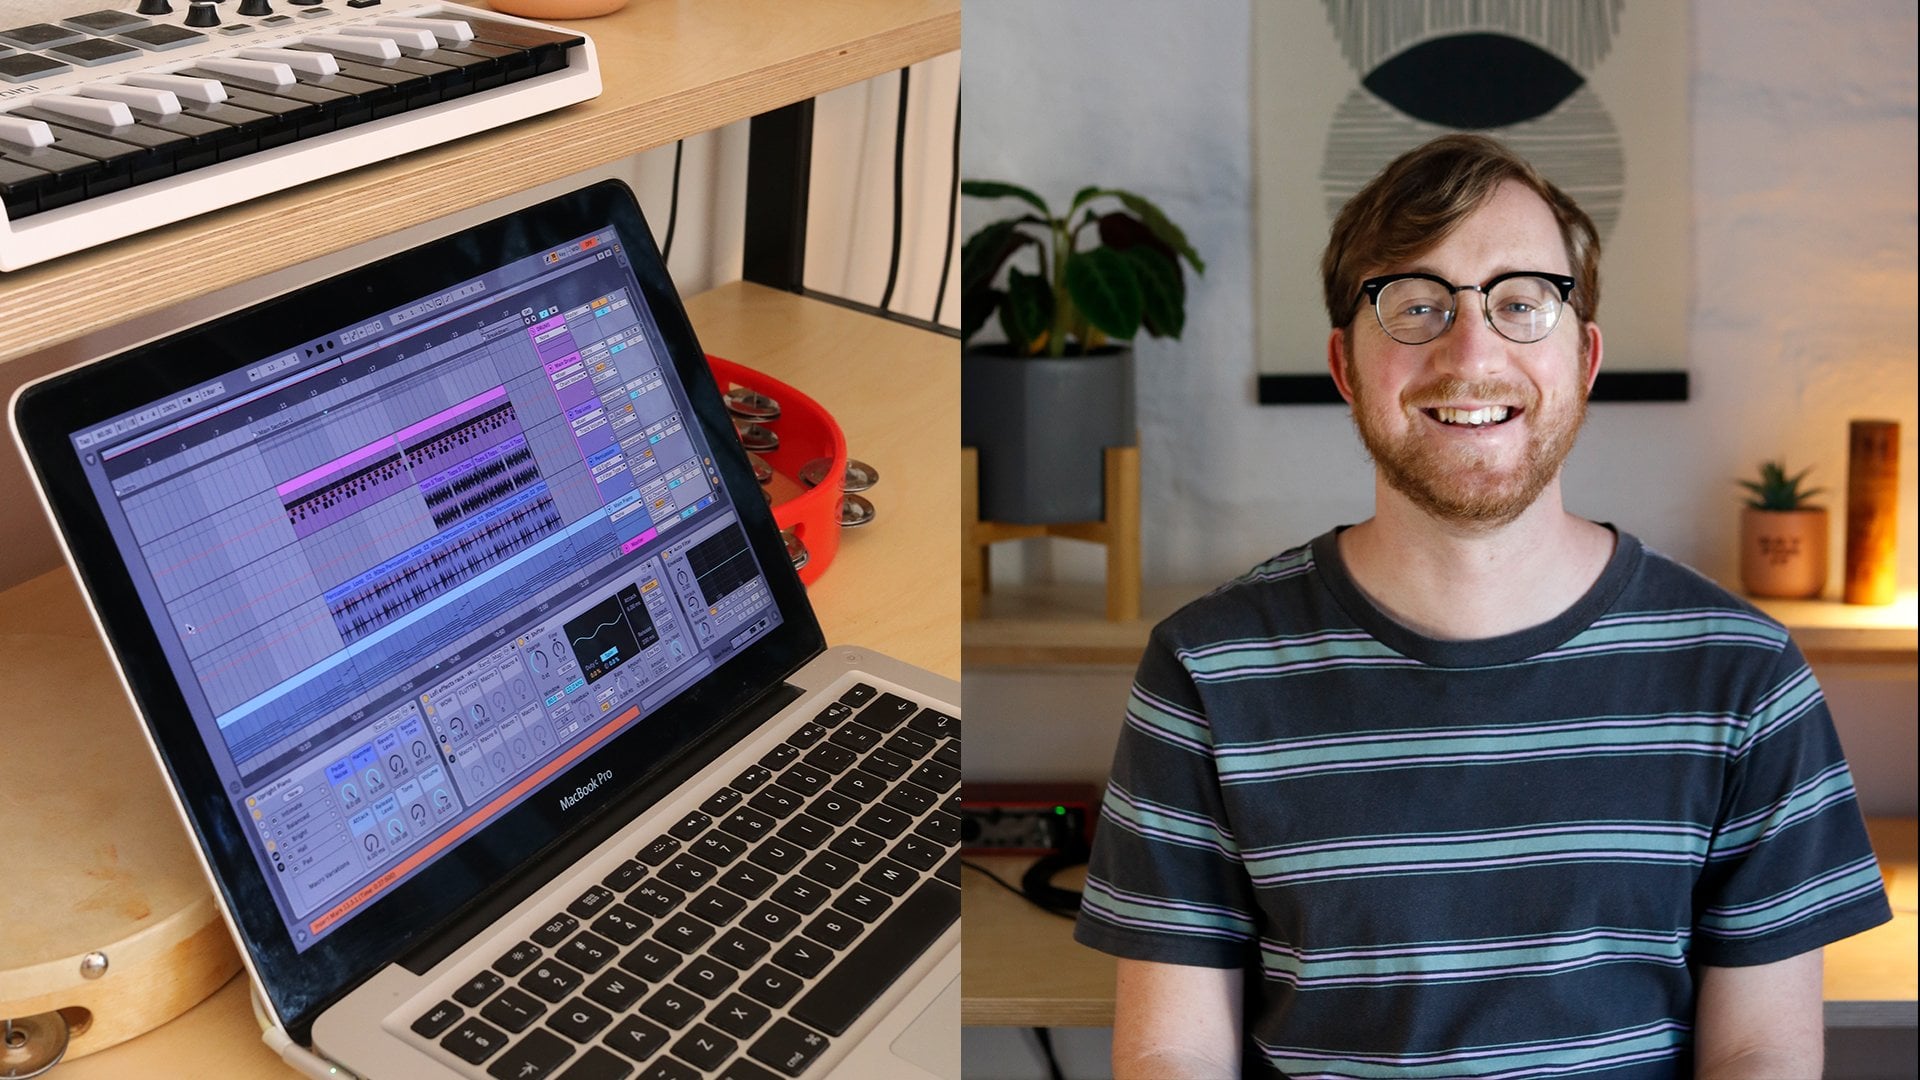
within Ableton Live. Hi, I'm Jonathan
a music producer, composer and sound designer based in Cape Town,
South Africa. I've been making music in
Ableton for the past ten years, and I currently make music
under the name Fair Game. I have found success with my music project across
streaming platforms. And have used my Ableton
and music production skills in a variety of work including
Sample Pac creation, commercials, and game audio. One of my favorite things to do is make drums in Ableton Live. And I spend a lot of time
making sure my drums sound just right within my music
through my sample pack work, I've also created hundreds
of drum loops from scratch, which you can hear across splice and other
sample Pat websites. During this class we'll
cover using the drum rack, programming drums
with audio tracks, and combining audio
and Midi tracks to create your drum loops. Then we'll move
on to making sure your drums don't
sound boring by using a variety of
variation techniques such as groove
velocity variation, ghost notes, and drum fills. Finally, I'll show
you how to add existing drum loops into your beats and make
them your own. I hope you'll start to
love drum programming. Ableton Live, just
as much as me. As you go through this
class, let's dive in.
2. Class Orientation: To begin this class, you will need to have Ableton installed. If you don't have a copy yet, you can install a
30 day free trial from the Ableton website. Other than that, we will be using the Ableton stock sounds as well as the following
free sample packs from the Ableton website. The beat selection pack, the build and drop pack, and the chop and swing pack. Once you complete this class, go and make your own eight bar hip hop or house drum loop. And submit it in
the project section via a soundcloud
or dropbox neck. If you would like a
greater understanding of the layout of Ableton
Live as a whole, it might be helpful for you
to check out my class on the fundamentals of Ableton Live first before
starting this class. However, it is not necessary.
3. The Drum Rack - Part 1: The quickest way to get started
with programming drums in Ableton Live is with
the drum rack device which you add to a Midi track. With this device,
you can load up individual drum hits and program your beats
in the piano role. Within this lesson, we will
be programming a house beat as an example of how
to use the drum rack. Make sure your tempo is
set to 120 PPM here. Next, create a new Midi track. Then click on Drums
in the browser, and drag the drum rack
onto the Midi track. To create a new Midi track, you can press Command
plus Shift plus T on Mac, or Control plus
Shift plus T on PC. And to rename a track, select it and click Command
on Mac or Control on PC. Now let's start
picking the samples to start creating our drum loop. For this example, I'll be
using Ableton Stock samples. Firstly, let's pick a kick, go to drums again
in the browser. Click drum hits and pick a
sample from the kick folder. Find a kick that you
think works well in a house song and loaded onto the C one module
of the drum Ray. I like this '90s kick
for a house beat, there's usually a kick on
every downbeat and clap, or snare on every
second and fourth beat. Next, let's pick a clap
from the clap folder. This analog source clap has
a nice warm texture to it. Load your clap onto the
C sharp one module. Another essential aspect of a house drumbeat is of course, a driving high hat. Let's pick a hat and load
that onto the D one module. Now on to programming the beat. Select 4 bars and set it to loop by right clicking
here and selecting loop or with command on
Mac or control on Windows. Then select the
four bar section on the drum rack track and
create a new Midi clip using Command Shift plus M on Mac or Control Shift
plus M on Windows. The piano roll will open, and as you can see, you can now start placing
your drum samples. Start with placing the kick
on every down beat, like so. And then that's Duplicate
it across the 4 bars using command D on Mac or
control D on Windows. Next, let's add the clap on
every second and fourth beat. You can also duplicate by holding Alt and
dragging the note. Add the clap across the 4 bars. You can edit nose
velocities down here. Let's reduce the claps velocity so that it plays a bit softer. Another staple of
house drums is to place the high hat
on every offbeat, which would be in
between the kick, and so let's do that now. As well as reduce the
sample's pvelocity. Now we have a solid
drumbeat going now. Just for fun, let's add a little bit of
variation to the hats. I hope you had fun creating your first house beat
using the drum rack. Now that you have the foundation of how to use this device, let's dive in deeper and show
you more of its features.
4. The Drum Rack - Part 2: On each module, you can mute or solo samples using the
M or S buttons here. When you click on a sample, you can edit its volume here. You can also add effects
onto each sample. Let's add an EQ to
each sample to remove unwanted frequencies from
our samples if needed, and to create more space. I'll begin with removing the low frequencies
from the clap and hat, as they don't need
those frequencies within the simpler device that the sample is loaded onto
within the drum rack. You can also do a variety of things to manipulate
the samples, such as filtering out
the highs or lows here, changing the samples pitch here, or here, fading it in or out in one shot mode. Or controlling its
attack release and decay in classic mode plus more which we don't really need to know
at this point. For drum programming,
I hope you enjoyed creating a fun drum loop
using the drum rack device, and we're able to see how
powerful this device can be. In the next lesson, I'll
be showing you how to program your drums using
only audio tracks, which is another way a lot of producers like to
create their drums.
5. Drum Programming with Audio Tracks: Although the drum rack
is a powerful device, a lot of producers
still prefer to program their drums using
audio tracks this way. It is easier to see what your drums are doing as you
are creating your tracks, and it can also be
easier to edit samples. It is of course harder to switch your drum
samples this way, so it works better
when you know how to pick drum samples
for your music. In this lesson, I'm
going to show you how to program a hip hop beat
using audio tracks. Before we begin, let's
make sure to turn off auto fades on clip edges within
our preferences like so. Then set the tempo to 90 Pm
and set a loop for 2 bars. For hip hop related genres. It can be good to pick
the snare first as it sets a lot of the
tone in a hip hop beat. And usually goes on the
second and fourth beat or third beat within a bar. You can then start
placing your kick and other drums
around the snare. Create a new audio track
using Command plus T on Mac or Control plus T on PC
and name the track snare. Then snare from
Abletonstdrum Library. I'm going to use the '70s
NPC five snare and put it on every second and fourth beat as well as bring
the volume down now creates another audio
track and name it Kick. Then pick a kick sample. I'm also going to bring the
volume down for the kick. Play around with
placing the kick in different places
throughout the loop until you get
something you like. Lastly, let's add our high hat, Create a new audio track, name a hat, and pick
a high hat sample. Let's place the
hat on every 16th. Note, now we have a basic hip hop beat going. You can fade samples in or
out Using these fader points, you can edit the properties of an audio sample by
double clicking on it. Experiment with adding
more variation to the high hats by duplicating the audio file in
different sections. As you'll see in
the next lesson, using medial
specifically high hats can be a better way
to do this though. I hope you enjoyed creating
a hip hop beat using audio tracks and
are starting to see what is possible
for your own music. Next, we'll combine audio and medi tracks to
create a drum beat.
6. Combining Audio & Midi Tracks: When I program drums, I like to use a combination of audio and Midi tracks where most of the drum samples
are on audio tracks. And then things like high hats are programmed
within a Midi track. I do this as high hats can be a lot easier to program
within the piano role. I also find middy helpful for when I want to
try out a lot of different percussion
samples that I've loaded onto a drum rack. For this example, I'll create a slightly faster
house drum beat. Set your tempo to 124 BPM and
set it to loop for 2 bars. Let's use audio tracks to
place our kick and clap. Place the kick on
every beat with an extra hit at the
end of the first bar. And place the clap on every
second and fourth beat to create our
essential house beat. Now for our high head, let's create a new track
and pick a head sample, which we can drag directly
onto the Midi track. And now we can program
it in the piano. Create a new Midi clip across the 2 bars and start
programming your high hats. The C three note will be what the sample sounds like
at its natural pitch. Let's start placing
our high hat. Follow along with me or programming your
high hat yourself. Now we have a solid house beat. Let's make sure to
save this project. At this stage, you
should be starting to get a great
understanding of how you can program drums for your own music in the most
fun and efficient way. Next, we are going to make sure that your drums don't sound boring by using a variety
of variation techniques.
7. Variation: You don't want your
drums to be boring, it's always important
to add variation to your drums to keep
the listener engaged. In this lesson, I'll
be covering a variety of techniques including groove, velocity variation, ghost notes, and fills to make
your drums fly. Groove refers to using swing timing and
velocity variations to make your drums have a more natural and human like feel. I like to mostly
do this manually, but you can also add
groove presets to audio or Midi from the
Ableton Groove pool. Velocity refers to how hard
or soft a note is hit on an instrument and is also essential to creating
a good drum groove. Here we have our house
beat with just the kick. And so far, one of the quickest ways to
create groove is to place your clap or snare
slightly ahead or on the grid. You can do this by manually
moving the audio sample, or by using the
ableton track delay. To use the ableton track delay. Make sure you have this icon
in the bottom right enabled. This will show the track
delay setting on each track. You can now change the timing of when the clap plays
by adjusting it here. The most common technique
in house music is to have the clap played just
before the kick hits. Let's bring the track delay down until it sounds just right. Track delay is great
for a quick option, but I usually prefer to adjust my drum samples manually
to get the groove I want. It is also easier to add more variation to
the sample hits. This way I'll put the
track delay back to zero and manually bring the
clap just ahead of the kick. Select the clap and hold
command on Mac or control on PC to move the sample around freely without it being
synced to the grid. Let's remove the other claps and duplicate this one
across the loop. And then let's adjust every third tap to hit
just after the kick drum. As you can hear, the beat
has even more bounce. Now let's open up
our high hats in the piano role and see what type of groove we
can create with it. Now select all the hats and hold command on
Mac or control on PC to move them freely and see what they sound
like playing a bit later. Now it has a really nice
slightly laid back groove to it. So far we've used the
Ableton track delay, as well as manually adjusting our samples to create Groove. Next let's look at how we can use the Ableton Groove Pool. Let's create a new Midi track, drag a high hat sample onto it, and create a new middy clip. In Midi, it is easier
to edit the velocities, which is also part
of creating groove. Create a driving high hat by placing it on every 16th note. Let's actually change our
offbeat high head sample to something more gritty that
comes through the mix more. And then to start applying groove presets from the
Ableton Groove pool, you can click the Hot swap
button next to Groove here. As you can see, it previews what the groove sounds like
as you scroll through, experiment with different
grooves until you get something that works well
with the rest of the beat. If you'd like to commit what the groove is
doing to the middy, you can click this arrow here. As you can see, it has
adjusted the timing and velocities of the notes
to create the groove. You can also change how much of the groove is applied
using this setting here. Let's copy these high
heads across the loop and then remove or repeat
notes where it feels good. You can also apply grooves in the same way to audio loops. Let's consolidate our kicks by selecting them and pressing
Command plus J on Mac, or Control plus J on PC. Now it's an audio loop. Double click the loop, and now you can add
groups from the group Pull just like the Midi play around to see if you
get something cool. I think I'll just
stick to what we had before as that
sounds good to me. Another way we can
create more depth to our drums is by
using ghost notes. Ghost notes are very
subtle hits that you can put in between your main drums
to create more movement. I mainly do this with
kicks or snares. I'm going to add a ghost kick to create a bit more bounce. Let's pick a light sounding
kick and put it on a new audio track
named Ghost Kick. I'll remove the lows and
highs with an EQ eight, then places subtly across the loop just before or
after the main kick. As you can hear,
it's very subtle, but it adds a lot more
bounce and movement, if that's what
you're looking for. Another way to add
more variation and excitement to your drums
is by using drum fills. A drum fill is a sequence of drum hits that is usually
used to transition between different
parts of a song and add excitement or
intensity to your drums. Before adding our fill, let's duplicate the beat for another 4 bars and then remove all the drums
on the last bar. Then let's go through
the sample packs we downloaded and find a fill
that could work Well, I like this disco.
Let's place it on this final bar on
a new audio track and name the audio track full. As you can see,
Ableton has synced the loop to the BPM
in beats Warp mode. Let's see what this sounds
like, what the whole beat. Let's also see if Re pitch mode sounds better than Beats mode. The Re pitch warp mode
can also work well on drum loops and sometimes
sound more natural. Cool thing I think
we could do to add a bit more energy is to
automate the pitch of the loop. Let's change our warp
mode to complex mode. Then go to the envelope section. Click and transposition here. Now you can adjust the pitch of the loop with this line here. Let's set it to go
up 12 semitones. As it plays another cool Ableton effect to add onto a full is auto pan. This will make the
full play louder and softer between your
left and right ear. Now that we've added a
really cool drum fill, this beat is sounding
really solid. And we have a lot
of options that we can use when creating
a full song. Now let's save this beat by mixing and matching
these techniques, you can make sure
that your drums are dynamic and not boring. I trust you are
feeling inspired to go and make your own
incredible drum beats. Next, we'll look at how you can make existing drum loops your own by using some powerful
features within Ableton Live.
8. Using Drum Loops: Another way to make
interesting drums is by including existing drum
loops from sample packs. Ableton offers a lot of
powerful tools to make existing drum loops your own and blend them into
existing drums. Let's find a
percussion loop we can add from the sample
packs we've downloaded. I like how this
percussion loop sounds, and I think it'll work
well in our beat. As you can see,
Ableton has warped it to be in time with
the rest of the track. The first thing
you can do to make a drum loop your own is to, of course, play around
with the warp modes. Next, you can adjust
the pitch of the loop. Here you can half or double the speed
of the loop to hear what it sounds like with
these options Here, you can also reverse the
loop with this button. Another really common
technique that often helps a loop to fit better in a track is by editing the
transience Using Beats mode. The loop and Beats mode. Select the forward arrow and now you can adjust how
long each of the hits play within the loop. Let's save that. We've already got some
great options so far. Let's duplicate the channel
and then freeze and flatten it to commit the changes to the loop
that we've made so far. This can also provide a lot
of further inspiration. Another thing I like
to try is to take different parts
from the loop and chop them up to fit
in with the beat. Follow along as I chop up the
loop to create the rhythm. I'll put these chops
into its own group so I can mute them or process
them altogether. Feel free to experiment with
your own chops now too. Another thing you can
do is of course add effects like delays
and timing effects, which can also give you
interesting results. Finally, you can record
these chops into its own loop on a
new audio track with a process called
re sampling solo your percussion chops group
and create a new audio track. Make sure resampling is on
here and record is armed. Now you can click
Record and it will resample whatever is
playing to this track. Now let's copy that across the whole beat and
edit where needed. Finally, to export the loop. Select the area that
you want to export, then go to File and down
to export audio or video, and save it wherever you like. I hope you enjoyed messing
around with drum loops. Within this lesson,
we're able to see how many creative opportunities Ableton Live provides when
working with existing audio. This is the final lesson,
but in the next video, I'll give some final thoughts, as well as some more information
on the class project.
9. Final Thoughts: Well done on
completing this class. I hope you had tons of fun. Now, go and use these
drum making skills. You've just learned to create
your own drum loops and submit them in the project
section for my feedback. As you can see, Ableton is an extremely powerful tool
for programming drums. Many producers like to start
their music with the drums, so you now have a
solid foundation for continuing your
musical journey. I'm really looking forward
to hearing your drum loops.
 Jonathan Fisher, Music Creator & Sound Designer