YOUR ANIMATED JOURNEY! It's the Great Snowfall, Charlie Brown | Mike Ryan | Skillshare

Playback Speed


1.0x


  • 0.5x
  • 0.75x
  • 1x (Normal)
  • 1.25x
  • 1.5x
  • 1.75x
  • 2x

YOUR ANIMATED JOURNEY! It's the Great Snowfall, Charlie Brown

teacher avatar 
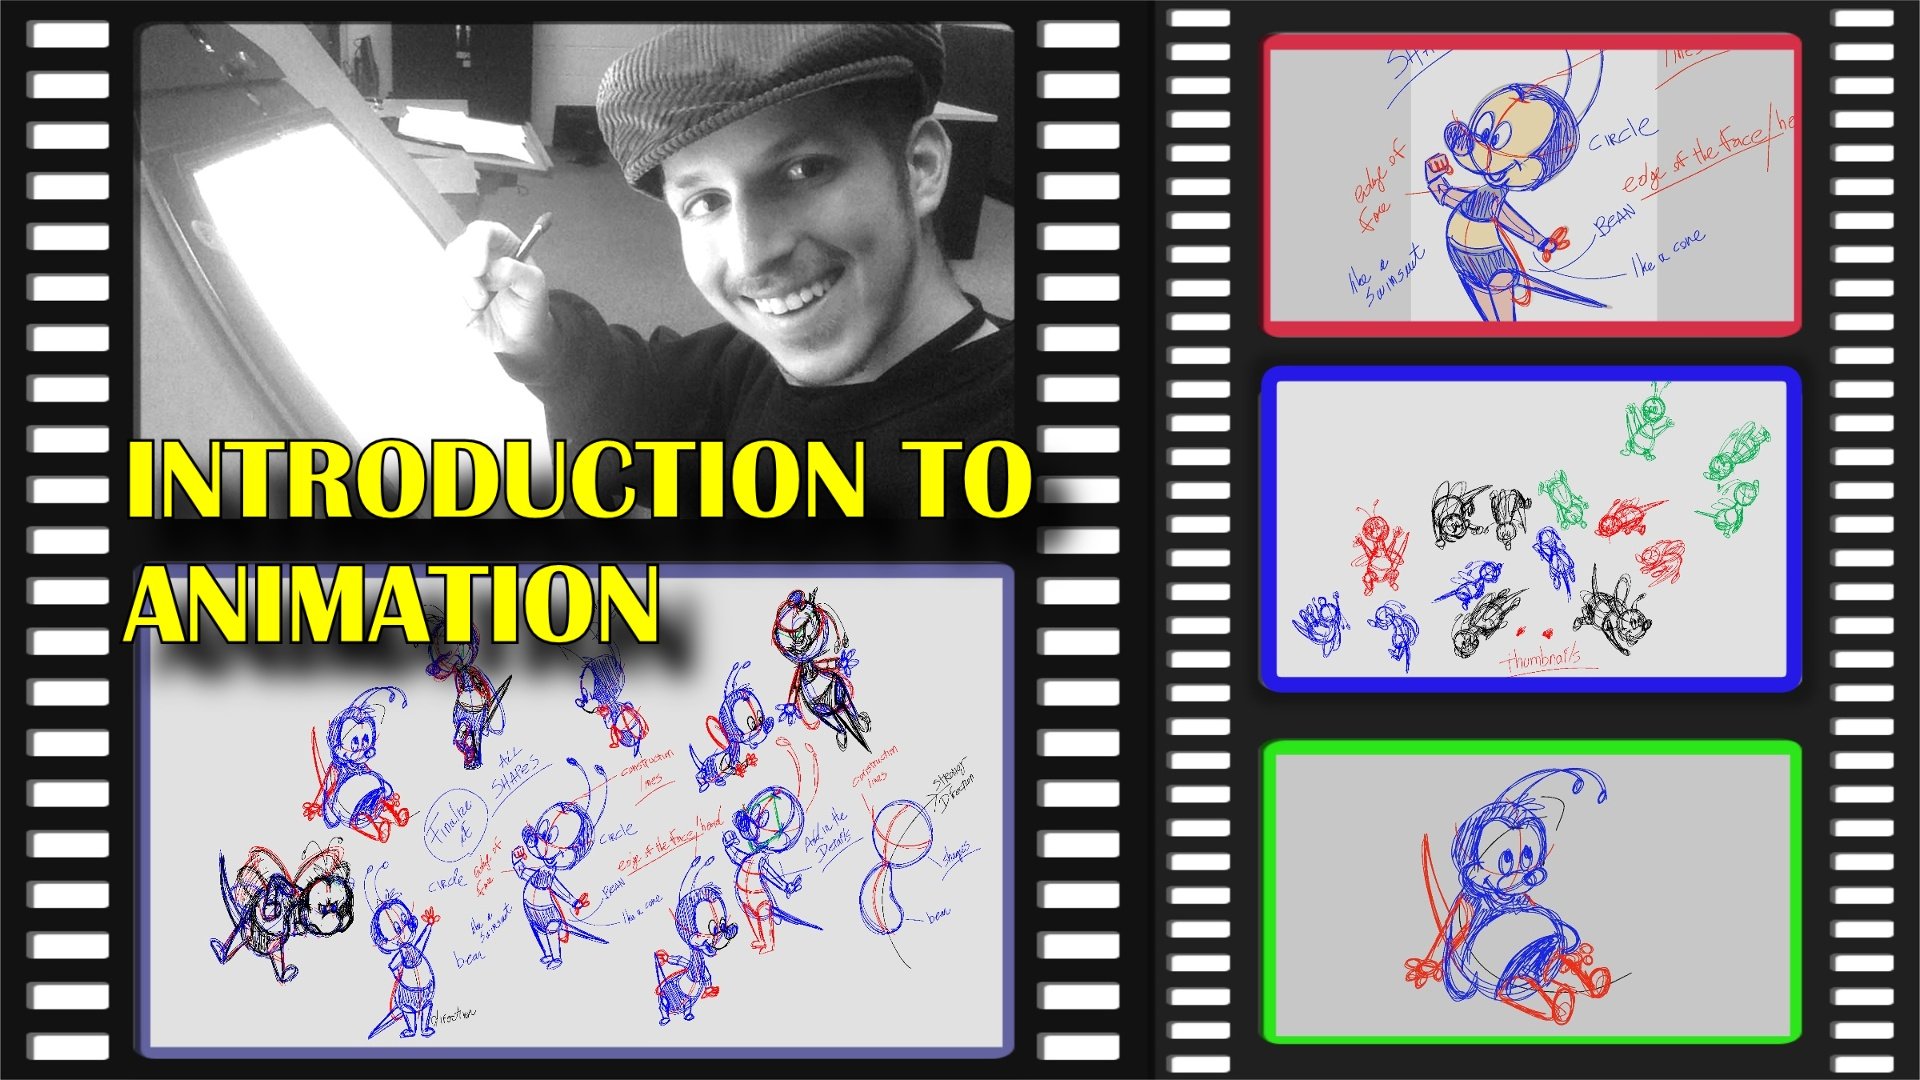
Mike Ryan, Traditional Animator

Watch this class and thousands more

Get unlimited access to every class
Taught by industry leaders & working professionals
Topics include illustration, design, photography, and more

Watch this class and thousands more

Get unlimited access to every class
Taught by industry leaders & working professionals
Topics include illustration, design, photography, and more

Lessons in This Class

    • 1.

      Preplan Your Animation

      3:10

    • 2.

      Animating the Snowfall

      3:10

    • 3.

      Finishing the Snowfall

      3:10

  • --
  • Beginner level
  • Intermediate level
  • Advanced level
  • All levels

Community Generated

The level is determined by a majority opinion of students who have reviewed this class. The teacher's recommendation is shown until at least 5 student responses are collected.

6

Students

1

Project

About This Class

In this animation class, I will give you a behind the scenes look in how I animated an endless snowfall from start to finish. I’ll teach you the logistics, subtleties, and great care that goes into creating a never-ending snowfall like the kind you see in "A Charlie Brown Christmas".

First, I will show you how to plan out your animation through preliminary sketches and motion trail graphs. Then, we will find out what tricks of the trade we can use to ensure that the snow actually keeps falling instead of shooting right back up. And finally we will create our animation drawings through our Animating Chart along with the Exposure Sheet and loop it to give us the Charlie Brown snow.

Meet Your Teacher

Teacher Profile Image

Mike Ryan

Traditional Animator

Teacher

A Harmony Animator Generalist, Mike Ryan has been animating for over 15 years with animation specializations in Character, Rig, Effects, Compositor, & Background. He graduated from the UCF Experimental Animation Program under Professor Emeritus Scott F. Hall. He has worked with Harmony as an online animation teacher (Skillshare), freelance animator (FuturePort 82), independent filmmaker (A Midwinter Night's Dream), & contracted 2D Animator at Mighty Animation (The Second Best Hospital In The Galaxy on Amazon Prime).

See full profile

Level: Beginner

Class Ratings

Expectations Met?
    Exceeded!
  • 0%
  • Yes
  • 0%
  • Somewhat
  • 0%
  • Not really
  • 0%

Why Join Skillshare?

Take award-winning Skillshare Original Classes

Each class has short lessons, hands-on projects

Your membership supports Skillshare teachers

Learn From Anywhere

Take classes on the go with the Skillshare app. Stream or download to watch on the plane, the subway, or wherever you learn best.

Transcripts

1. Preplan Your Animation: So we've all seen a Troll Brown Christmas. Well, in that special, Director Bill Melandez and the animators created an infinite looping cycle of falling snow. Now, you will not know when it started or ended. Even though we know there is always a start and end. It was seamless, and that's made it so cool to watch. For that mindset, I wanted to create that same kind of endless snow in my animation. So I cite the snow scenes from the Christmas special frame by frame. I wanted to see when the cycle would begin and end. How long one cycle and how long each drawing is exposed. Okay. Now, on the surface, because it's charlie round, the cycle looks simple, but only deceptively so. We are used to any animation going from point A to B to C because that is the rule of thumb, but not so in this context. Here it is from point A to B, and then back again to point A, thus the loop. I know that seems odd at first, but think about it because if you were to animate by the thumb of animation, you will find your snow moving downward from point A to B only to then see and move of Webley back upward to its first position. That means we would have to start all over Now, though that might seem like a stretch at first. But think about this first second because if you were to animate by the roll of thumb of animation, you will find your snow moving downward from zero point A to B only to then see it move abruptly back upward to its first position. That means you would have to start all over again from the beginning. Now, keep in mind what the animators must be asking themselves when they're working on those kind of scenes. You are applying all those key points to not just one or rather many smaller pieces that are moving together. They will come in various shapes or sizes and have different paths of falling down. Each snowflake is a character unto itself. 2. Animating the Snowfall: Okay. Okay, so let's start. I'm ming this in Tubo harmony. So I'm going to use the paint brush tool. For this scene, I have the size set at ten. The color is set to black, which might seem odd because that's not the color of snow, but when I finish the animation, I won't change it to white to make the albline and the fill the same color. Okay. Here's the next step. Underneath your animation, have a separate drawing and simply draw a rectangle. When you turn on your light table feature, which can be found up here, you know, the shape of the light bulb, you will be able to see the shape itself. This will guide you in keeping your work within the aspect ratio, the shot. Now it's time to animate. If you're doing it on a light table, you know, grab a few sheets of paper. If you're doing it on tune boom, as I am just start drawing, remember that the first and third drawing should be exactly the same. Trace or copy and paste your work from the first drawing onto the third drawing. Now we have the same start and end point done. Since your first and third drawings, you know, they're the same thing, they will appear to be the same thing through your aligned drawings. Through the light in the process we like to call here, the onion skin. So what's the onion skin? The onion skin allows us to see through multiple previous and next drawings. Since the snow is the same. You don't have to worry about connecting the two images like we would normally. All we have to do now is draw out the snow falling while adding new snow when they enter from above. And most importantly, just draw all over the place, go all over the place. Spacing of the snow for the second drawing won't determine its speed. So think about this. If the snow is meant to fall fast, then the gap in between the first and the second drawing would have to be big. However, if it is meant to fall more slowly, then the gap should be small. 3. Finishing the Snowfall: Okay, we've got through three drawings. So let's start in between them. We have some help from our very trusty and handy dandy animating chart, which you can see on the screen here. Draw as you noally would, as you bridge the first and second drawings together. But pause when you get to the second and third drawings of your animation. The pause that I speak of was the scenario that we were just talking about earlier in the class. Think about it. If we were to in between normally, our snow p you right back up to its beginning spot. We can't let that happen. So disregard the next drawing. Look at your previous one and continue to draw the snow falling down from a side. The five drawings under a belt now draw in between all of them. This time, though, we can in between normally now. We can do that now because there are enough drawings in the area of question that now implies downward movement instead of upward movement. In that sense, we were able to trick the drawings. That out of the way now, let's take a look at our exposure sheet, which you can find on the right side. It will come in handy now. This tells us how many drawings we have in total, the frame number of the drawing. The name of the drawing, and the exposure set for each drawing when all the drawings are played out. If you're doing this on paper, that's fine. Just make the exposure sheet on your own paper. With the exposure sheet, we can see the animating chart in action from beginning to end. We started with just three drawings, and then we finished off with 11 drawings. Because of that trick that we pulled earlier, the snow kept falling. And finally, I added two more images to smooth out the motion of the snow falling. Okay. Let's wrap this up now. In the timeline or exposure sheet. Copy only drawings two through 11. When you click in Frame 12, select past cycle with six normal cycles. Now, highlight all the drawings and set the exposure on two. And there we have it. That's our Charlie Brown snowfall.