Transcripts
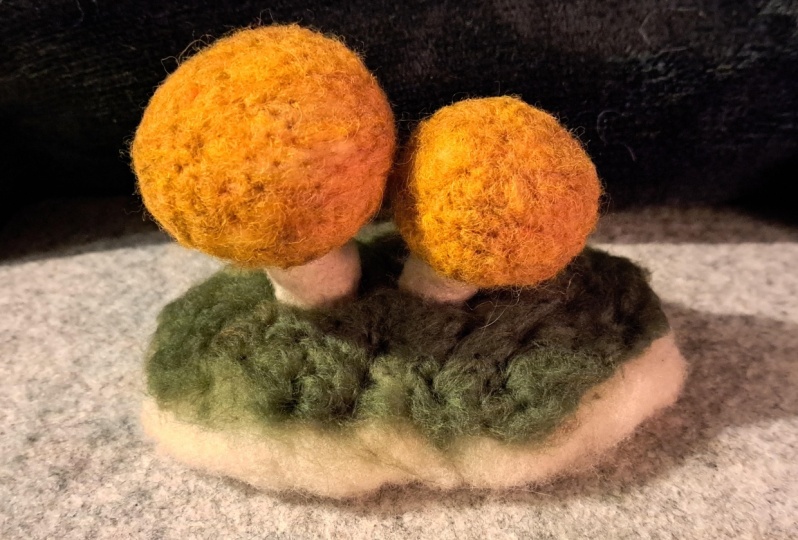
1. Wet & Needle Felting — Wool Mushrooms: Would you like to
learn how to make these darling felted
wool mushrooms? I really hope so, because I'm ready to show you my tricks. In this class, I'll teach you some basic wet and
needle felting techniques and show you my favorite shortcuts
to make the most of your time and materials. We'll create these adorable hanging mushroom ornaments for gifting home decor and overall
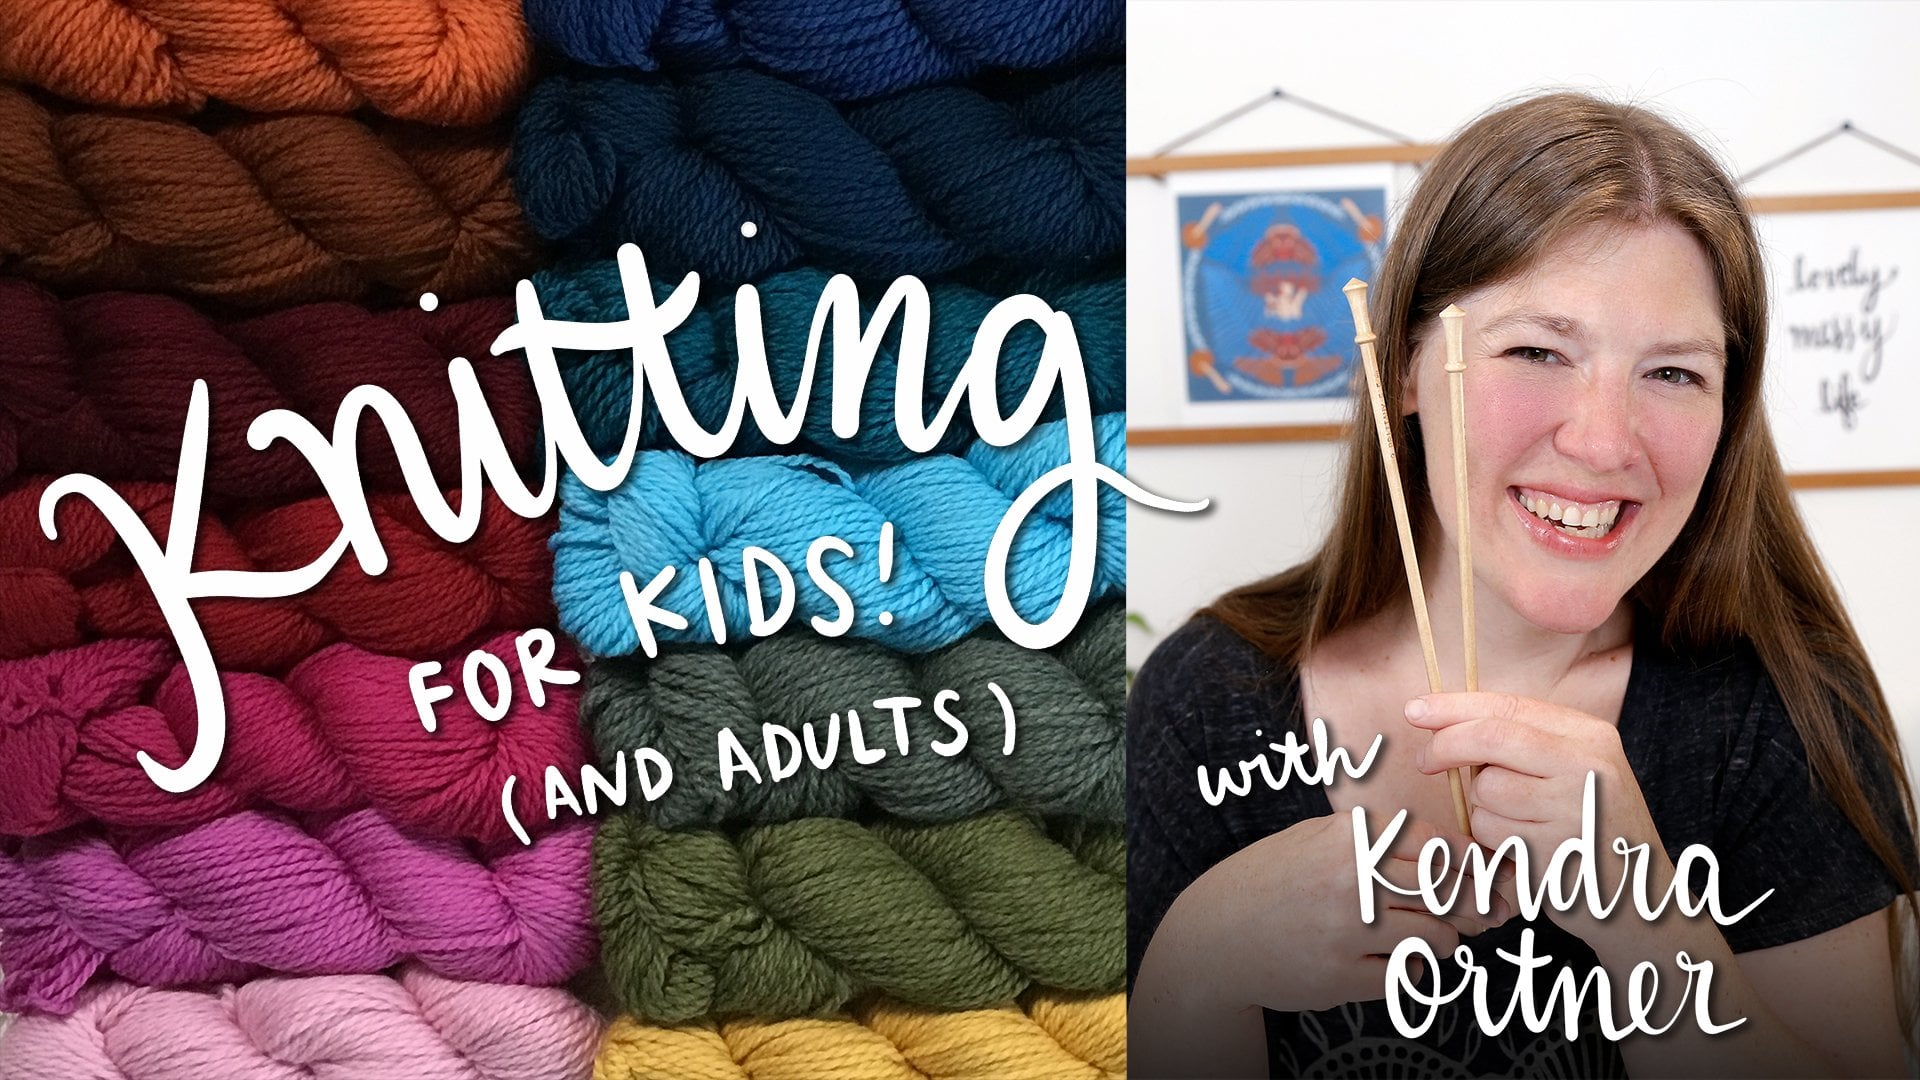
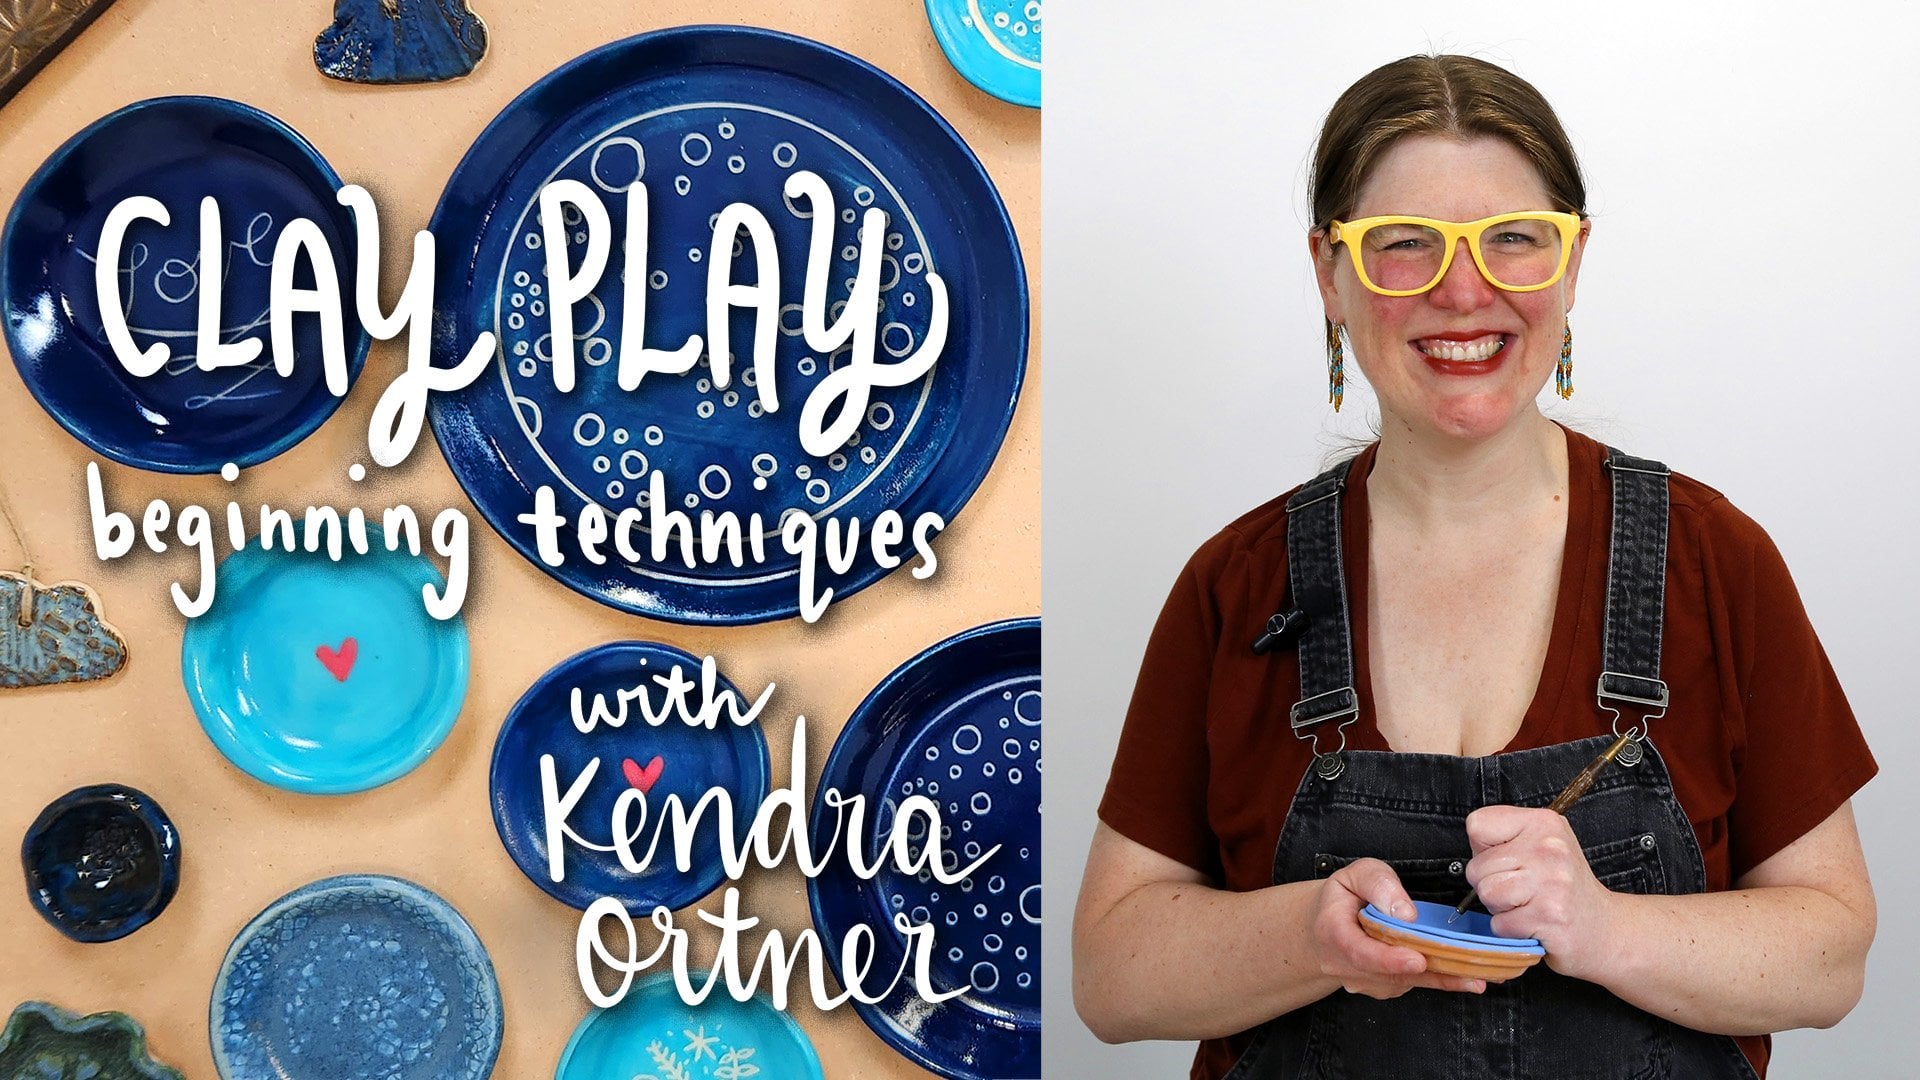
delightful cottage charm. Hi, I'm Kenger Ortner
of By Hand At Home. I believe that art
brings us a feeling of being at home in our souls. That's why I create
and share my art. I'm an eclectic
artist and teacher, and I work in digital design,
surface pattern design, illustration, wool knitting,
crochet embroidery, beating paints and ceramics. I have beginning
classes in knitting, crochet embroidery,
beating and ceramics. Here on skill share, you can find my work online at byhandothome.com I also offer kits in my shop
for my classes in beginning crochet and
beginning embroidery. If you haven't taken
those classes, this is a great way to get everything you need.
For this class. I've attached a list of
resources where you can find supplies to get started with
wet and needle felting. I adore the way these
felted mushrooms look and they're
super easy to make, especially using
this combination of wet felting and
needle felting. The methods I'll show you will give you the skills to make these and come up with
your own wool projects. I hope that you will
enjoy playing with wool and creating your
own woolly mushroom, which will lead to
even more woolly. Goodness, thank you
for joining me today for wet and needle
felting wool Mushrooms.
2. Project: For our class project, you'll be making your
very own mushroom. Or perhaps you will make a
whole bunch of shroomy cuties. I'll show you how to add
some charming spots too. But you're free to
design your own look. And hey, if you're here just because you wanted to
learn more about felting, you are welcome to don't feel pressured to
make mushrooms. Some of my very best
friends are anti fungi. You are totally free
to take what you've learned in the class and
create whatever you desire. Just don't forget to share
in the project area. I'd love to hear about your
experience And please post a picture so we can all ooh
and ah, over your creations. In the next video, I'll talk about the
supplies you'll need.
3. Supplies: First things first,
have you any wool, you won't explicitly
need three bags full. Don't worry, please check out
the attached resources for some vendor options and do share if you find any
additional sources. Also, please let me
know if any of my links are outdated and I will
do my best to update. Now if you're looking
to purchase some wool, make sure that it is specifically
for felting purposes. It must be 100% wool
to shrink properly. And for the needle
felting process to work, you can search Etsy for wool roving and needle
felting supplies. There are many great
sellers there. Another store I like is
called A Child's Dream, and I'll put a
link to their site in the resources as well, I recommend getting
some white wool and at least one other color. I use white as a base for all my mushroom creations
because it is less expensive and you can make a good base for your felting
before adding a color layer. Since we will be doing
some wet felting, as well as needle felting, you will want access to
both hot and cold water. I usually do this right at my bathroom sink with
running hot water, dish soap, and a
bowl of cold water. But for this class,
I'll be using two bowls and have a kettle
to refresh my hot water. After I shape the wet wool, I wrap it in a bandana
with a hair band. I usually do several at once. So I have a lot of cloth
handkerchiefs and bands. You could also use
scraps of cotton fabric, just anything that's not wool. These will get tossed
in the dryer with a regular load of towels
or other clothes. Now for the needle felting
part of your class, you'll need a foam pad
or a wool pad which can be bought or even upcycled from something
you already own. The foam is to protect your hands and other
surfaces from pokes. Now, my favorite tool is
made by clover and includes multiple needles that work together for big
areas of felting. It has a little
springiness to it that is very satisfying
to work with. You'll also need some
individual felty needles to do detailed work. The size doesn't matter so much, but they must be needle felting needles because they
have little barbs on them that mesh the wool and help combine the fibers
as you are felting. For my design, I use a
pipe cleaner base as well, and I will be using scissors and then shape
that pipe cleaner. Then to make it
secure I will use a regular sewing
needle and string. I promise it's super simple. No sewing skills required. Now, in the next section, I'll show you how I
make the base for my mushroom caps by
wet felting the wool.
4. Wet Felting: If you've ever accidentally shrunk a wool
garment in the wash, you have an idea about
how felting works. Wet Felting wool uses friction
soap and a combination of hot and cold water to shrink the wool and bind
its fibers together. After shaping it and
wrapping it up in a cloth, I put it right into the
dryer along with a load of wet laundry to really speed up the process and bond
the wool together. I start by making a ball of wool with each layer spread
out over one another. Separating the wool
into thinner layers promotes the blending together
of different sections. If you use large chunks, they will only
want to blend with the wool they are
already attached to. It's good to tear it apart
a bit and reform it. Then add some dish soap, and I rub it in my
hands in warm water. As I agitate the wool, I can feel it shrink and then I put it in the cool water to
really cement this process. If I like the size and shape, I will then wrap it in a cloth and secure
it with a hair band. I can also add more layers. This one I'm going to add a full layer over
the whole top of it. So folding it and shaping it, putting it in the hot water, will bind the fibers
together more. The fibers will cinch
up inside the cloth. When I dry it too, agitating it, putting
it in the hot water. I'm going to pour a
little more hot water right on top there
that's very hot. Put it in the cold water and squeeze it out
as much as I can. Before I put it into my cloth, I think I need another
layer right on top. Now, since this is a mushroom, you know how
mushrooms always have their gills coming
towards the center. You can shape it like
this and make the underside look a little cinched up like the
gilts of a mushroom. The fibers will all cinch up just like they are
shaped in the cloth. Now, I usually wet, felt a bunch of these
bases at once so that I can needle felt them
later as time permits. Before you proceed to
the next part of class, you'll want to have
several bases that are completely finished and
all the way out of the dryer, dry, all the way through. Right now I'm going to put this little mushroom cap that I've made in the
center of my hanky. This is just a cloth bandianna, but I also use handkerchiefs
and other things. Then I cinch it up in here, all the way, making it a
little ball on one side. And then on this side
I put the rubber band. Now it'll dry just
in that shape. When I put it through
the dryer here, you can see some that
I've already done. They come out perfectly. They're nice and firm
based to work on. And then there's
sometimes a little wool. You can either leave it or you can just snip it right off. Now, in the next step, I'll show you how I
make the stem with a pipe and secure a
loop for hanging from.
5. The Stem: Now that you have
your bases ready, we can build more
of our mushrooms. I usually cut my
pipe cleaners into three sections with
some sharp scissors. You could also use wire cutters. Then I make a small
loop for my thread on one end and twist up the other
end so there's no sharper, pokey bit sticking out. To make the string extra secure, I put it through the loop and
not it using a square knot. I'm just going to
go ahead and thread my needle now to put it through the loop because this
part is a little easier. If I just go ahead and do that, then right here I'm
going to match up the ends first so I
have it pretty even. Then I'll tie my square
knot right on this side, right over, left under, and pull left over, right under, and pull. Now I'm going to need to
thread my needle again. Just one side. I'll put it straight
through the middle of my mushroom and have it
come out the top center. I don't need this to be exact. I'm doing this separately
with each thread that I'm actually nodding it on top and making it extra secure. It's tied around all this wool that way you can
always cut the loop off too if you decide you don't want to use it as a
hanging ornament. And the stem portion will still be knotted
on there tightly. Again, another square
knot, right over, left under and pull, and then left over,
right under and pull. Now after it's secured on there, I tie an over hand
knot on the very end. And you can see my threads
got a little uneven. I'll just tie it down here and then I'll
be able to trim the very top right there so that
it's even just like that. In the next section, I will show you how to
start needle felting.
6. Needle Felting: You'll want to get your foam
or wool pad for this part. I'm going to begin
with felting the stem of my mushroom and adhering
it to the base as well. I usually just start by
wrapping thin layers around the pipe cleaner and occasionally using my
multi tool to shape them. Another artist once advised me that it takes more
wool than you think, and I have found that
to be very true. You can always continue
to compress and guide the wool with your felty needle to sculpt it into
the shape you want. I like a bulky
looking mushroom too. I tend to leave it
a little fluffy. The trickiest part is joining the two pieces of
the cap and stem. I make sure I do
that a whole lot. I build up the layers all
the way around the cap. I also like to make sure the end of the stem
is well covered. I'll probably go back to this part and put
some extra wool on there for the whole
long part of the stem. It's helpful to use this multi tool and
turn it as you go. You're not making it flat and you want to hold it in
place while you're doing it. See how it's flattening out. I'm going to want to
turn it and go on the other side since the
pipe cleaners in here, it's still really bendy. Now I'm going to wrap this wall around the base right here. I'll use my single
needle to really adhere that because these are the two parts that
aren't yet joined. I'm going to want to join
them pretty thickly. Honestly, like with
quite a bit of wool, I'm just poking everywhere
to really join those layers. It's really well
joined on this side, but this side, it
needs some work. I'll go around here. Usually when I'm making these mushrooms, I tend to work in a circular motion with
the wool the whole time. It really makes the
shape come out nicely. I think it helps the wool
affix together really well because it's all
directionally going together. This is pretty good. But my stem is still, I'm going to need a
lot more layers there. When I add the
layers onto there, I'm going to want to adhere
it to the cap again. I'm going to get
another thin layer. Actually one trick you
can do to make the base thicker is I'm taking it like this and I'm
going to fold it. And then I'm going to
turn it like this, roll it up and then
I'll use my multolops. Broke a needle. That's okay. Because you can replace the needles in the
mult tool. Oh my gosh. I broke more than one needle. I maybe have to do a replacement soon and then I'll
need to go ahead and felt it on all sides on the. You want to be real careful, but you can actually
felt this end. You just don't want to
accidentally poke yourself. There are little covers you
can buy for your fingers, but I don't usually use them
because I prefer to risk it. All right, that's
looking pretty good. I've got to this part, again, like I was talking about, be since I added another layer, this part is not attached
to the mushroom cap. I think the stem could actually use a bit more felting because right now it's
a little too fluffy. I know I said I like it fluffy, but it's a little too fluffy. At the moment, I might go ahead and change
out the needles in my multi tool and just give this some good rounds of felt. I like to roll it
on the mat while I'm doing this because then I know I'm getting all
the different sides. But I think having the mult tool right
now would really help. I actually have one, it's not springy, it's a
wooden handled multi tool. It's not quite as satisfying as the springy mult
tool from clover, but it has more needles. It's a little bit more powerful, getting all the
different sides of that stem and really
rolling it around. Wow, I'm working to make it look at the
shape that I want. That's actually
looking pretty good. Feeling pretty good too. I think I could do the
base a little bit. It looks a little flat
on this one side. I'll do a little more. You can keep compressing the
wool for quite a long time. It will compress more than you think if you don't
like the look of it, you can also always tear wool away and then felt it again. That's just something
good to know. All right, after you have joined your stem and your base and you like the overall
look of your mushroom, it's time to add the color. In the next step, I'll show you how to cover the top
of your mushroom.
7. Adding Color: I'm going to go with a classic red and white Amonito
mushroom look. I'll be putting on a
layer of red roving. I don't want to see any
white parts on the top, so I'm going to use
a good bit of wool. Now, I'll start by putting
it around the hanging loop. I'm also applying it in a somewhat circular pattern to encourage that
mushroom cap shape. Then I'll use the barbed needle to poke it in accordingly. I'm just going to keep that
circular pattern going around the top and really getting
a lot of coverage here. I think I might have to, oops, just apply a thin layer
and then do another layer. It's almost like sculpting as
so many of these things are because using your fingers to guide the wool where
you want it to go, holding it in place, and then using your tool
to it, that looks good. I like how that's looking. Now I'm going to need some
more roping because I really don't have
enough to do much more. I'll just tack that down in a few places and
get my next layer. Now on the lower
edge of the cap, I actually do like to fold the wool a bit
because I can make the colored area look more like the edge
of a real mushroom. And I use a single needle to
help sculpt it into shape. This really helps me
achieve the look I want. I can even fold it under a bit and make it bulkier
right in this area as I'm working around the edge and even work on the underside a little bit to give it that thicker look
right on the edge. Now, it will take me a little
time to finish this up. I'm going to go ahead
and work on this and you go ahead
and work on yours. After you've fully
covered your mushroom cap with the red or whatever
color you choose, you can then choose to
embellish it if desired. In the next video, I will show you how to
add some white spots.
8. Adding Spots: To add little white spots. You will take a
very tiny amount of white wool or whatever
other color you prefer, and roll it up in your fingers
into a little round ball. You can also tear it off to. Then you decide where you want to apply it
and you will use a single needle to
sculpt it into place. First I'm going to adhere it in the center
of the white dot. Then I will use my needle
tool to really get the edges sculpted on there the way I want a little lint or
something right here, you can tuck the wool under
a little bit and shape it behind that area as well
as compressing it on top. I usually do a little trio of
white dots on my mushrooms, but you are free to add as
many or as few as you like. You can also try adding
different shapes or stripes or whatever
your creative impulse. It can help to shape the wool with your fingers like we did with rolling into a ball and then using your
needle to finesse it. You can always add more
wool or even pull it off to by learning the basics
of wet and needle felting. With this class, you are
well prepared to create whatever your wool
loving heart desires.
9. Thank You!: Congratulations for
completing this course. I can't wait to see some of your charming woolly mushrooms. I hope that you've loved
learning more about working with wool through wet felting
and needle felting. Thank you for joining
me in this course. I truly appreciate you
spending your time learning with me and I can't
wait to see your creations. Please do share your ideas in the project section by
creating your own project. If you have enjoyed this class, I would love for you
to leave a review. Your feedback is so
valuable and it helps me to keep making and
improving my classes. If you enjoy this class, please check out
my other courses and follow me here
on skill share. You can always be
in touch with me at Byhandathome.com Thanks again
and have a beautiful day.
10. Bonus — Storing Your Wool: Oh my gosh. I really
want to share this with you because it's
my very best tip of all. This was passed on to me by an artist who works
exclusively with wool. Now, if you've ever had
moths get into your closet, You know how devastating
it can be to find a hole in your
favorite cashmere sweater. A great way to keep moths out of your wool
is to store it in a plastic airtight bin covered
with a layer of cotton. Since clothing moths are really only interested
in your wool, they will not go through
the cotton cloth. They can still sneak into a plastic bin without
the cloth covering. So don't skip this extra
layer of protection. If you do end up finding
signs of clothes, moths in your wool, put those things in the
freezer for a few months to freeze out those buggers
and stop the spread. Then get yourself a bin
and cover it with cotton. You want to go ahead and snap, seal that cotton over the top? This has really worked for
me and I hope it helps you keep creating
lovely woolly goodness.
 Kendra Ortner, by hand at home