Transcripts
1. Wearable Art: What can you do with art? You can look at art, you can hang art on a wall, you can create art. Did you know you can wear art? I'm Deborah Diaz with
water strokes art. Welcome to my studio. You can find me on Instagram at waterstrokes.boutique
and waterstrokes.studio. I'm a watercolor artist and an American sign
language interpreter. I will be interpreting
this class into American Sign Language
for the deaf community. I love how florals and
abstracts look in watercolor. I got to thinking I would
really love to have some of this watercolor
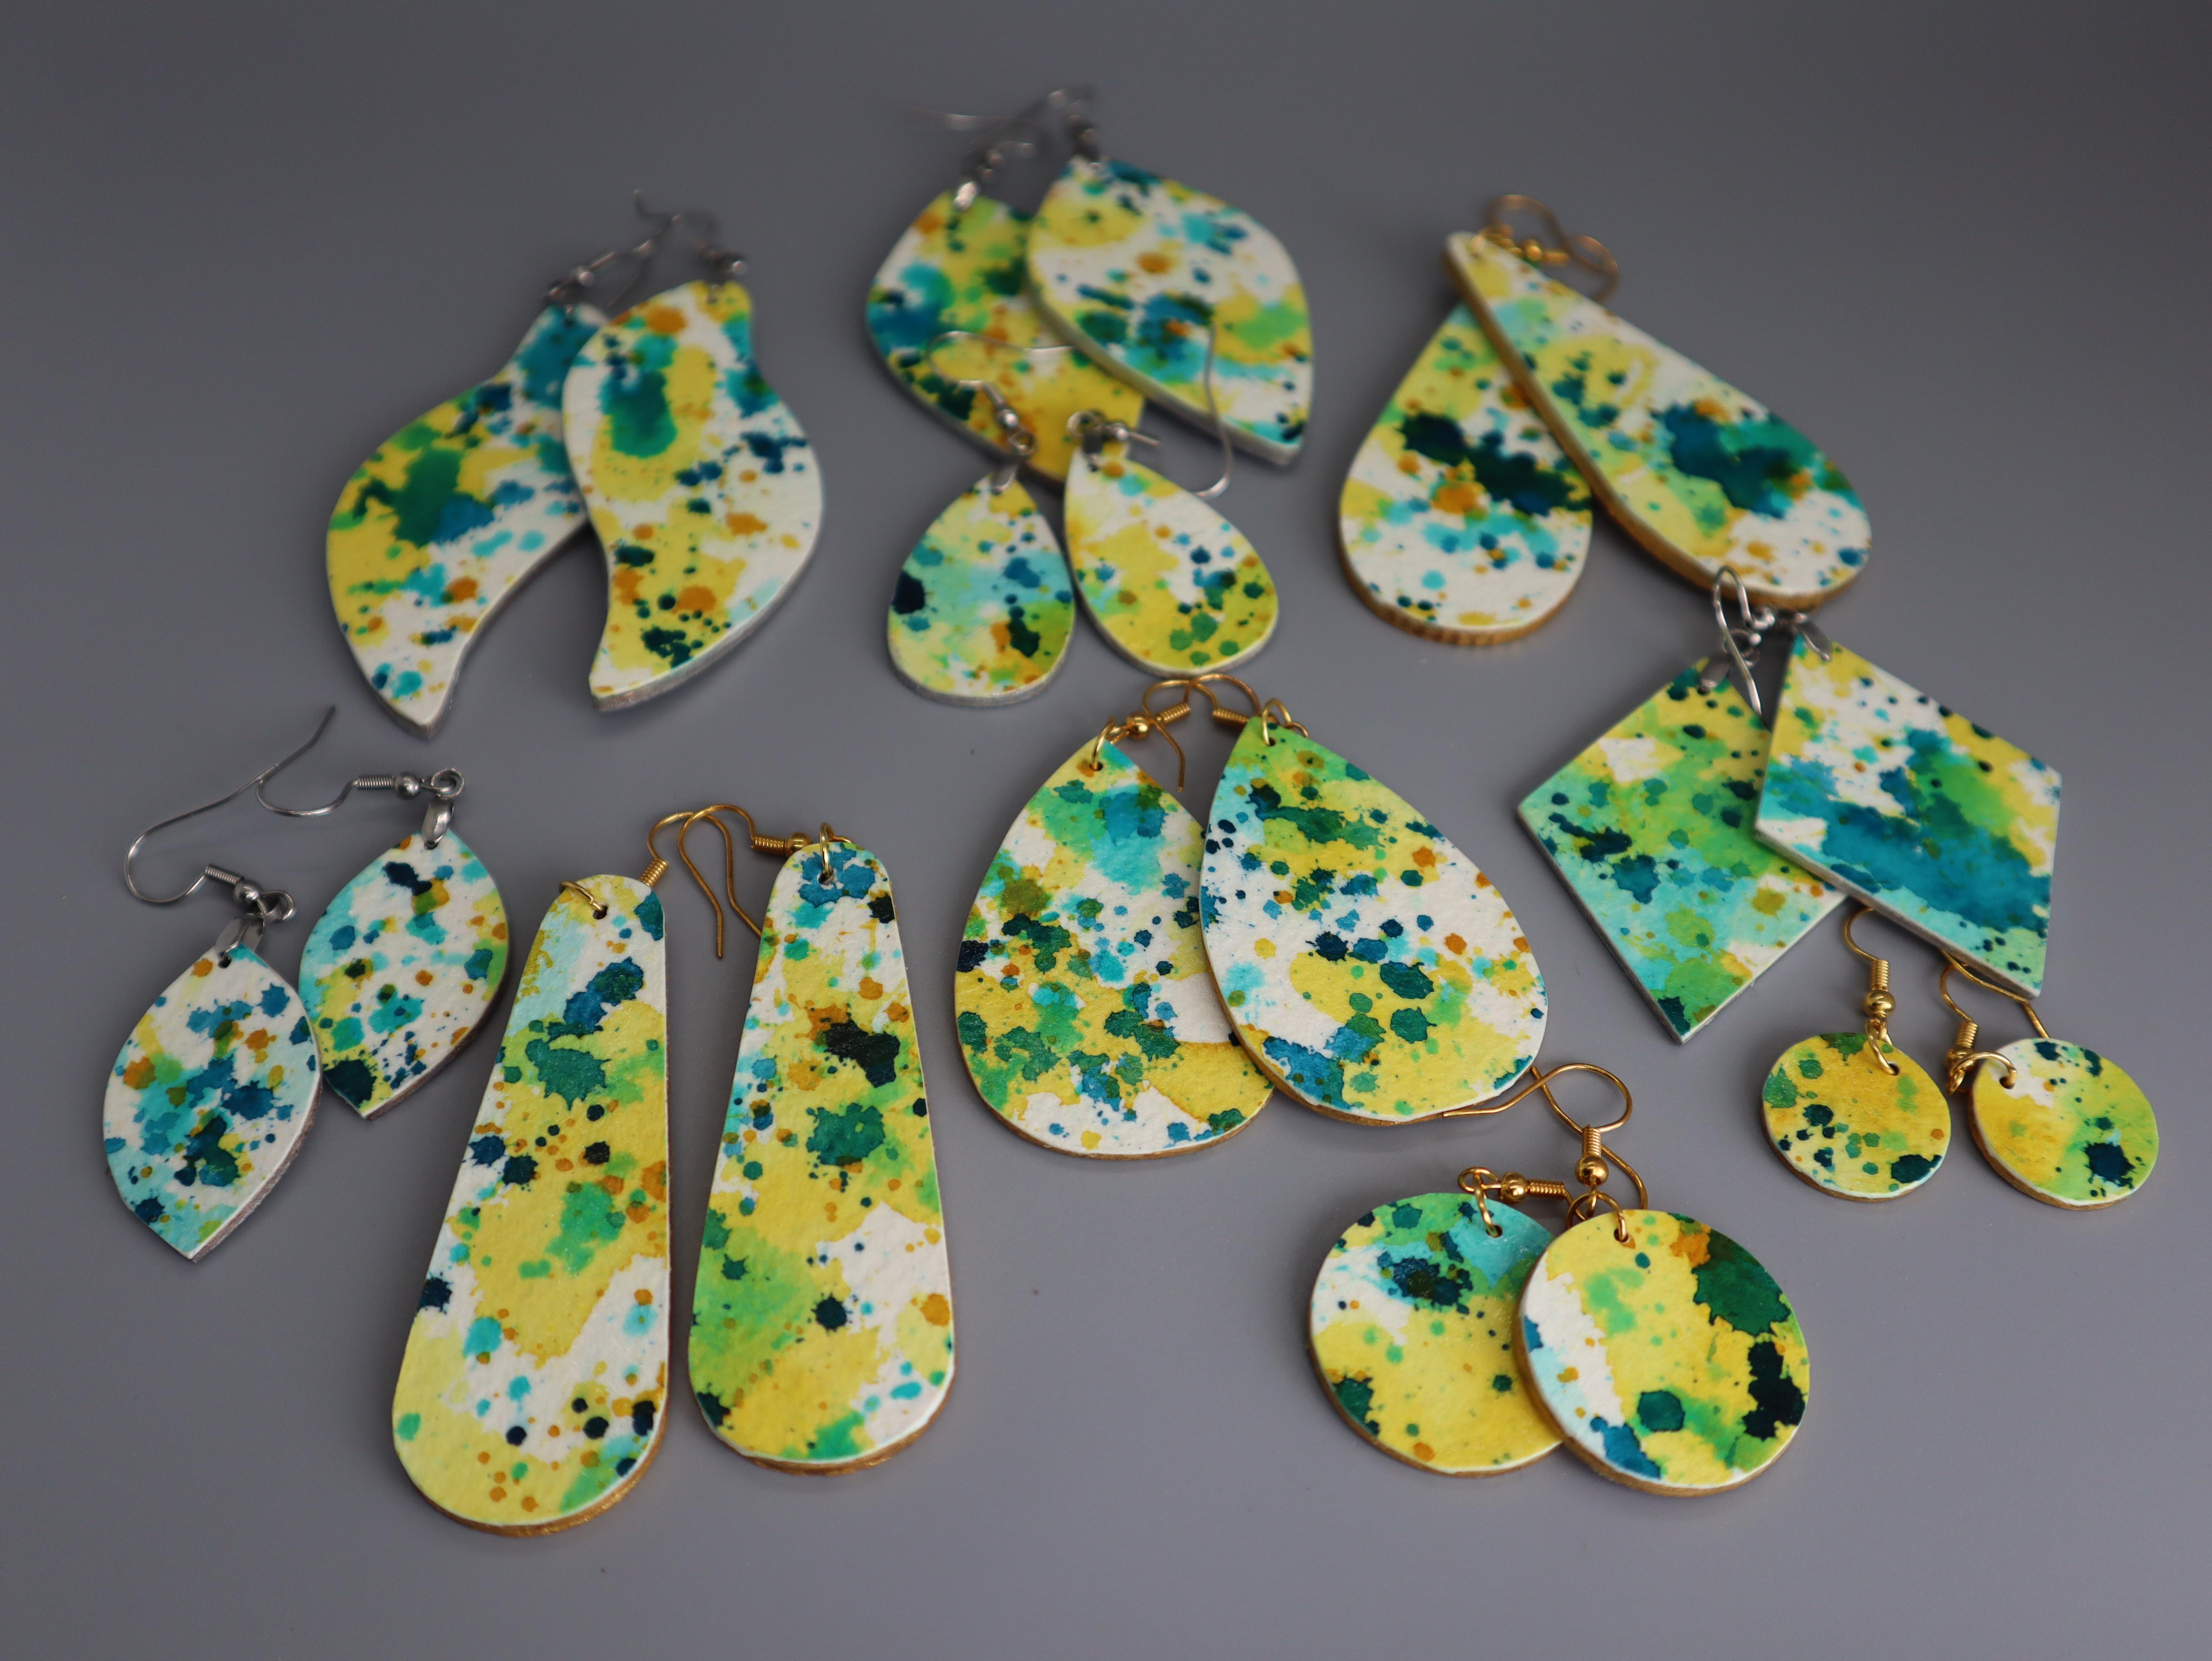
art on earrings. I came up with a method
on how to do just that. Today, I'm excited to share with you my method
on how to create these beautiful watercolor
wearable art earrings. In this beginner friendly class, you will learn how
to create the art, then you'll learn how to put
the art onto your earrings, and then we will make it
not only smudge proof, but waterproof, and then all the other
details on how to finish up the earrings, like putting on the hooks. For your class project
you will be able to use your creativity and
your artistic voice to make something that
is uniquely yours. These earrings can be a
special gift for someone. You can create them with the same colors of your
favorite outfit to match. You can create them to sell
at a local craft fair. You will have your own
wearable art to keep. Let's start creating
2. Supplies: [BACKGROUND] Let's get
started with some supplies. First you'll need
watercolor paper. I use arches, you can use whatever
watercolor paper you already have on hand. I like this quality because it isn't real absorbent
of the water. This is a nine by 12, we'll probably only use half. Really you could even use just a quarter of the
size if you like. Any watercolor paper
that you already have. Also, whatever watercolor
paint you already have. I encourage you to use your own favorite colors
and combinations of colors. If you'd like to
follow along with me, these are the colors
that I'm going to be using, teal, yellow, and fellow turquoise, and any watercolor brush that you have also doesn't have to
be anything special, just a soft bristle brush. We have our watercolor paper, paint, and brush. Also we'll be using some acrylic paint for the
backs of the earrings. I like the ones
that are metallic. They look like metal on the
backs of your earrings, so this golden silver. For the earring backs, these are called earring
blanks that you can get. They come in variety
packs like this, and you can pick the size
and shapes that you like. They also come most
of the time with their own hooks in the
package with them. If you get the hooks
in the package, they're going to have
their own jump rings. These jump rings
attached to the earrings and then the hooks attached
to the jump rings. To be able to use
the jump rings, you'll need one of these to put it into open
it and close it, and probably just a
pair of pliers to help you move that around. I actually like these
that are called pinch bells because they
don't have jump rings. They have this little hook on the end that you
can just [NOISE] hook in and pinch it shut. I'll show you how to use
both of these earring hooks. We also need a sharp knife because you're going to
be cutting this out of your watercolor paper
with a knife like that. These are the
products that I use. There is varnish sealer, there is heavy gel
gloss acrylic medium, it's transparent. You can find them
that are more opaque, but I like the ones that
are transparent because if you get it on the front or
the back of the earring, then you can't see it. Also for the last
step we have this. If you don't have this
or can't find this, this is fine you
can use this also, so that's not a problem. Also we'll use some sandpaper to sand the edges
of the earrings. I use this just a little bit faster because
it's battery-powered, but you can just use
the sandpaper also. One last little tool I have
is this little hole punch. Once you put the
watercolor paper on here, you'll need to punch
a hole through it. You can see it's such a
tiny little hole punch that goes in there. These are all the tools. I will explain them each step as we go through
and you will have your hand painted watercolor
earrings very soon. So let's get started.
3. Let's Paint: Now let's get started
on our painting. This will be where we cut our
watercolor earrings from. After we're done, we'll lay out the shapes and
we'll figure out where we want each earring depending on what the
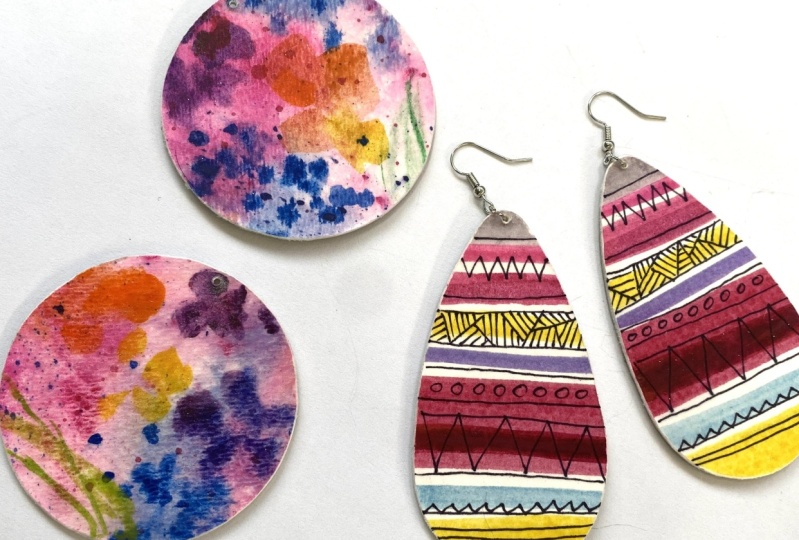
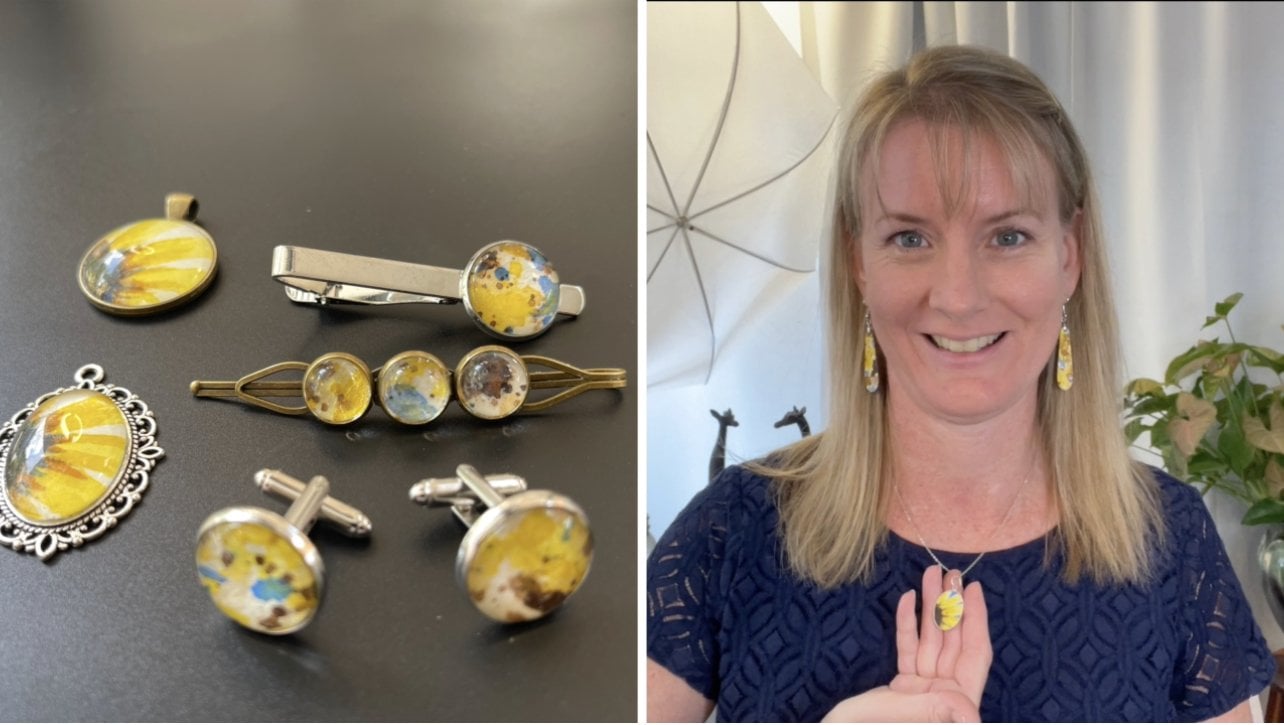
painting looks like. Here are some examples of some other paintings I have
used to make earrings. This painting can be as detailed or as abstract as you like, and you can do it
whatever color you like. Please use your own
creativity, enjoy it. I'm using these three colors. This one is called Nickel
Azo Yellow by QoR, this one's called
Cobalt Teal by QoR, and this one is Phthalo
Turquoise by Winsor and Newton. I think they're
very pretty colors. We're going to do this
abstract in simple. I just have a fairly large brush that I'll be able to use. I'm going to splash
some water on here. In the first layer, I'm
going to do this yellow. Get some diluted
yellow going on. I just want to
make some puddles. This is random. You can do it as much or
as little as you like. Pick the colors that
you like the most. It doesn't have to
be these two colors. It can be colors of an outfit
that you want to match or colors of something that you want to be able to
give to somebody as a gift. Let me just spreading out
these little puddles, getting some tiny little
dots and some big puddles. Then we will let this dry and then we'll
add another layer on it. You can just let this sit
and it can dry itself. If the paint is a
little bit too, then you can add some more pigment and brighten
it up a little bit in some areas because the
water dilutes it and makes the paint a
little bit less bright. Whatever color it is, it will dry lighter. Watercolor usually
dries lighter. I don't want too much
white background, but I do like the white
background when it shows through. That's about it for
the first layer. You can let it sit
and dry on its own or if you want
to speed things up, you can blow dry it and that's
what I'll do right now. Now that this is dry, I will go in with my next color. I'm using a different
brush because I'm just keeping this to
the side because I'll probably splash some more
yellow at the very end. This too, same thing, just go in there and get some nice big puddles
that overlap. Some are going to overlap, some are going to be on their own or know what you're going
to get with watercolor. It has a mind of
its own which makes it have its own beauty
and interests to get. Some of these I want to
make a little bigger. Remember, the earrings
are very small, so we're only going to be using a very small part of this. If there is a section
that you don't like, that's okay because you don't have to use
every single inch. You can just use the
parts that you like. I'll let that dry. I'll dry it with a blow dryer and then we'll move on
to our third color. Now let's move on to our
third and final color. Usually I like to
put a dark color in there to contrast with the
light watercolor colors. This is a nice bright turquoise. That would definitely stand out. The more water you put in it, the more light the
color will be. But the thicker the paint, the darker the color
will be in the end. Some of my blue, some of my turquoise wasn't
all the way dry, so it's blends in
there which is okay. I'm just tapping my
finger like this to make the watercolor splash
off the paint brush. I'm just going to get
all these little spots because even though it looks like it's
covered in the end, these little tiny pieces
will end up being in a spot that has nothing
interesting going on. We want interesting
things in the whole page. That's looking pretty good. Like I said, I will do one more of the bright yellow on top. I think that usually
it's a good idea. I will let this mostly dry and
then put a little bit more yellow on top. This can be done. Or if you wanted to add
one more little spatter on top because yellow
underneath is dry, then this yellow sits on top of the yellow
that's already there, so just add one more
layer of interest. Get all the way to the edges. Again, I'm just tap, tap, tap on my brush. Make sure I got everything. Here is our painting that we will make
our earrings out of.
4. Spray Seal: Next step after your
watercolor is completely dry, is you'll want to spray it with some kind of archival sealer. This can be used for acrylics, for watercolor, for lots
of different things. The main reason
that we use this on our watercolor
earring project is because we're doing a
lot of things with it. We're cutting it,
we're moving it. This is it just
sprays on and that way that it gives it
a protective coat. Later on when we put our top
coat on it with a brush, it won't smear the paint
5. Cutting Shapes: Now I gave this about three
coats of this archival spray. I want to mention also anybody
who's a watercolor painter could use this also to protect their
watercolor paintings, to preserve them, and to have the quality
be a little bit nicer. What we want to do
now is we can lay out our watercolor backs and we can really
fill this all up. The whole thing we
can fill up with different shapes,
the same shapes, if you like the same shapes, they can go any which way
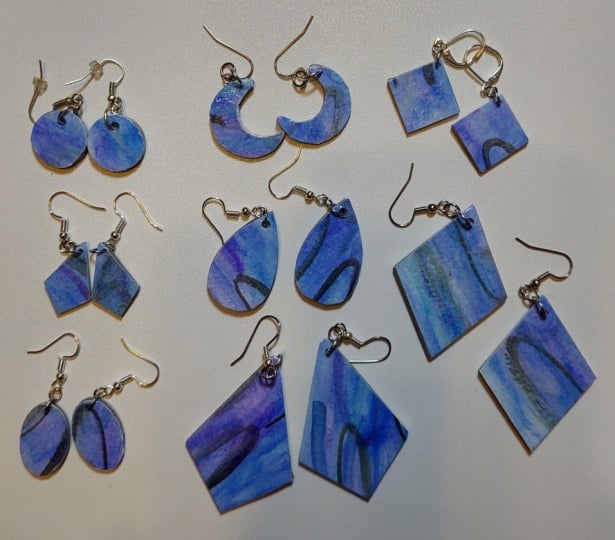
and fill up the whole thing. I, for this class, will just do two examples, maybe two little ones and two
big ones just to save time. But as you can see from some of these examples that
I'm going to show you, I always use every
single little inch of paper than I can. Let's just start with two
of my favorite shapes which are these two pairs, and I'll show you
how I cut them out. Now when deciding where to cut your watercolor earrings out at, sometimes if you like a certain area or if you
don't like a certain area, you can just avoid
it and you can find the areas that
you like the best. I like all the white in
the background there, maybe for these and I like
that blue up there for these. You can use them
anywhere and you have an idea where they are,
what's behind them. Sometimes when you cut them out, you end up not liking the
way they look and then you can just cut it out
again in a different spot. I have a very sharp
box cutter knife and you want to be
very, very careful. I don't cut right up to
the edge of the wood. This is a rough cut down, so I'm going to cut a
couple of millimeters away, and then later on we'll
straighten it up. Just hold it down on
your watercolor paper. That archival spray helps now, when we're doing stuff like this to make sure it doesn't get smeared or smudged or
damaged in any way. It just is a nice
way to protect it. There I've got one. That looks pretty good. Around here here the other one. Now, here is the
watercolor paper cut roughly to the shape of the earrings ready
for the next step.
6. Painting the Backs: Next we can think about
the colors for the back. What I use, it depends on what color the hooks
are going to be. We'll do some of these.
These actually came with the passage of
earrings, this blanks. It was just something
that came with it. We'll use those as an example because
they have jump rings. These are the ones
that I prefer. They're called pinch bails.
I'll show you later. We'll do one, and one, we'll do the silver ones for these, and we'll do the
gold ones for these. If the hooks are one color. I usually keep the backs, the color of the metal, or the color maybe a yellow
or green or blue or pink. These, I'll do the
backs this color, and these I'll do the
backs with this color. The paint I like to
use is this one. They're metallic colors. Even the pinks and the blues have a little bit
of metallic color in them. This is what this color looks like on the wood that
we're going to use. This is what this
color looks like. It's good to know
what it looks like, also because it's hard to tell what the actual color
is from just the bottle.
7. Glue Together: Next step is attaching the watercolor paper
to the earring backs. This is what I use. It's a thick, clear-drying
acrylic medium. I like to use the one that's transparent and there's
some that are along this spectrum here
but I like the one that's transparent
because sometimes it might come out the edges
or something and you want it to be as
transparent as possible. You can use whatever
glue you have. This is the one I use
because I also use it for my watercolor paintings if I
mount them onto wood back. I paint both sides. This is an old brush
so something that you don't have to worry
about getting messed up. Just a nice layer
on both sides here. I find that it grips better
when both sides are coated. You don't want it too thick so that it's running
all out the edges, but you do definitely
want both sides coated. I can adjust it a little bit later after we get
them all done. With earrings like these they can go either way so
you want to make sure you decide which
direction you want the bottom or the top
of your earring to be. These have definite only
one side and you can do it. But these you can
make a decision depending on the design. The reason I make
them a little bit bigger when I cut them, I cut them rough, is I want to make sure
I have wiggle room in case they move. I'm going to put it
over here because this part might have
a little bit of that glue on them. I make sure I wipe off any glue that got onto
the backs of them. Make sure it's centered. There's a little bit
of paper sticking out on all sides here. You get this one centered. Later on we're going to cut
and make it a little bit. I'm going to flip this over just so that I can know that it doesn't have any
glue on it anywhere. Sometimes it still sticks because this part is sticky just because of my
fingers have been on it. Then I cover it both sides
with the paper towel and then you put something
heavy on it and let it sit and let it dry
really good and hard. This is just a piece
of stone that I found and I'll just
let that sit and dry.
8. Sanding and Final Coat: Our next step is to trim the little extra
edge that's here, and then to put this final coat that makes it a nice hard. You can leave it
the way it is now, but this just gives it a
little bit extra protection. I put a scrap piece of paper down because I never
know what might be on a cutting board that's been
used over and over again. I want to make sure
that the surface is very clean when I
do this cutting. Here, I just now, I make sure that I
cut all the way up to the edge there, all
the way around. If you have a nice steady
hand and a sharp knife, this is probably
all you need to do, but I do like to go
back in with a piece of sandpaper or a sander and just clean up some
of these edges here. I'll show you what
I mean. You can use a sandpaper If you have. I'm just make sure these
goes straight and smooth. If not, this is what I use. [NOISE] Now, we have our sanded
dust got on there. Put this final coat of
liquid glass onto it. It's a resin finish. Sometimes you notice just
a little bit [NOISE]. We got a thrust a
little bit more. I have an old brush here because I don't want to
mess up any of my brushes. This doesn't take much. Just a drop, and then I can just smooth
it out with the brush. The only reason the
paint is not smearing is because I put that spray
sealer on it beforehand. You don't want to put
too much of this on, just a very small layer to protect it and
to make it nice. Get some of the
excess off of there, and then we'll let that dry.
9. Adding Hooks: Here is our final step. [NOISE] This is a
little hole punch. What we do here. You see the wood already has a hole in it
where it needs to be, but the watercolor paper
doesn't have the hole in it. We're just going
to line this up. If you can see the little punch goes right into the
hole where the wood is, so it's only cutting the paper. Now you have your holes. This is two different hooks. These come with the backs. Sometimes they come with
it in the same package. You can use those. These you
have to order separately. But I like these a
little bit better. What these are, they
already have these, they're called pinch bails. You just put them in the hole, put one little hook in the hole, and you just pinch it together. Sometimes you need the pliers. I might squeeze it just a
little bit tighter, like that. It still can move. Then when you hook
it into your ear, this part will
always be in front. It's the right direction
automatically, which is great. Easy enough. Got a little bit of wiggle room. That's
the front of it. Now the problem with this type of earring is when you put
the jump ring in them. Now the jump ring will
end up being like this and the hook will
end up being like that. Your earring won't
face the right way. My workaround for that
is you have to take this and rotate it so
that it's like that. This one goes straight and now this one is going that way. That's the direction we needed. A set of pliers and
one of these usually comes when you buy a
whole set of Avery hooks. What you do is you take the jump ring and you
hold it with the pliers, and in here you just twist it
a little bit to open it up. You slide it through, your hole, you slide
it through here. You make sure that
your hook is facing the back and then you just squeeze it
back together again. Make sure it lines up. Now it's facing the right
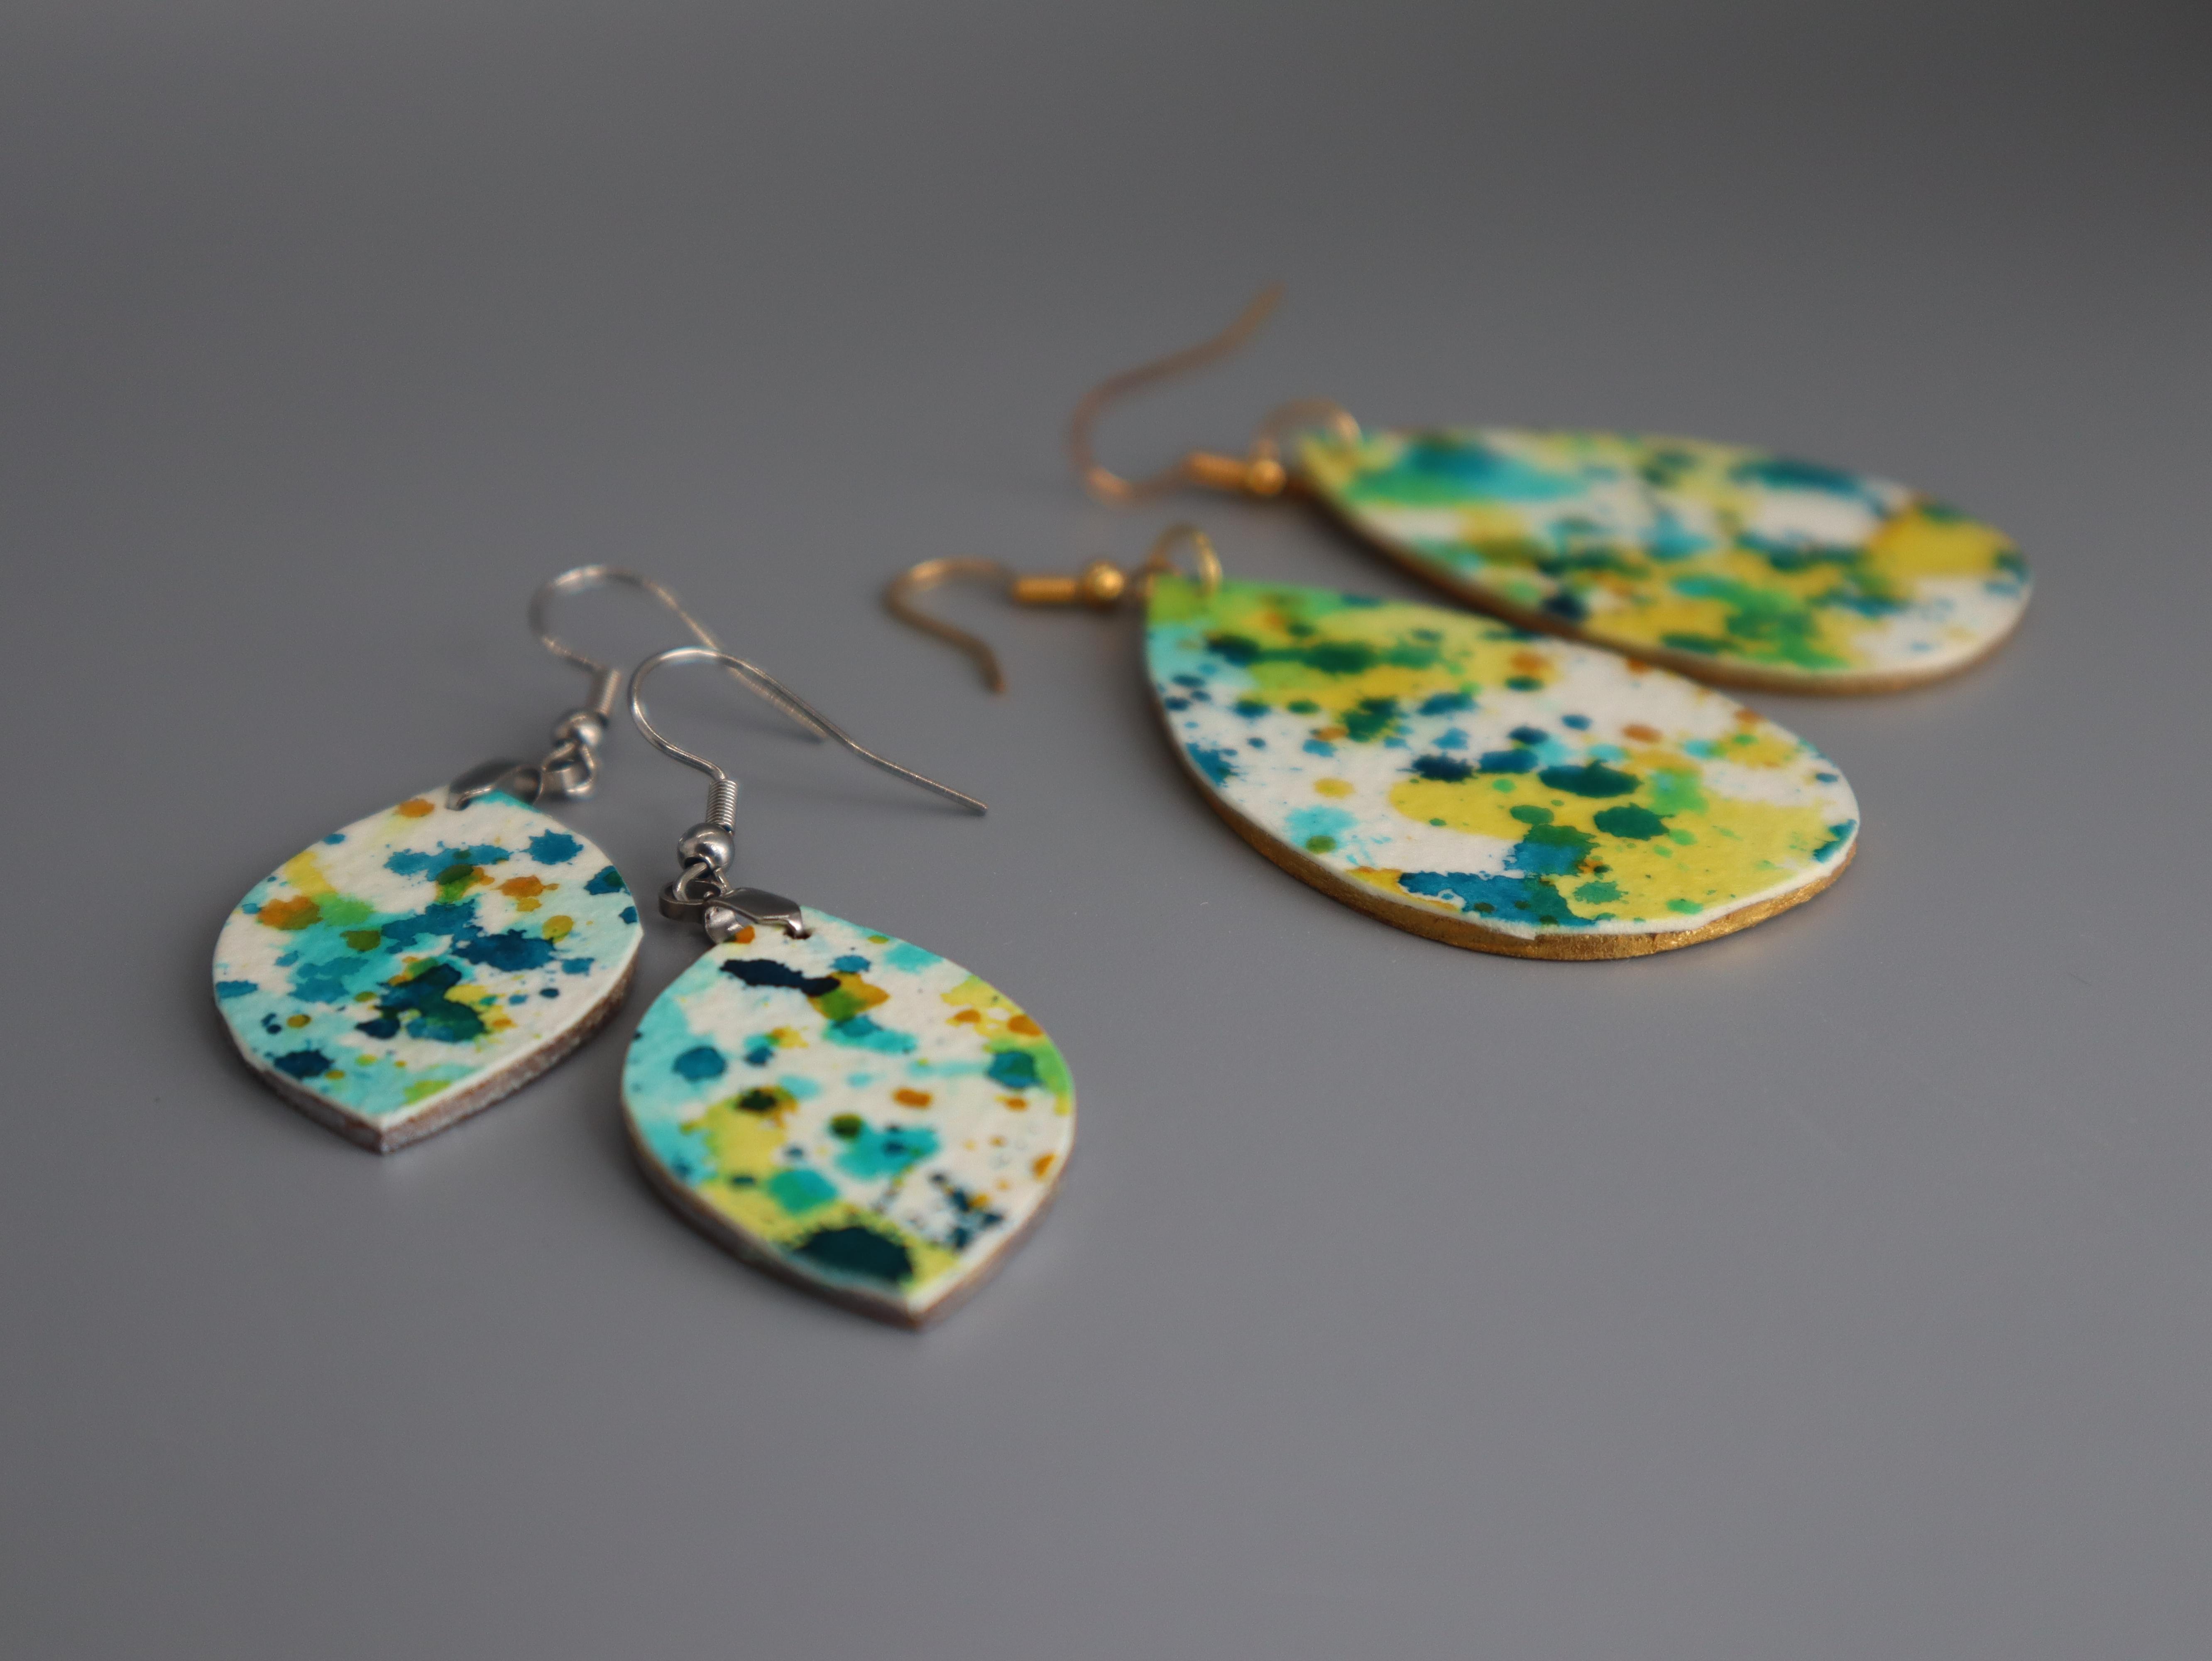
direction. There you have it. Now you've got a set of gold
that's got the gold paint on the back and the silver ones with the pinch bail
with the silver on the back. This is your finished product.
10. Conclusion: Thanks so much for
joining me today. You'll learn all the
steps you need to create your own
watercolor art earrings, art you can wear. You learned how to create your own watercolor
abstract art, how to seal and protect
this watercolor painting, how to cut out the
shapes and attach them to the earring backs and how
to make them waterproof, and how to add the hooks. I'm so excited to see what
your final project was, what colors you decided to use, what design you
decided to paint, and what shape
your earrings are. Under this class, you'll see a tab that says
Projects and Resources. There is a green button
that says Create Project. It will prompt you to
upload a cover image, a title, and description. This is where you can share with us photos of the
earrings you created. Also, if you decide
to post on Instagram, I love for you to tag me
@waterstrokes.boutique, and you can tag @Skillshare. That way, I can see
and like your posts. Remember to click Follow here
on Skillshare so that you can be notified when I
launch my next class. I'm looking forward to seeing
your final project posts, and thanks again for watching, and I'll see you
in my next class.
 Deborah Diaz, Watercolor artist