Transcripts
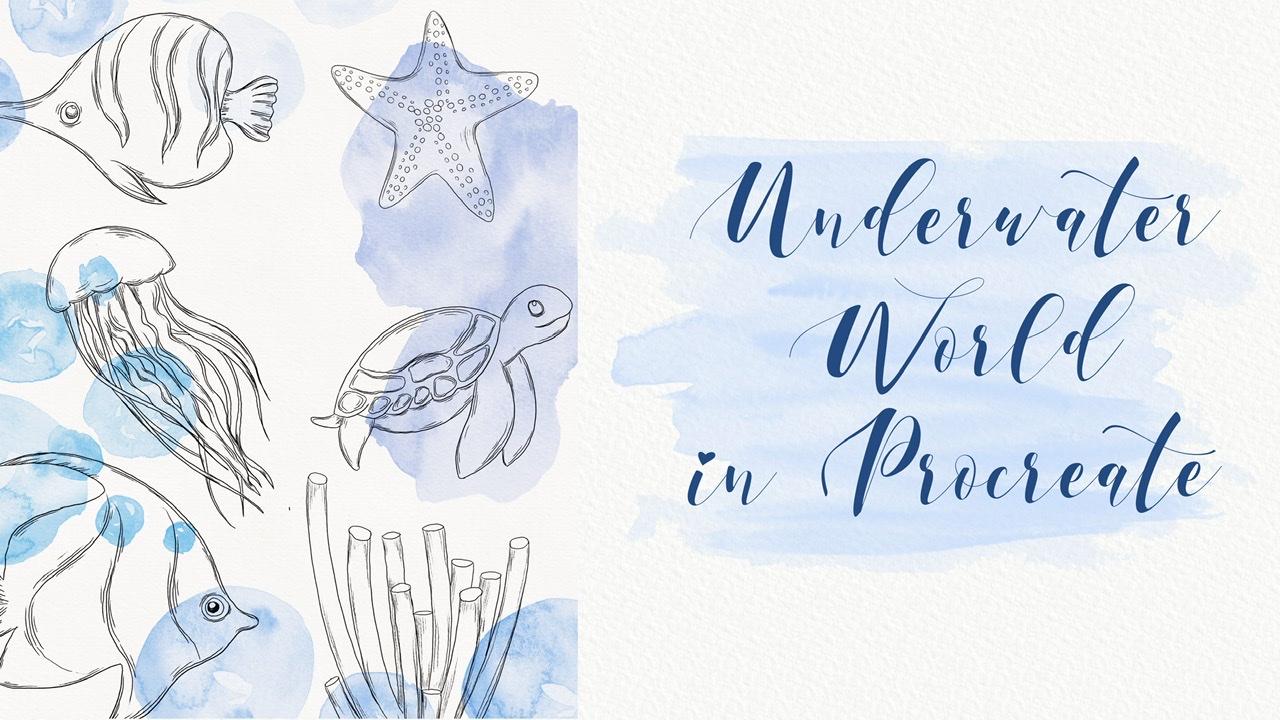
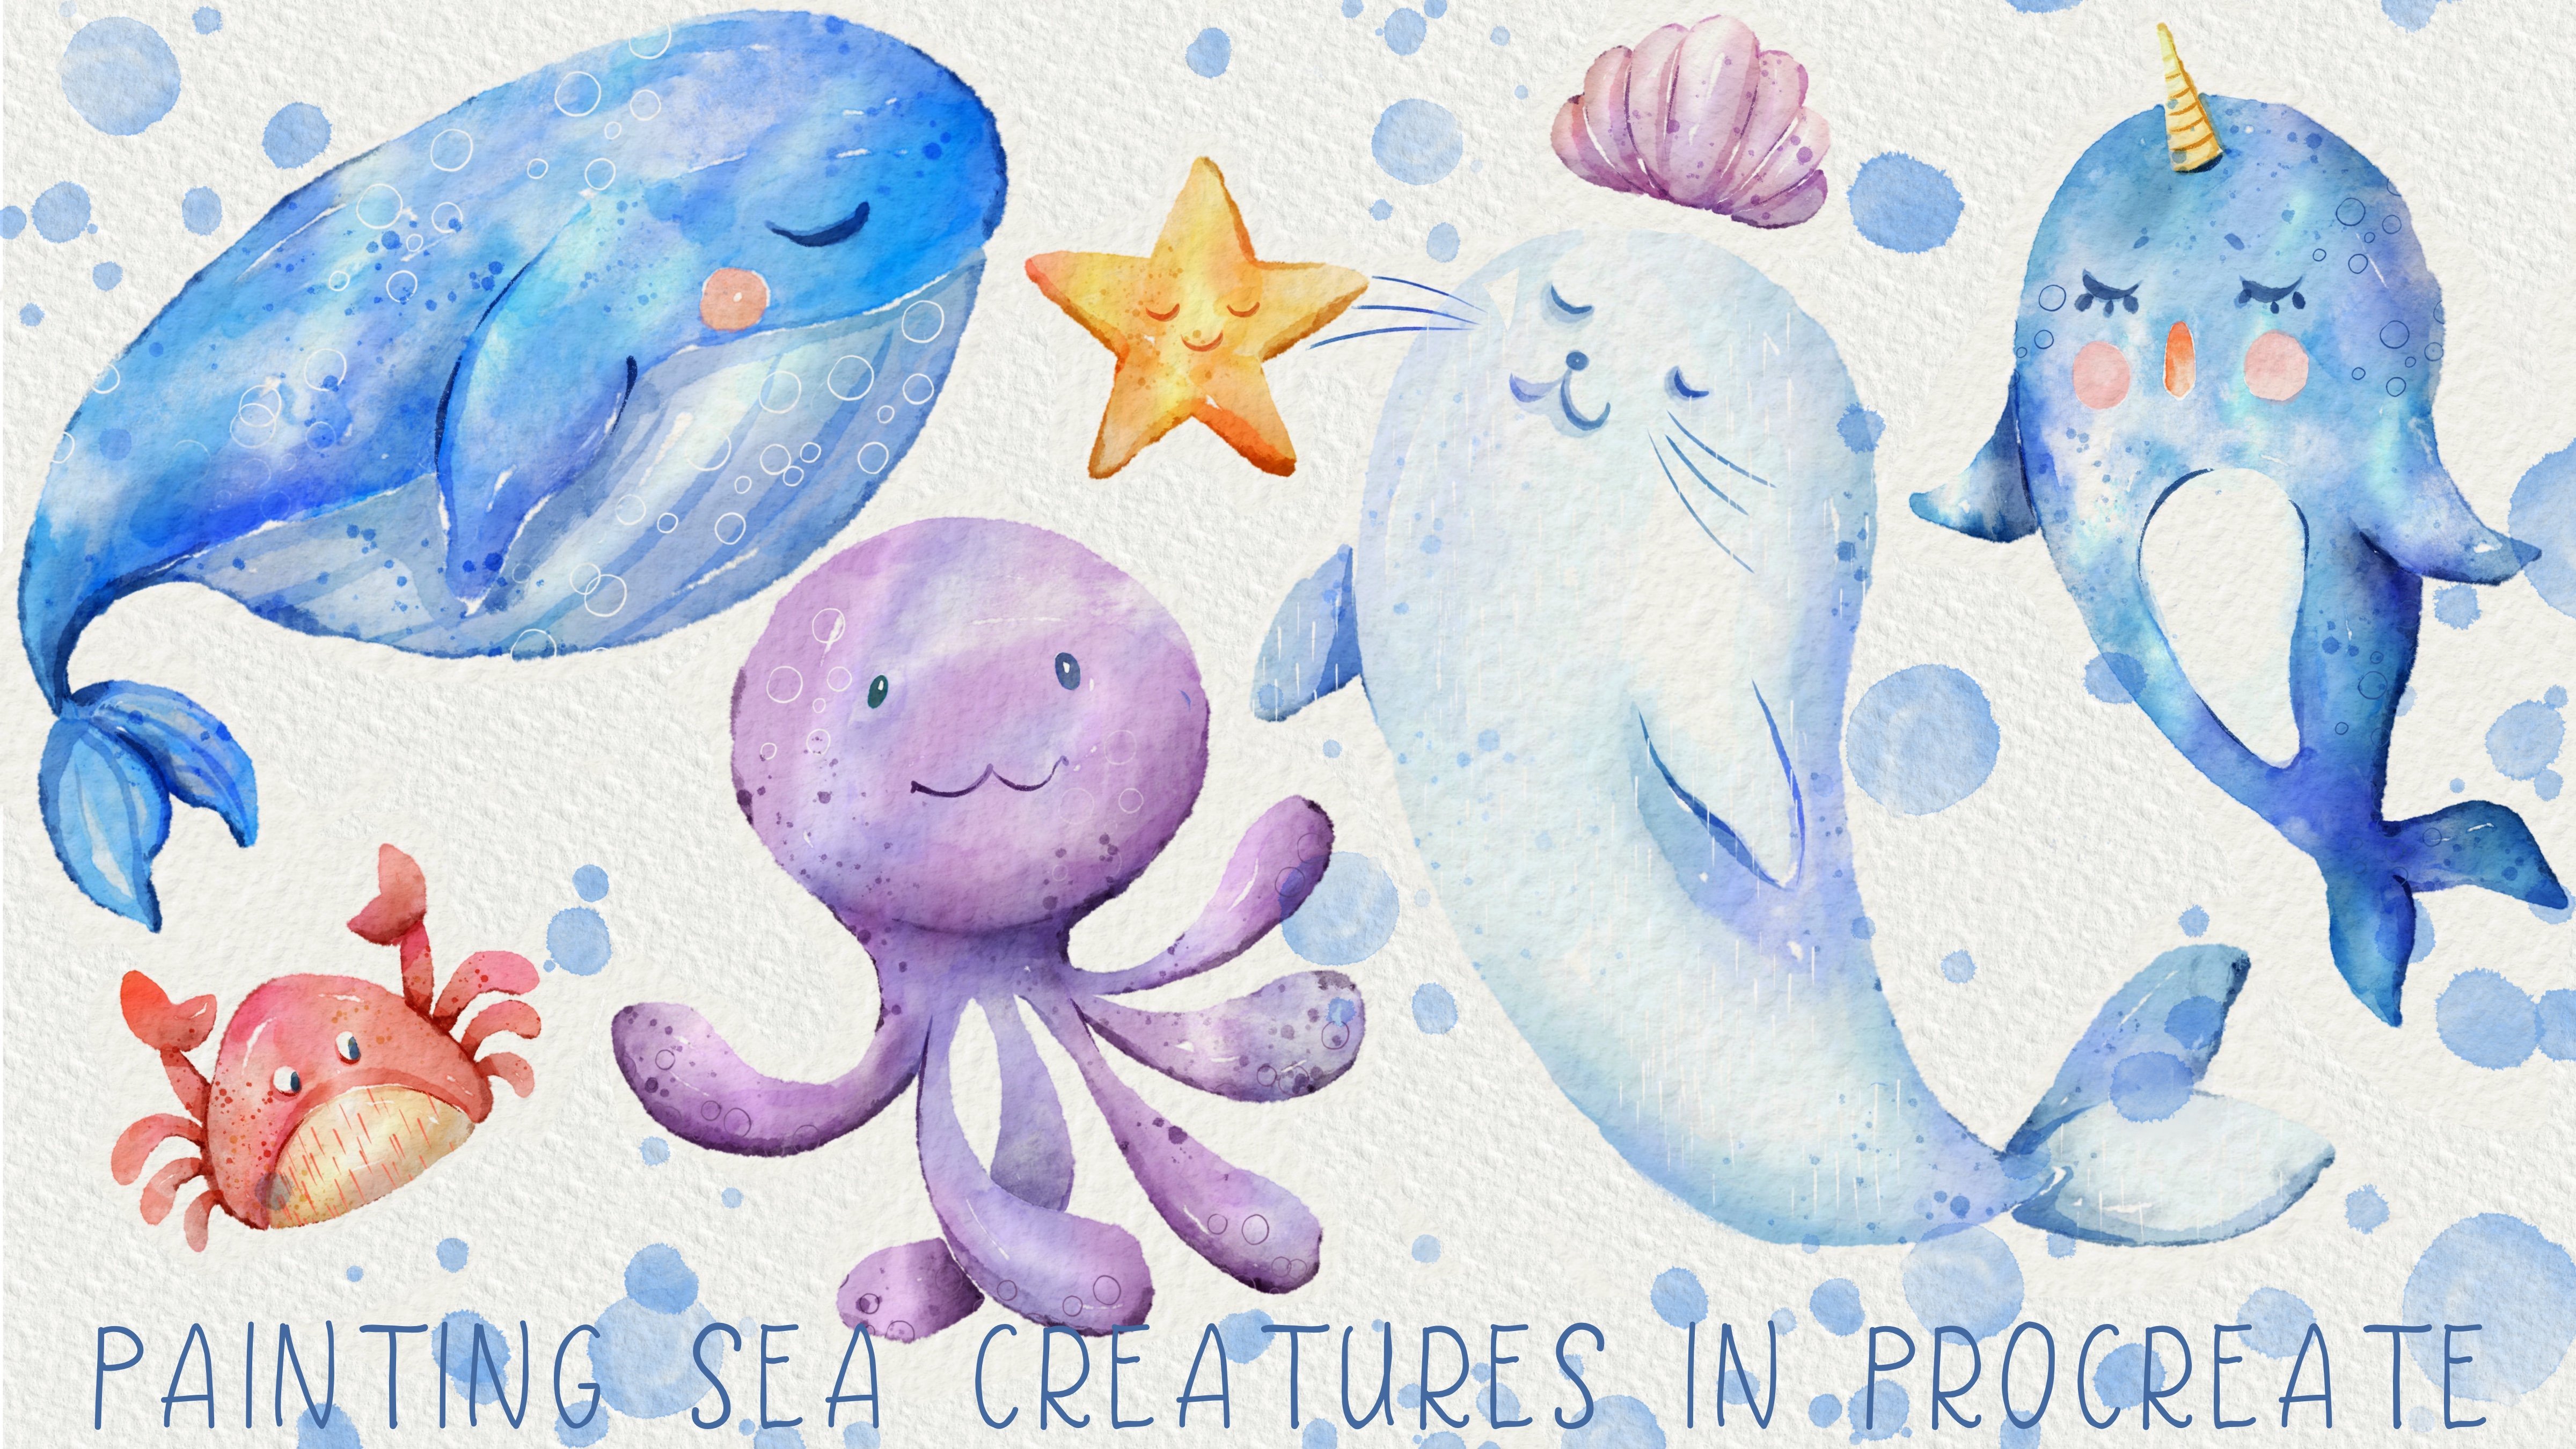
1. Introduction : Hi guys. Hello everyone and welcome back to my place. During today's tutorial, I will teach you how to paint lab administration of underwater world in a watercolor style in Procreate, I prepared for you watercolor brushes along this new stem brushes and color pellet, of course, I hope you will like my today's class. I hope you already an iso, grab your iPad, Apple pencil, and let's pay in together. Hi guys, I'm Inga freelance illustrator. Welcome back to my class and let's paint altogether, call watercolor illustrations of underwater world in Procreate. We will also learn how to create character Brahms's catch. At the end of my class, you will learn more about Procreate and composition, especially how to use layers, selection tool, how to add volume and color variations to your picture. And most importantly, you will learn your watercolor technique. You can use the illustrations you create for Poisson and Instagram added to your portfolio or sell it on Etsy, gamma rays and so on. Or just share it with someone whom you really like. I am sure zeta will be so happy to get an illustration that is created by you. Today. I want to show you, is it watercolor is so simple and it's a real fun. And in the andrew of my class, you can see it today. I will teach you how to create texture paper, how to use stem brushes, how to combine pencil and watercolor altogether. How to be an picture without reference picture. How to use my default Procreate brushes for watercolor painting. How to apply my new watercolor technique? What as in you and says you need to know if you want to create watercolor illustration, how to use selection tool. I will also show you how to add shades and highlights. I will show you my whole process from the start to finish. And as a bonus, I will share with you my texture paper, lots of custom brushes, color palette that I created. I will also add files of my pictures set I drew. Feel free to use them for your own projects. This class is great for beginners. If you watched my previous classes. Also can be useful for intermediate level and experienced artists. Probably here you can find an inspiration. New ways how to pay in characters and underwater world in watercolor style. Your class project will be next. Paint a picture of sea creatures in watercolor style using Zai TBS and brushes that I gave you today. I will use Procreate for this class, ms. Ipad and Apple Pencil. So if you have it or some other drawing pets or just regular watercolor paper and pains. Please join our class and good luck.
2. Creating textured paper : So I think we are ready to start. And once again, during our today's class, we're going to paint lovely underwater world illustration. And I prepared for your watercolor brushes, not just watercolor brushes, also stem brushes, along with this color palette and texture paper. So I hope we are ready. And first of all, we need to create canvas, add texture paper, and after said, import our brushes. So let's do it step-by-step. So first of all, we need to tap Plus and create canvas. And also we need to tap Plus here, switch two inches and tap Nian pair 11 each has access to a 300 DPI resolution. So as you might see, some maximum layers that we might have is 56 layers. Tap Create. So after SAT, we need to create a couple of new layers and press Actions, press, Add and after, insert the file. So where can we get all our free personal? Where can we get our texture paper? Once again, in a MyClass in their projects and sources section in the right corner under the headline sources, you might find all my previous. And guys, it's very important to open my class in browser. It can be Safari or Chrome. Because if you do it from the Skillshare app, my freebies might not be visible. And after that he might find all your files in downloads folder. So you need to press Add tab, Insert a File, and go to downloads folder. I have to set venue experts a file you need to move the edges and deselect. Now we have our texture paper. Next step is we need to duplicate it two times. You might grip Apple Pencil yep. And switch the mode to Linear Burn mode. And caliber. After that, replicates it one more time. And merged together and merge together after is it lower our linear burn mode to yield 60%. And that's it. After that, to select two layers and press Group. And after you need to rename ahead and write something like texture paper, then there's also pay attention you need. Now when we paint, we need to paint and in nice from our texture paper, it's important to pains at undoing is because if you play it on a talk, it means that our watercolor effect, or soft watercolor effort will not be reasonable. So pay attention. Need to paint underneath. And actually for today's class, we don't need any references because first of all, we're going to have a loss of stem brush and say here, we have loss of brushes that I created. And we're going to use that. And after said, also, I want to tell you that we have color palette is called this one, underwater world. And our colors will be very soft to the SEC, our picture will be very gentle. It's very important to keep source Chantal look. So we have our extra paper, we have our brushes, and we have our color palette. And now view ready to paint and create beautiful composition. Let's go.
3. Sketch and stamp brushes : Ready to paint, created our texture paper. Once again, we need to paint underneath, we need to move to a black liner. And once again, speaking about the precious, I added tinderbox dry ink and Terrell airbrush, say a native Procreate brushes. The rest of the brushes are my own rashes. Yep, poor, regular watercolor brush. This brush can help us to reach our theme decode, color look, and is our main blurs at fico used today. After sad I have blue dots. And so this brush will help us to add some bubbles. And also bought a goal of stem symbol. This brush can help us to add some texture to our painting. And yep, I have different stamp brushes. And guys, our main feature of our today's class is that we're going to combine pencil painting altogether with watercolor paint. So it means I will not remove our sketching layer. I will not remove our stem brushes. They're not just our reference picture. And once again, I want to tell you that I created fuel Keats. Like some people in a cheapest tile is Japanese style. And you might turn them into boys and girls is why I didn't actually paint hair or some other details because I want you to create your own character. But you might use those shapes. So as you see it's underwater world and I'm going to paint like facial stones, coral series altogether. Some kid, I want to have dark blue color. And we can start creating our own composition. Once again goes, we have like variety of brushes that you might use during our today's class. So it's all up to you. Reach composition which brush you want to use more often comparing to another brushes. And I will start painting and creating underwater world, underwater theme. And don't forget, our main character should be a human. So you're going to place this person somewhere in the center character. Probably it will be a girl. Because I liked paying hair in our underwater outfile, so-called, maybe a little bit smaller. I have to say it will create 1 million year. It's very important too. Keeps a balance and keeps the proportions that should be equal. If you'd like, we can play some human later. So I will remove it, like make it invisible. Once again, each element we need to pay in on a new layer. You remember we have 5056 there. I think it would be enough for us. Can yep. Definitely. We need to show some stones. Need to show sand altogether with some stones. So speaking about Sam Stone, say here, and I'm going to place them. To summarize that so you can select it, right, be careful, select just one part of stones and you can make some smaller beaker. My change the position. You might go beyond the lines, It's fine. Lady, real just simply erase it. So don't worry about said, still have some stones. And I want to make some of some smaller, some axis tone. Move it somewhere here, make it smaller. Next head and neck actually, you might return to our first original layers is one. And you might deselect some of the stones and moves him like in any way you like. Mainly summary here. Here, Alexis. Okay, great. To set idle go and grab the dry ink brush. So we have sand here all around. And I will merge together how stones create one more layer. We'll return to the stones, to this brush and have far, far away. You want to add tiny bit upset. And remember we still have, okay, I marched all our stones in one layer. And now we need to go to a nasa brash and I'm going to add some seaweeds. And guys, remember things to the free form. You might change you see, make it thicker, bigger. But if you're going to use just uniform a change, jazz the size of how approach. So I tend to use free form because I want to change the thickness. I want to make it longer or shorter. Like just play around with the app. I'm going to keep C, we'd like this and now in this way I will go to our stones and I need to erase a part that is overlapping with the CBD. And as you see, it might take some time to finish our composition bad in the end, it should be beautiful, it will be beautiful. So it just takes a time. Play around with shapes, with position of our object, thing, which object you want to add to your own picture. And after that we'll colors had like of course you don't need to add like hollow it. It's not that necessary part if you want. So of course, to it, I have one more coral here. Maybe these corals for the slightly smaller because it will burn a distance so you don't actually see some clearly. He's got a kid also can be half hidden from us, like smaller lynxes. Now let's add some fishes and tertile of course, turtle. Smaller one. Uniform. I don't want to change the shape of the particle. And maybe we can make some selects. A turtle is following this as a girl. Okay, when you think about said, and I think jellyfish is too weak. Once again, remember about a proportion. And we can duplicate and make a few features. And we can add some fishes. And forget your new layer. Thank you. So as you might see, our picture has the man has some direction. I, everyone is going to sell sway. We're not talking about this part because as you see, they say has their own lives. But our girl and Turtle, say a coin to a froms arrived to not from the left or the right. So remember that you need to have some direction in a picture. Greed.
4. Adding final details to the sketch: I will call to bluish color. Once again, we own our new layer and even lighter yen here you'll have some fishes. It's important to have some more exaggerated because later I will add some color to the wetter. So of course we need to have separate our fishes. France arrest, and we can place some random fissures, create one more layer. And all exams I might follows a girl. So we need just to them the case it can change the end goal. Like cases layer. Go to this fishes toll-like, sad. And nafta said, I'll show you some magic trick. We'll go oppress, liquify, tap, push, and move, and make some angle, axis. Maybe someone's hand will be here. And then you can just erase this part. And this part. Like set still things that we need to add something in this part. And I think it will be jellyfish, dark green color, dark blue color, and green color. And I want to add Jellyfish here. Once against each of the fish can be beaker. Okay, Finally, guess we've done with our sketch. Now we can merge together. It's part, don't merge our fishes. You need to keep on a separate layer. And now we need to paint underneath of our sketch and our fisheries. And I think, don't forget later you'll add some bubbles as well. Last final detail, I will, I will create one more layer on the top. I need to finish finished paint and our girl. And you can grab drying, rash. What I'm going to do, law versus size should be barely seen. Now let's add some details to our code. We should have some tiny eyebrows. Guys, we've done is our paint and now I do like the way how it looks. And I think we are ready to start painting, to start coloring. So once it can be on our layer underneath everything, and let's call
5. Adding colors: So we are ready to color and we created one more layer underneath everything. And I'm going to go and grab brachial water counter crash. Once again, we return to our color palette. And this start, these Water grabs his light blue color. Okay, Dan and his, his part create one more layer underneath and same brush. And now I have any took paint, sand ClO car. So once again, our pain to today we'll pick very, very soft. Okay, The item is the sclera as well. Now, we need to create on a top of everything. So as you see the credit layer on the top of our water layer and sand layer. And I want to start painting Karl, size of our brush. And here also, okay, we have swimsuit. Now we can start painting home one-by-one, step-by-step. Now, red color. Eyebrows also should be slightly. Makes it about swimsuit. I think I want to paint eight green. Are k nanoscale girl. Create one more layer and we're going to paint turtle. Great. Now Louise, our turtles. Now I'm going to pay in jellyfish, jellyfish field be purple, something thin purple and pink. As you see, we might leave some white gaps. It can help us to reach those authentic watercolor look. It's finally to reveal removes a transparency means our objects say they'll not overlap. One, visit each other. So obviously you will be very clear in both the early phase above ikea, let's return to our jellyfish. And in this part, we also have some lines rocky down with our jellyfish as well. So as you see little vesicle via paint and VI finished and paint and how a picture, dark color. K grade. Now let's create one more layer. And we need to finish painting all of it. Remember, you might leave some white spots, tight spaces like set. So speaking about is coral, let me think may be each BOB said our poll. I don't know whether it's possible to have such cockerel spot for why not? Till take US laws of staff turnover need to add shades. And we also need to blend the colors, make it more smooth, more nitro. So now starfish. Okay, Now notice this part. Now let's finish painting now officious. And this one look a founder. High-end tried to avoid. So similar colors, you see, we have very similar color ways as ascend because it's just this kind of fish. We can change it but like in the future, try to place it somewhere. Variable, not like overlap. Like sad. Little color here. Yeah. Nows is fish. Hence as a part let me think. Can be dark brown and carry have finished now that's been seaweed. Same layer, no need to create one more. And green color. I want to paint it on a new layer. Almost, almost done, but it is a Create. And now our next step is we need to blend everything and we need to add some shades. And Citigroup is the end of our pain.
6. Blending and adding highlights: Wow, and next part, we need, in order to plan everything, we need to remove the transparency because if we don't lose it, it will be impossible. And if you want to add some shades, it's also pretty difficult to draw because our layer is pretty transparent. So I can show you an example. For example, we have our girl. I will press Select. So now we can just paint on our selected area. And I'm going to grab land and tool, Terrell a, a brash. And as you see by that, tried to blend in some areas SEC, it's a little bit difficult to tell because our layer is still transparent. So you see it's nothing. So in order to blend all our overlapping when you two remarks transparent. So I will duplicate our goal and our length is she looks so bright. So I will love herself positive of one layer till 60%. And up to the DIBL, merge it together. Those same viz, a turtle and jellyfish. 60 percent. And after that, merge it together. Do saying is our underwater world with our messier objects 60 percent maybe even affects 70. Merge that together and saying we can do we send, you see now it's so bright. 70 percent merged together and same with the water. 60 percent and merge that together. So now we need to remove the transparency, how to dose it? We will duplicate the layer, go to lower layer, tap adjustments, hue, saturation and brightness and tap layer and move our practice till 100. We kids is layer three times and after merge it together raise our original layer. So now our goal is not transparent. And we can add some shades and paint on top of six layer in a Clipping Mask Mode. Those same reefs, turtle and jellyfish. Hue Saturation, Brightness, tap player, turn brightness to maximum. Replicated. Three times. Merge together and merged together. Same here. There are merged together. And speaking about fishes, I want to make some brighter. So I1, our layer which is a fish, have to say it. I tap adjustments, hue, saturation and brightness and tap layer. Now I want to make our Br, how of how officious a little bit more lighter. And I increase the saturation nouns and look perfect. And I think we are ready to start. So if you need to blend it, we need to press V on our layer recycled tab select blending tool, Terrell airbrush, you remember, now it's so easy for us to blend everything. My suggestion don't bring too much because you might have some sharp lines, tiny bit. It will help us to actually reach like so it's nature. Now the same is the rest of layers. We have our turtle there, press Select, and here we have lots of overlap hands. What about jellyfish? Same what? De-select and those same ways harassed. So when Hecht blending tool, let's blend out whirls. Make some more realistic. The rest is good. Okay, now let's go to sand layer, tap select blending tool. Same as water. This is a biggest part because here we have lots of overlapping. Can increase the size. I keep. So let's crypt freehand. Feather, 16 percent hue saturation brightness. We can increase the brightness and increase saturation. Now as you see it so bright that looks cool. And we need to add some shades. Feathers 16 percent use nutrition pride and had a little bit more shades. Brightness. Pink parts a car. Maybe likes. In last theme hue saturation and brightness. And I just want to make it saturated or more saturated, more brand Lexis. Guys, the other thing with us you can do, you might add more sun beams. In this way, you're going to go and press free hand. This is one of the options. Tap, Add and feathered. 4% attrition brightness and increase saturation. Brightness. Which is a little bit, you might see it here. Now you created so sunbeams later we'll add more. So don't worry.
7. Selection tool: Adding shades : And now we need to add some colors and shades to as a sand. So this part will be in shadow because it's darker. Like sad Pfizer, 14 percent hue, saturation, brightness. Like said. Okay, great. Now guys, we have some shade froms a colon forms of turtle and from jellyfish as well. So how to dose it freehand? Press Add. Same we have grow here, will be somewhere in this area. Press Add phasor 14, 13 percent attrition, brightness, brightness, increase saturation. We have shade from the fish and from jellyfish as well. 11 percent saturation brightness. While her subprime this axis, Chris, saturation by k. Now regret free hand selection tool and we need to show the shade from the stones and keep in mind that we have is the sun source. So light source from the left side, it means a shadow feel your inner right side. So I add shadow you see from this part. And then you need to use it with all stopped. Okay, then resolves stones are I want Pfizer's Add, tap Adjustments, Hue, Saturation, Brightness and tap Layer 2, same with our Starfish select, remember about the light source at one Pfizer's as hue saturation, brightness, brightness increase the duration is each assembly it or B. Now we can show some shade from corals. So we need to create shape like sad press, Add similar press, Add one Pfizer said hue, saturation and brightness. And here we have the reflection. Couple, great. I want to show shades from the seaweed. And at one phasors add hue, saturation and brightness. And tiny bit of shades here he seemed saying is a corals. And, and, and, and less. As you see, we have some kind of n goes, so you don't paint this trade shade. You see, for example here, here as well. Because of the sunlight, we actually have the end goal angle froms a shade so it's like clay and on the floor. Same year at nutrition brightness. And add some colors, some sheets to our corals as well. I keep one of my thin. What else we can do if you like, you might just create the shade from the turtle. Like sad. When Pfizer said marissa brightness. And see here we have the shade from the turtle and also shade from the jellyfish. Just one shade because actually fishes total far away. Like to add grade. So let's move with it.
8. Selection tool: adding volume to the objects: Okay, now I need to add some shades. Need to paint some shades on our objects. So I grabbed our girl, she's here. And I go and grab Selection Tool and those same start adding some shades. Shades and a here. Handed. Also I want feathers are shades. At this part. Philippians shadow with this hand will be in shadow as well. Men shade here. Mct1, feathers edge hue, saturation and brightness. I will keep it like sad. If you want, you might blend some tiny, tiny part. So Dan is a girl, same, click on and go and grab our turtle, grab selection tool. And we have shade here in this area. And under ice at hue saturation and brightness like this. Okay, the analysis part as well. So now we have jellyfish. This part is slightly easier. We have shade here. Shading this part because it's far away from the light source. Hue saturation and brightness lowers uprightness. Like set. Blocks could steal same lines. Will be in the shell. Our cake, hue saturation and brightness type layer. Longer surprised this heap part of our jellyfish is in shadows. Okay, then this jellyfish as well. And also you see we have the light source so we can show some, some beads. Tiny bit here, and one phasor, his tuition brightness and increase the brightness increase situation. Tiny bit. Same here in this area. Let's move to our details, this layer and source corals. It's very important to pay and also shades the corals that are far away from us. Say if you'd be in the shadow, so say we will pick darker comparing to the rest at a cat. And I think this area will appear in the shadows. Like we want phasor said, situation and brightness layers increase situation. This part 2 of the dark and also base I want to show is this part of the coral which will build the lightest one. And pet. Who when phasors attrition practice Lexis, they will be very pride. So once again, we have sunbeams here at hue saturation and brightness. Little bit likes it. And I still want to add some parts that are pretty bright. Professor said, maybe 6% hue saturation and brightness. Two-player increase the brightness and I want to play with some color variations. Now you see it's purple and it looks just perfect. Same to visit our previous care, Carl. I want to add some color variations to set phasers 7%, saturation and brightness. Brightness, lower self positive. Phasor, 10 percent nutritional and brightness, lower brightness play with color variations. Increase situation. Now you see it looks just perfect. But still we have some sheets and I'm going to show you this 1. First tiny dots halls. Look at our main sheets. When Pfizer inciting saturation and brightness, increase the brightness. Cake grade. Here you see we have some part to play and deal sunbeams, tiny bit, add feather, 4% saturation and brightness. Likes it. Now we have our Starfish. And I'm going to show the shape here as our 7%. Here. Play is color variations and you made it brighter. Now, tiny sunbeams here. Same is a fish. Faster, 12 percent saturation and brightness whole layer. Add some color variations. What we did here. Her color variations, like said, Tiny San limbs, face, her 5% saturation, brightness. Brightness and saturation. Now final details we have how a seaweed. First of all, we need to add some color variations. Phasor, 8% saturation and brightness. Brightness increase saturation. Think about color variations. Next. We can add a little bit shades here. Okay, here I want Pfizer said, because I think it would look very cool. Select, tap, Enter. You select just half of self, so sleeves. So just tiny part of our series will be in the shadow, will be selected. And Pfizer said hue saturation and brightness. Now let's set final details that will be set.
9. Final details : When find out details, we need to add some splashes, 12 water, and to add some bubbles. So we need to create one more layer on top of everything. And I go to spray paints and press flicks. And now he grabs his white splashes and just place it all around. Thanks. Is that K is featured. Tools is pretty bright blue color. And I also wanted to add some flicks here as well. Let's think where we can place it. Had some little flicks here and the water world and grab pooled odds. And probably it's too big. So you might just move your summary here, 70 to just tap it in different areas, hexanes. And if you like, you can duplicate it. Press two times now it's two so bright, but I want to keep it like that. After said, we will go to our fishes. And I want to make some slightly brighter Hue Saturation and Brightness tap Layer increase the brightness, makes them a little bit more saturated. Like said. After that, I can add some shades for xyz. I will go and press Select on our fishes. Grab my brush. And I can just see C, add some splashes to our water. Our fishes. Okay, grab and create enough to set correct slightly darker color. And same you, I might add some shades to sag. So you see now our fish, It's not just like one solid color, it has some color variations. One more time without replicate our white splashes. Now, I like the way how it looks. And you might add even more splashes summary here in this area. And replicated one more time, increases size, and place its sound here. If you want. You might go and grab one layer and make it less visible so you lower surpass it. Now, I need to merge everything together. Well together with species likes had. Now I want to make our picture little bit more saturated. How can I do that? I will go and grab curves, press layer. Now I can make it brighter, like says, Then it looks already so-called. Or it can make it darker. You see play around and now our pictures so dark, so I brand so saturated. And guys now you might call this piece finished. And guys, if you have some suggestions, recommendations about my class, you might leave some inner discussion section. And I wish you luck with your own artworks. Guys, I look forward to see all your paint is all you're underwater world illustrations. You can tell me on Instagram or you can leave your genes in the Skillshare app is Skillshare website. In the projects and sources session, I will be happy to give my own feedback. And let's see you guys next week. Bye.
 Inga Yoon, Digital illustrator and teacher