Transcripts
1. Introduction: Hi friends, Thanks for
joining the class. My name is Shiba, I'm an Artist
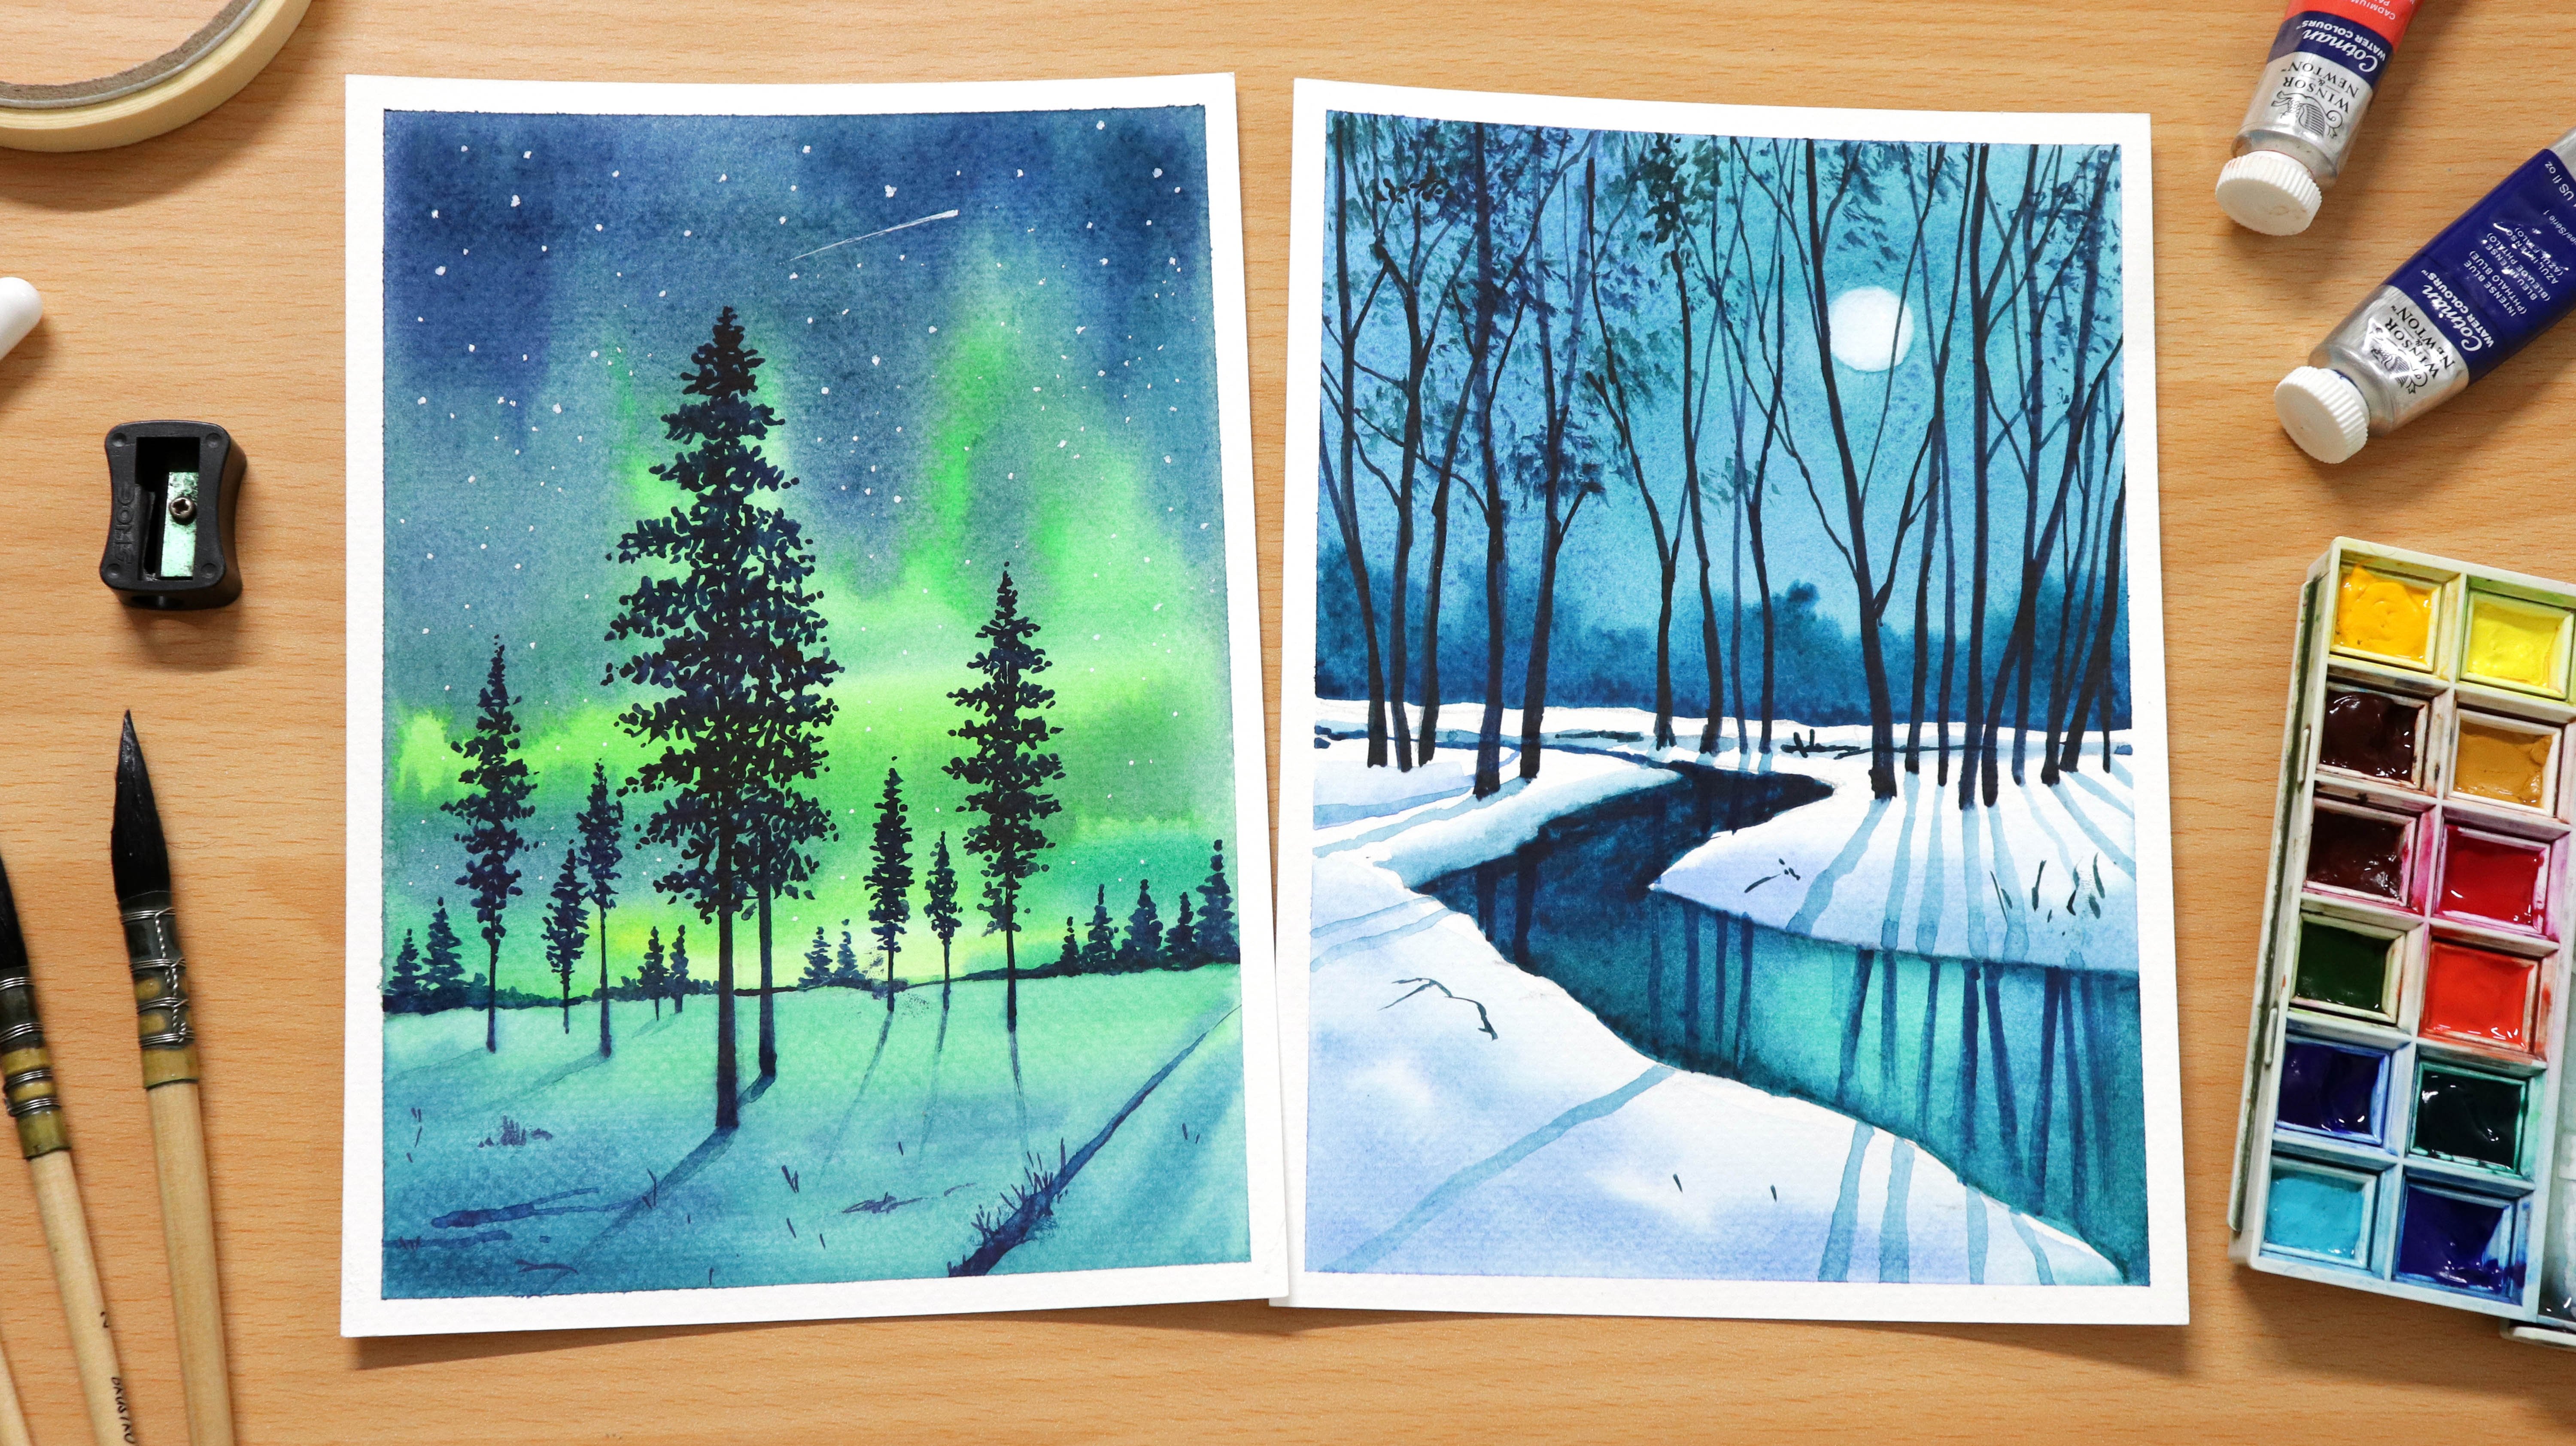
Instructor and a Utuber. In today's painting class, we will be painting a pink sunset landscape
using watercolors. I love to do
watercolor paintings. Mostly the old rural areas, landscapes, seascapes, birds
and animals and much more. I try to keep my paintings more vibrant and
full of rich colors, which you will find today in my watercolor painting class. I'm very excited to share
all those steps that help me in making this beautiful
painting and walking you through my materials so that you can even try and follow along without wasting
time. Let's get started.
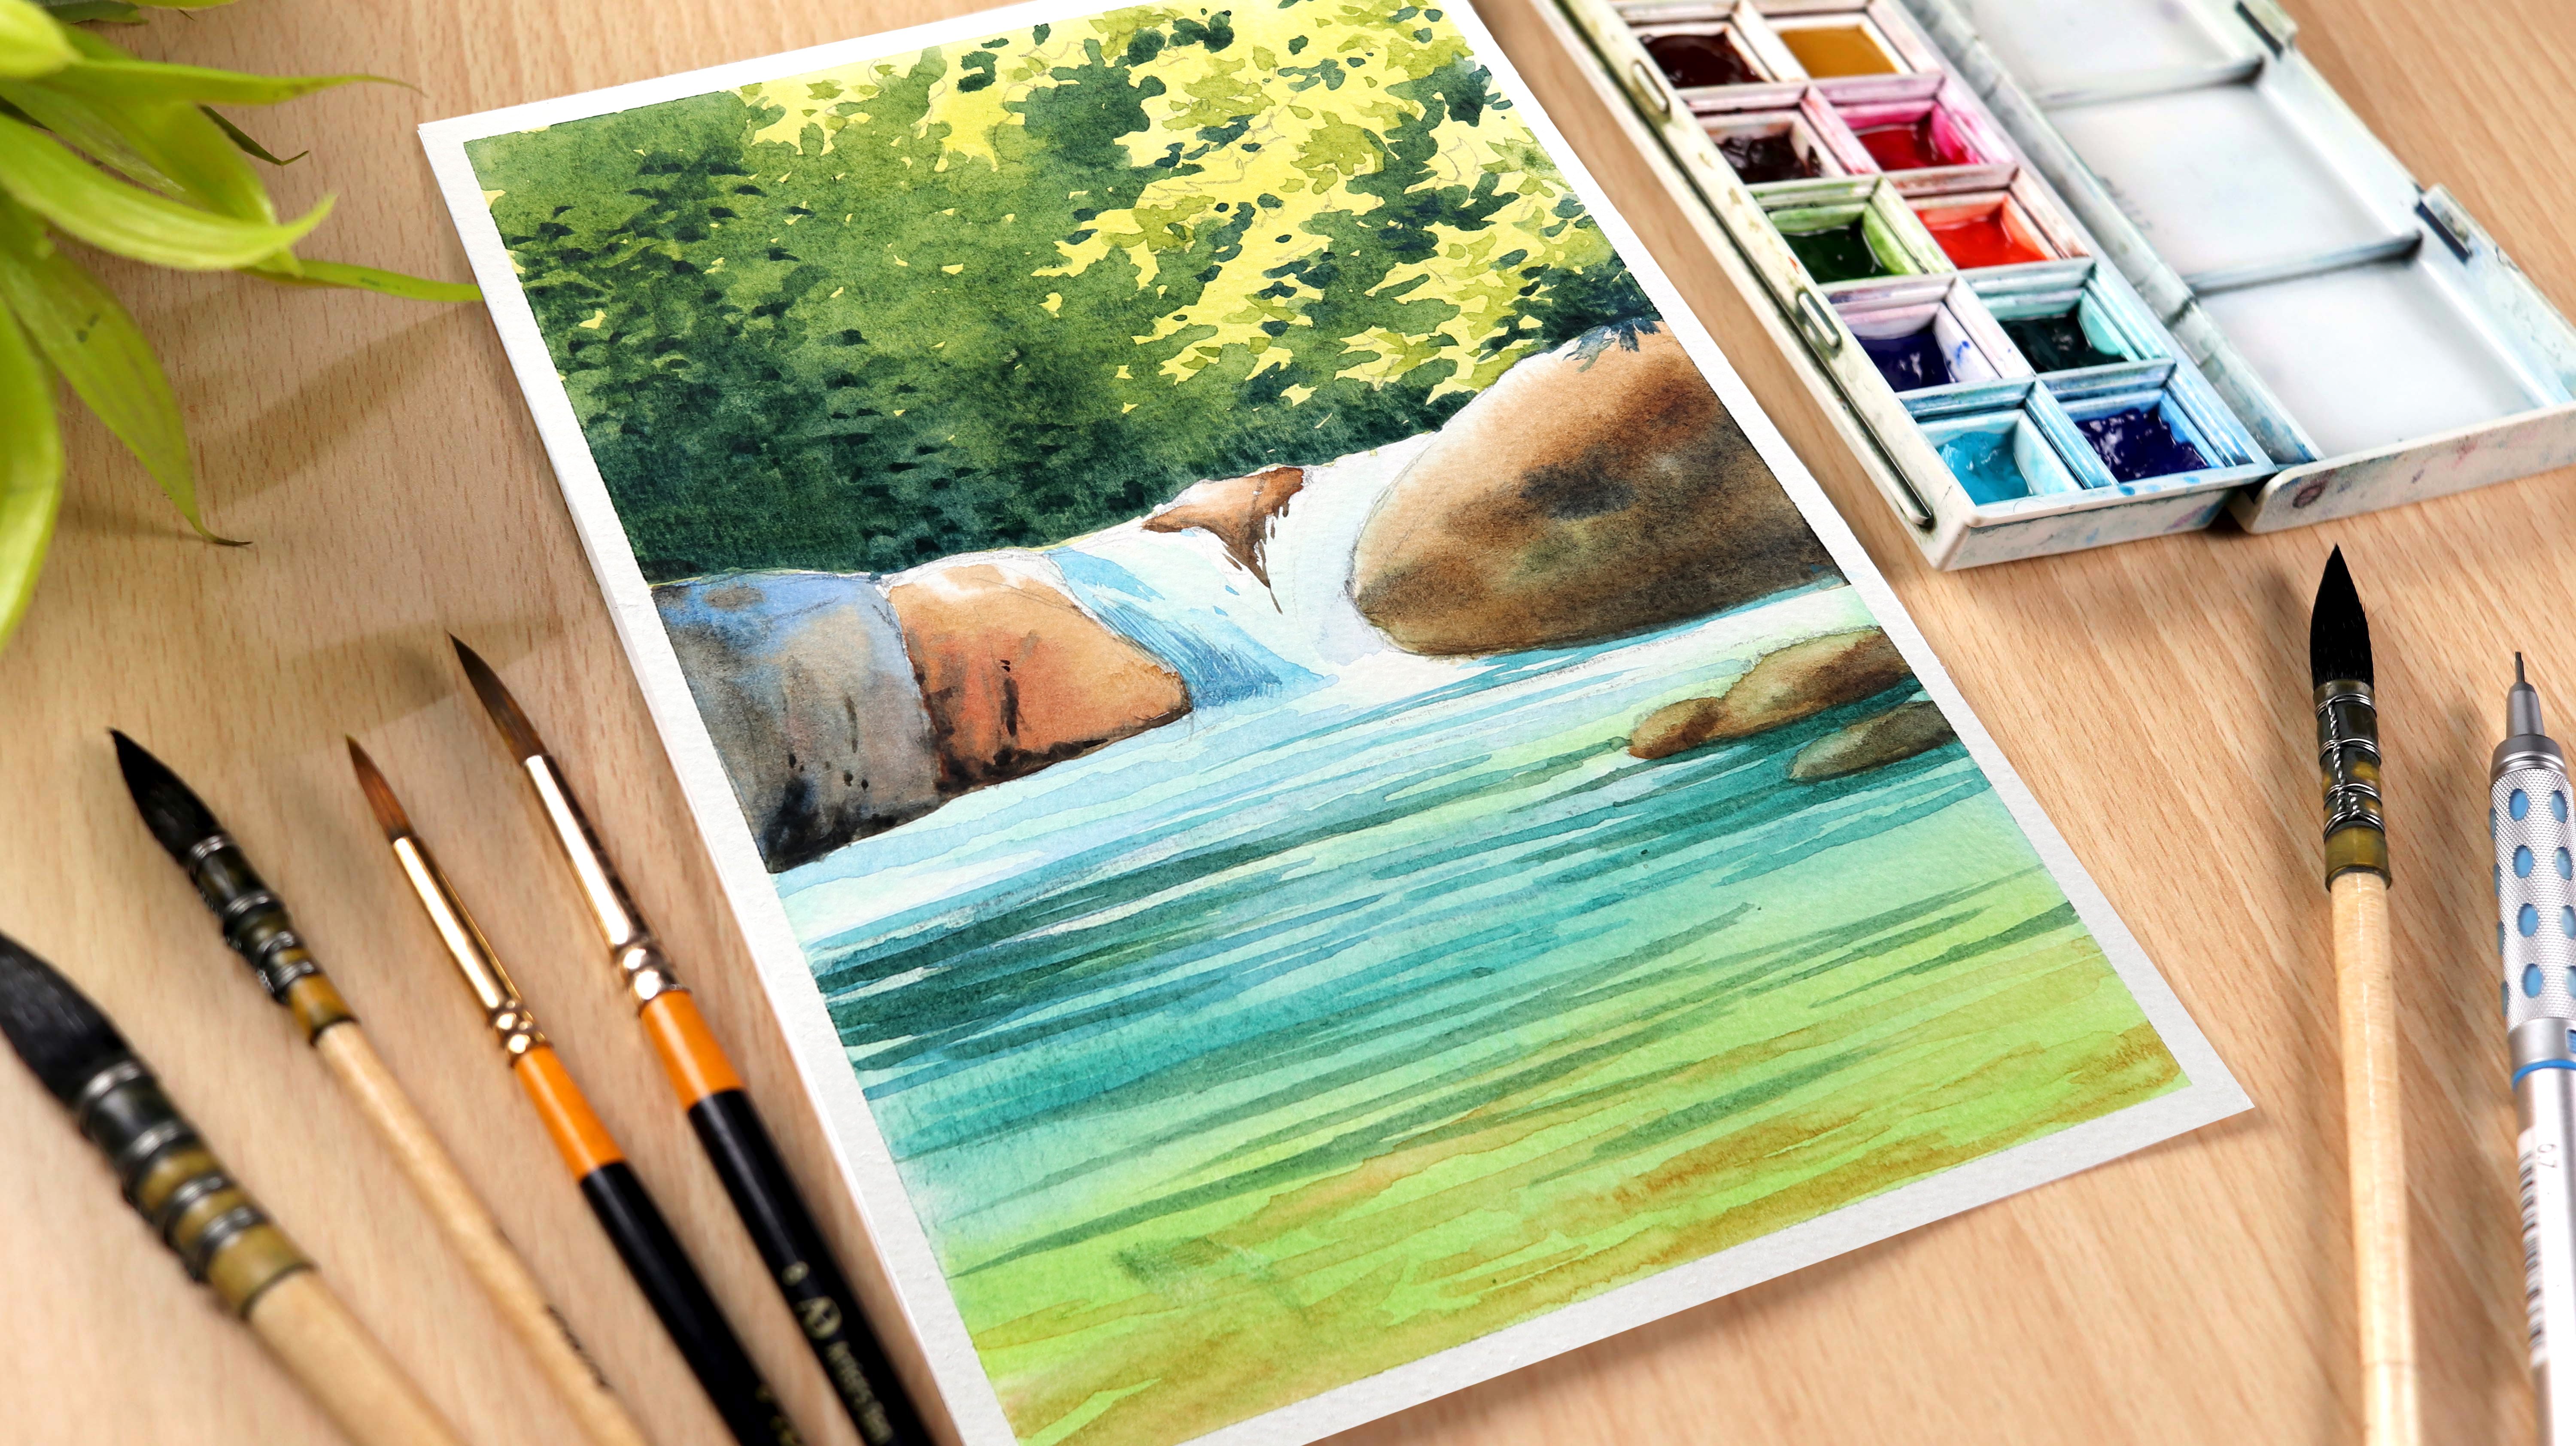
2. Materials Required: Hello, everyone. Welcome back. In this part, I will discuss
the materials I use for my watercolor paintings,
starting with the paper. The paper which I'm using is Fabriano Artistico
watercolor paper, 300 GSM, cold pressed. I'm using a cold press
paper because it creates beautiful bouquet
effects in your painting. And it does not dry out soon and gives us more time to
work on the paintings. This comes in cut out
sheets of various sizes, but here I'm using
an A five size. The colors which I'm
using is from Winsor and Newton Cotman, student
grade watercolors. This color is very
good for anyone who wants to start their
beautiful art journey. The names of the colors on my palette is displayed
on the screen. As you can see, I have replaced the white color with cobalt
turquoise from white nights. As I don't use white
in my painting, for the brushes, I'm using
three mob brushes of size 02 and 4.2 synthetic
round brushes, number 4.8 These
three mob brushes are sufficient to make a painting of an A five size, have
a similar brush. You can use any brush you have. It's just that you must be comfortable while
doing the painting. These two synthetic brushes
are good to add details. You can use any round
brush you have. Just see that the tape should
be sharp so that you can add details for
drawing the sketch. I'm using a mechanical
pencil with 0.7 lead. If you don't have a
mechanical pencil, you can use normal
HP pencil as well. This is a needed
eraser that I will use to erase my
sketch when required. I'm also using a half
inch masking tape to tape down my
paper at the time of painting so that my paper doesn't get buckled
when applying water. This is a jar of water. If you want, you can
use two jars of water, one to clean the brush and the other one
as a mixing medium. A hair dryer to dry my
painting when required. I'm also using a
cotton clothe to wipe any extra color pigments from the brush while
doing the painting. Friends, these are all
the materials that I will be using for
my painting class. Quickly grab and join me
and I see in the next part.
3. Let's Draw the Sketch: Hello everyone. Welcome to the first part of this painting. In this part, I will
draw the sketch. Before I start, let's quickly
apply the masking tape. Here I'm using a half
inch masking tape. If you don't have a half inch, you can use 1 " masking tape
or a washy tape as well. Let's quickly apply
the masking tape on all the four corners, keeping half of it on the paper and the other half
stuck to the board. I have completed applying
the masking tape. Now let's draw the sketch. For sketching my drawing, I'm using a mechanical
pencil with a HP lead 0.7 You can also use a
normal HP pencil as well. It's not necessary
that you have to have a mechanical
pencil for this class. I'm starting by drawing
the trees first. For this, I'm just drawing the outer shape of the
tree, just the outlines. I'm drawing the tree shape a little irregular so that my tree looks more natural and closer to the actual
trees in nature. Here, I'm drawing
the bigger sheeps first and then I'm adding
some smaller ones. Once you're done with
this, then we will connect them by
drawing the branches. Now I'm drawing the tree
trunk and connecting the tree to it as a whole so that the tree looks complete. It's time to add some branches. Now I'm drawing some straight horizontal lines to
draw the horizon. The portion which is on the right looks little incomplete. Now I'm adding trees to it so that it creates more
interest in the painting. Also for the hills
at the distance, I will be adding a
straight sloping line. Let's add some more
details to the ground. Here I'm drawing a path which is going
through the grasses. You can add more
trees if you wish, but I think the sketch
looks complete. Now we can proceed
with the colors.
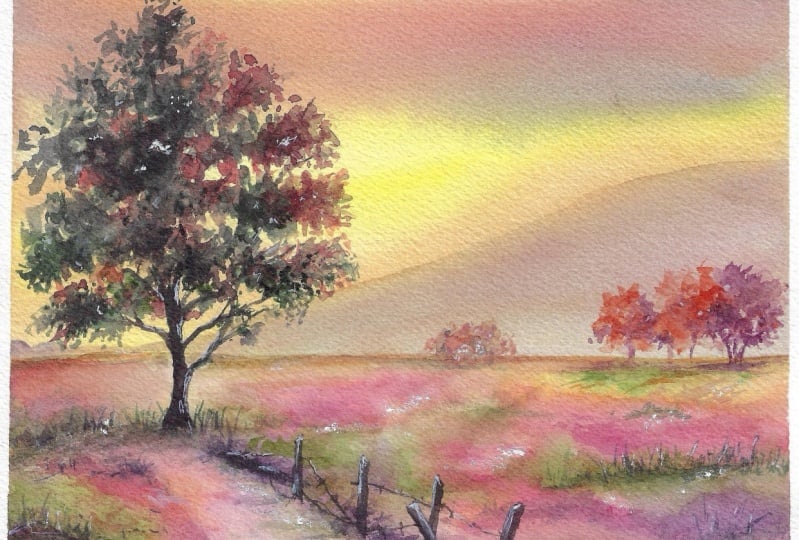
4. Paint the Sky: Hello everyone. Welcome back. In this part I
will draw the sky. Let's start with the colors. Let's apply water to
the portion of the sky. For this, I'm using a mop. Brush number two, I'm applying water only
to the portion which is above the horizon
line, which is the sky. I'm starting by applying
lemon yellow to the sky. This is a very light
wash of lemon yellow. Now let's add a little bit of cadmium red mixed
with cadmium yellow, and then we will
apply it to the sky. Let's add a dark tone for this. I'm increasing the amount of cadmium red in cadmium yellow. And then I'm applying it while applying
mixture of cadmium red. We will apply it a
little away from the center so that it does not disturb the
sun in the middle. Let's add a light wash of cadmium red to the upper
portion of the sky. It's time to add a little
pink tone to the sky. For this, I'm using a
wash off crimson red. You can see that the
colors are blending well because the
paper is still wet. Now, let's add some more
crimson red to the sky. For the dark tones, I'm mixing intense blue with crimson red. And then we will apply it. You can see that this
color is looking quite dark because of the
presence of intense blue. Once we are done
with this, we will allow the colors to
sit for a while. But it's important to do all the brushwork when
the paper is still wet, so that we get smooth
effects in our painting. To paint the hills
at the distance, I have added a little
bit of cadmium red to the mixture of crimson
red and intense blue. Now I'm adding a
tone of cadmium red. And blending it so
that the transition in color going down the
hill looks smooth. Before we paint the ground, let's make the horizon line straight for picking
some of the paint. I'm using a damp mob brush. If the paint has dried
you can just re wet that and then try picking up
the paint using a mob brush. Now, let's dry the
painting using a hair dryer before we jump
onto painting the ground. Once our paper is dry, we are ready to
paint the ground. Let's move on to our
next part and see how we can paint the pink
ground at the sunset.
5. Let's Paint the Ground: Hello everyone, welcome back. In this part, I will
paint the ground. Before we start, let's apply water using a mob
brush Number two, I am applying water only to the portion where we are
painting the ground. Before we paint, it's important to apply
one to two layers of water because this will help the paint to
flow more easily. Let's start by applying
wash of cadmium red. Now I'm mixing a little bit of crimson red with cadmium
red. And then I will apply. You can see I'm also
adding a little touch of crimson red mixed
with intense blue. Let's add a wash of crimson
red to paint the shadows. The brush which I'm using
is a mob brush number zero. Now I'm mixing crimson red with intense blue to add
some dark tones. You can see that this
color looks like a purple. And because it is dark, we can add it to the foreground to make it look close to us. You can see my paints
are flowing so well. It's because the
paper is still wet, which is giving us more time
to play with the colors. You can see I've applied
a flat wash of crimson, red mixed with intense blue, so that my foreground looks
a little purple in color. Once it is done, we
can add highlights of orange and some dark shadows. With the purple, you
can see I'm adding some saturated highlights
with a mixture of crimson red mixed
with cadmium red. I'm applying this color to all the areas which are
getting the sunlight. You can see I've kept this color a little pink because
of the sunset sunlight. Let's add some more
highlights using the same mixture of crimson
red mixed with cadmium red. You can see I'm applying
some vertical brush strokes so that I can give effect
of grasses on the ground. Now I'm mixing ultramarine
blue with crimson red. Let's apply this mixture to draw the shadows of the grass. If you don't have
ultramarine blue, you can use bald blue as well. Time to add some
more shadows using the same mixture of
crimson red mixed with ultramarine blue at the corners. We will add some
more dark tones to show the areas which is
getting less of the sunlight. Now let's add some shadows to the portion of the ground
which is under the tree. Adding these small details
like dark tones and shadows, will slowly bring the
painting to life. It's time to add some
more shadows using mixture of cadmium red
mixed with crimson red. Add some of the
portion I'm making the painting dilute so that it blends well
with the ground. Now let's add a
touch of sap green. You can see I'm just adding
a touch of sab green. Using the tip of the brush, you can see I'm not applying the green with bigger
brush strokes. A small application of it in
the shadows will look good. Now the paints are
getting blended so well, it's because the
paper is still wet. Let's add some more sap
green to paint the shadows. Now let's add some more touches
of green under the tree. You can see I'm
just using the tip of the brush to add
this green paint. A light touch of purple mixed with green will give
you a dark green that we can use to add shadows to the grasses which
are close to us. Friends, we have completed
painting the ground. Any other details
apart from this? We will add, once
the paper is dry, let's move onto a next
part and paint the trees.
6. Adding Trees in The Painting: Hello everyone. Welcome back. In this part, we will add
trees to the painting. Let's clean the palette before we start
mixing the colors. Once we are done, we
will mix the mixture of crimson red mixed
with cadmium red. But we will try to
keep this color tone a little bit orange by adding
more of cadmium red. Let's supply this mixture of ultramarine blue mixed
with crimson red. To draw the dark color leaves. Here I'm using a
synthetic brush, number eight, which
is a round brush. Now let's add the mixture of cadmium red mixed
with crimson red, which will give us some
orange color leaves. Now I'm blending this
orange color with purple to create smooth
transition between them. Let's add some more
dark color leaves. We have completed
drawing the tree. Let's paint one more,
which is close to it. For this, I'm using
the same mixture. That is cadmium red mixed with crimson red with a touch of
purple to it at the base. To add the trunk, I'm simply adding a straight line
at the base of the tree, using the mixture to
create highlights. I'm picking up some of the
colors using a damp brush. Now I'm adding sure of orange
to the highlighted areas. You can see I'm simply
picking up the colors for the areas where I want to
add some sharp highlights. Now I'm adding some more purple to the trunk to make them dark. Now let's add some
small adjustment by adding dark tone to the
leaves to add shadows. Now let's clean the palette
to mix further mixtures. Now it's time to
draw the main tree. Before I start, let's keep the colors ready that
we're going to use. The first mixture that
we're going to use is cadmium red mixed with crimson red for the
light colored leaves. But as we know that this
tree is close to us, we will paint it dark. Let's add a dark color to it. I'm adding a Viridian
green to the mixture of cadmium red mixed
with crimson red. I'm also adding a little bit of crimson red to make
the mixture look dark. Now I'm adding a little bit of more Viridian green to make the mixture look a little
bit towards green color. Basically, this tree will be dark mixture of reds and greens. For some of the portions, I will add more of
Viridian green to the mixture of crimson
red before application. For some of the areas, I
will keep the amount of crimson red more to make the leaves look a little
bit red in color. Let's add crimson red to paint
leaves in dark red tone. For drawing the tree leaves, just add small dots and then interconnect
them to form a bunch. These small bunches of leaves together will
form a tree shape. Now let's paint some
more green leaves. For this, I'm adding
Varidian green to the mixture of crimson red. And then I will apply, let's add the branches
with the same color. You can see that this tree is a combination of
greens and reds. Let's add some more leaves. Now I'm using the tip of the
brush to draw the leaves. This will give us
some sharp lines and small leaves shapes. It's time to add
some branches using the same mixture of crimson red mixed with viridian green. Let's paint the tree
leaves on the left side. For this, I'm using
the same mixture, that is crimson red mixed
with viridian green. For some of the portions, I will keep the paint saturated, which will add some
shadows to the trees. Now I'm painting the leaves
using the tip of the brush. Now this is a synthetic
round brush, number eight. Let's add some dark tones
to draw these shadows to make the tree
looks more dense, we will always go back and
forth to find the gaps, and then we will
add leaves to it. Now let's mix crimson red with the mixture to draw some
dark red color leaves. If we talk about the
color of the leaves, they are not that important. It's more important to
maintain the tonal value. It's important to place
the dark values at the right place so that
it creates a realism. It's time to add some
more dark color leaves. This, I'm using
the same mixture. I'm making these
leaves little green in color by adding less of
crimson red to the mixture. The color mixture is same for the entire leaves that is crimson red mixed
with Viridian green. Only increasing and
decreasing in one color will bring change in color tone and will add variety
to the painting. Let's quickly add
some more leaves. Now I'm adding some
Viridian green directly to make some
of the leaves dark. Let's add few tree leaves at the lower
portion of the tree. Adding these small
leaves using the tip of the brush will add beauty
and realism to the painting. If you want, you can add
and draw some more trees, but try to make them
a little different in shape to bring
variation in them. Now I'm adding some
final touches using mixture of crimson red
mixed with viridian green. Here I'm using the same
round brush number eight to draw the branches. If you want more
thinner branches, you can use a liner brush
or a rigger brush as well. Let's add shadows to the
leaves and add some branches. For this, I'm applying the same color but in
a more saturated form. The colors which I'm using
is the mixture of crimson, red mixed with radian
green friends. This is all about for this part. Let's move on to a next part, where we will be adding some more details to the
ground and the trees.
7. Adding Final Touches: Hello everyone. Welcome back. In this part, we will add
shadows to the trees and the ground for this, I'm using the mixture of crimson red mixed
with viridian green. Let's start by applying this mixture at the
base of the tree. We will apply this color
to draw the shadows. At some of the portions, we will try to make
the color dilute so that it blends well
with the bay tone. For the areas where I want
to draw more dark shadows, I will use this mixture by adding more of
Viridian green in it. You can see this color
tone is little dilute, which helps in
getting the shadows, but also helps in maintaining the transparency
of water colors. The color is seen, that is crimson red mixed
with viridian green. We will apply this dark tone to the shadows and then
blend it using water, as you can see on the screen. Now let's add the colors to
the grasses at the distance. We will apply the colors using the same techniques and
the dilute mixture. Let's add some more
details to the foreground. For this, I'm using
the mixture of crimson red mixed
with firridian green. Now let's add some dark color
grasses on the right side. While painting the grasses, I'm using horizontal and
vertical brush strokes. You can see both are looking good in the landscape painting. To paint the dark color grasses, I'm applying the colors
in a more saturated form. Let's mix a dark tone for this. I'm adding more of
viridian green to the crimson red paint the
grasses which are close to us. At the corner here I'm using some vertical
strokes to draw the grasses. Let's add some shadows
to the grasses on the left corner and also
at the base of the tree. The color tone in the
mixture is same for this. Now let's add shadows
to the tree leaves. For this, I'm mixing crimson
red with viridian green. But we will try to keep the colors a little
thick and saturated. Now let's blend the colors by applying water at the edges. Adding these shadows will give our tree a sense of realism, where some of the
leaves are getting light and some are
in the shadows. Now let's add a
dilute mixture of crimson red to paint
the horizon line. Let's add some
final touches here. I'm adding some dark brush
strokes to show the shadows. Now this will add
dimension to the painting. You can see these small brush strokes are
making a difference. Let's add some more shadows
to the tree leaves. To paint these shadows, I'm using the same mixture of crimson red mixed
with viridian green. Let's add some more details for the trees at the distance. I'm using the same
color to add shadows. Here I'm trying
to add shadows to the right side so that the
left side remains highlighted, which shows that the sun rays
are coming from the left. Let's add some wooden
fence for this. I'm using the same color
mixture of crimson, red mixed with viridian green. I'm painting this
wooden fence block, little irregular to give
a sense of realism. The ones which are close to us. I will paint them a little bigger than the
ones which are far. Now I'm adding a broken fence. So friends, this is all
about for this class. Let's move on to a next part and reveal our painting by
removing the masking tape.
8. Final Thoughts: Hello everyone. Welcome back. Let's remove the masking tape
and reveal our painting. But before that, let's try the painting using a hair dryer. It's important to dry the painting before we
pull the masking tape, or else the paper would come out along with the masking tape. You can see I'm pulling
the masking tape outward so that it does
not tear the paper. So friends, I hope you've
enjoyed this painting. If you have any doubt or query, feel free to ask me in
the discussion tab. Also, don't forget
to share your art at the project section and I
see you in the next class. Till then, take care
and stay blest.
 Shiba Basan, Art influencer and Content Creator