Transcripts
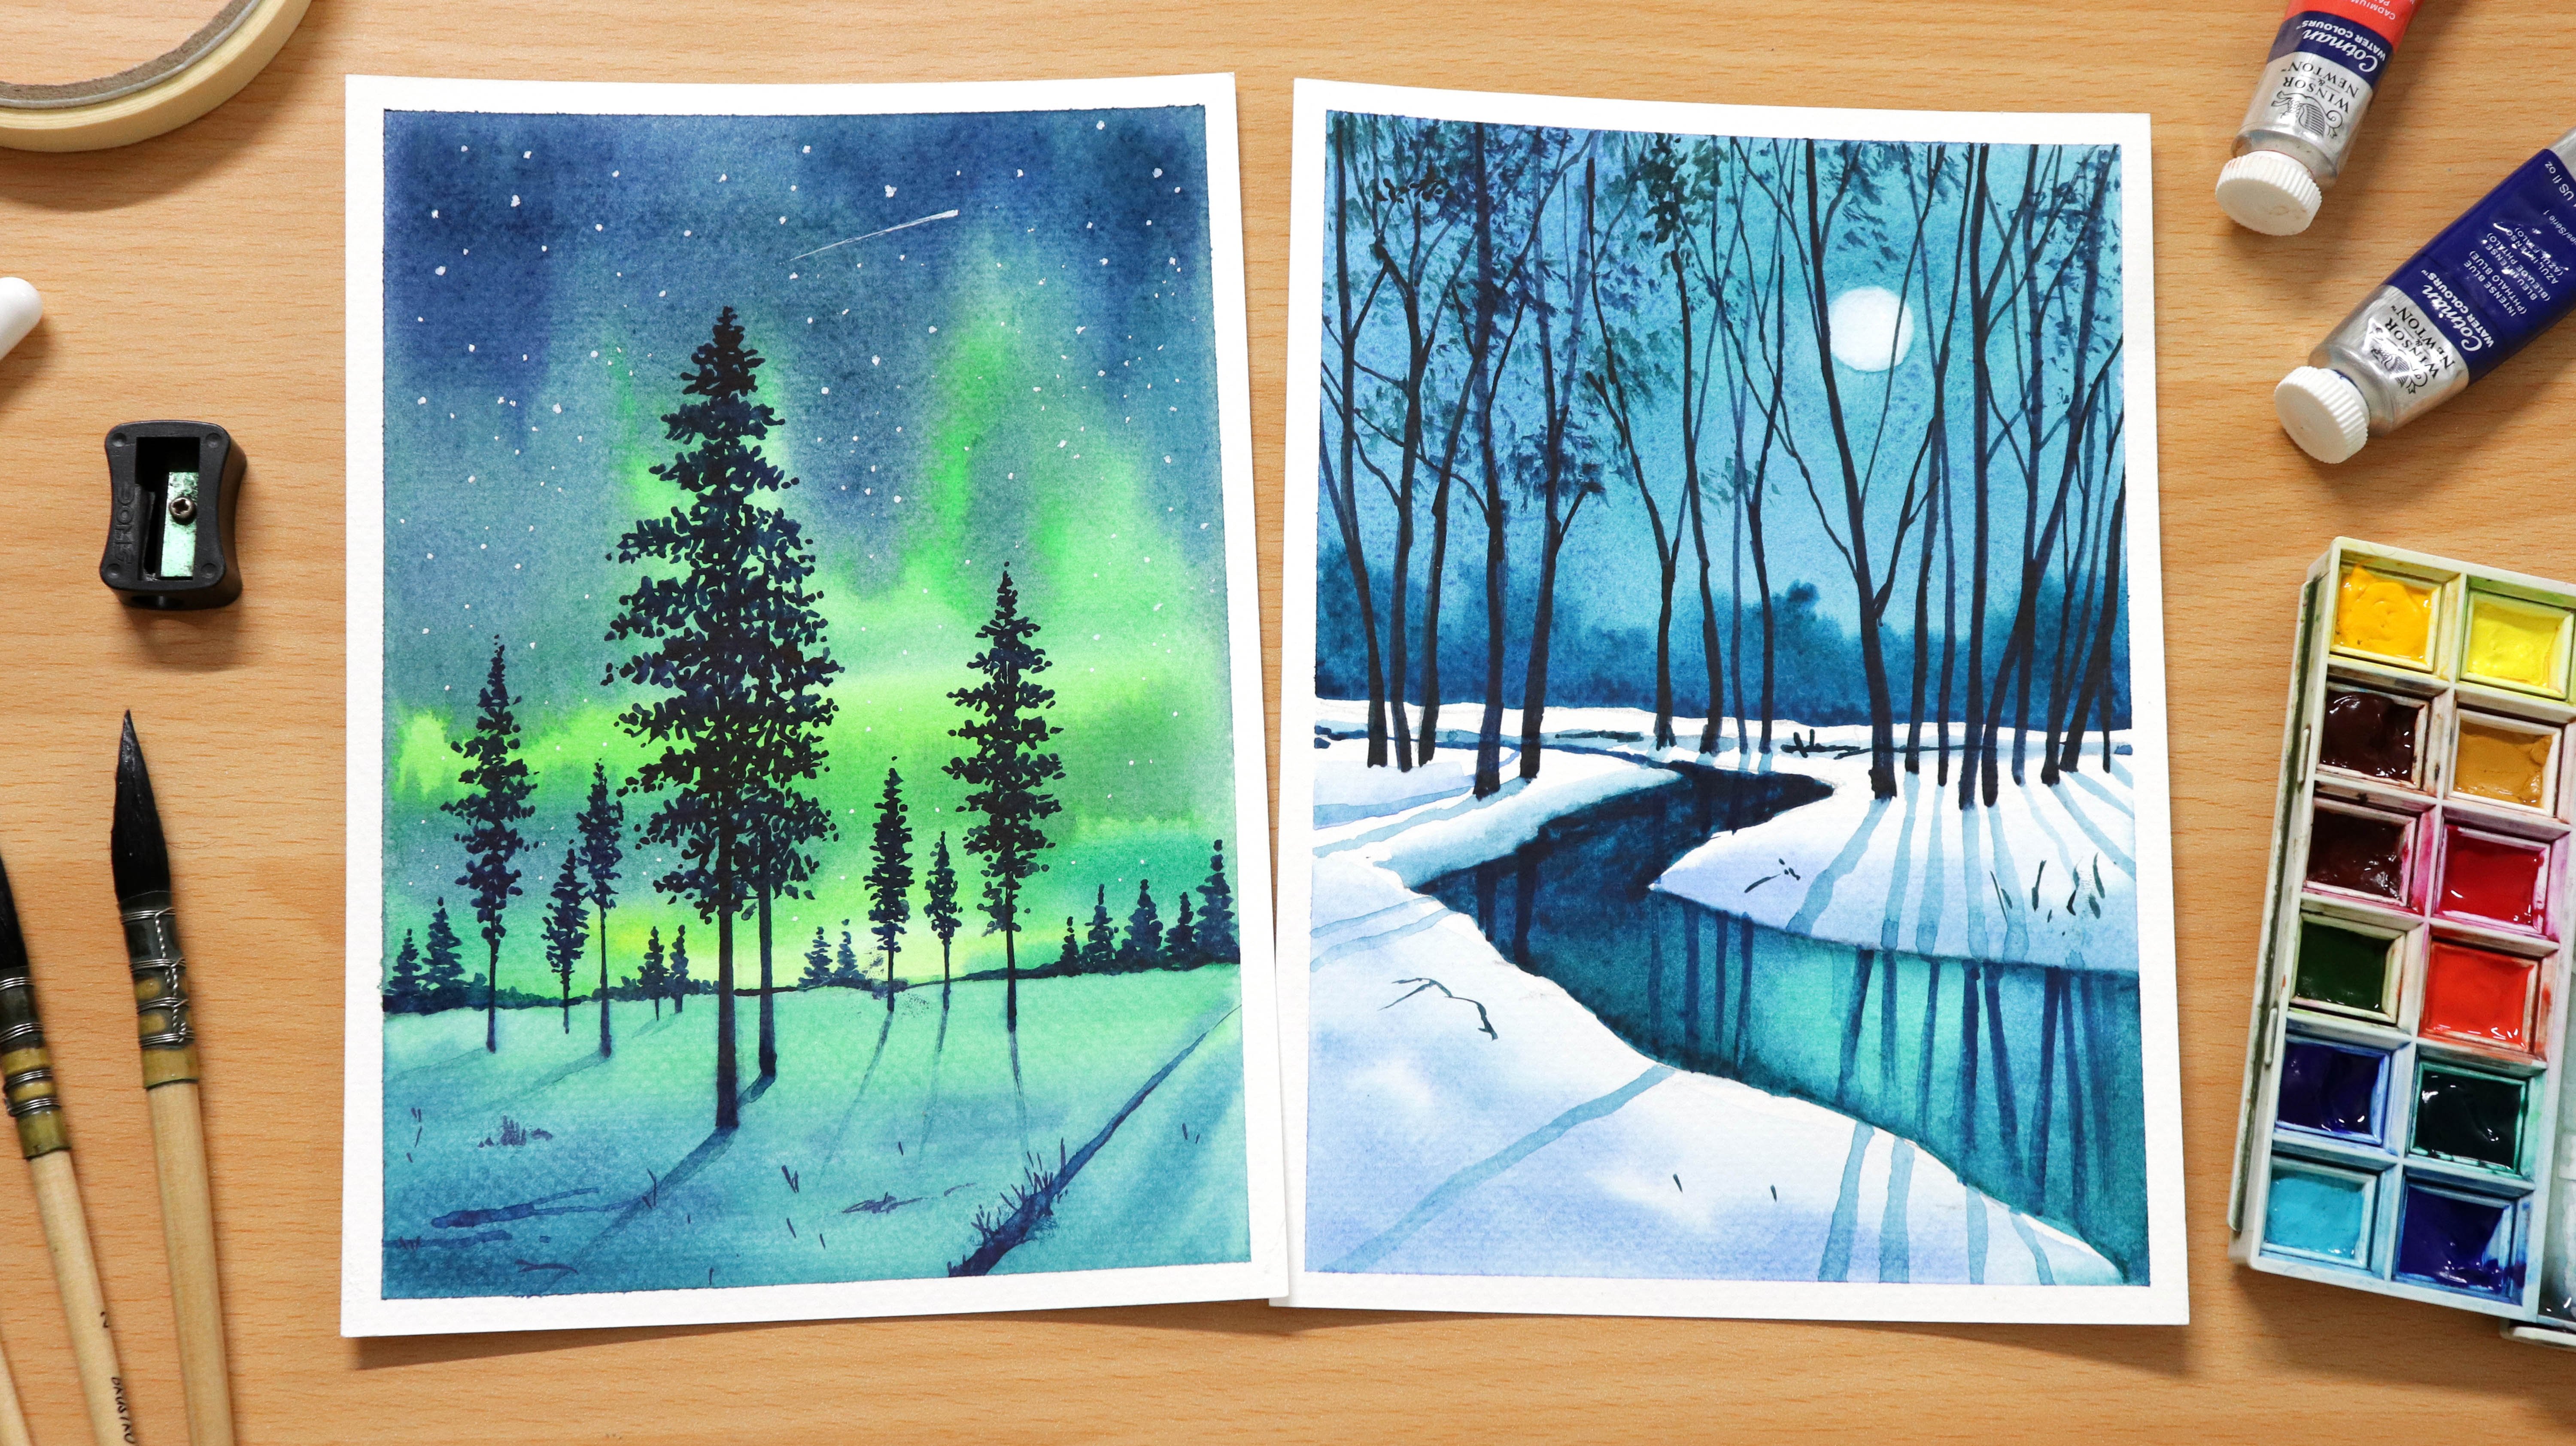
1. Introduction: Hi friends, thanks for joining the class. My name is Shiva person and I am an art influencer instructor and I UT both from India. This is my first skill share class and I'm very excited to share my beautiful painting with you all. In today's class, we will be learning how to draw a beautiful forest and idea. I will be giving you some step-by-step guide and walk you through my materials so that you can also follow along with me. So without wasting time, let's get started.
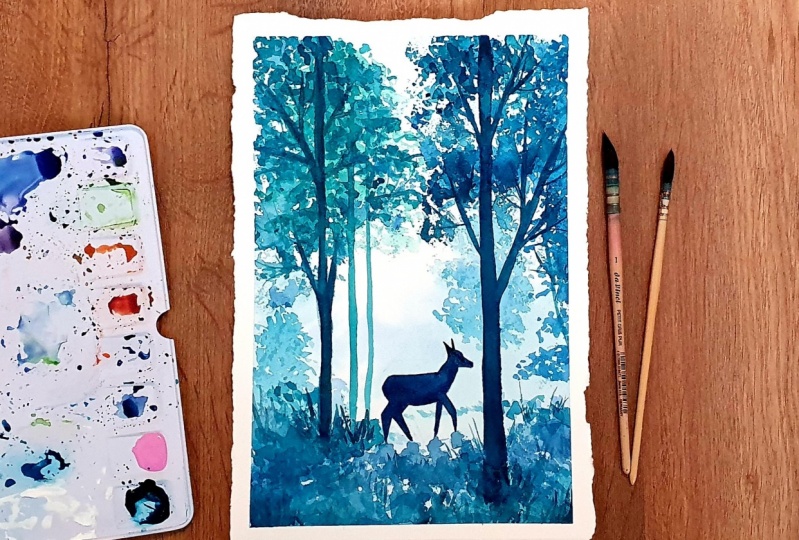
2. Art Supplies Required: Hi guys. And this part we will see what are the materials I will be using to draw this beautiful painting for the colors I'm using when sudden Newton watercolour means these are the set of 2l sheets. For the brushes. I'm using three mop brushes and two synthetic round rushes. The paper which I'm using is a cold pressed people, 300 GSM, twenty-five percent cotton. A simple masking tape to tape down my paintings so that we could get clear edges at the end of the painting. A tub of water to clean my brushes and a hair dryer does a small tip, but you can even use to tub of water, one to clean the brushes and the other one as a mixing medium. In this painting, I'm working on a very less number of layers. So this is a reason I'm only using one type of water. But I would say you should definitely choose to double photo. That would help you a lot.
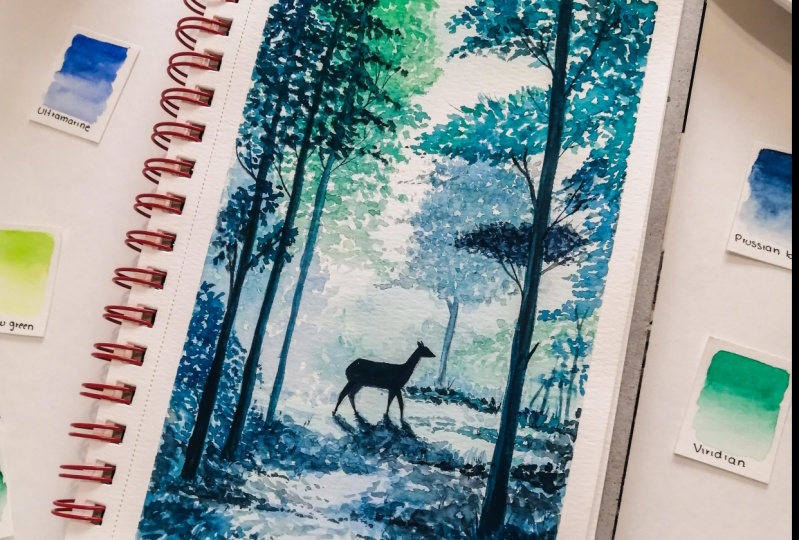
3. Working on the First Layer: Hi guys. In this part we will work on the first layer. So before starting the painting, I will apply masking tape all around the people. This is very helpful because it reduces the buckling of people and even helps him getting a clear boundary. So this will help us to increase the beauty of the painting aswell. Moving onto the painting, I'm starting with the brush number four. So this is my brush. And more pressures are very good for watercolor paintings because it holds are very good amount of water. So in this painting we will be using a wet in wet technique. And this is the reason I'm applying a very good amount of water at first to the paper to make it totally wet. So now it's time to apply colors for this, I am mixing we didn't green with ultimately in blue and we will apply it very softly. So this will be a very w here. So try to mix a very less amount of color pigments with water. And as we will progress, we will slowly increase the amount of saturation by increasing the amount of color pigments into the water. So draw the ground. I'm increasing the amount of ultramarine blue with viridian green before applying it. So we will try to draw the trees are the same colors that disability and green out ultramarine blue and the people is still wet and dry it very loosely just to mimic that the trees are there that are distant. So this is all about the first layer. I hope you have enjoyed the process. So see you in the next video.
4. Building up the Enviroment: Hi guys, welcome back. In this part we will build up the surrounding that as the environment for the colors. I'm using the same set of colors, that is viridian green mixing with ultramarine blue. For the brush, I'm using brush number two, that is the mom brush. This time I have increased the amount of saturation by increasing the amount of color pigments mixed with water. So they will try to define the tree a little bit by eating the leaves in detail, but in a very loose form. So for the radiation leaves, so we can either increase the amount of ultramarine blue or viridian green before playing it. You can see as I'm moving down the Bian Deng, I'm increasing the amount of ultramarine blue. This is only because the ground gets a very less amount of light from the Sun. So the dense to look up by Docker. Even for painting the trunk, I am using the same set of colors, that is viridian, green, and blue. So moving on to the second tree, we will draw it in the same way. When we use different shades of color or when we try to bring in variations in color, this help us to increase the interests of the painting as well as it looks very appealing to the eye. So I would say Laker, if you, if you can experiment, you should definitely try tried to increase ultramarine blue at some places. And at some places you can try to increase the rewritten green. But I would suggest to when you increase the ultramarine blue, tried to increase it only at portions which are closer to the crown that will make your painting look more interesting and more real in nature. For the ground, we will be using the same technique that we have used to draw the leaves of the tree. The only differences that we will move the brush in the slant v in direction of the glass so that it appears to look like a glass. In this portion ARMA increasingly amount of Altermatt and load. This is only because the things which are closer to us, they dense to look more saturated and very defined with a good amount of contrast. So by adding this to the painting, and that is the ultimate in blue, I'm making the painting look more natural and rarely find. So this is all about the painting. I hope you have enjoyed the painting. See you in the next spot.
5. Adding Definition by Adding Trees: Hi friends, welcome back. In this part we will basically draw the tree. And for this I am using the same set of colors. That is ultramarine blue mixed with viridian tree. And the brush which I'm using is a mob brush number. To this end, the colors will be more saturated. We have to mix a very good amount of color pigments with water before applying it. And the reason we will be using more saturated version of colors as because this three is close to us. And as the things that appears close to us a vivid and make it more dagger. But he tried to increase the contrast and even their saturation level. So you can see I'm bringing in some lady she enough colors by using a good amount of ultramarine blue at some places. Try to hold your brush in a very loose way, otherwise you will fail in getting those confidence strokes and the leaves look more natural. As explained earlier, tried to bring in variation by increasing either the ultramarine blue artificially didn't dream at different places. And as we will move down the painting, we will increase the amount of ultramarine blue that will help the painting look more natural and more beautiful. So this is all about this, but I hope that you have enjoyed making this beautiful tree. I hope to see you in the next video. Thank you so much.
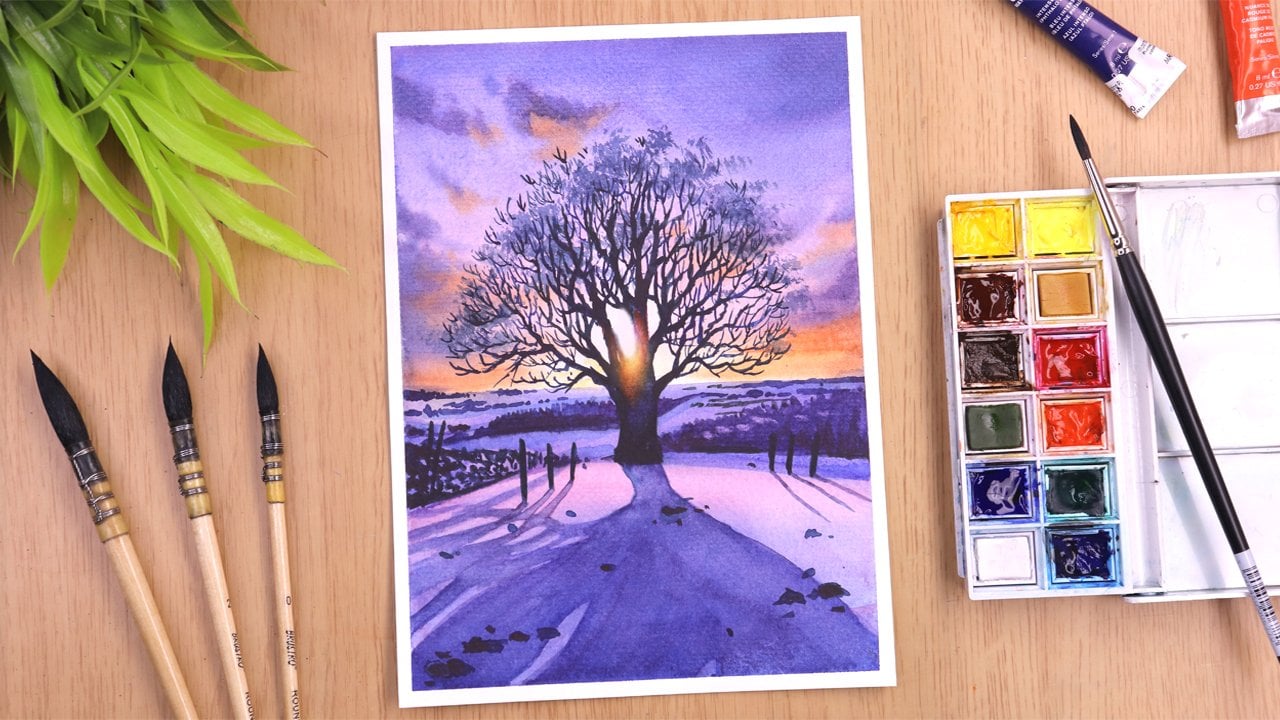
6. Changing Color of Trees: Hi guys, welcome back. In this part, we will draw a tree which is a bed light in color, and the brush which I will be using my brush number two, the colors that I will be mixing together is lemon yellow mixed with viridian green. And we will try to maintain a good saturation of color. So there are three pops out well. So while drawing the tree, tried to keep your brush a loser, but so that we can have some natural strokes which are pleasing to our eyes. So as we will move down the tree, we will add more of the ultramarine blue to the mixture of lemony green. So this will help our painting to look more natural. So you can see like I've just changed my address to a synthetic brush number two, this has to draw some decaying leaves using the same Colombia that is lemony alone mixed with viridian green. So this is all about the spark. I hope that you understand how to draw this beautiful tree. So let's move onto our next part. We will be doing more of the trees. So I hope to see you there.
7. Painting Trees in Detail: Hi friends, welcome back. So in this part we will work on the details of the trees. For this, the brush which I'm using as a mob brush number two. The colors that I will use is in dense Bluemix to it. Glimpse and read and read didn't green. This layer will be thicker than the previous layers. So we will be drawing the tree in the same way as we did earlier. We will just make some couscous shifts in the dilution of the leaves, as you can see on the screen. Even for the trunk of the tree, I am using the same color that is shut off or it didn't green mixed with crimson, red and intense blue. Now we will quickly draw all the leaves as well as the trunk of the tree is. One thing which is duly noted is that when we are making the trunk, we'll make it dark. Gotta bet at the edges. It's only because the trunks at DHS are getting less light from the sunlight. Okay, similarly for the glass which is close to us in the composition, we will add the same Michelle in the direction of the glass and using our simple crisscross technique. Okay. Small details here and there. So now I had been some small details here and there as you can see on the screen. So you must have noticed that this layer was a take a bag with more saturation and it's a good practice to work in less and as VM move. But the number of layers we will be using, we will slowly increase this saturation by increasing either that galloping when ought to begin to some darker colors. Okay. So this is all about this, but I hope you have enjoyed the bean dink. And don't forget to follow me so that you can get a glass. And I see you in the next part.
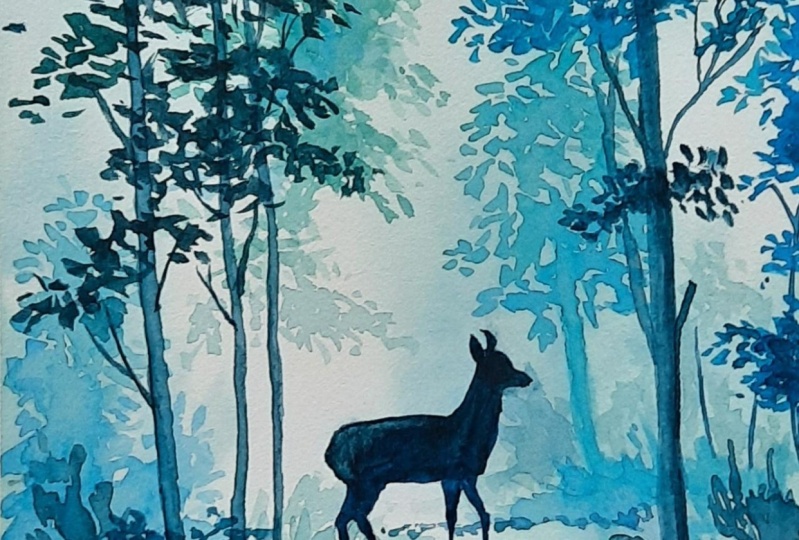
8. Sketching and Painting Deer: Hi friends, welcome back. In this spot vivid or draw a DR and we will paint it. As you can see on the screen for drawing the data, I'm using a normal mechanical pencil. Just draw the basic shape of the deal. No need to go into detail. As we know that we are drawing a silhouette so there is no need to add some finite ideas. Just draw the correct outline keeping in mind the autonomy of the DEA for painting the dram using a synthetic brush number four and the colour which I am using is really didn't green mixed with crimson red and in dense me. Just keep in mind that via drying a deer and it is not. So we will use less of Iridium green and mode of intense blue so that we can separate our data from the forest at all. So we will be applying a second layer to the next bar. But for now on letter, the first layer get dry. And I hope you enjoyed the video. Don't forget to follow me so that you can get mellitus glass to NA, upload it. And I see you in the next part.
9. Working on Shadows and Leaves: Hi friends, welcome back. So in this part we will work on the shadows and we will draw some darker leaves. As you can see on the screen that I've just added a second layer of colour to the deer to make it look up a dagger. And the colors which I am using is same as we used earlier. That is the mixture of intense blue mixed with crimson and viridian green. In this competition, the deer is the focus point. So we will making it darker. Every painting as a focus find either they had kept darker as you can see in this building. Are there kept light as in case of sunset printing with sun is absolute white. So it depends Laika, painting to painting, what we want to keep as a focus point for drying the shadows. I am using the same mixture but in a very dilute form. So using the same color that is within green mixed with crimson and in dense blue, we're really making the trunk a bit darker at DHS, just to show that the trees are getting a very less sunlight as we go down the tree. So for the branches of the tree and even for the shadows on the ground, we will be using the same color that is valued in green mixed with crimson, red, and intense blue. And I'm sure if you will follow me along the painting, you will definitely achieve in building this piece. And I hope you're enjoying this painting. I hope that you enjoyed the painting. Don't forget to follow me so that you can get milliliters class. And I see you in the next spot. Thank you so much.
10. Painting Branches: Hi friends. I hope you're enjoying the video. In this part, we will be painting some branches. And for this I'm using a rigor brush three by 0. And the colors that I will be using is intensive blue mixed with crimson red and a little bit of viridian green. I will be drawing the branches in a very random way and just draw Veritas necessary. When you are seeing a group of leaders which is hanging beside the trunk just to support those leaves. And you can add a branch. And this really even support the need of adding branches. As now I'm adding some small minute the deals which I felt is required at this point of time. I hope that you enjoyed that bending if you're dead, don't forget to write your reviews in the review section. I would love to read those and I see you in the next video. Thank you so much.
11. Final Thoughts: Hi friends. I hope you have enjoyed the class. So now it's time to remove the masking tape and reveal our bending. I hope you have enjoyed the painting and I hope you will try it. Don't forget to share your painting in the project gallery. I will be commenting and going through each one of your artwork. Don't forget to follow me so that you can get mellitus class as soon as I uploaded. And lastly, be safe, Steve, blessed and enjoy painting. And I hope to see you soon. Bye. Oh.
 Shiba Basan, Art influencer and Content Creator