Transcripts
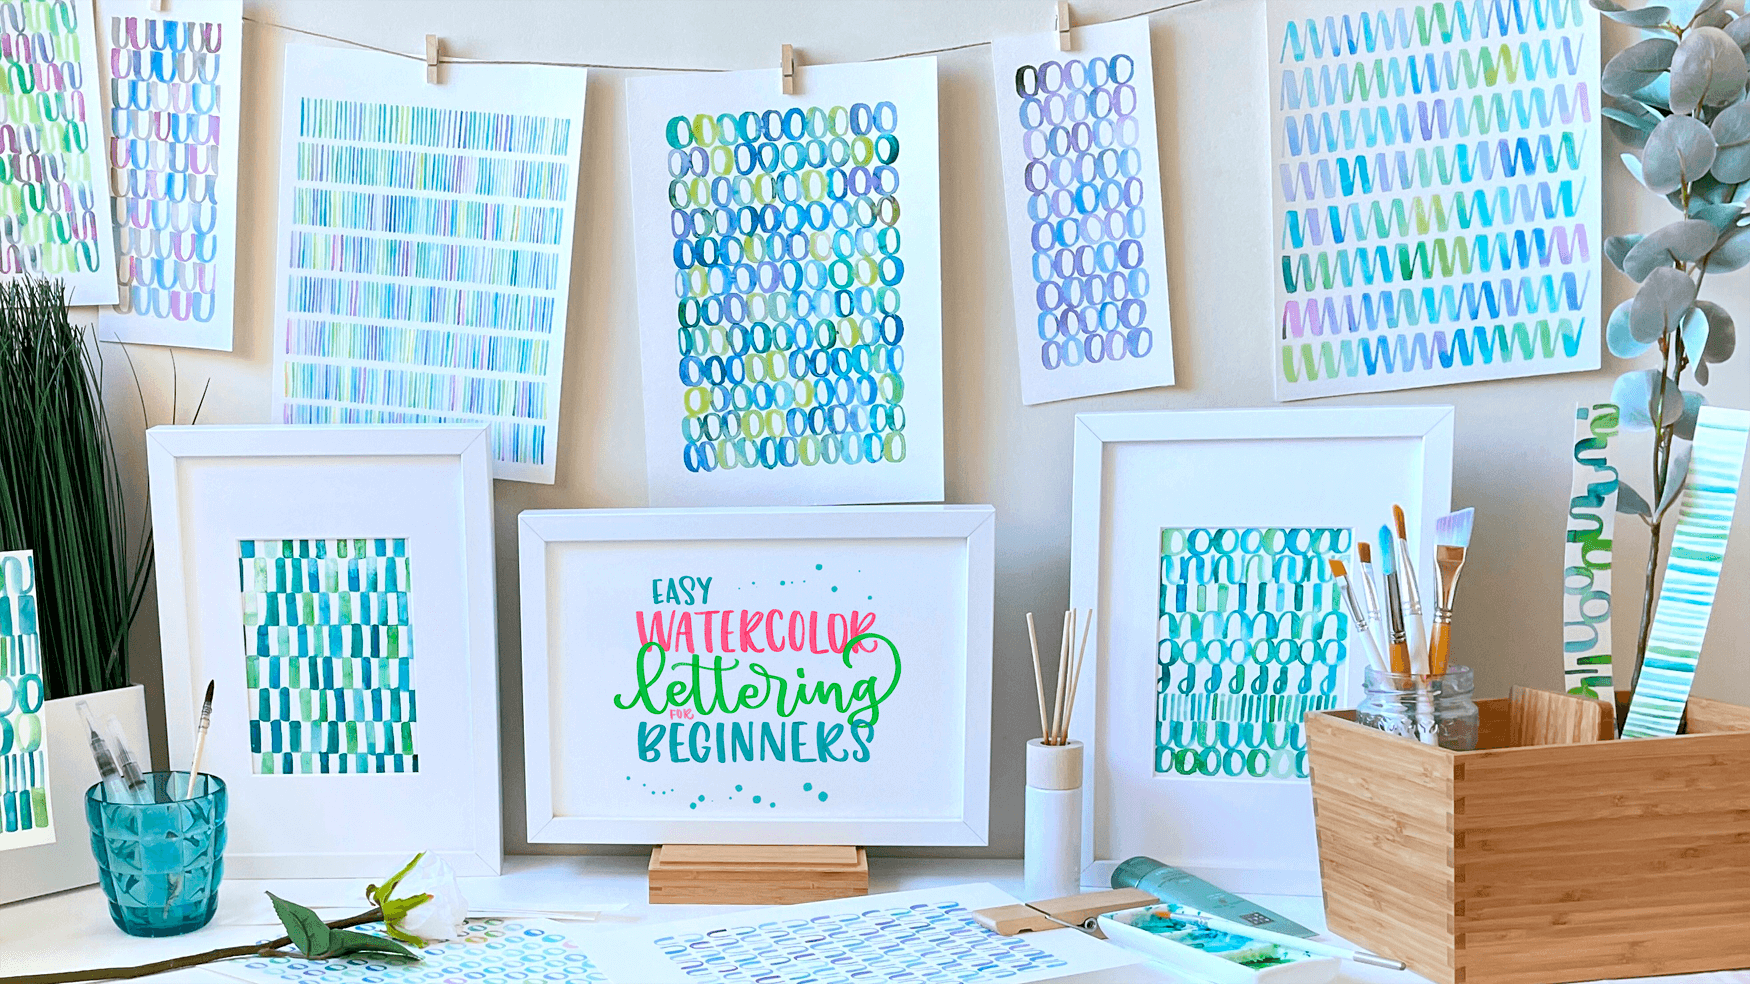
1. Introduction: Hello. I am Cristina, and I am very happy that you're willing to learn watercolor lettering with me. I am an artist, I live in Spain and since I discovered brush lettering my life changed. I've been teaching lettering both with watercolors and with markers, and it really opens a whole new world of creativity, that's what happened to me and I hope that this happens to you too. Learning brush lettering is all about consistency in your strokes, but many people skip these steps. I really encourage you to take this class as a relaxing moment for yourself, we are going to be repeating very basic strokes, but these are the main pieces that form each letter. By mastering these strokes is when you're really going to be able to be creating beautiful pieces with your letters, with watercolor and also learn to use your brush. I know that learning brush lettering can be a little bit overwhelming at the beginning, and maybe you have tried to on your own, and you still don't get it. But I can tell you that if you follow my system which is a step by step system, it's very easy to follow and it will give you a great base to start making your own letters. Also, I have prepared this class in a very relaxing manner so that you take this time for yourself, you can listen to some music in the background and just be following and repeating the strokes. Painting with watercolor is also very calming, so we are both learning a new skill and at the same moment we are just taking some time for ourselves and to relax a little. I can't wait to show you how relaxing and fun learning watercolor lettering can be. Get your watercolors and join me in this class
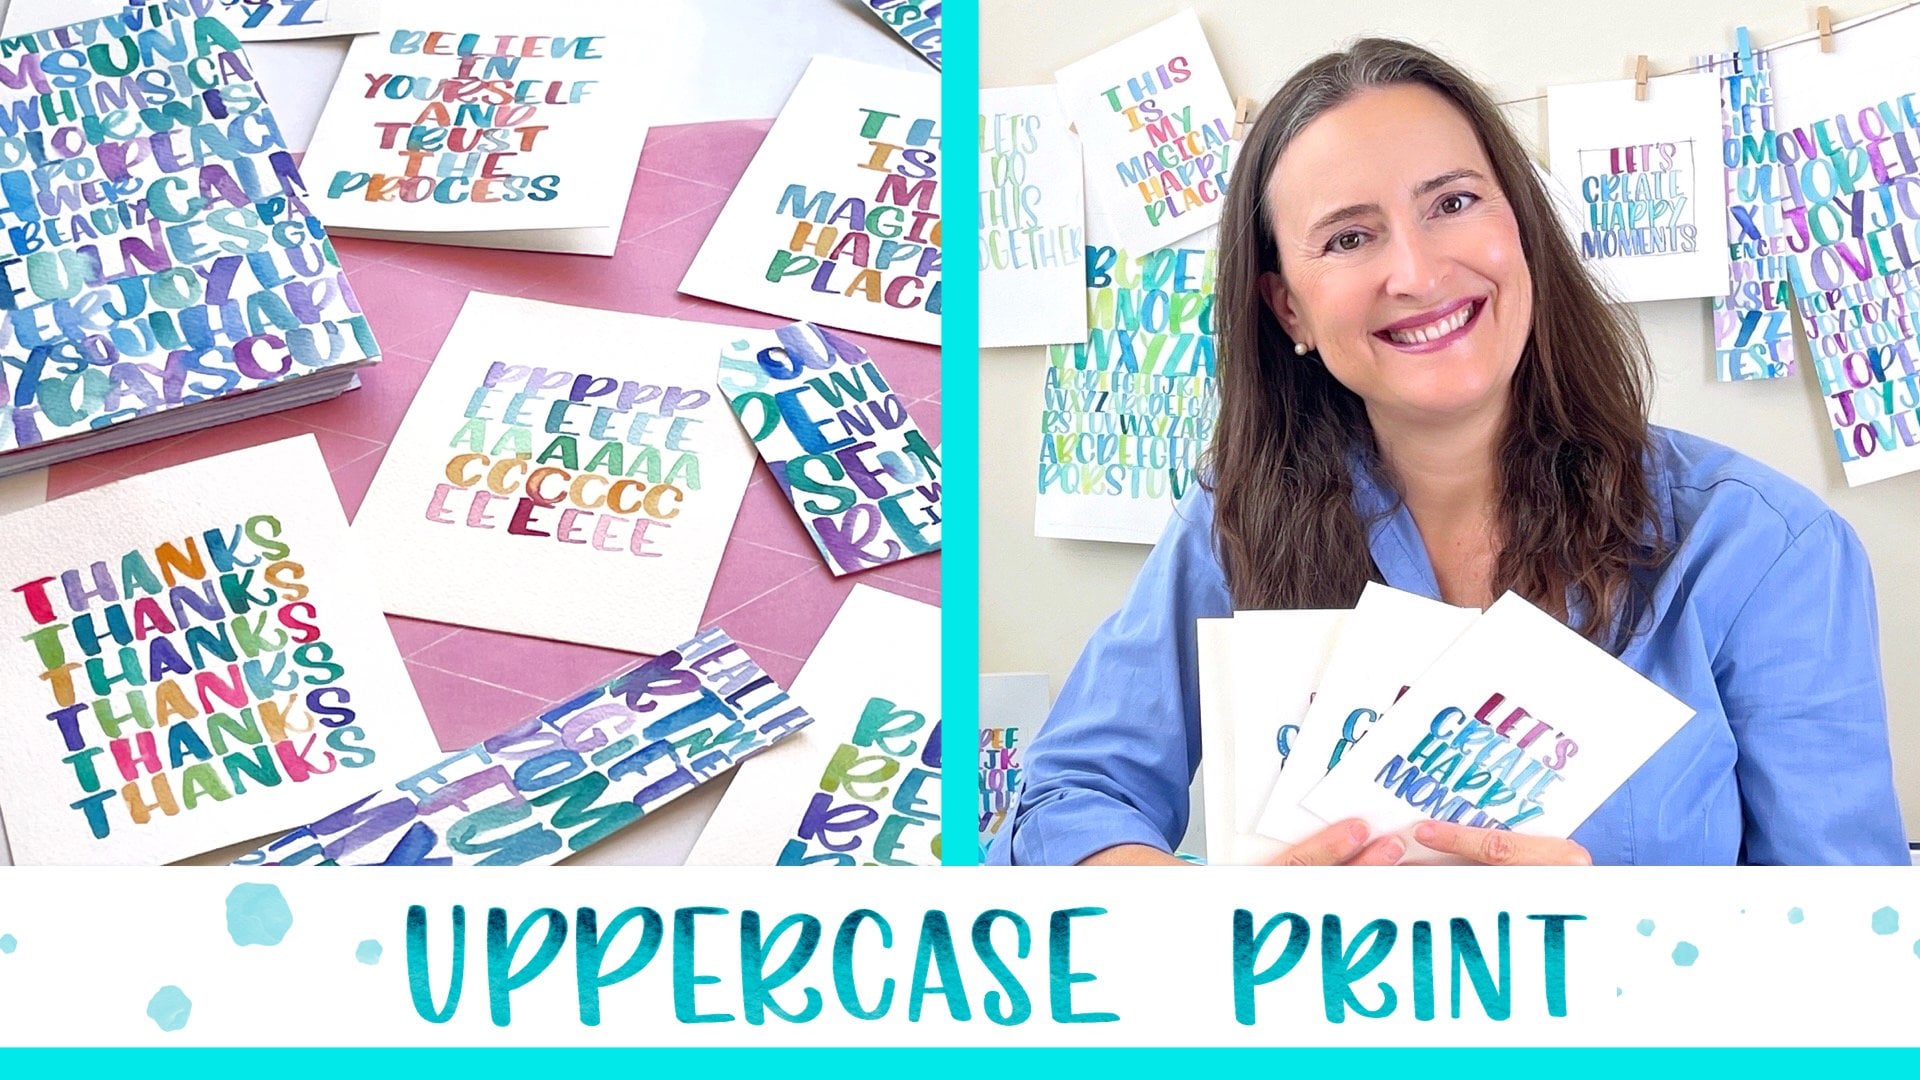
2. What You'll Learn: When we do watercolor lettering, our letters are not formed the same way as if we would use a pencil or a ruler marker. We have to make sure that each letter is made out of their proper strokes. That is what we're going to be learning in this class. By mastering these strokes just by themselves, you will be much more ready to start making your own letters and words sooner than you think. Also, all our practices will turn out into beautiful abstract pieces of art that you can just keep for reference or just reuse as a decorative paper. You will see that there are many things that can't be done just with our watercolors and repeating these simple strokes. The exercises in this class are quite simple once have I explained them to you. But the process is that you need to repeat them so that your hands learn what your hand already knows. That is why it is so important that you enjoy your practice then. If you enjoy while you practice, you will repeat it, and you if keep repeating it, you will master it. For this class, the materials you need are watercolor paper, it doesn't have to be professional. [inaudible] is perfect. You can use any kind of watercolors you have, either liquid or on pans or tube ones, and then you'll need one round brush, that's it. Depending on the side of your brush, your strokes will be bigger or smaller, but that's something I'm going to be showing you during the class. You will need two jars of water, some paper towel, and also a palate or a plate to mix your color and to have them handy. Since we are going to be using watercolor paper, it's not that easy to prepare templates to just paint on top. So what I have prepared is a system with lines and also some templates you can print. I will explain to you how you will have to fill inside these lines and repeat each of these strokes. Under the Project and Resources tab, there are some templates that you can download. Two of them are like an explanation of each stroke so that you can have a printed guide to have handy and take a look at your strokes while you are practicing them. The other two templates are just like reference so that it's easier for you to prepare your paper beforehand and have the lines prepared. If you have everything prepared beforehand, you make things easy for yourself, and then you will be most eager to practice. I enjoy [inaudible] to creating these pieces of art, which I made just out of basic strokes, but then let us create our letters. I really hope that you enjoy this class. It has many benefits for you, not only for your lettering skills but also for relaxing time and just taking some time out of the real world and give it to yourself. So in the next lesson, I'm going to teach you how to prepare your paper, and then we will be ready to start. I am very much looking forward to do this with you because I enjoy these strokes so much.
3. Prepare Your Paper: Before we start practicing, please go under your Resources tab and download the provided PDFs. There you can find several templates. One of them is called Basic Strokes, and it's talking about the main lines. I want you to pay attention to these because although we are making repetitive strokes and it's just like an abstract composition, I want to make sure that you understand why we're doing this. The main idea is that all of our strokes are inside these two lines. Then some of them will go above and will reach the ascender line, and some of them will go below and will reach the descender line, but all of our strokes are inside these two lines. That is why it's important that we prepare our paper with lines that we can fill in with our strokes. I'm going to give you now some ideas to make things easier for you. You have two templates to download. One says, "Print & Trace," and the other one says, "Print & Cut." Well, the reason for this is that if you print this one and cut it out and take out the middle piece, you will have something like this. Imagine I take this out. If you place this on top of your watercolor paper and you hold it with some pins, then you only have to take a ruler and join the lines. This way you can easily have your paper divided in lines. This idea is great also for our final project because this is what we want to achieve; to make one of these pieces of art and then we can even frame them and have something as beautiful as this, but it's easier for you if you first have your lines done. Remember that when we are painting with watercolors, when you paint over the pencil, you won't be able to erase it. You can draw very light and thin lines, even erase them a little bit before painting, but that way you will have a line to follow. Another way of doing this is using the other template that is called Print & Trace. If you have a light box or if you have an iPad or another tablet, all you have to do is take a piece of plastic or something that prevents your iPad from reacting, and open some app that has a white page. There you place my template, and now you put your piece of watercolor paper. The thing is because my light is turned on now, you can't see anything, but I promise that if you go to a room where there is no light, the light from the iPad will reflect and you will be able to trace these lines, and using a ruler, we'll be able to do it that way. Another way you can do this is just by measuring it yourself, but my favorite way is to have some pieces of paper to the size that I want my lines to be, and just take one piece of my watercolor paper. I will only have to measure one, more or less, to see where the half of it is, more or less. Remember we are doing this to relax, we are doing this to practice. Now from this central line, all we have to do is, imagine I want my strokes to be this width or this height, you place it here and you draw another line. This way, I think this is the quickest way to prepare your paper. I highly recommend that you prepare your paper beforehand because this way you will easily practice when you have, I don't know, maybe 20 minutes a day or something. It will be easier for you. Also, if you want to work with smaller pieces of paper, it's also quite recommended. You can place a little bit of washi tape around. This way when you finish practice you can take your washi tape out, and you will have your piece of art already framed. Now that you have downloaded the PDFs included in the class, I am going to tell you a little bit more about the materials we are going to use. Remember, use what you already have at home and just enjoy the process.
4. Materials & Basic Techniquess: Now let's talk a little bit about the materials we're going to use in this class. You only need one round brush. They are called round brushes but they end in a fine point. It's better that you use synthetic ones instead of natural ones because the bounce return is much better if the brush is a little bit harder. Watercolor, you can use any kind of watercolor. If you use watercolor in tubes, it's better that you place them on a pallet. If it's dry because you have not used it for a while, all you have to do is spray a little bit of water and wait for a couple of seconds and it's ready to use. Also, you can use liquid watercolor. The way of placing them is you need something like this and you take a little bit. These kind of pallets with deep wells is very useful for this. You take a little bit, and you just drop a couple of drops inside and then you can add a little bit of water. Now you clean this very well and you can pour one drop of water on top of the dry ones so you can reactivate the watercolor and start painting it in. Also it's useful that you have a piece of paper towel and two jars of water. Now talking about brushes, I would also like to talk about the paper. The reason for this is that when we're doing brass lettering, we want our strokes to be defined. If your watercolor paper is too rough, then it will be harder for you. I'm going to show you the difference. This piece of paper I have here, it's Canso XL watercolor paper. Now I'm going to also use this Winsor & Newton water color paper. Both of them are students grade. You don't need to make a great investment in professional water paper, it's not necessary. I'm going to dip my brush in water, rinse a little bit on the ends of the base. I will take, for example, this red one. I like to use ceramic palettes because it's very nice, the touch of the brush. It's good to have it handy. You can also add some more water if you need it. With this paper because it's quite smooth, when I make a stroke, and I hold my brush like this, I can make sure that all the paper will be covered with the watercolor. If I do the same with this paper, normally, the grain will show through, see? This paper is great for other projects, but for watercolor you need a paper that it's smoother. You could do it with this one too, but then you would need to put more water. Still you would have to go over it more times. The size of the brush will determine the size of your stroke. That is why in this template, you can use it as a reference and try to see which would be a good size. I'm just telling you this so that you bear in mind that you need a brush that easily recovers its shape, because we are going to be playing with making more or less pressure on our paper. There are also these kind of brushes. These are very, very useful for lettering because they are going to make things much easier for you. They already have the water inside. You just have to take a little bit of color just like the regular brush, and then press a little bit. When you want to make a stroke, you will never run out of water because the water is inside of the brush. If you want to be practicing lettering and you find it quite hard with a regular brush, remember that you also have this option. Also, I wanted to talk about watercolor technique. Mainly when we paint on a dry paper, we can make well-defined strokes. We can make them wider. But when our paper is already wet, then water color mixes and tries to find the color that is next to it. If I paint next to these, see? The color is going to mixed with the thing that we painted before. I'm telling you this because when we are going to be making our exercises, you can decide whether you can just place one stroke next to the other so that they don't touch and colors don't mix. Or you can use this watercolor technique to just get these effects, which are very nice when colors gets mixed together. The whole reason of this class is that by practicing, you just have fun, relax, and also know better how watercolor works. Now we have all our materials ready and we are going to start practicing our strokes.
5. Downstrokes: In the next lesson, I'm going to teach you the thick downstrokes. The main rule when we are doing brass lettering is that downstrokes are thick and upstrokes are thin. That's the main thing you need to remember now. Let's get started with our first strokes. Now, we are going to start with our thick downstrokes. Please have this template handy because it is important that you pay attention at the starting points which are marked with our two quiet circle, and also to the direction of the arrow because this is what you need to practice. For example, thick downstrokes always go from the top of the line until the baseline. We are practicing this way and also when we make it diagonal. I want to show you some examples of how your final works can be with only this simple strokes. The main reason for showing you this is that by practicing, you will achieve more control of your brush. If you can enjoy and relax by repeating this exercises, you will not also end up with this beautiful prints, but also you will develop your skill for brass lettering. What you have to bear in mind is that we get our brush wet. You need to be holding your brush, let's say 45 degrees against your paper so that you can then go ahead and press, because the difference here is the pressure we make on our paper. It is also handy to have a spare piece of paper where you can try your color, see if you have too much water or if you have too little water,]. That way, you can make sure you have the right amount. What we do is we place our brush on the paper. If you wait just for 1/2 a second and then pull down, this will make your stroke much easier. You can always go back and just make it as beautiful as you want, but this little moment that you step there helps the water follow the paper. It's even better than if you just go like this because you need to do it slowly. We take color, you just place it on the paper, wait for a little bit and then pull down the color and the water. This is the exercise you have to practice. I like to work with three colors. This way, I know that my end piece will have a combination of colors. I can even mix them or add more water. But at the end, I will have a piece of paper that then I can cut or I can turn into labels or things like that. It doesn't matter, it's not perfect. You don't have to make perfect rectangles. All I want you to understand is the way your brush has to move. When we go down, we wait for a second, then pull the water down. We try our stroke to be the same width throughout all the track, but it doesn't matter. We're doing something that is handmade and the beauty of it is all the imperfection that is going to come out from the watercolor itself and also from your stroke. Also, try to hold your brush as high as possible. Every time you can't control it, it is better than you hold it as high as possible because this way you are making sure that your movement comes from your elbow and not from your fingers. It has to be from your wrist, but it's better if it is from your elbow. You can put some music or some podcasts you like to listen to and keep practicing this simple downstroke. Also, change if you have several brushes because the result can be different when you change from one brush to the other. Here we are not only practicing the vertical downstroke, but we can also practice now the diagonal one, which is we do the same. We place our brush 45 angle degree here, and we wait for a second, and then we pull to the right and we stop. Again, we change color, we try to make things beautiful for us, we press, we wait, and we pull. If it's too light, we can go back and place some more color or just leave it in a lighter shade. I'm going to be trying now with this so that you see it's easier because we don't have to go back to the base and get some more water, we just press and pull down, and we wait there because we want this side to be straight. Again, make sure you're doing it like the paper is on your left. You're not doing it from below, you're doing it from the right. In case you're not left-handed, like so, and you can always go back and redo a little. Press and pull. This way is how you're going to be learning how your brush works, how your watercolors work. Then keep this pieces of paper because at the end of the class I will teach you how you can use them. This is good to keep. Let's continue now and see what happens when we do our strokes from down, and we do them upwards.
6. Upstrokes: Now, we are making the thin upstrokes. These strokes, although they are straight, which are much easier than the rounded ones, they're a little bit harder because going up, it takes a little bit more of control from your part. But at the end, you can have these beautiful pieces that you can frame and well, enjoy. It doesn't matter, you can make them as thin as these or a little bit wider. But the main important of this exercise is that you do the movement upwards. We are going to practice this now. Again, we try to hold our brush as high as possible, but now, to make the thin strokes, we need our brush not to be 45 degree but a little bit more upright. This way, it will be easier for us to control our stroke. Also, if we stop just for a second, this helps the water move upwards and it's easier on us. Another good thing of practicing these exercises is that you try to make them all at the same distance because this is something that will train your eye, so when we start making our letters, this is also helping you to place the letters at the same distance. A good trick is that you take a deep breath in and then when you release it, you make the stroke. This is also very calming and relaxing. But remember, although they might seem the same, the important thing here is that you actually do the movement upwards. You can get the same result doing this, but then you're not teaching your hand to go upward, so you have to do it both ways. I hope you take one of these little pieces of paper and fill it with these upward strokes. Even though they might seem hard at the beginning, I can assure you that if you keep practicing, eventually you will master them. Now, we need to practice the diagonal one. If you take a look at the template, you will see that, in this case, we go from left to right. This is because these two strokes, for example, we will be using them to make the A. The thin one goes like this, and then the thick one would go like that. That's why now we need to practice the thin upstroke diagonal. If you put too much water, it's harder to make it thin, there. This is something you learn by practicing and also by getting used to your brush and to the paper. Try to end it in a straight line, like that, but this is straight. You got to take some more water and make it a little bit lighter so that you have different values of color, but you're still practicing the upwards movement. I hope you like these and you practice these upstrokes. Now, we're going to be starting with the curves, but don't worry, they're also easy if you do them slowly.
7. Understrokes: Now you know how to make both the upstrokes and the downstrokes, vertically and also in diagonal mode. Now we're going to start with the curved strokes. The main thing here is that you need to pay attention at the transitions. It all goes about the transition because we are going to be doing from upstroke to downstroke, and from downstroke to upstroke. Well, maybe it seems quite complicated now, but I can tell you it is not. Just pay attention to the things I explain in every video because it is important that you look at the starting point of each stroke and also the direction of the arrow which is the direction you need to follow with your brush. Let's get started. Now we're going to start with our first curved strokes, which are the understroke. Please refer to this template and make sure you understand well where you're starting point is, which is marked with a turquoise circle, also pay attention to the direction of the arrow. Now we are going to be practicing this understroke first. This would be the one we use, for example, for making the letter U. If we have this stroke, and then we add the downstroke we just learned in the previous lesson, we have the letter U. This is one stroke you're going to be needing for many letters. The reason why I told you at the beginning of the class to prepare your paper beforehand is because it's much easier if you already have the lines. These lines are just for reference. You don't have to worry if you don't reach the top or the bottom, it's just so that you have some guide and try to make them as similar as possible, but be gentle with yourself. We are just starting and the important thing here is to enjoy. If you enjoy, you will practice and if you practice, you will master it. One thing I want to explain to you is that here we start with a downstroke, which converts into an upstroke. There's a moment where there is that transition, which means you need to change the pressure on your paper. When we do a downstroke, we maintain the same pressure throughout the stroke. When we do an upstroke, we do the same, only that in the other direction. Now, we need this stroke to start going down, and here, there is a transition, and becomes an upstroke. The point you have to think of is right here because what we want to achieve is that these two strokes are parallel. We don't want things like these. We want strokes to be parallel, and we want this to start thick and end thin. There is this area where you have to stop making pressure and just move upwards with a little pressure on your paper. Also, one important thing is that you have to consider the middle of the stroke. I'm going to repeat this again so that you can see it better. This area that is between the two pieces of the stroke, this line has to be thin. That is why it's around here where you'll have to stop the pressure. Make sure you don't do things like this. Let me see if I can do it. Now, if you do this, you are making this thick and you have to make sure that part is thin so that this area can breathe in your letters. That is the difference that is going to make your letters beautiful when you start putting all the pieces together. That is what we are going to be practicing now. Here you have to hold your brush at 45 degrees at first, but then you have to lift it a little bit. Remember when we were doing our upstroke, our brush was more upright, so we press down, here we start to lift, and also we put our brush a little bit more like this so we are not pressing against the paper so much. Make sure both your strokes are parallel. We stop a little bit. There water comes on, there, we start making our transition. This can be hard at first, but don't worry. By practicing, you will get it. Here if you want to, you can place the next one, tainting the color so that we have the colors flow and it is a little bit more interesting to see how colors mix. That way you will want to keep practicing. We can change the color again. We press our brush against the paper and we pull, and here we start lifting, and we end up with a thin stroke. We follow with the brush, the whole movement until we reached this line. We don't do things like this. No. You want to go with it all the way so that you control the stroke and you make sure you are making everything from start to finish with intention. That's why this is so relaxing, and why lettering has so many benefits for you. Because it helps you concentrate and also it helps you with your breath, and it is just beautiful. Now, we're going to practice the other one. This is also an understroke, but this would be like, for example, the end of our J. What we have to do is place the brush, go down, and here we stop making pressure. In this case, what we want is to make sure that our stroke goes down, and here we stop making pressure and we lift. The transition would be here. At the same time, we are having both our strokes parallel and this area is light. We don't have a thick stroke here. We don't do this, and we don't do this. No, no, and yes. This is for all our strokes. We have to go with them until the top or until the bottom, but we have to go all the way through. It doesn't matter if at the beginning they don't turn out as you wish. But that is part of the beauty of this process. See how many you have to make? In this case, this would be the first one, and this is the other one. See? They are different just because of the starting point. This one started here and went this way, and this one started here and went this way. The beautiful thing is that you practice and you end up with these paintings. Also, even when you master it, and even when you just are making your own letters, these exercises help you with your skills and getting in shape, and also it's like our warm-up before making your letters. You can keep on going and fill your piece of paper. In this case, for example, what I did, was mixing other colors, and I wanted all the colors to be mixed between them. There are many ideas you can use in order to enjoy your practice. Now that we have practiced with the understroke, let's go and see what happens when we start going upwards and then going downwards.
8. Overturns: Now we're going to be practicing the overturn. This one is much more used. This one is used, for example, for letters like h or n. This one we only use it for f. But I still want you to place it here so that you know the difference, and although they might seem the same, you make sure that you're starting at the right point and you're following the arrow in each case. If we had a downstroke and then we make an overturn, we end up with an n, yes, you guessed it. It will be marked like this. Also, if this downstroke is higher, and longer, then when we mix it with this overturn, we have letter h. I want to show you this so that you understand the importance of mastering these basic strokes just by themselves. Because when we do watercolor lettering, letters are not done as when we just have a pencil and make them one by one. They are made by strokes and they are linked in a different way. It's important that you master these separately from the letters. What we want is to have one stroke that starts thin, so it goes thin upwards, and then it turns into a thick downstroke. Let me show you this again because I want to make sure you understand the transition because that's the important thing. We go up. Both of them are parallel and here we start to make pressure. Here is where the transition is and where we have to make more pressure. That way, we have these parallel and this line is still thin. We start thin stroke upwards. We turn the curve and here we start to press down. If you want to, you can put one next to the other and see how the colors melt or you can do them just by themselves. When we do the upstroke, we put our brush a little bit more upright, and then here we go down. That's why it's important that you have room to move. Also, if your table is a little bit lower, that will help you with the movement. These are, for example, all of these are the same. Although if you turn them round, they could be an under stroke. Again, the important thing is that you practice them in order because you want your hand to learn the movement. It's not only the end result in this case, but also that your hand learns the right movement. We're going to be practicing now the other overturn. This one is only used for example, when we do letter f. This is the stroke we would do to have this letter f. Again, we start light going up. Do it thin, and here we start to make in the pressure so that our transition is here. We keep our strokes parallel, and this line is always thin. This is something that is common to all of the strokes, all of the curved ones. I start thin and I go up, move to the left and press down. You can go back and amend what you need, don't worry. We're just practicing and mixing colors and having some time for ourselves where we don't have to think much just to be concentrated in doing something we enjoy and just to relax and see what happens and what comes out. Now we have finished with these single curved strokes. Now we're going to start with the ones that have a double transition because what we're doing is we're mixing two strokes in one. Get ready because things are going to be much more interesting now.
9. Compound Curves: If you take a look at our template, now you will see that we have the compound curve, and this is when we mix one overturn with the understroke. I'm going to show it here. We have this stroke that we make going upwards, and then it becomes a downstroke. We have the other one, that is when we go downwards and then it goes upwards. What we are doing now is do everything. It has to occupy more or less the same space, don't make it that wide. But here, we have to pay attention at two transitions. Remember that when we were doing this stroke, the transition was here so we had to start making pressure here, at this point. But also when we were doing the thick downstroke, we had to stop doing the pressure here. Now, we have to do that in one stroke. Let's practice that. We start lifting up, we start pressing down, and here, we start lifting up again. Also, I wanted to show you that you can keep moving the lines to see if your brush is working better when you make the space a little bit thinner or if you make it taller. That's a good exercise also to keep changing the size of your lines and also of your strokes. One transition and another one. Again, we go up, we start one transition, and here, we do another one. This might be a little bit hard the first day. This is what happens when you don't wait for your watercolors to dry. But remember that what you want to achieve is that you have a curve here in the outside, also in the inside, and that your strokes are parallel, and that this area is thin. That is for all your strokes. We'll do one more. Maybe we want to do it a little bit smaller. You'll go up, start making pressure and go up. I'm doing this to show you that one single brush, even though you have to adapt the size of your letters to the size of your brush. With one brush, you can make different sizes as well. It depends on how much pressure you put on. Again, avoid this, we don't want that, no. We want this to be parallel. By practicing this stroke, you'll really gain confidence in yourself and you'll really start to mastering the control of your brush. Now, I'm going to show you what happens when we do it the other way around, when we join one understroke and then the overturn.
10. Connecting Strokes: Now we're going to be talking about the connecting stroke. This little piece is not really part of any letter, but it will help us when we want to join several letters. For the reason that I explained to you at the beginning of the class, that when we start making lettering with a brush, it's not as if we were taking one pen or one pencil, this work a little bit different, and one of the things you need in order to do so is mastering this stroke. This stroke is when we mix one understroke with the overturn. If we have this stroke, which is the understroke, the one we use for letter U, remember? Then we mix it with these overturn, which is the one we used for N. For creating letter N, you end up with this stroke: one transition, we go up, and another transition. Again, you need to make all strokes to be parallel. There is round at both sides, both the inside and the outside, and that the transition starts here. Both this part of the letter and this part, they're always have a thin stroke. Down here, we start lifting up, and here we start going down. With all the pressure, we can play some other colors when it is wet. We can use this to put other colors and see how they melt. Now that we are doing things that are a little bit more complicated, we can just have fun and enjoy our practice. Again, we will go down, up, and down. I am going to go a little bit ahead and try to explain why we need all of these strokes. Although we're not joining the strokes in this class, I just wanted you to have a little gist of what this is all about. If you take a look at this downstroke and then when we mix it with an overturn, we have this kind of N. But the same downstroke, when we mix it with these compound [inaudible] , remember the one we made here, we have this different kind of N. This is the one that leaves us this little stroke that will let us join it with the following letter. In this case, if we mix this downstroke and this other one and this overturn, we have the word in with separated letters. Instead, if we use this connecting stroke and then we added an overturn, we have the same word which is in, but written in a different way and we are connecting these two letters in this way. Also, if we mix this connecting stroke with the compound curve, then we have this word, but also, we have this stroke that allows us to join it with the following letter. This is something that we will learn in other lessons more advanced, but I just wanted to give you this little hint so that you understand why we have to practice this stroke so many times so that you master them and you are so confident with them that you would just do them almost with your eyes closed. We will continue now and we will be doing overs.
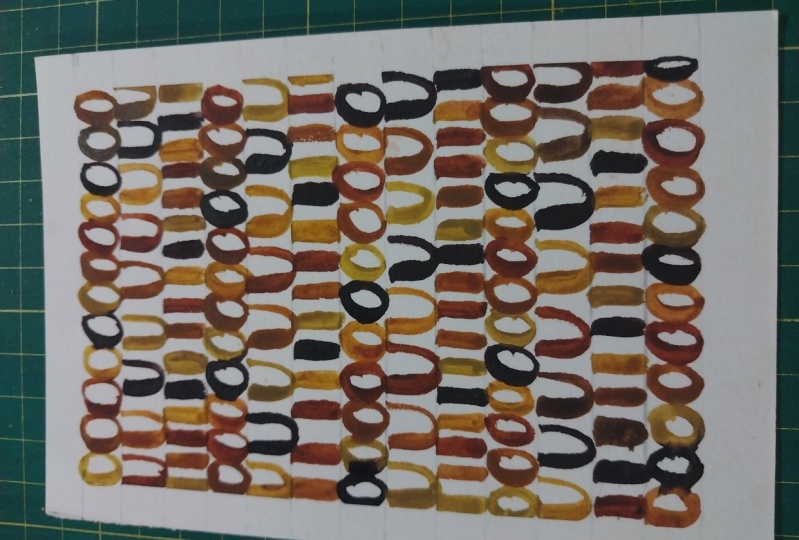
11. Ovals: Now, we're going to continue with the oval shapes. Oval shapes can be done in two ways, depending whether the thick part is on the left or on the right. Each of these strokes is used for different letters. Practicing these circles can be a little bit tough at the beginning, but it is beautiful what we can do just by placing one of them together with the other, and I really love making this kind of the signs. The colors flow nicely. You can also, for example, make one line with a thick stroke on the right, and then the following one with a thick stroke on the left, so you can keep practicing both strokes, but on the same page. Here's another example of what you can do with different colors, and remember that you can also practice with each circle by itself. Once more, I encourage you to have this page handy so you can take a look at the starting point of each stroke, and also at the direction that the arrow shows. This first stroke when the thick part is on the left, would be a regular O. Also, it is the stroke we would use, for example, to make an A. We're going to make this oval that has the thick part on the left. This would be an O, and if we combine it with this down stroke, it converts into an A. That's how an A it's made because we always make letters stroke by stroke. What do we have to take into account when we're making ovals? First of all, you need to make sure that you're getting an oval or rounded shape in the inside and also in the outside. You want to have a different width, in this case on the left. If you divide this, being this is the thick stroke and this is the thin stroke, this line has also to be thin. We're going to practice now, the ones that have the thick part on the left. It is easier if you start this stroke at the top. Glad you see the turquoise circle there, because this will help you when you are moving your brush. I put my brush like this. Imagine you're going to be like spreading butter on a toast. If you go like that, you can make this movement and then lift, and make it thin. That way you can hide the meeting point. As it is a circle, we don't want anybody to know where we started or where it ended, because circles don't have beginning and they don't have an end. Once again, you press down and here you start lifting and making less pressure. Again, here, there is a transition from one stroke to the other, from a thick down stroke to a thin upstroke when we were up and we try to close the circle or the oval. Because we don't want to make them too round, not like this, this would be another kind of letter, it's okay, we can do it that way as well. It will be like a different style, but at first we're going to be practicing ovals. By starting here at the top, we are doing one transitionless. Also, because this stroke is going to be alone when it is an O. For example, if it's going to be used for an A, we can start here because we know that afterwards we're going to be making this stroke. That's why with ovals, you can really decide where you want to start every time, but I just wanted to explain why. Now we're going to practice the other oval stroke, the one that, for example, we would use for letters like P, B. This one, works the other way round. We would have first this stroke, and then here we would add this oval. That is why I'm showing you that the starting point is here in the middle, because you can hide the beginning of the stroke, which is easier for us. Then we press down and we know it's going to be height there, so we don't have to bother if it closes properly or not. But that doesn't mean that you cannot just practice it by itself, because it's a good practice and a good gym for your hands. You go down, you lift up, and there you close it. Another one. Make room so that you can make this movement like this. Again, if your table is a little bit lower than your chair, it's easier for you to move your arm instead of just your fingers. I need some more paint here. You press and here start to lift. Now, I have to amend this. That's why we need to practice over and over, because this is something that you lose in time, and it's good to keep practicing so that your letters stay fit, as if you were going to the gym. There you go. Again, you can combine these colors and just place a little bit more of one color here so that you get beautiful mixtures. As we're practicing with watercolors, let's enjoy the colors and enjoy the water, and see what happens. I encourage you to fill one of these pages with the circles, because it's a great exercise, not only for your hand lettering, but also for your creativity. You can mix lots of colors, and this is so beautiful. I want to show you now one variant of this oval shape which is the linked oval. If I want to do a P, this one would be like a printed alphabet where letters go together, but they are not linked. But imagine that I want to link this P with an A. What I would have to do is make first this stroke, and then I would do this linked oval, which would be very similar to this one, only that when I get here, I make this little loop, so that I prepare this stroke to be linked to the next letter. That is why I have placed it here together with the ovals, and you can also try to practice with them by making different exercises inside of your lines, and we're going to practice that now. Maybe it's easier for you to have this stroke done first, as this stroke never goes alone, it goes after one main stroke, so maybe you want to practice it this way. This could also be a D, or you can practice it by itself, like so. You can make it smaller. One thing that you might notice in other letters that you see is that, these can be a little bit apart if you want to. If this is the letter P, you can leave that space or you can make it closer, and make it like that. Also, this loop can be more open or as close as this one. Those are variants that you can include. Maybe it's a good exercise also to have this stroke done several times so that you get used to this movement of the oval with this loop being crossed down below. Remember that this part is the wide one, and this is the thin one because we are going up. I'm going to be repeating this here one more time. When we go up, we do a thin stroke, and it is when we go down, when we make it thick. We have seen now the ovals, and these are ones of my favorite strokes because I think practicing them really can make beautiful pieces of art that you can enjoy. I hope you enjoyed this practice and now we're going to be doing the last strokes which are the loops. We have both ascending and descending loops. Let's see how we can make them.
12. Ascending and Descending Loops: Finally, we're going to be practicing the loops. These strokes are quite easy to do, but the only difference with the other ones is that they take double the space. I have changed a little our lines here. If you take a look at the template is that this loop will rest on the baseline, but will reach the ascender line. That is why it's called ascending loop. Whereas in this case, the stroke starts at the x-height and goes downward the descender line is. We're going to see this now step by step. Also, if it's more comfortable for you to work tirelessly on your watercolor block, you can do it as well. In this case, for example, I use this page to try to do the same exercise but with different brushes, so it's just to give you different examples or exercises that you can practice with. Going back to our loops, what you have to pay attention also is where the turquoise circle is because that means we're going to be starting like inside of the stroke. For example, I start in this line, but I start there because I know that when I go down, it's going to be covered. Not like this. See, this is wrong. We want this stroke to go over the initial one. So you have to pay attention and make sure you go up, you do it thin, and when you go down, you do it thick, but you cover your starting point like this. This is for example the stroke we would use if we want to make a d, which make this stroke, and then we would do this so that you understand why we are making this. Let's change color. Make some more. Again, we start light, thin upstroke, and here we press down and we cover the initial stroke. That way. You can make that thin or just a little bit thicker. The beautiful thing is that there's a difference between the thin stroke and the thick stroke in each of them. It doesn't have to be that thin, but there is a difference between one and the other. You can keep practicing. Fill in as many pages as you need. Now, what happens for example when we have letter j. Letter j is the same stroke. In this case, what we are doing is this is the descender, this is the baseline, and this is the x-height. When it's j, it starts here because here it would be our ascender line. Like this. That is why I want to show it always each stroke inside of the grid. Also, in this template, you have the names of each line so that you understand what I'm talking about. This would be the x-height and the baseline where all letters rest, or also if we add this one after, this would be another kind of p. So all strokes we're learning have a reason and are going to be used with some letters. Some of them are going to be used more often and others not as much, but still we need to know how to make all of them. Again, we press down. You will have to make a transition because we have to turn this downstroke into a thin upstroke that ends inside of our stroke. This one is easier because the only thing you have to do is once you reach the point just finished inside. Whereas in this case, you have to make sure you start a little bit to the left so that when you go down you cover it and this doesn't happen. Now there is another one because this more use, this would be for j. this is a j, j, p, other letters. This one we only use it for q. But still, it's the same one, only that in this case, this letter we would make this, and then we would add this stroke, and we would have a q. This is the only way that we are going to be using this stroke. It's not really used, but it's good that you know how to make it. Well, this is our last lesson about each individual strokes. Now we are going to be making our projects and see what we can create with our practice.
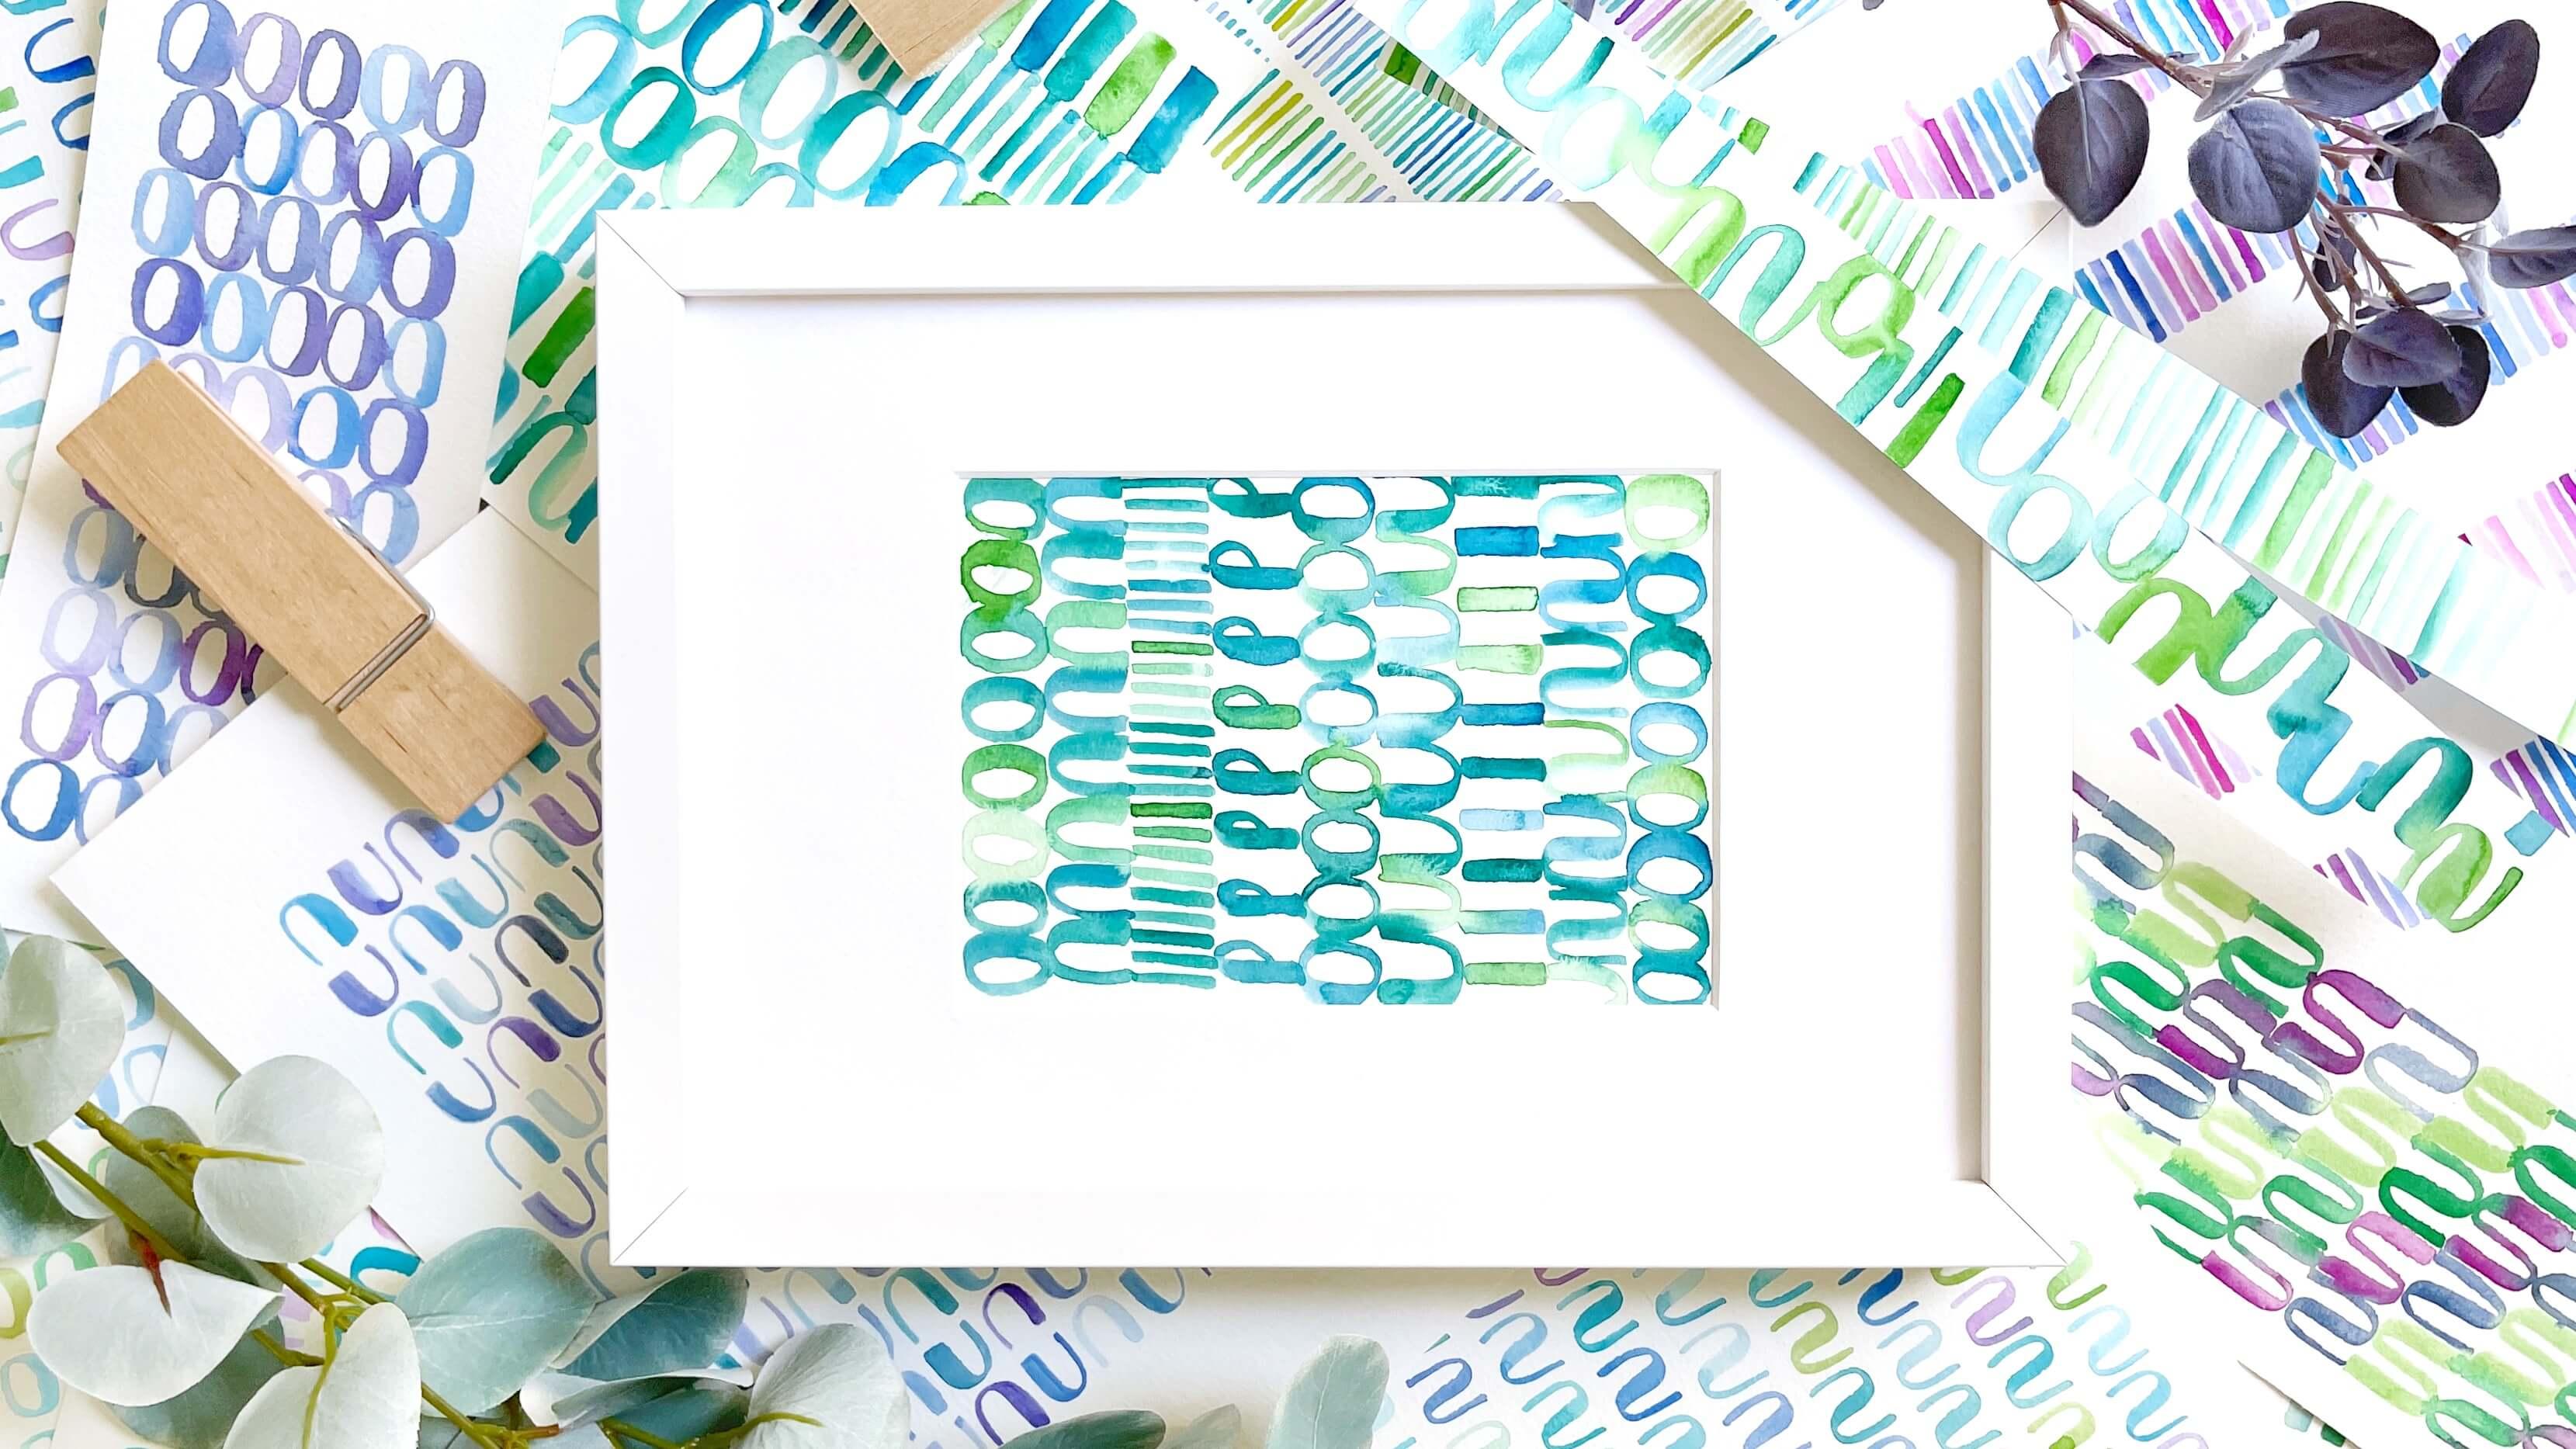
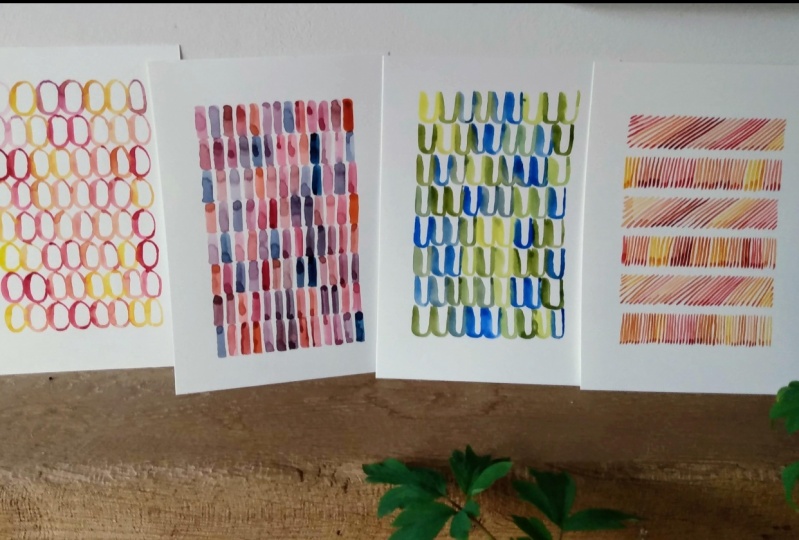
13. Repurposing Our Practice Sheets: Wow, you did a great job practicing on those strokes. Now I'm going to show you some things that you can do with your practice sheets, because remember, we don't throw away anything. All we do with watercolor is always beautiful and I'm sure these ideas are going to be great for other projects you will do later. I would like to give you some ideas of what you can do with all these beautiful watercolor pieces of art that you have been practicing with. For example, if you have made an outline of what you already wanted to achieve, then all you have to do is frame it, and that's it. But what happens if you have worked in a more random manner? There is one thing that I suggest is that you work in collections. That is, if you use the same colors throughout all your practice, you will end up with a collection of similar colors and then you can combine or use for different projects. Also, for example, in this case, these are practices that I made. They all have the same size, it's an A4. They are all placed side-by-side. Then, for example, in this case, this one is beautiful. If you put something that frames it like this passepartout, then it is beautiful. Remember that even things that maybe you don't like the way they are, just like placing one of these passepartouts and then frame it, things change a lot and they are really beautiful to be re-used. Also, for example, you can use one of these pieces of paper and practice here. I'll leave this space blank to add some kind of message. You can do it with other markers or even with watercolor and then convert it into a guard with a message. Something else that you can do is, for example, when you work with a washi-tape around, you only have to remove it once you have finished and then this piece is already framed and we have this beautiful image. Other things we can do is we can cut our work and then make different things. For example, in this case, what I'm going to do is I'm going to create a bookmark. I don't know if you know these little machines that make these labels. I'm going to measure around five centimeters and then I will cut it. It doesn't matter because the beautiful thing is that it's going to be cut out and we're going to be seeing different things. Now, we are going to introduce this inside of this little machine and we're just going to push, and then we have this bookmark. In this case, it has not cut enough so what I'm going to do, I'm going to repeat the process because I want everything to have color. Now it is ready to be placed as a bookmark. Also, if we do the same only but with smaller pieces, we can have our own labels. Also when we use watercolors, everything is so beautiful. Look at this. This could be also, for example, to put on top of one box and say what it is. You can write on top of this because since they are abstract shapes and they are not very dark, you can write on top. Please keep all your practice sheets because later maybe you can use them as a scrap paper for other creations just by cutting them out and repurposing them.
14. Final Project: Now for our main final project, we are going to be working on a bigger piece of paper like an A4. I am using this size because it's easy for me to find also the frames in the same side. Use the paper that then you're going to be using with the frame you want. Then you can either work like randomly on your piece of paper and then put on top this piece of [inaudible] , or you can either use the template that I provide to make these lines and then you will end up with something like this that it's already framed by whitespace and then you don't have to put anything on top if you don't want to. Now I'm going to be doing this with you so that you know what I mean with this template, and you just have to go join in the lines with a light pencil mark, that later we will erase. Also in this final exercise, you can either use the strokes that you like most or the ones that you need to practice most. Also, this is the divisions that I have made, but you can prepare your own templates if you want to make like thinner lines or even wider ones to use with thicker brushes. Also, you will notice that I have been using the same colors throughout all the lessons and that is why I like to work in collections. That way all my practices can then be used as a collection of scrap paper, and that's why my practices are easier to be turned into something else. In this exercise, I'm going to be using different strokes like for example here. That way, you know that you can be practicing with different strokes or you can decide if you rather have like all the same. That is completely up to you. As we can use this as a reminder of everything we have learned, I'm going to start with a row of circles. Remember you have to place your brush like this, and press down and here we start to lift up. I want them to be touching, so that the colors start to melt. I'll do like that and I have another one. In this line, I'm going to be making them all be in the thick part on the left. Also you can decide if you want to fill all the lines or if you want to leave whitespaces. If we use a [inaudible] 2 and 12, this will not matter, but just in case you want leave it like this, you'll want to keep inside of the lines more or less. Here if you cannot make one full stroke, you can just make half of it, it's okay. We'll go like this and you stop there. Trust me that if you work this first, everything is with watercolor lettering afterwards will be much easier and totally much faster than this. The center's beautiful. I love this. Also if you know how to scan this, you can scan all your watercolors and then turn them into digital art, it's beautiful too. We're going to place one below each of the circles. It is beautiful because we are using colors that go well together, like greens and blues. Or you can also use pinks and reds and oranges, if you like those colors better. But if you stick to just three colors, you're making things easier for you because now we have plenty of things in our heads. Just make things simple and stick to a few colors so that you end up with a beautiful result easily. You can also add some water, so you've got to have lighter strokes. We have finished our final piece of art. Now when it is dry, I would frame it and I will show it to you. I hope you have enjoyed this exercise and I am very much looking forward to seeing what you make out of this ideas.
15. Thank You!: Well, thank you so much for watching this class. I hope that you have learned the basic strokes of lettering. Not only will you use them with watercolor, but you can also use the same strokes if you, for example, use a brush pen. Rest reassured that by knowing these strokes when you go into putting them together on painting letters, things are going to be much easier and faster. So congratulations for having finished all your basic strokes. Also I hope you have enjoyed all your practice and that you have kept all these watercolor pieces, so that you can use them now in your future projects. You can cut them into pieces or just reuse them in any way you want. I invite you to join me in my next classes where I will show you how to put all these basic strokes together and create alphabets. Then to put them together as well, the letters, and create watercolor letterings with beautiful sentences and messages that you can share with your loved ones. Keep practicing and keep enjoying your watercolor lettering. Thanks a lot for watching.
 Cristina Castro Cabedo, CRISTEL DESIGN - Lettering & Mixed Media Artist