Transcripts
1. Introduction: Do you sometimes get this overwhelming feeling when you're about to start a project. You know the one when you feel like nothing you're going to create is going to be good enough. In the last year, this happened to me many times. I have a bit of time and I want to paint. I actually feel the need to create something with my hands. So I spent a bit of time on Instagram and Pinterest to gather inspiration. I take my brushes, my paper, my watercolors, and then nothing. I can't seem to be able to start. Like I've set my expectations so high and so off that I know I'll be disappointed. And I feel like I failed in advance. I'm minimal visual. I'm a graphic designer and illustrator and a watercolor artist. I like to think of my work as not only a product, but as a whole process. And I consider that my best work is always done when I've enjoyed making it. But mostly I identify as a pretty anxious creator who was always trying to do better and who is spending a lot of time thinking about, has this been done right? Is my work up to beat? Am I enough? I'm quite sure you'd agree with me if I say that it's not a bad thing to want to improve and get better at your trait every day. Especially when you're creative and always trying to find new ways to express ideas. However, I find that there is a paradox in the fact that when we start a project already focusing on a specific result, we don't give ourselves the space to be creative and to innovate. In this class, I'm tricking you into letting go of control by using your non-dominant hand. And the first part of the class, I'm giving you tools so you feel safe exploring. And then we'll let it all go and play with watercolor. There will be no focus on results, only on the simple process of applying color to paper and the pleasure of painting. This class is for you. If like me, you're a creative, sometimes gets stuck in their practice. It's a really good way to give yourself a break from performing as a creator. What you will learn here will help you get over these anxiety feelings we sometimes get as creatives. My hope is that it gives you a solid but flexible tool to deal with pressure and take care of yourself. The next time you feel anxious to start a project and gets stuck before even beginning, you can go back to these exercises and refocus yourself on the process of creating. By the end of this class, you'll be able to let go of your expectations and reconnect with the action of painting only because it makes you feel good. Are you ready? Let's get started.
2. Your Project: For today's project, we will be painting with our non-dominant hand. The reason we do this as quite simple, when you switch hands, you are forcing yourself to surrender because while painting with your non-dominant hand, you're giving up the control and the muscle memory you usually have. It's a way to trick your brain and to refocus your attention from the result you want to achieve to the actual process of creating. Slowly ease into the painting by taking a few steps beforehand. Our first step will be to actually set up our workspace in a way that is fun and stress-free. Then we will develop our color palette to be ready when the time comes to play, you may or may not work from a reference image. Next step will consist in doing a few quick exercises to warm up and gain confidence. And that last, it will be time to create the infamous painting. Know that it's probably going to look like nothing at all. And it's okay. You already know it's not going to be your best work. So might as well just enjoyed playing with colors. Before we go any further, let me introduce the worksheet we will be using during the class. Go check it out in the resources section. Take you a few minutes and reflect on the questions listed on the first page. The worksheet is a way to reflect on our practice and on the creative process. Instead of focusing on the results, there are no right or wrong answers here. And remember, this class is a tool to be able to deal with pressure, to let go and take care of yourself. Up. Next, we will be setting up our space and our mind. See you there.
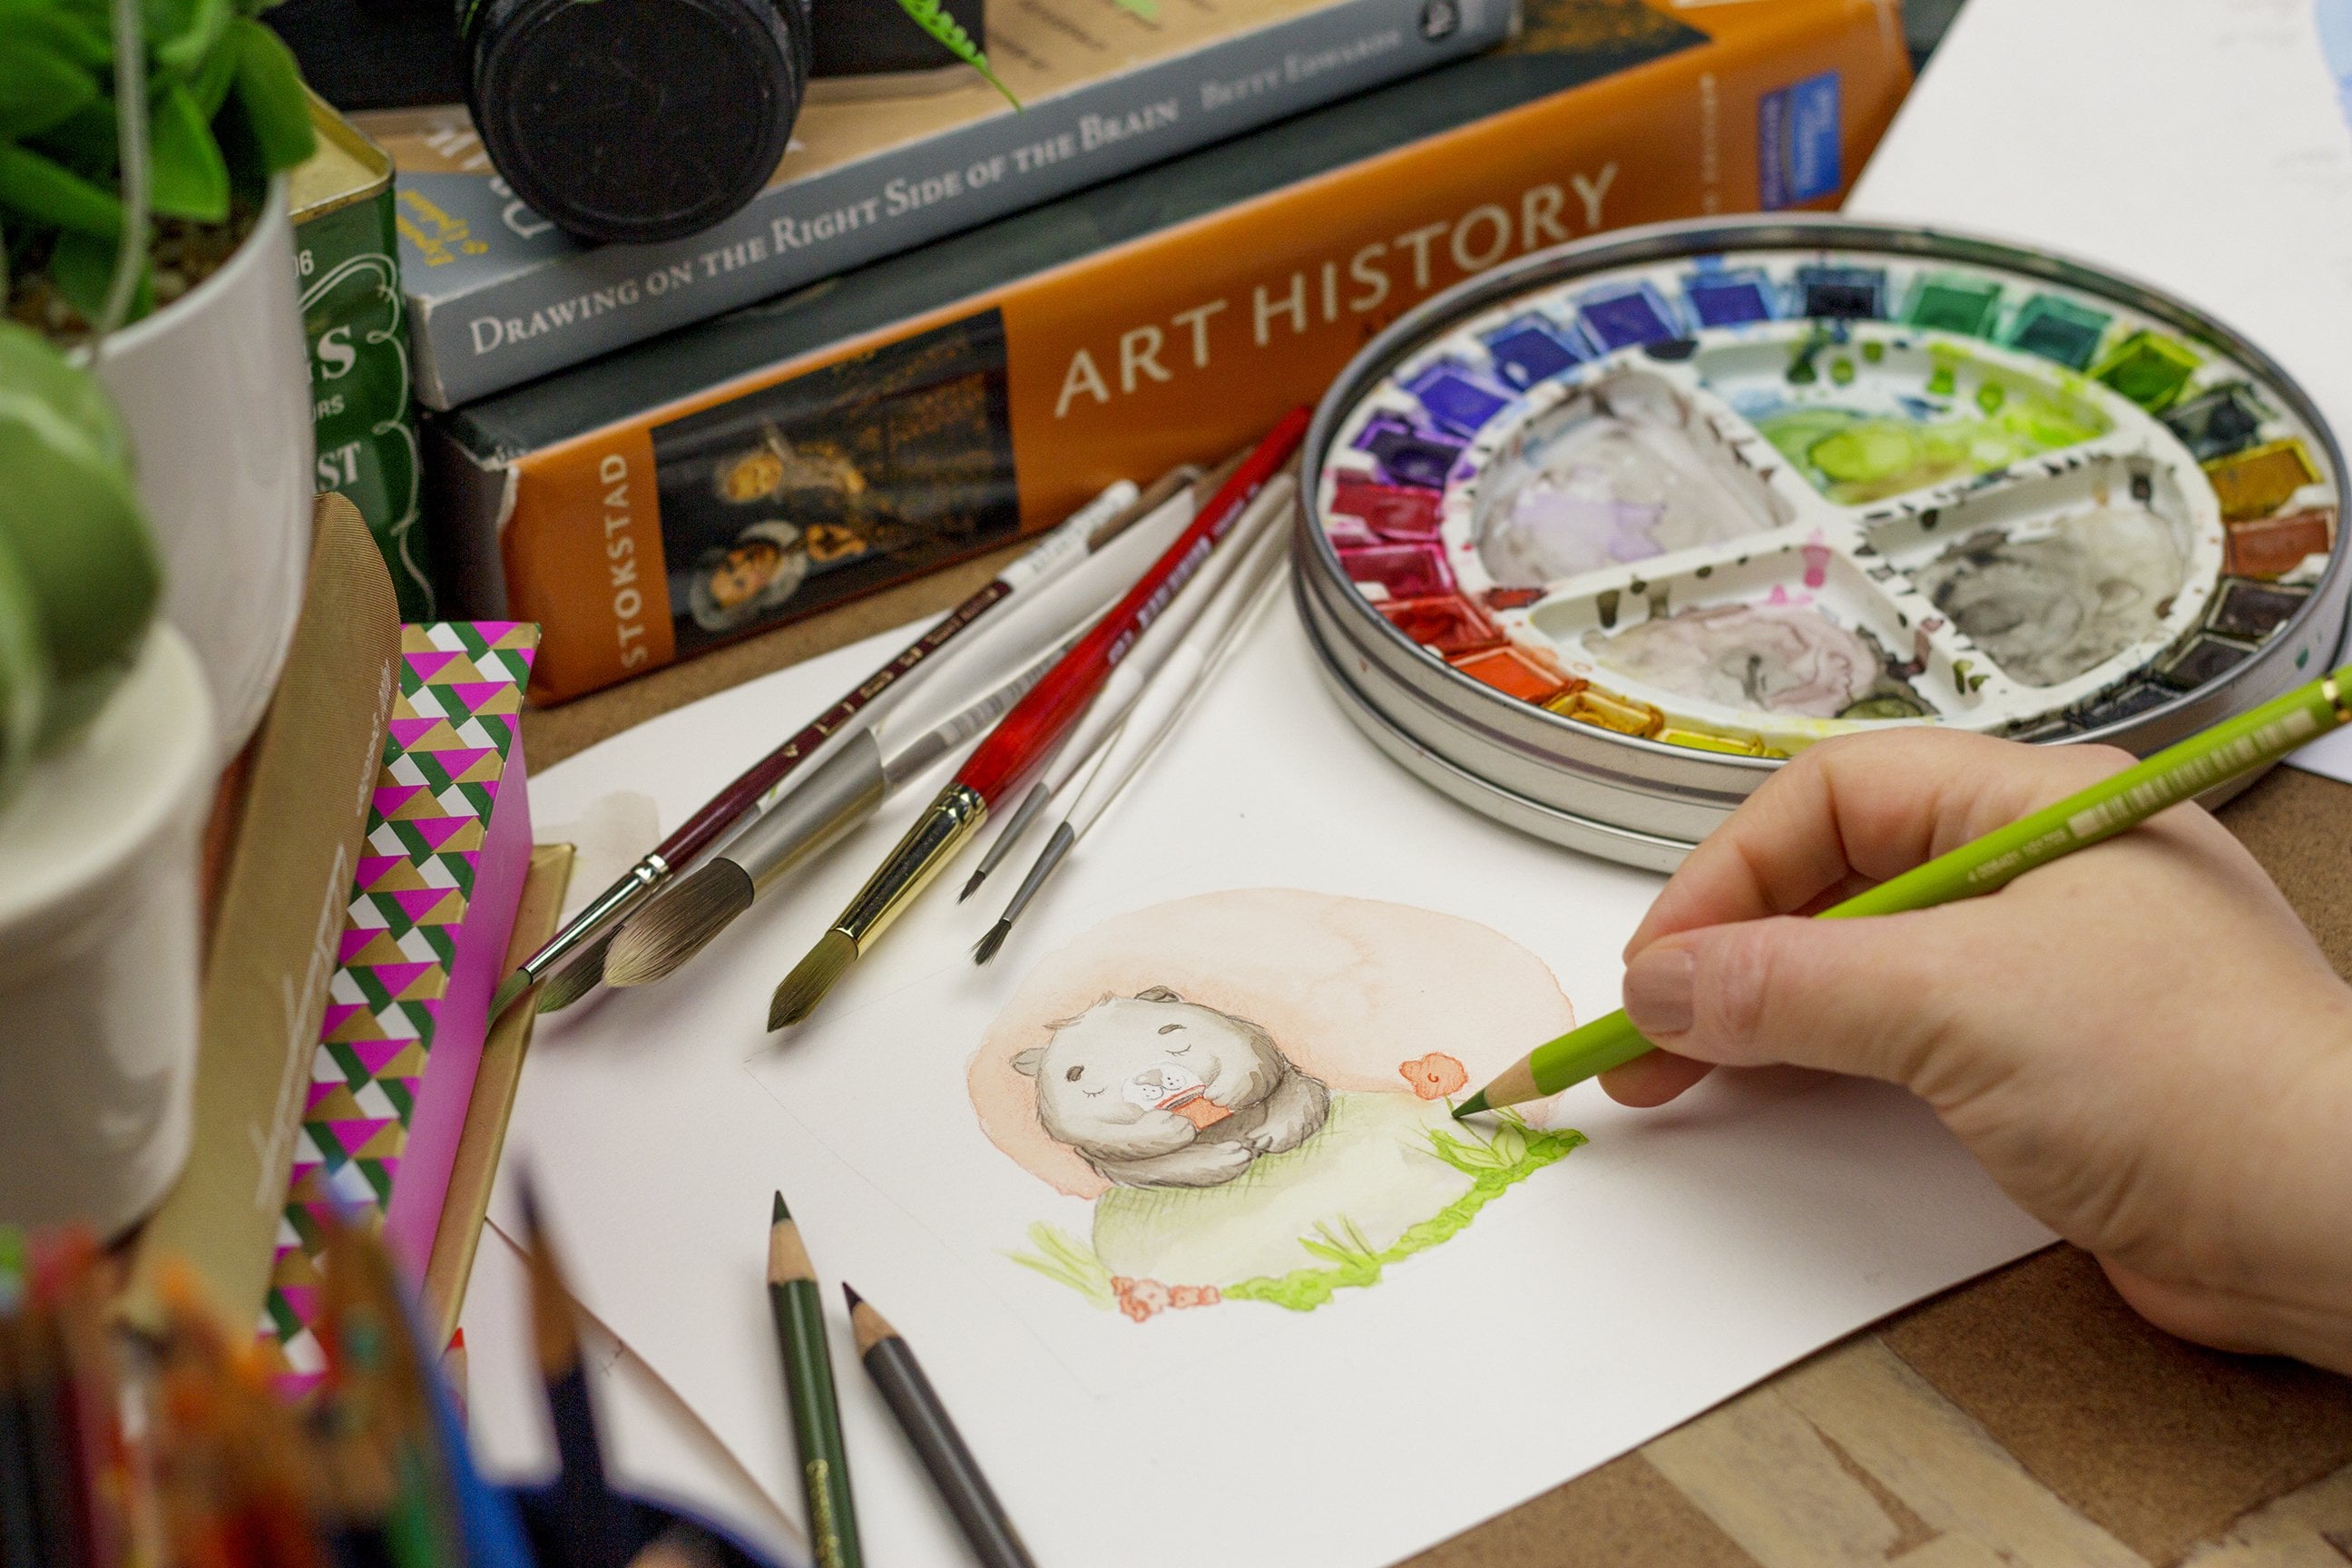
3. Setting Up Your Space And Mind: In this lesson, we'll be setting up our space. I know this may seem overly simple, but there are two main reasons why I like to do this. First, we want this to be stress and frustration free, thus the preparation. Second, this is helping us focus on the process by getting out of our head. I feel like unorganized space is in our guidelines mind. When I feel anxious about a project, I know I like to feel prepared. And I know this class is about letting go. I know what I said, but hear me out. The organization part is not about being a control freak. It's just about being prepared enough that you can let yourself be in that space where you can create stress-free. See the different. It's a bit like going on a road trip. And before going you need to adjust the mirrors on the car and tie your seatbelt. Then you're ready for a safe adventure. For this whole class, you will be using the same materials for the exercises and for the final project. The list is very simple. First, you will need some paper, some watercolor paper of some sort. I'm using a block. So nothing fancy. Just some paper. And then you will need two brushes. You need to, because in one of the exercises we're using both hands at the same time. So that's why you need to I like to use these because they hold up a lot of water. It's natural fiber. Really not that fancy. Then you will need a classical order or a jar. As you prefer, some rags or some paper towels. I'm using this. I really use this a lot. I also use a palette like this. You don't have to, but I like to use this. And then you will need some watercolors. Of course, I like to use pens like this and I'll be using a two also. This class. Last thing, It's optional, but you could also use a ruler and a pencil. You don't have to use them. It's just if you'd like to draw a format for the exercises and the final piece, but you really don't have to. And I think that's it. Oh, okay. We have looked at the materials and now let's consider a few things in the setup of your workspace. First thing you might want to consider is doing a symmetry operation from your usual working station. Also, be mindful of where you place your water container so you don't knock it down. Having some paper towels in rags is a must in case you do not the container down. Let's take a closer look. Okay, So here's how I like to have my workspace setup when I'm painting with my non-dominant hand, I'm a right-handers. So when I'm using my left hand, I usually do assymetry of my usual workspace. And there's a simple reason for that. My water container often get knocked down if it's not in the right space and really clumsy. So that's why First things first, your paper has to be central, of course, has to be accessible. And then this is my main set of colors. I placed them a bit aside so you might not see you then come video. I placed them this way a bit outside of my range because it's just for refills. Then I place my rags here close by because I like to put my water container on it so it doesn't spill. And I also use it to wipe my brushes often. So I'd like you to be close to my water container, my polyp in which my colors will be just next to the water container. Oh, it's coming along. This is pretty much my workspace. My brushes are here or there, or a bit further. Just close by. And pencil and ruler. I won't be using them when I am painting, so it doesn't really matter. This is it, this is pretty much my workspace. Now is the time to gather your materials and set up your own space. Note that the way I set up my workspace might not work for you at all. So please, please, please take a few moments to reflect on this and set up your space in a way that makes it fun for you to work. I encourage you to pause the video, take a bit of time and set yourself up for success. Now that this is done, are you eager to start? Remember, setting up your space is not about being a control freak. It's about putting a system in place so that you feel safe when you're ready to jump up. Next, we will be choosing and preparing your color palette.
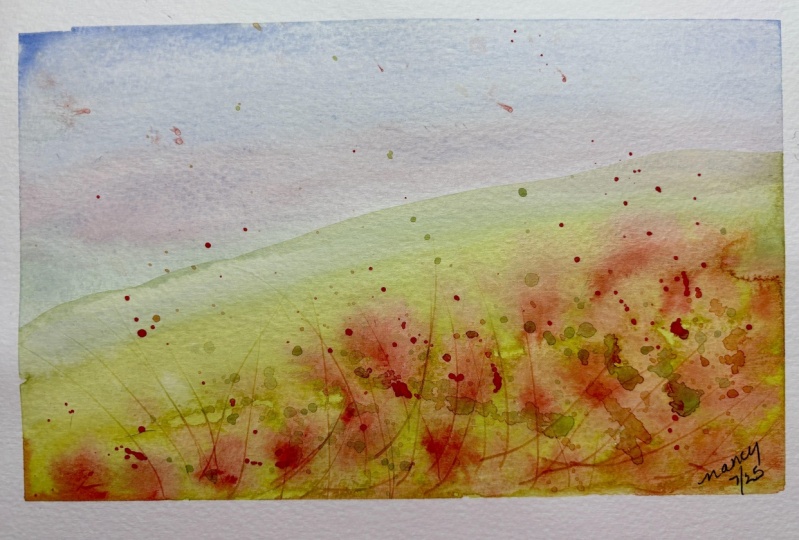
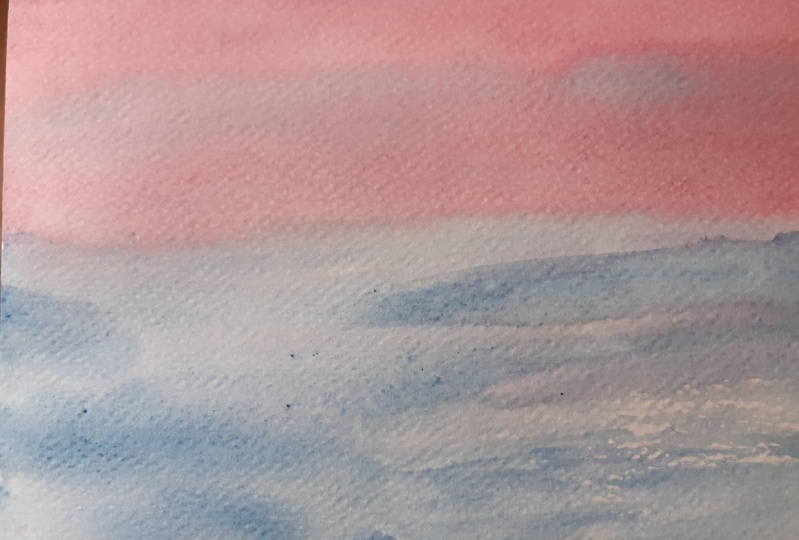
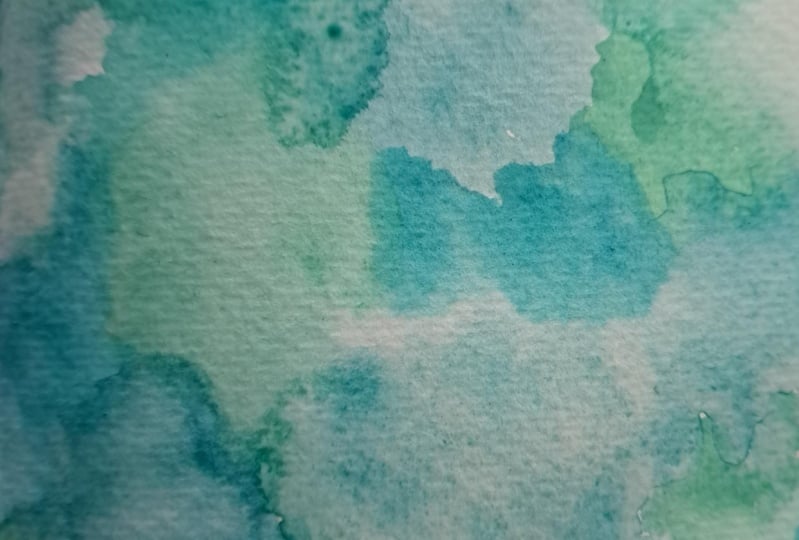
4. Preparing Your Palette: In this class, we will be choosing the colors that you'll be working with for the following exercises and for the project. This is the last preparations that to create a safe space for creativity. A few things to consider. One, keep things simple to three colors. You could even go monochrome if you wish. Also choose colors that you like and you wish to work with. I've chosen a few image references that are in the resources of the class and you could work with them if you wish or one of your choosing. You don't have to, but you can work within an image reference. First, we'll take a look at the ones that I've chosen and see why they work. The first set of images I suggest as reference is these two floral pictures. As a general rule, florals are very organic and free in their shapes. So they make a good inspiration for an exercise in which we want to let loose. The second set is about why nature spaces. The pellet is very limited, which is what we want for simplicity. But there's more to it than that. They give an impression of infinity. Personally, when I see that kind of photo, I realize how small I actually am and it gives me a sense of calm. So I associate the colors to the feeling and find it quite inspiring. It might be like this for U2 or not. And then there's the last set, which is even more abstract. These pictures are about color, tones and being perfectly imperfect. You can lose yourself in their compositions for a long time. I feel like the trigger reflection, which is exactly what we need here. Use those if they inspire you. I will be working with one of the references that I've chosen. But remember, you don't have to. If you simply wish to choose colors that you love and wish to work with, go ahead and have fun. I'll go first and then you can go on your own. All right, so I'm ready to mix my colors. As you can see from my image reference. It's pretty simple. There's only some kind of dark blue or indigo blue, a bit of purple, some white spots, but I'm not sure I'm going to mine that. So just some dark blue, some purple. I'll be using pen, can eat tube. So when I work with pans, what I like to do is use a dropper. You don't have to do this. If that's too fancy for you, you can just use your brush, but you'll have to drop some kind of water in your pan and then you let it humidify for awhile. I like to use the drop working. I think it's kinda cool. It's not necessary. And then you let it sit for a while. So if humidifiers and we'll come back to it later, the tubes, it's very easy. So I'll be using, it's blue the purse or Prussian blue by Winsor Newton. Take your brush and using my left hand would be good. I already know that from my colors I'd like some blue that's not really diluted, so it's going to be very hard for watercolor. And in the next panel I'm going to take a bit of this big mentioned little bit. I'm going to add much water. I like to work with vibrant colors, so I take the colors as is from the pens in tubes. But note that if you'd like colors that are more subdued, you can mix them a little. For example, adding a bit of its complimentary to the first color, we'll make it more discrete. Remember that you can also make all colors from your primaries. This is not a color mixing class, so let's not get into details, but it's worth a try. All right. Now for the purple, now that then fitting for a few seconds or a few minutes should be ready to transfer that I'll be working with for the exercises and the final project. Very simple, to some dark blue, some purple. And that's enough for me. I love those colors, will feel good to work with them. And that's it. Now it's your turn. I invite you to pause the video to choose your colors and mix them. I'll be waiting right here. And that's it, all down. Up next, the first practical exercise in the class. See you there.
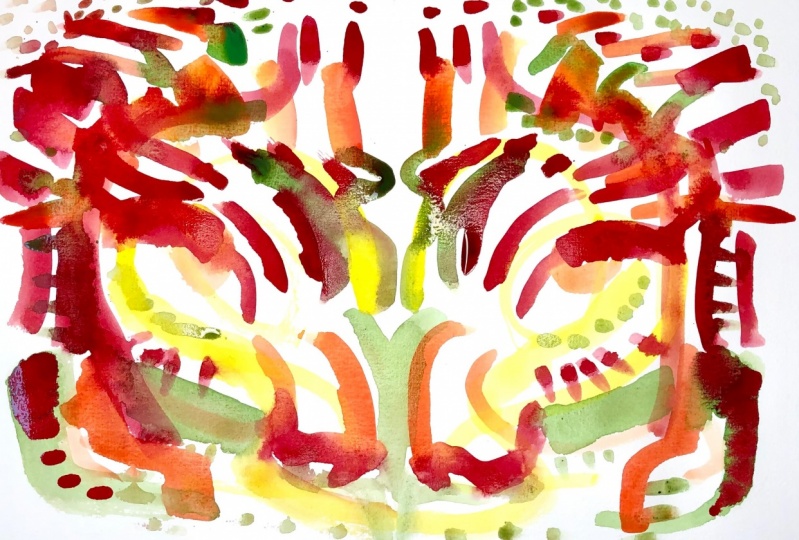
5. Symmetrical Painting: Let Go: Hey, welcome to your first practical lesson in this class. I call this symmetrical painting. It's really just a simple way to get you started with the process. I could show you an example of what it could look like. I made this one. So as you can see, it's not meant to be a should've, so no stress. Now, I know you might be scared and a bit insecure. It's totally fine. Don't stress. Symmetrical painting is just a way to be painting both hands at the same time. So whatever one hand does, the other one does symmetrically on the paper. You only have to imagine that there is a line or you can trace that line and it's acting like a mirror. So anything your right-hand does, your left hand will be doing as in a mirror or like a fitness class, you know, when the instructors in front of you and you're acting like they're mirror. Same thing. I will first demonstrate and then you can go on your own and try it. Okay. So I think we're all set to go. I'm going to be drawing my format. This the way I like to work, but you really don't have to do that. I'm not going to measure anything. I'm just going to make sure I have straight lines. So I'll be working in the rectangle format. So the only thing I would like to keep in mind here is thought. The middle is really acting like a mirror. So I'm going to trace that line. Can set these aside for now because we're not going to need them anymore. This line here, my mirror. So when I'm painting, but with hens will go at the same time. I think we're, we're readied. Go. Remember, this might feel awkward. It's totally fine. So I'm going to get some water and my Prussians take some color. Let's go with the diluted blue. It's probably going to make a mess, but that's fine too. And let's go. So I'm really just doing anything that feels good right now. And I know we're not focusing on results, so just go with the flow here. I'm going to take some food that's not logit. So just adding some black churches aren't trying to connect with the way that it feels. Chip put some color on the paper. And as you can see, it's working because not as talkative as I would usually be quick and not their color. Quite. And also, I think I'll switch my paint brushes. Welcome. Does feel kind of awkward, and that's totally fine. My hands are not doing exactly the same thing, which is good. Just being in the process just feels good to apply some color. Don't we? Towering ego or so. Okay.
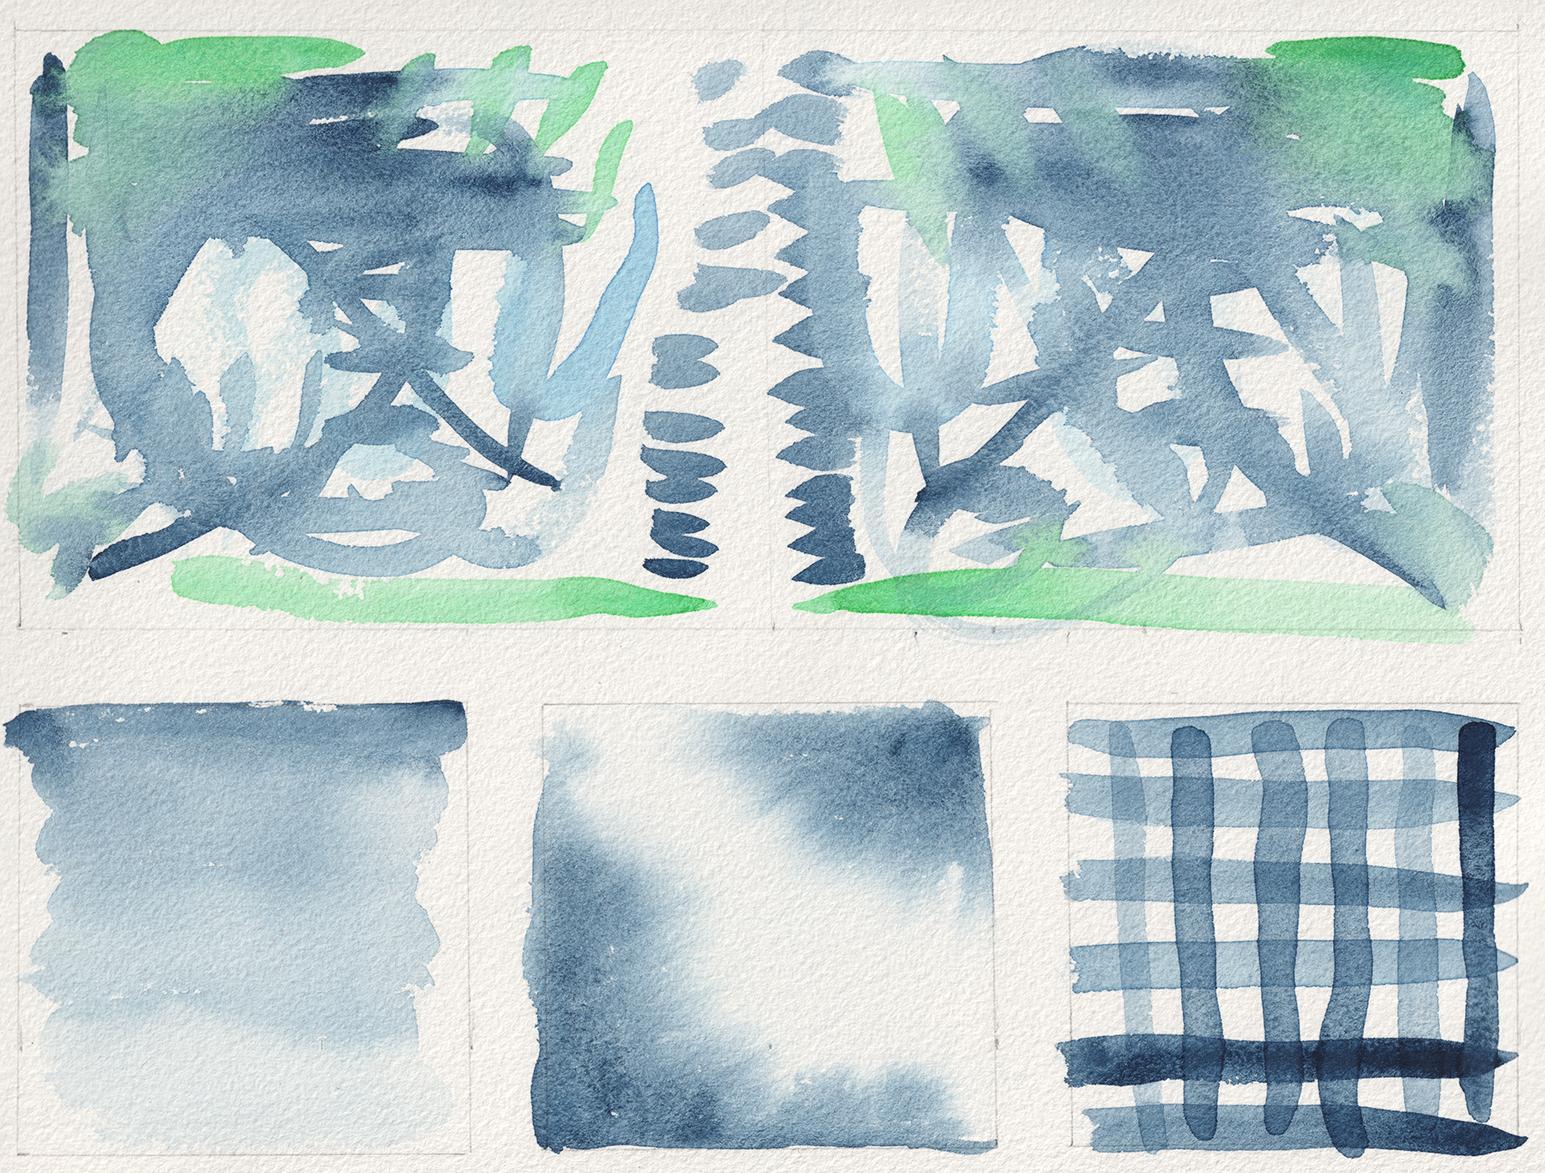
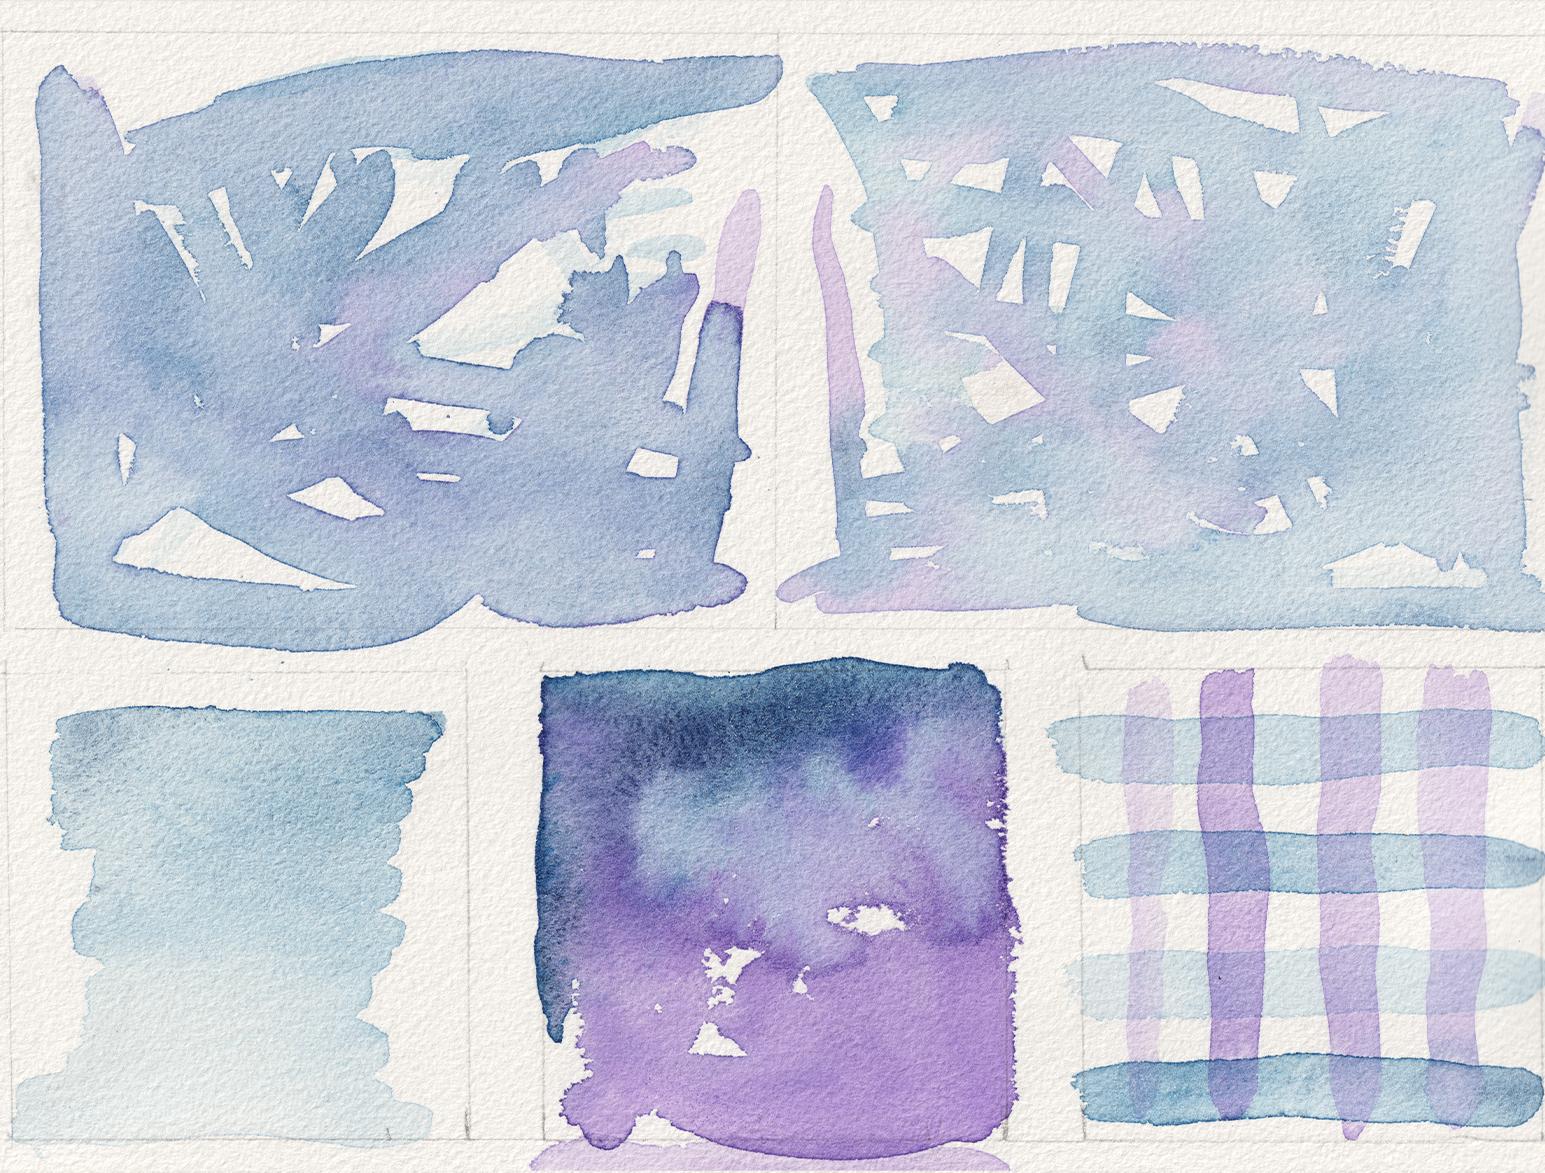
6. Warm-Up Exercices: Build Confidence: Now that we have successfully painted with both hands at the same time, It's time to paint with your non-dominant hand alone. This lesson is all about building confidence. It's about putting a few more mild in your brand new shiny, awkward car. Although while still being open to exploration and mistakes. All right, so I'm going to show you the three exercises that we'll be doing. First one is a simple gradient wash, such as this one. This one is monochrome. I'm not sure what I'm going to do for the one that we're doing today. Not sure, it's going to be monochrome. Second one is a wet on wet technique. And the third one is a transparency exercise. This one, if I don't forget, we'll be with two colors today. Once again, let me demonstrate and then you can go and paint on your own. The first thing I'm going to do, I'm going to draw myself some formats. You don't have to do this. Let's put ruler. Pencil is do not forget to use your non-dominant hand. Can cut, That's great. So further gradient wash. Load your brush with some water. And then you're going to take the color with a lot of pigment to start with. And you are going to make a few lines. We're starting with a dry paper. So as we go, we're going to light our gradient by adding some water. Let's start. I'm going to cheat and added things didn't hear more difference. And like VGA, good. Actually it's a mess, but that's the whole point. And not troubled about that. Second technique, you're going to rinse your brush. Take water. Ideally it would be clean water. But I don't really care. And you are going to what your square or your surface. So put some water on it. Try not to make any photos, but it's not really important because it's going to be and we can send you this is our wet on wet technique, so you wet the paper. Let's look OK. And then you're going to take some pigment. On my first brush, I'm going to take a very pigment, blue. And you're going to make some spots. And the pigment is going to mix with the water on the paper. This is not, you can't really control this technique. So put the pinion here. You can drag it a bit and you add as much as you want, you'll see what it does, how it reacts. Right? The third one is going to be two parts because there will be some drying time involved. So first, I'll take a bit of blue, but I'll take the diluted one. And I'll make a few lines. Oh, wait for this to dry. And then I'll take the purple and do some vertical lines. All right, Now it should be dry enough that I can do a second layer to show transparency. I'm going to do this with the purple color. So as a drawing, we're going to see how the Transparency Act. And as you can see, this one is in a really big success. I can show you how wet on wet usually works. Where the pigment sort of bleeds into the water. But that's fine because it's just exploration. And though I can learn from this, it was a lot of fun to do. And I could even just do a small one here. There's been mine. That's okay. Now it shows. That's good. So if there's anything else that you'd like to try at this point, just do so it's exploration. So feel free to try anything you like. All right, let's do this. You can pause this video. I'm waiting here, and then you can try it on your own. Don't forget to use your awkward hand. Are you beginning to feel more confident? Don't worry, it's still supposed to feel awkward. I do hope you feel less self-conscious though. And since we're focusing on process, there are a few follow-up questions that I think you should ask yourself. Here they are. And remember, there's no right or wrong answer. Do you consider the exercises that you just did to be a success? And if so, why did you have a preference for one of the techniques? Which one? How did the exercises make you feel generally? Once again, if you're comfortable enough, I would love it if you could share your answers in the project gallery. By doing this, I hope we can normalize feeling insecure and especially having a space for exploration and mistakes. Also, sharing a picture of the exercise could be a really good way to show me that you're letting go and expectations. Don't hesitate to do that. And I think it would encourage others to do the same. And then we can feel less alone. Up next, we'll be painting without control. See you there.
7. Painting Without Control: This is it. Final painting? Don't stress too much about this and take as much time as you need. We've chosen colors, they're ready to go, you've warmed up. Now it's time to have fun. We have created a safe environment that should be just prepared enough for you to be able to enjoy while you're creating with no set intentions and no final result in mind. If you want to, you can draw yourself a format and then just jumping. Here are some prompts to keep you in the moment. First, concentrate on how you are feeling. And remember, we're not here to control anything, just to put color to paper. Connect with your materials and focus on how the paint is spreading on the paper. How is your brush sliding? What kind of marks do you like to make? I'll show you how I do mine and then you can go ahead and do your own. I will not be speaking while I do this one because I want to make sure that I'm focusing on what I'm doing and what's going on in my mind. I will be focusing on the prompts that we've discussed earlier. And I really want to focus on the simple facts as fainting and how it makes me feel. And now I'm on my way. An API is as a data frame that we have that bracket. As you can see, there's nothing really pretty about my painting. But we've already agreed that that's not the focus of this class. I was able to enjoy putting watercolor to paper. I connected with the materials, I was invested in the process. This is a success. Now it's your turn to go. You can pause this video here. I'll be waiting and you can go on your own. All down. Yeah. I suggest that you go in that worksheet and check out the follow-up questions. Think about it for a moment and fill them out. How do you feel now? Did you judge yourself at any moment? And if so, why did you enjoy painting with no destination? What was the most difficult? What did you like the most? Is there anything surprising? Once again, if you want to please share your answers in the project gallery. And I'll add two more questions for you. One, did you mess up? And too, did anyone die because of your mistakes? Up next, a bit of a conclusion.
8. Conclusion: You made it great work. Congratulations on taking some time for yourself to reconnect with your creativity. We covered how to set up a good workspace and uninspiring pellet. We went through exercises and the whole painting while letting down our dominant hand to be able to really let go and focus on the finest creating. If there's one thing I hope you take away from this class, it's this. The next time you get stuck. Come back to this, refocus on the process that go. Have fun. And please share your work in the project gallery if only to let others know that they're not alone. You can ask me questions and comment on this class. Tell me if you liked it or not. We're all here to get better. So all comments are welcome. Find me on Instagram and d, Hence, it will be my pleasure to connect. Thank you for being here. I'll see you in my next class.
 Amélie-Maude Bergeron, Graphic designer | Artist | Illustrator