Transcripts
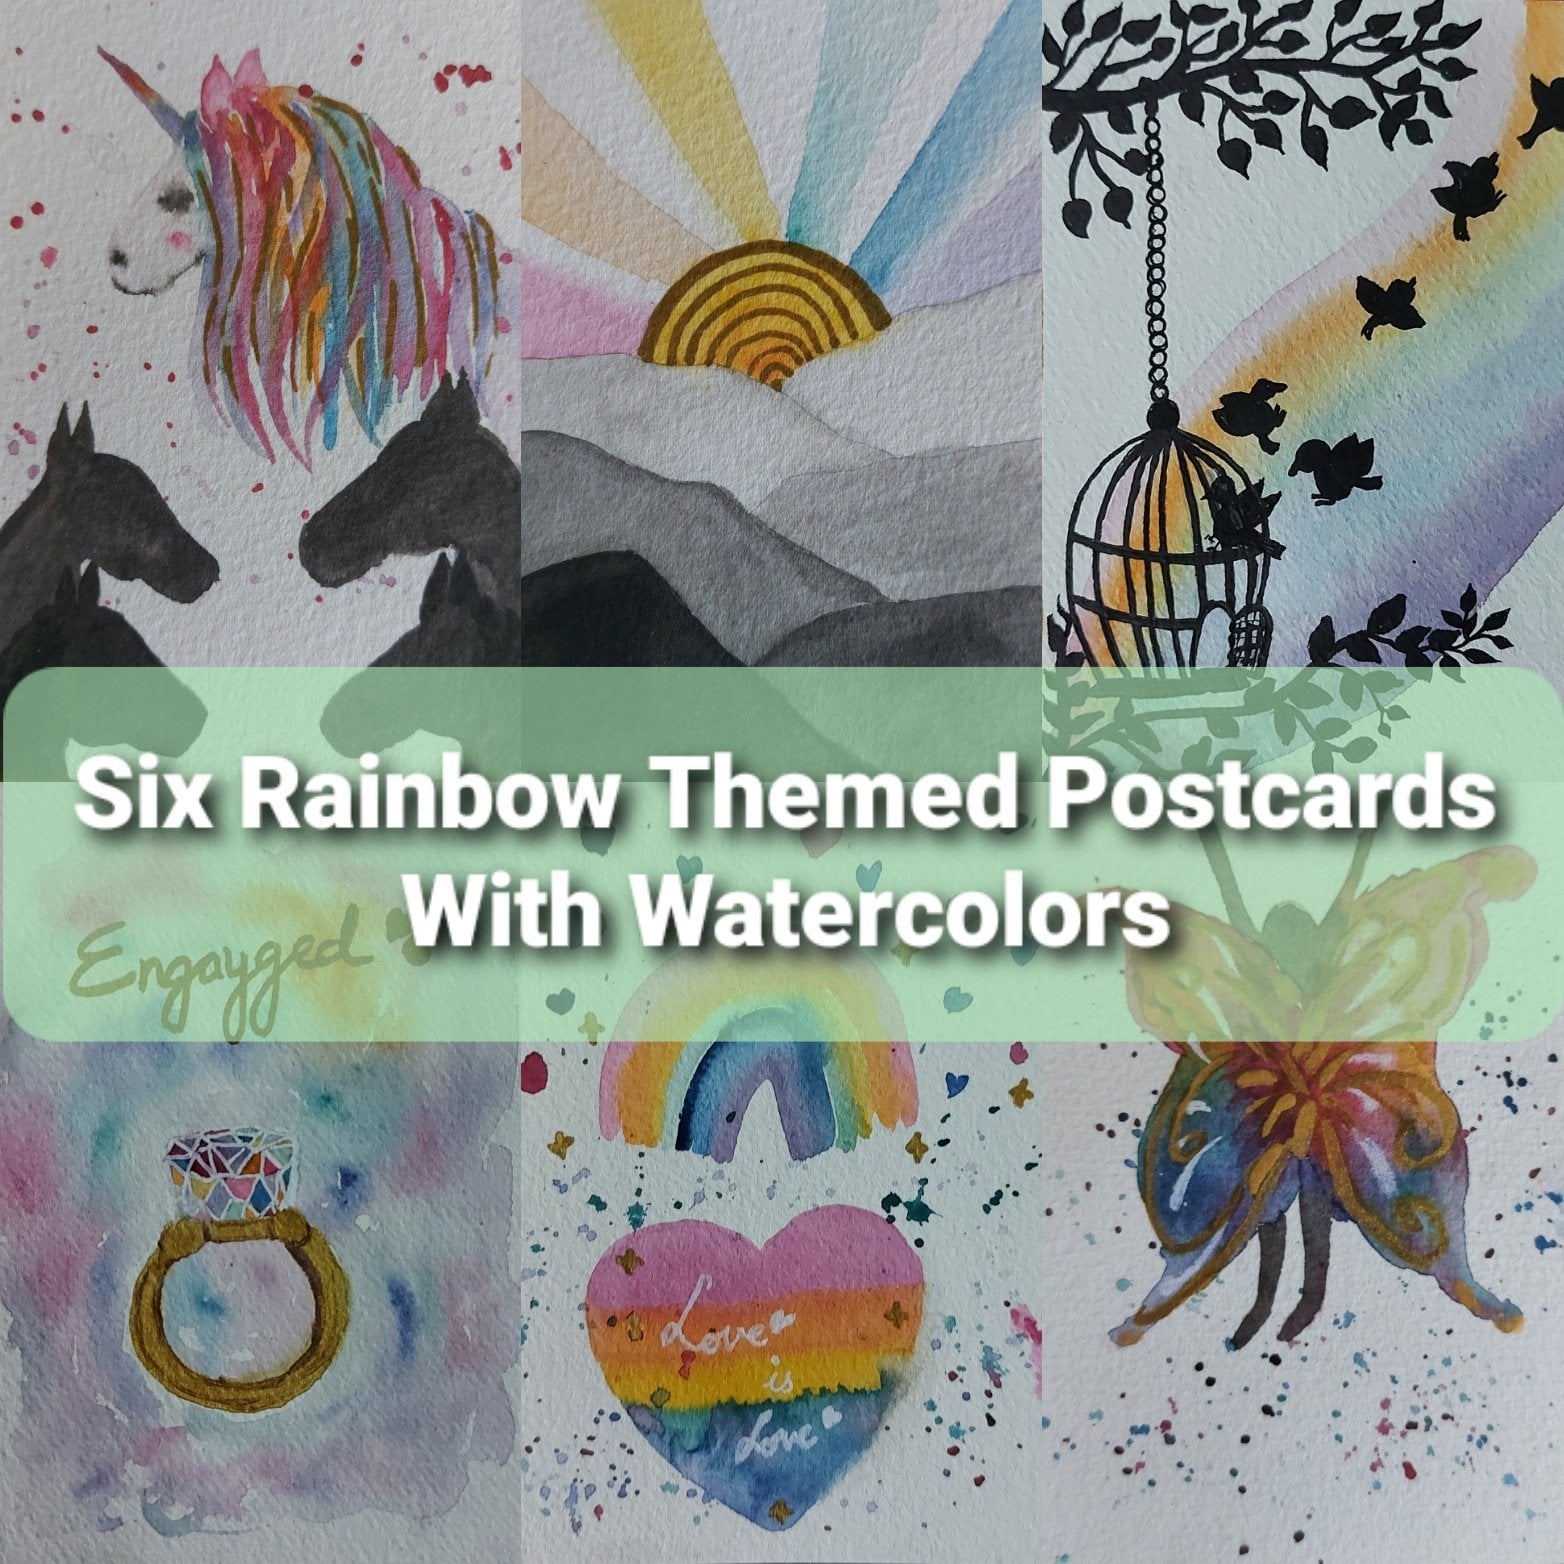
1. Welcome!: Hello, I'm m. And this is my very first sculpture class. In this class, we are going to meet these beautiful yet simple Christmas postcard with watercolor. I'm a watercolor. Any critic artist. I have never gone to formal art school, but I have learned by observing and practicing on my own. In this beginner friendly class, I'll take you through the very basics of watercolor. And then we will practice painting different elements of Christmas. And finally, as class projects, Louisville being these beautiful Christmas postcards. I am so excited to begin this creative journey with you. So let's get started.
2. Materials We Need: Okay, so the materials we will need for this project, this class or whatever people. So I'm using these twenty-five percent gotten people, which I think is okay for the gods, which we're going to make because we are not going to be, we're not going to use a lot of Bordeaux, a lot of wet on wet. And this is 25% cotton. Why I'm using this people is because it's already really made that in postcard size and I'd like that. So if you want to use bigger size people, you can do that if you want to use modest sized papers for making gift dads with something, using this project with the help of this project, you can do that. So any pick what people will do this for this class, then we will be needing $100. So here's o small pilot by snails, and then there is this Gamblin bigger pilot boat on my favorite. You could also use do watercolors. Then we will be needing masking tape for getting this crisp border around the card. If you don't want that, you can skip this. I may use it for a few a couple of cuts, then you'll be needing brushes. So the round rushes. This one is number eight, then number five, and number two, I think these three brushes like a fat, round rash or medium-sized branch and a very thin brown rash detailing dash is what you are going to need. Then we will need jar of clean water. And we could use a pencil for drawing though, for sketching. And we will need a rough clot or a bipedally, whatever is comfortable to you. For the practice, we will be using sketchbook or any rough people. Preferably take R1 which can take some amount of water. We will be using writerly rule for detailing. We will also be using gold metallic brush pen and sort of bees. You can use white guage, white acrylic paint, white acrylic marker, golden, watercolor, gold metallic guage. We will also be using fine liner markers or added the deal here and there. And that's it. These are the materials we will need for this class. Let's move on to the next lesson and practice some Christmas elements.
3. Watercolor Basics: So let's start at the very basic of watercolors. Let's first understand the brushes. So this one is a round brush, a medium-size town brash. And this is detailing round brush, so it's fine. And ten for minor details. And this is a flat brush. This is used to cover larger area, basically used for washes and reading the people. These are the most important funds. If you have these three brushes, you can build anything you want to. So after the brushes, let's move on to the basic techniques and let's understand the virtues. So here I'm digging this flat rash and there we go. Veteran dry, flatly. Like that. It's always better to start with a lighter color and laid it on build on the dock o value. So after this, let's see. Wet on wet flat wash. So for that we will vet the surface, the clean water like that. And on top of that, we will use some color like this. As you can see here. The red paint that choose the red surface and it reacts very differently, very different from the wet and dry. So the end result is a lot different than we use these two different techniques. Now, let see variegated Walsh. So we start from the dock and slowly with just clear water, we drag the color down. So this is graded Bosch using one color. Began build the pigment on top and we have to drag the yellow until it becomes clear. So you see from dark to light the transition, this is called upgraded washed using Jewish one column. So if you want, we can build on the color like so. Like that. This technique is also used for making background washes. Now, let's see of variegated graded voice, where we use two colors. So first, we use one color and then we drag the color down with water. And now I will take another color and I will start from the bottom and I'll go upwards. So the middle area is where both the colors will march. And we will see a clear transition between two colors. So that. Now let's move on to the next technique. Let's see the watercolor blooms. Alright, so for that, again, wet on wet we will read the surface forced. And on top of that, I will just drop in some color with the round brush like this. And you see the color blooming. You see the pigments reacting to the water and blooming. So this is also very useful in making clouds or different background washes. Again, I'll show you, I'll mix the scholar evenly. And on top of that, I will go with a darker green. And just dropping some colors here in the see, see these nice blooms like that. So this is water color blue. Let's move on to another technique. I will show you. Try brushing. So these are the dry brushing stroke bear the brush has the pigment but it has very less, almost negligible water. And with that dry brush, we give these click flicking strokes on the dry surface and you see the texture can be achieved using dry brush strokes. Let's move on to another technique. I will show you how we leave highlights in the sheep's. So suppose I am drawing this sphere, and for the roundedness to show that the surface of the sphere is shiny, I will leave this highlight. So in watercolor principally, we don't use vite galore. We use the people right, as the white collar. But here's a trick. If you can't leave the highlight, if you mislead the highlight, you can add it later on with the help of a Jelly Roll or acrylic, white acrylic paint or whitewash. But ideally, we should use the people bite as and when weekend. Now here I'm showing you the negative painting, negative space painting techniques. So here depicting triangle, but instead of printing inside the triangle, I am building around it. And this is called the negative speeds spinning, where we depict the ships by painting I round the ships. This technique is used in making clouds and, and many other things. So now I'm showing you the lifting technique where the surface is still a little damp and we use a clean damp brush. Like it's not very wet, but it's not dry. And it has clean water on it. So we use this brush to lift the pigment like this. Let's see. Another technique to create texture. So here I have been to the surface and now I am dropping in some clean what do on top of that when the paint is still wet. And you see this effect, this, this textual, due to the reaction of water with the pigment. This is very nice and it's used in making the background to these are almost all the basic techniques we use in watercolor. Apart from that, you have to practice different strokes and different marks to get yourself comfortable with the beans and the brushes. So here I'll show you some using a flat brush at 90 degree with the surface, we can get these ten lines, horizontal, vertical, or whichever way we want. And when we use more of the brushes body, we get these broad lines and I'll show you how we use the detailing brush. So it gives you almost like a bend like effect or a pencil lake effect. And we also use this at a 90-degree with the surface. Now let see the strokes with facto round rush, a medium-sized brush. So using the belly of the brush, we can create these marks, leaf-like monks or theodolite marks, like so. And when we use just the tip of the brush, we get tiny marks. You see that all depends on the pressure. So little ratio and mole ratio that, and we can also just dab it on the people. Every single stroke has a different effect that you have to practice and get confident with. And see you in the next lesson.
4. Painting Different Pine Trees: Now let's talk about the Christmas elements. So the first thing that comes to my mind when I say Christmas is the Christmas tree. And he we go, it's very simple. There are many ways of making a Christmas tree in watercolor. So here, as you see, can you see now, now can you see, let me repeat the process. So I'm just making some blobs, some blogs, window, light, green color. I'm just maintaining this triangle sheep. Alright. Now, once violet still read, I will use some darker green and dropping some of that darker green to create the shadows. And as you see, there are still white spaces and not like completely covered like Blob. Do I meet small blobs to make this trip, but I am not go worded in diastole. And now we will lead this to dry. And once it strikes, we will dropping some ornaments. Now, I'll tell you, I'll show you another way of making the Christmas tree. And for that we will use this, find the dealing brush. This is a very fine brush. And again, I will take a lighter green. And as you see, I will just put my pressure on the people. And with this, I will try to maintain triangle sheep, right? Just Dutch and Dutch and fleet. Right? And again, I will go for a darker green. And while it's still wet, I will do some leaks with the darker green. And we'd go needles. Yeah, so though I hope Christmas trees don't have leaves, they have needles right there and wait for this also to dry. I'm sure you told me of drawing an easy Christmas tree. So here I will take ten line like that and then do these lines upward and then irregularly horizontal lines here and they're not very street, not very defined. Again, just keeping the triangular shape in that. And I will go in with some darker green to dropping some shadows here and there. Like that. It has to be dense in the center. Right? So that's another way of drawing Christmas tree. Now since these have dried quite a bit, we can go on and put some decorations. Like that. Looks like an apple tree, not the tree. Right? So maybe go some decorations for this one as well. So these are the elements of Christmas, which you can use for not just this class, but for your adopt projects, your Addo paintings. If you're making more cards for your loved ones, you can use these elements. So these are not just for this clause, right? Over here as well. So there we go, though. Christmas trees.
5. Painting Christmas Elements -1: Now, let's make some decorations. For that. Very simply. I will take some color in my brush with a medium-sized brush, but very thin and juice with the shape of the brush, I will meet these mocks and see this. I'm just using the sheep of the tip of the brush to trees, these Bakelite marks. So you can use different colors. But just because I'm showing it for the practice, I'm using just one color. You can use many colors. And here with a fine brush, I go with the black colour, making the strings. And there you have it. The series light. You can use many colors for the bulbs. And very simply and easily you can meet this. Now let's meet the bubbles, speculative bubbles. So here, Mika socle. Don't cover it fully. Just make a circle like this and make a deep over here with the same color. And now what you do is choose any side left or right. And leave this highlight. Today you go cute on a mint bubble ornament for Christmas. Let's change the color this time. 120k blue. Great. So again, a circle not filling in completely, just tracing the circle like this. And like this. And like that, I leave that highlight. And very easy and simple. Anyhow, that tip for the string. You can make as many as you want. For the Christmas, like this, lets make a small one over here and the highlight and the tip. All right, so now if you want, you can use the fine brush. Do I attach a string to all of these like that? Like so, right. Now, let's move on to the snowman. Ok, so for snowman, let's draw the basic shape. So here is my snowmen belly. That's the surface. Okay. And they're smaller one for the upper half of the body and the smallest one, or the v's. All right? So now what we are going to do, as we all know that snowmen are white, so we don't have to beat this back. To what we will do is we will rather go around them, give them a background. Nice background, right? Like so. This can be Starry Night or it can be you can choose the color for the background. There you have it. As we do the negative bending, the basic shape of it just comes alive. And there we have like an idea of a snowman. Now what do we do inside? Inside with a clean damp brush, just adding some water for the snow. Here what we are going to do is very tiny amount of blue. Ready dinucleotide. Okay? Alright, just as much and just spread it like this. So kilobase do depict or round surface. Alright? So very tiny. Blue like this and you know what, a gala will dry later. So don't worry about if it, if it looks too. Just drop in some model we're here at the joint and some over here. If you think you have put in extra ecologists lifted with the dam, clean brush like that, and let it drag, let it dry. And later we will add the features and details. Right? And down here I just pulled a color for the noise office. Just pulled a background color a little bit. And there you have it. The snow dropping some column maybe like that. And there you have it, the snow and the backdrop. Alright, so let us try and let's draw a window.
6. Painting Christmas Elements- 2: For the Rindler, because it's cute. God. So we are not going for realistic image mode and its rules. So that's the big nose. And let's do some happy CPI that the ear, let's do another one and the hair, and let you the UNCLOS. And now for the body, you can do body like this, a standing position like this. You can go like this also. But what we are going to be doing in this project is something different. Let's do sitting, right? Kind of this and choose one side to make the deal. This side or that side. So here, I feel like making it this side. And there you go, your cute Rudolph. Now I think this has dried a bit. So I'm using this fine line up to meet the eyes and mouth and the hand. So branches. And there you go. Your very own cute snowman is also ready. And further, if you want to try and color it. We will be doing that in the final project also, but still, we can color it very easily like that. Just I don't want to keep it blank so I'm coloring it. It's a simple step. So I'm just giving it a flat wash mapping. Fancy. Just your flat wash like that. So that it looks like Looks apart of the speech because everything is so-called local. I don't want to keep this little guy. Blank. So let's follow him as well. As you see very simply and easily. We can just leave this nose blank because we are going to be using red for this. And then we will do the P2's bit. A fine brush. Or what we can do. We can also draw this line. You can also add the tracing line like this. I mean, it's totally up to you if you want, you can. But but since it's an illustrative style. So I don't mind tracing line. I generally don't use racing line in money being things, but since it's more of an illustration, childlike. So let's do it over here. Great. Okay, I did a mistake. I colored the mouth also, which we are supposed to meat red. In the Final Project, we won't do that. When we're making the God finally. Then we won't do that. I'm just lining it roughly. Right? Just Shockley new tractors More precisely. Because if you want to and now let's do this red nose. And let's try and make this motto Sura immediately. Yes. Oh yeah. Let's make carried in nodes for the no man as well. There, just to click. And there we have it. These are the basic elements of Christmas, though there are many more. But we are going to be focusing on these elements. And we are going to use these to make our Christmas cards, which are going to be the final projects of this class. So let's go and mink are very forced Christmas card of this gas.
7. Project Pine Tree: So for the first one, I'm going to be the pine tree. As you see here. I have already taped the paper on the table to achieve that border around my postcard. Let's paint the backdrop. So here I am using the radon dry technique as in my brush is wet and ongoing on a dry people. So as you see, I have mixed this cool blue deal, kind of a blue to give it a snowy field, you can choose whatever wintery fallow you want. I'm exempt by green and blue to achieve the scholar. And I am leaving this bottom part of the postcard To debate the snow and make sure to give the backdrop of very light voyage because we have to paint the three on top of that. So we don't want to go very dark. Alright. So now the backdrop is done now for the bottom. But let's make this motion a little wet using clean water on this, let's drop in some colors. So I'm using some gray, which was already there on my palette. And you can also choose the backdrop color, also, just very sparsely randomly dropping a little bit of color. Now let this dry. Now the backdrop is completely dry. Let's build our dri. So out of the three methods of printing the binary, I'm going with the second one where we used the random flicks for making the tree. So here, just like the practice, I have taken a lighter green on my finding, dealing brash and ongoing with these flakes. I am main dealing the triangular shape of the tree. And now I'm done with the lighter layer and taking the darker color, the darker green. Now. And with the same flicking movement. I'm going on top of that. So here, because the brushes very tiny, I don't have a lot of water on my brush, which is exactly what we need for this method. So there, as you see, I have left a lot of space between the plagues and I'm not covering the entire force layer with dark, ugly. I want everything to be seen. And now I'm washing my brush. And I have switched to a medium-sized brush now. And I'm taking this red and that the tip of my brush, I'm making these small dots all over the tree to depict the decorations. You can use other scholars also, if you like. I'm just going with the red. And that's it. Make sure you don't cover the entire tree with reds, red globs. We don't wanna do that. Now, let's add a little stem to the tree. And for that I'm digging a darker brown and my brush. And now let's soften the bees of the stem. But the clear water with clean damn brush. And that's it. And I think the snow has dried, very lied to my liking. It's hardly, there's hardly any shadows, so let's add some more shadows. And for that, again, I will make it red and I'll drop in some green and some green here and there. And that's it. We're done with the snow. Right? So now let's take this metallic gold, metallic Ben, and make some golden decorations as well on the tree. Right? And now it's time for the Jelly Roll. Let's make some snow in the backdrop there. So the backdrop is very light. The white jelly roll is not very visible on that. Let's splatter some weight on the black backdrop and on the over this. Taking the watery white on my brush of fat brush and splash as bloodless bladder everywhere because I don't mind White sliders on the tree as well. And that's it. We're done. Now, I suggest you to read for the indicting too dry completely, but, and only then remove the tips. But here, I will remove the dips and show you the final look. I right? So this is what it looks like. And we're done with the first postcard. Now, let's move on to the second one.
8. Project Snowman- 1: Now for the second one, I'm going to make the snowman. So phosphate bond, let's draw the snowman. They're the basic shape of the snowman is ready. I have given it up gap also. And now let's make the backdrop around the snowman vet. And let's go with a wet on wet. And being the negative space around us. Noma, alright, just like though, practice lesson. So here I am taking this dark blue. You can again choose any window gala so that this dark blue ongoing wet on wet all around us. No man. And more closer to the snowman, the darker the color is. Alright, let's do this. And again here as well, I will leave the bottom part of the postcard blank holder snowing ground. Okay. And once this is done, I will let this entire thing to just drive. Now, let's move on to the snowman. And again, just like the practice session, we will likely take some Gallo and give some shadows to depict the roundedness of the snowman and the curvature of the snowman. So again, a Vietnam vet. I had already made the surface of the snowman vet. And on that, I am going with a very light amount of the same blue. I use what the backdrop. And we will be in the snow, just like the previous card, making it red and dropping in some color. I'm also trying to follow the color from the upper part of the postcard. The same blue. I'm trying to pull that down. And if I'm not happy with that, I will drop in some colors on right? And once this is done, I will let this entire thing to just drive. Now, this is dried completely. Let's move on to the detailing. And he's very easily and simply I'm making the gap and the scars of the snowman. So as you see with the ten brush, I'm taking some red colour and making these tiny lines to make the gap. And I'm leaving whitespace in between to make it look like red and white stripes. Alright, so very easily I will use a little green also. And that's the little pump out of the hat.
9. Project Snowman- 2: And in the same way, I remaking this muffler of the snowman. It's completely up to you how you want to make it, like, how, what colors you want to use. It's completely up to you already. So I'm cool with red, white, and green. Solace office is still red and the color is spreading a little bit, which is to me, I like this field, but if you wanted very crisp and defined weight foils, Momento dry and then do the detailing. And I think the snow has dried, very lied to my liking. It's hardly, there's hardly any shadow. So let's add some more shadows. And for that, again, either make it red and I'll drop in some, some color and give some shadows to debate the roundedness of the snowman and the curvature of the snowman. And that's it. Now let's move on to the features. And again, don't make the buttons or any features until it's completely dry. But for me, it's perfectly fine. It gives it a little abstract field and I, I like it. How the eyes and the mouth. And there comes a nose. So here I'm making these buttons. Are the button. Now. That fine detailing plush and a darker brown color. Let's add to stick hand stood there and now let's soften the beads of the stem. But the clear water, clean damn brush. And that's it. And now I feel like adding some green strives to the gap and above flow so that the same brush, I will take some green and add the stripes. And now the fun part, plateau, Plateau, some snow on the backdrop. And this time I'm going to cover my snowman because I don't want white snow on its eyes or, or the hat or something because the hero of the painting is the snowman, which is white. So I don't want extra white dots here and there. The snowman and plateaus, the white all over the backdrop. And that's it. We're done. We're done with the second one also. Now let's remove the tape and see what it looks like. And I suggest you to wait for your painting to dry completely before you remove it. It, alright, and yours, mine. Lovely, isn't it? Now, let's move on to the next lesson and make Todd postcard.
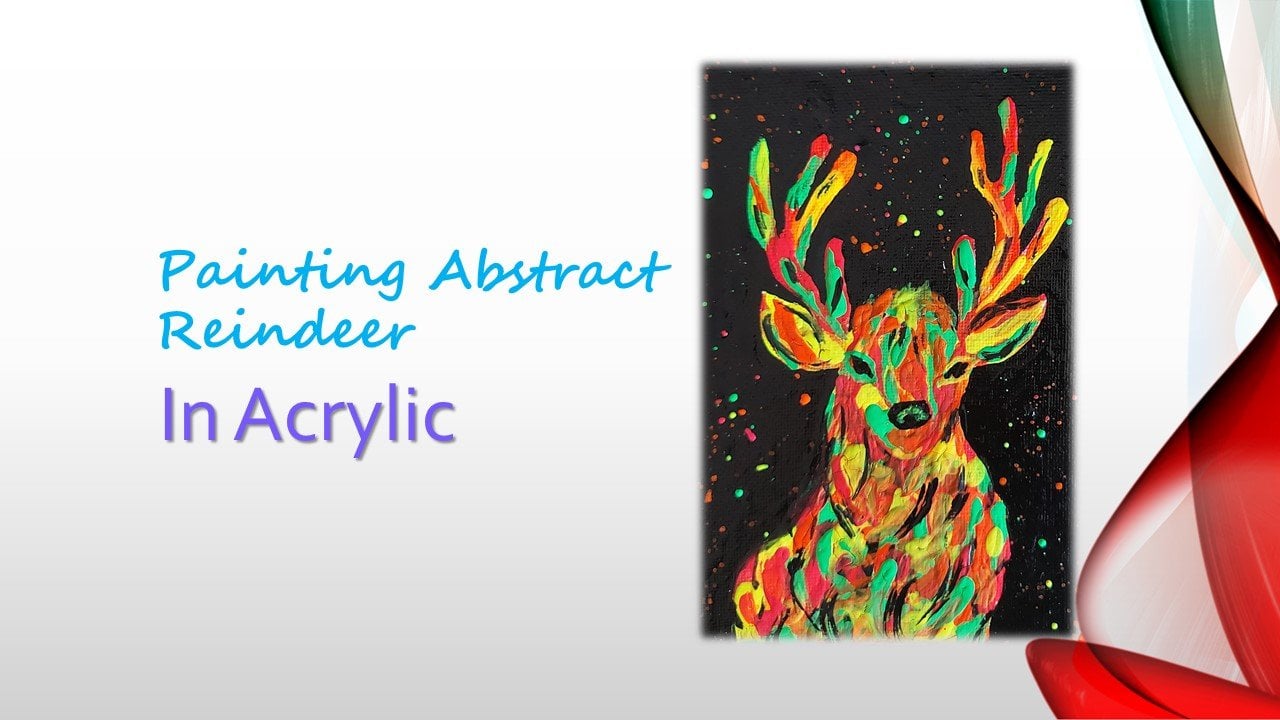
10. Project Reindeer- 1: So here we are making our taught both Scott and for this, I decided to make the Rabia. So let's draw the window post, just like we drew it in the practice session. I'm taking time-lapse because we have already practiced drawing the Ranger in the practice station. We have practiced to read. And of course I have chosen the cute little sitting reindeer. I'm just making sure that there is some speeds on dots of the postcard and there will be some decorations which we will draw later. At the bottom, I will be making the snow because snow event or postcard and arranger is sitting on snow. And then let's draw some autonomy and some lights. So I am not drawing the life completely, I'm just making the kibble buyer for the light. And now let's meet the horizon line to separate the snowy ground from the backdrop. Now let's get beating. So again, we're doing the negative space painting. We have to build the entire backdrop, just leaving the snowy ground down below. But very carefully, go around all the sheeps on right, and use a very thin coat of color because the beauty of watercolor lies in transparency and freshness. And if we use so much color, we compromise on that beauty, right, to just light voyage, but an even voyage. In fact, if it becomes a little patty, doesn't matter because individually are going to give it a snowy and misty look. Later on. Sutures cover the entire area. Nicely. Go around all the shapes. And if you came, some areas are lighter and darker. You can always go back on those areas and make and adjust the color. Don't write. And again here also I am taking the time-lapse because we have done it in the previous postcard and we have done it in the practice sessions also. And while the paint is still red, dropping some water, clear water, clean water here and that, like that. Not a lot of water just drops, drop by drop here in this parsley, Just drop it before the beam drives. And you see we get these nice blooms. These blooms are going to create a misty, snowy, dreamy backdrop. Alright, and that is exactly what we are going for it. And see, it already looks so dreamy and so snowy. We don't even have to splatter white paint on this to depict the snow led this. Dry completely, and we will move on to the next part. Now, this is completely dry and we will pin thus no, just like the previous card, making it red and dropping in some color. I'm also trying to pull the scholar from the upper part of the postcard. Moving on to the detailing, let's pin the radio. So I am taking light brown and with that, I am giving the renewal of flight wash because it's try I mean, bet on dry. Because it's a wet or dry, you most likely to get some patches here and there. And you can always smoothened or soft in the harsh edges and patches, widow down, clean brush. But when you're doing that, make sure you don't have a lot of water in your brush. Just dumped crash. Alright, just a hint of water and the water should be clean. So like that you can get rid of the batches. And if you think some areas are lighter and darker, you can always go back on the lighter area with the color and adjust that evenly. Alright, you can document. And for me, frankly, I don't mind these batches. I don't mind some harsh edges here embed because that gives it a very elastic and handmade look, which I totally love, but it depends on you. It depends on the artist. Some others actually purposely create these batches because they sold like it. So it depends on you. If you liked it, you can keep it. And if you do it one bit, you can get rid of it with the help of a clean stamp, right? So now we are done with binge eating the radio lead. So let's start with the nodes, a cute red nodes of this Rudolph. And then with the same red color, let's make a smiley mouth. And don't forget the blushes. They look to. Cues, don't be. So then now widow, darker brown. Let's make the eyebrows and the eyes. It's a sleepy, happy radios. So let's make the simple and easy eyes without eyelashes. And now it's time to outline the window. And again, if you don't like to outline, you don't have to, but I just think to make it look more illustrated and cute and deadlines, I wonder outside it. And you can also use find lineup for this, that and the fine line tomatoes come in different shapes so you can use whatever. Let's paint the hoops of reindeers do reduce harmful. I don't know whether their hooves are not to cook. So hands and legs of the window and that's it. We're done with the radio.
11. Project Reindeer- 2: And now the backdrop is completely dried. So let's, let's make some decorations. The same baby may be ornament in the practice session behalf to make it the same way, Don't forget to leave the highlight for the shine. And if you forget to live the highest hanging Q can easily achieve it, but the jelly roll. In the end when the pain tries. But try and keep the highlight. But if you can't, there's a, there's a hack for that. You can, you can add the highlight. Mandela drives here again, the same V I finished making four ornaments. Now lead, make the strings with a black colour and the fine liner brush. And let's make the cable viable for the light. And now comes the light. So let's, let's use multicolored bulbs. Further, lights mean y naught. So there's red very simply and easily, just with the tip of your blush and now change the color. Let's use green. And here's another Gallo and lemon green or a greenish yellow. And that's it. We're done. Yes, we are done. The discipline also. Let's remove the tape and see what it looks like and they're even that beautiful. So this one is also done. Now let's move on to the next lesson and finish making the last and fourth postcards of this class.
12. Project Red House- 1: Now this one is my most favorite. In fact, I love all of them, but this is mostly read to me. We are going to being scenery of windows in R3 of winter landscape with a red house. So let's sketch it out post there. I'm sketching very lightly, just a suggestion for the house and find trees in the backdrop. Thus no E ground. That very basic sketch, minimal sketch. And now let's begin painting. So here again, I'm going to use wet on wet. Just mix the entire area around this house that make sure to keep the roof of the house completely dry because we do not want any color on that. We wanted to be snowy white. All right. So just very carefully, go around the house, make the entire area wet. And on that, let's take some light blue, very light and pottery amount of blue. And that starting from the top, just ponder color down. Alright. You don't have to use a lot of blue, just a little amount of blue. And that's it. Once you cover the 1 fourth of the top Fido, fewer people, just take some water in the brush and pull the color down until it becomes clear. Alright. And now let's take some green. I'm taking light green. You can take any shade of green, but try digging are lighter shade only. And with that, just dab the color on the widths office. Right at the horizon line where the sky meets the snow, like this. And again, make sure you don't have to touch the house with this green. So just keep it dark at the b's. All right. And as I reach the walls of the house, I go around the house, leaving the rooftop of the house completely clear and white. Okay, here, I don't think the lifting technique will also work if you accidentally touch the roof of the house. Because no matter how much you lifted, though, people won't be complete. Snow White on, right? So it's better that you carefully just leave the rooftop vitally. And now I'm pulling the color up, the same green color as you see. I've not taken more, just seem green color. Okay, now i'm taking rigorous it became due to light. So I have to keep the bees Docker and on some points I have to throw in some shadows. And apart from that, I have to just pull the color upwards in form of these peaks. Alright? Just darken the bees and pull the green colour in form of beaks so that it gives a muted jungle of fines feel when it dries. Alright, now, take some clear water and pull the green colors down in the snow. Just ready ledges, managing the hard edges of the greenery, alright, and make it soft. So now we will take some blue, the same blue we use for the sky and drop it here and there on the snow. And now we will let it dry completely. Right? Now that it's dry it let's start painting the house. So here I have taken red color in my brush. And I'm outlining one wall of the house. As you see, I have decided to keep this side of the house darker. So you have to choose one side for keeping a darker and the other side for keeping it lighter. So this side, for me is going to be darker. I painted completely and now I will boater my brush down a little bit. And with a very little amount of color, like the lighter tone of the red are used for that wall. I will use for this ball. And as you see, I'm leaving the space for windows and a door. Right? I'm not being done on it so carefully. I'm using a fat bridge only, but if you are not comfortable, you can switch brushes. You can use a thinner brush. For this part. I am comfortable with a flat brush, so I am doing it, right. And here we finished painting the house, the walls of the house. And now we will let the house dry. Walk on the background, on the pine trees.
13. Project Red House- 2: Right, and here we finished painting the house. I will wash my brush and then Altaic, darker green, darker than what I used for the backdrop. And with that, I will just go jab, jab, jab as you see, maintaining or triangular or a pine tree shaped like that. And I will be taught by increase. So the same dab, dab movements will be used for painting all the pine trees. Like so. Keep the trees behind little lighter and the ones in the front a little darker. And just randomly in no particular order keeping these trees, we have practiced this style of making binaries, the practice lesson. So just follow that technique and binned all of the trees behind the house. And now if you see the trees are drying very light. Go back and add some shadows randomly here and there. Alright. And do that via the tree. Red. Because once they dry the shadows, you will drop in will create hard edges. And if that's not what you want, you have to drop in the shadows when the trees are read only. And with that, we are almost reaching the end. Making the last few trees, thus couple of trees. And there goes the last one. Who I'm making it, half on the masking TPP and half on the paper. So that it goes a little bit out of the frame, which will make it look more natural. Like that. We are done with the trees. And now Lex, dq, yellow, a bright O1. And that bright yellow. Let's be in the windows of the house depicting the light inside. So I'm taking my yellow, find the dealing brush. And there goes the first window and then the second one. And they goes a third one. And for the door of the house, we will use darker brown there. Now we're almost done. Just some findings dealing is left. Just an outline of Brown underneath the roof, depicting that the roof is wooden and it's covered with snow. Let's make a chimney on top with the same ground color. And that's it via almost, almost done. And now with the Jelly Roll mix some lines on Windows and on the door. And on the Gemini depicting the snowfall. Snow deposit on those areas. Just some tiny dots with the jelly roll on the sky, if you wanted to depict some snow fall. But the sky is really late. I don't think the vile jelly roll is going to be seen. You can do this step with the help of silver metallic Penn also, if you have one. But I think I am good with the Jelly Roll only. And now we're finally done. Let's remove the tape and see what this postcard looks like. And there it's easiest. But the prettiest postcard we have made in this class. This is why they're my favorite. And with this, we are all done. We've completed all four projects. Now, let's meet up in the next lesson and wrap up the class.
14. Bye & Happy Holidays!: Well then that was it. I hope you were able to learn something today and I hope you were able to make beautiful greeting cards for your loved ones. And I just cannot wait to see what you have created. So please make sure to share the pictures of your reading gods in the project gallery. And please make sure to leave a review for my class. I'll see you in the next one.
 Manishaa Shriivastava, Artist, Art Educator, Author