Transcripts
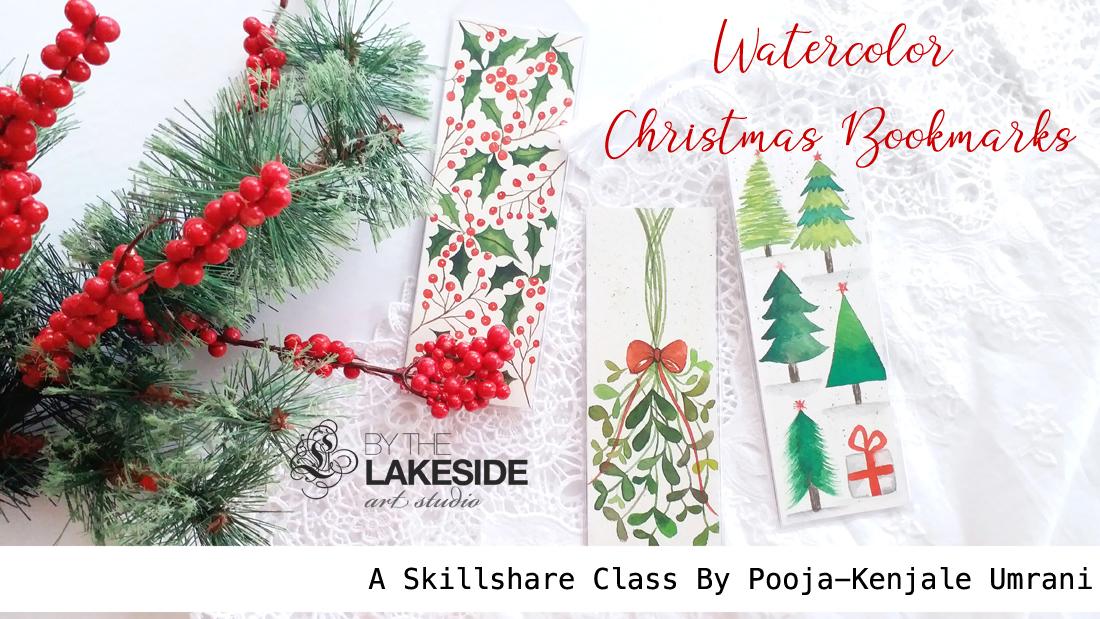
1. Introduction: - Hey , everyone, I'm Pooja from by the league side our studio. I'm a watercolor artist on a soy candle maker based in the US, and this is my first sculpture class. I absolutely love making watercolor book months more because they remind me off the old school way off, holding off physical book, intense and read. If you feel the same about books and bookmarks when you came to the right class today, I'm going to walk you through to make your own holiday season Christmas book months. I think these will be just the perfect holiday stocking stuffers for your dear ones who love to read these air super easy and fun to make. And by the end of the class, we will have three adorable book months. So without further ado, let's get started.
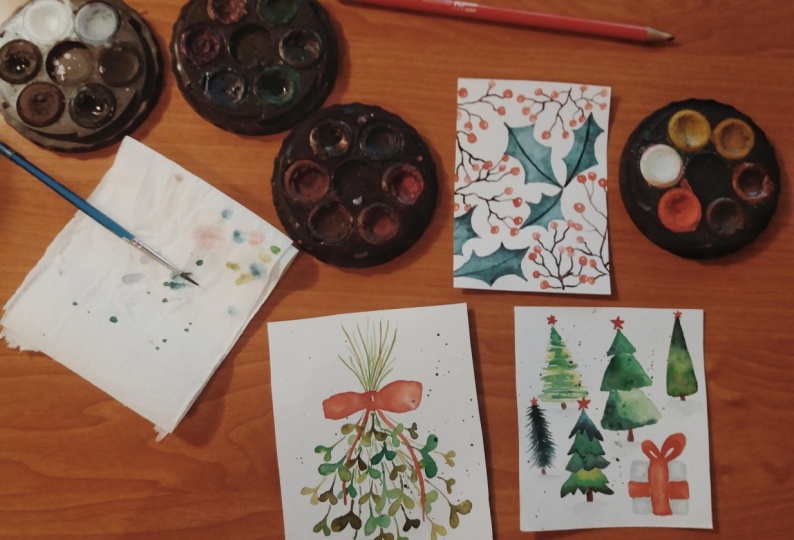
2. Supplies: I'm using 1 40 lt. Storage acqua water. Gonna people. I have got each of them to the size six centimeter by eating sentimental, which is the size of my bookmarks leaves. I used to paper cutting bleed on the skin, Got my bookmarks Make sure you use a cutting mat underneath for safeguards. I usually insult my bookmarks into sleeps so they remain safe. And we are bend that I had a lot of options for sleeves in terms of size and factor. I also like using complimenting tassels for my book months. I got thesis leaves and tassels from amazon dot com, but these are options supplies and will not stop you from making bookmarks If you don't have them handy, you can also punch a hole through the bookmark to tie a satin ribbon. We even need a pencil and an eraser for sketching the bookmarks to paint your bookmarks. You can use watercolors off your preferred brand. We will mostly work with the shades of green, red, brown and green. I will be using round brushes off three sizes 02 and six to mix my colors amusing. A white porcelain plate. Lastly, we need a jar of clean water and a paper travel to clean your brushes. Now that we have all the supplies we need, let's make some bookmarks.
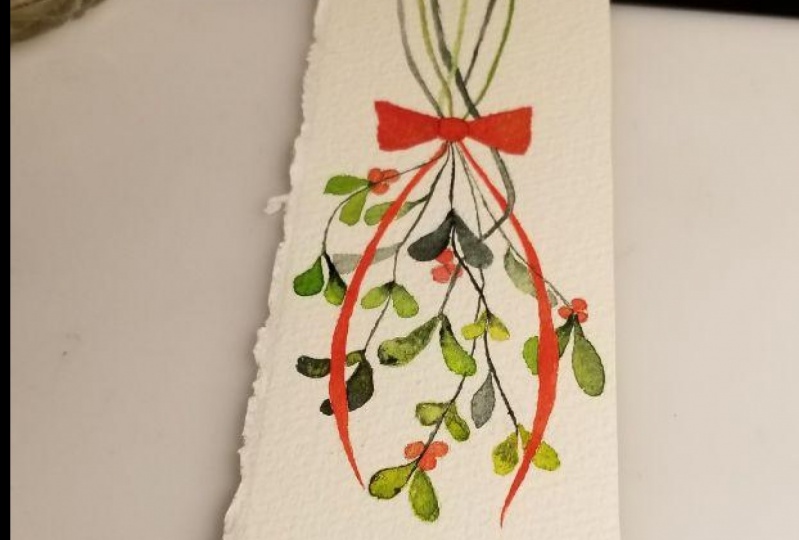
3. 1st Bookmark (Part 1): Sketch (Mistletoe): for the first bookmark people sketch Mistletoe Bunch tied together with Red Bull. Let's start by making a light sketch of the bull by drawing two loops tied at the center. I'm going to try and keep the sketch very light, which will act as an outline went painting the missing toe. I'm keeping the ribbons off the ball long to make them look. Louis and Greece. For now, let's draw the missing branches. Start by drawing the branches from the top of the bookmark that come all the way down to stems and leaves. I'm going to add a couple of branches on the job to make it look like a bunch. Oh, now let's start adding the stems and leaves. Mistletoe leads are slightly oval shaped with rounded pinch. We're simply going to draw tear drop shapes that resemble the mistletoe leaves. I'm not stressing too much on getting them perfect. Just keeping them lose in a similar fashion. I will continue adding some more leaves and stems to the bunch starts to look fuller come together. You can keep adding stems and leaves that are pointing in different directions, and you can also make sure that the needs of different sizes. Once your sketches ready, we will start coloring the leaves on the ball
4. 1st Bookmark (Part 2): Coloring (Mistletoe): I think this class we will paint the Miss Auteuil brunch. For this. We need three shades off the green color. To begin with, I chose a light, yellowish green sap green on a appreciate of green. You can choose any three shades of the green color from the brand of your choice. I'm starting by painting a wash off light green on dry service of the people. Then I'm adding a darker shade near the stem and letting the color bleed by itself into the lead. I'm not using any special techniques, but simply applying all the three sheets of green interchangeably to mix the condos into each other while painting the leaves are making sure to leave the white gaps for the ribbons off the ball that we drew earlier. The ball will be overlapping the leaves and shall be painted at the end. I went ahead and painted something, using all the three shades that we have mixed on the ballot. He will be in some leaves, light and summed up to show rating stones and values of the leaves. Using a small size round zero brush, I painted the steps. I will continue to paint the remaining leads on. Also, add some more moves in the white Caps as I go to ensure that the bunch looks fuller and dance. - Next , I'm going to being the branches and the dog. I'm using a size zero brush to paint the branches. Take your own time to pay these lines, and it is okay for the branches. Still slightly uneven. Perfect. Oh, - Fala Bo. I'm applying a very light wash of scarlet color and then dropping the pigmented Kahlo under the surface and let it bleed by itself. I'm repeating the same process on the other side. I will paint loops on the two sides post and then the center of the ball. - I'm carefully painting the ribbons off the ball, filling up the white gap. I left for it. It really fairly easy for you to paint the ribbons if you use a smaller brush size like zero to. I'm using a small size from zero. Feel free to move your bookmark around to get a comfortable anger toe. Paint the 10 lights. I usually don't tape the people. If I know that I won't be using a heavy wash of water once the boys done, I'm splattering green color all over the book. Mom, you can skip this part if you want your bookmarks to look neat and perfect. I want my boat to stand out on handsome adding outline with a black find. Depend. I'm darkening it at the center and drawing some nights to show clubs of the booth. Oh, and there you go. Your missile to book money is trick.
5. 2nd Bookmark (Part 1): Sketch Xmas Trees: for the second bookmark, we will draw some assorted Christmas trees off media shapes and styles. We will try and fit approximately 4 to 5 different types of Christmas trees on this bookmark. Start by likely sketching the height off the Christmas tree that you want to draw for the first tree. I'm simply going to draw some horizontal lines in the ascending order off the land. I will draw a smaller trunk and finish off with a horizontal ground light. We will keep the shapes very basic and easy to draw. Since this is a loose tile design, we won't focus on getting the trees perfect or use any kind of reference to draw them. I'm simply sketching them out of my imagination. For the second tree, I'm drawing a drying her leg shape that has the sort of like edge at the bottom. I'm drawing three such shapes pleased one below the other in the order off increasing size . But I'm using a scale to make sure that all the trees are roughly about the same height, so they look nice and even together for the third tree. I'm using a triangle shape with gold sides and simply placing them on top of each other. You can end up your own shapes a few light. There are a lot of possibilities to do their Christmas trees, and once you start sketching, you will get a hang off it for the fourth tree. I'm simply drawing a big triangle that will act as a dream. We've been Philip the Strangled with a nice greedy in condo. And finally, for the last tree, I'm simply drawing some sharp strokes, coming in downward directions from both the sides. Oh, in the remaining gap, I'm drawing a small present that is wrapped with Red Bull. And there you go. Our easy sketch with second bookmark is now ready to be painted.
6. 2nd Bookmark (Part 2): Coloring Xmas Trees: for the first tree. We will start by mixing two shades of green. I have chosen a slightly yellowish green from the prima tropicals salad and sap green from Winsor and Newton. I will start my painting 10 horizontal lines using the lighter green Carlo and come all the way down while maintaining the ship off the tree. If you observe, I'm holding my brush perpendicular to the people and using the tip of the brush to make fine strokes that work from left to right and right to left. After painting the first layer with light green, I will repeat the same strokes on top of the first layer using the sap green color. This time, this will give a nice shaded it back to the tree. You can continue to fill up the tree with stroke. Still, it starts to look dense and follow. Once I'm happy with the strokes. I will finish off the tree by painting the trunk of the tree And there you go. Our boss tree is ready for the second Christmas tree. I'm going to paint the tree, do coordinating colors. I'm starting my mixing, but appreciate of green. This one, I suppose, is the shared Greek from white knights bandage. I will apply a warship color onto the dry people and darken the color near this exact sharp edges of decree. - I will repeat the same process for the tour layer off the tree, and we've been come back to the remaining two layers after the first ones dry. - In the meanwhile, we've been paint the triangle shaped dream using to differentiates again. To start with, I'm simply applying a wash of water to work the three area, then using around six brush dropping in the two shades of green, top and bottom, letting the colors march into each other and making sure that I keep the bottom off decreased slightly darker. Oh!
7. 2nd Bookmark (Part 3): Coloring Xmas Trees: for the fourth tree, Mixing the shade for Embry from the white expanded, I will start by applying a wash of water on the top layer of the tree and then drop in the green color from one side. I will then act a darker shape and watched the colors into each other. I will repeat the same process for the third layer of the dream, and once these two years dry, I will finish after meaning two layers. Now for the last tree, you can choose any shade off the green color, which you think you have used the least. I'm using a size six round brush to draw sharp strokes, pointing in the downward direction. I've been made strokes, starting from the inside of the tree and coming out making sharp lines. Continue making these strokes on the other side as well. Once you have been up strokes on both the sides start by filling up the middle portion off the tree by a blank wash of Carlo and merging the color into the strokes. I am now going back to the previous street to adopt the remaining two layers. After painting the trees, I'm going to finish off by painting the drunk off the trees with a brown shade. Amusing sepia from the white knights palette. - Lastly , using red color and painting a star on top of each tree, I like the contrast combination off red and green. You can also choose a complementing color like metallic gold or silver, so feel free to adorn your trees. If you would like to jazz it up a little, there are a lot of possibilities to decorate your trees here, but I'm choosing to keep it simple and minimal for the final touches off the bookmark, drawing ground service underneath all the trees and painting the present box that we sketched for you. I'm using re color to paint the ground surface on the box. I'm sticking to the red contrast for no and the Red Drink Christmas team to paint the box wrapping. And finally I added some splatter all around the book to make it look Christmassy and at the holiday white do it. This completes our second book, Mom
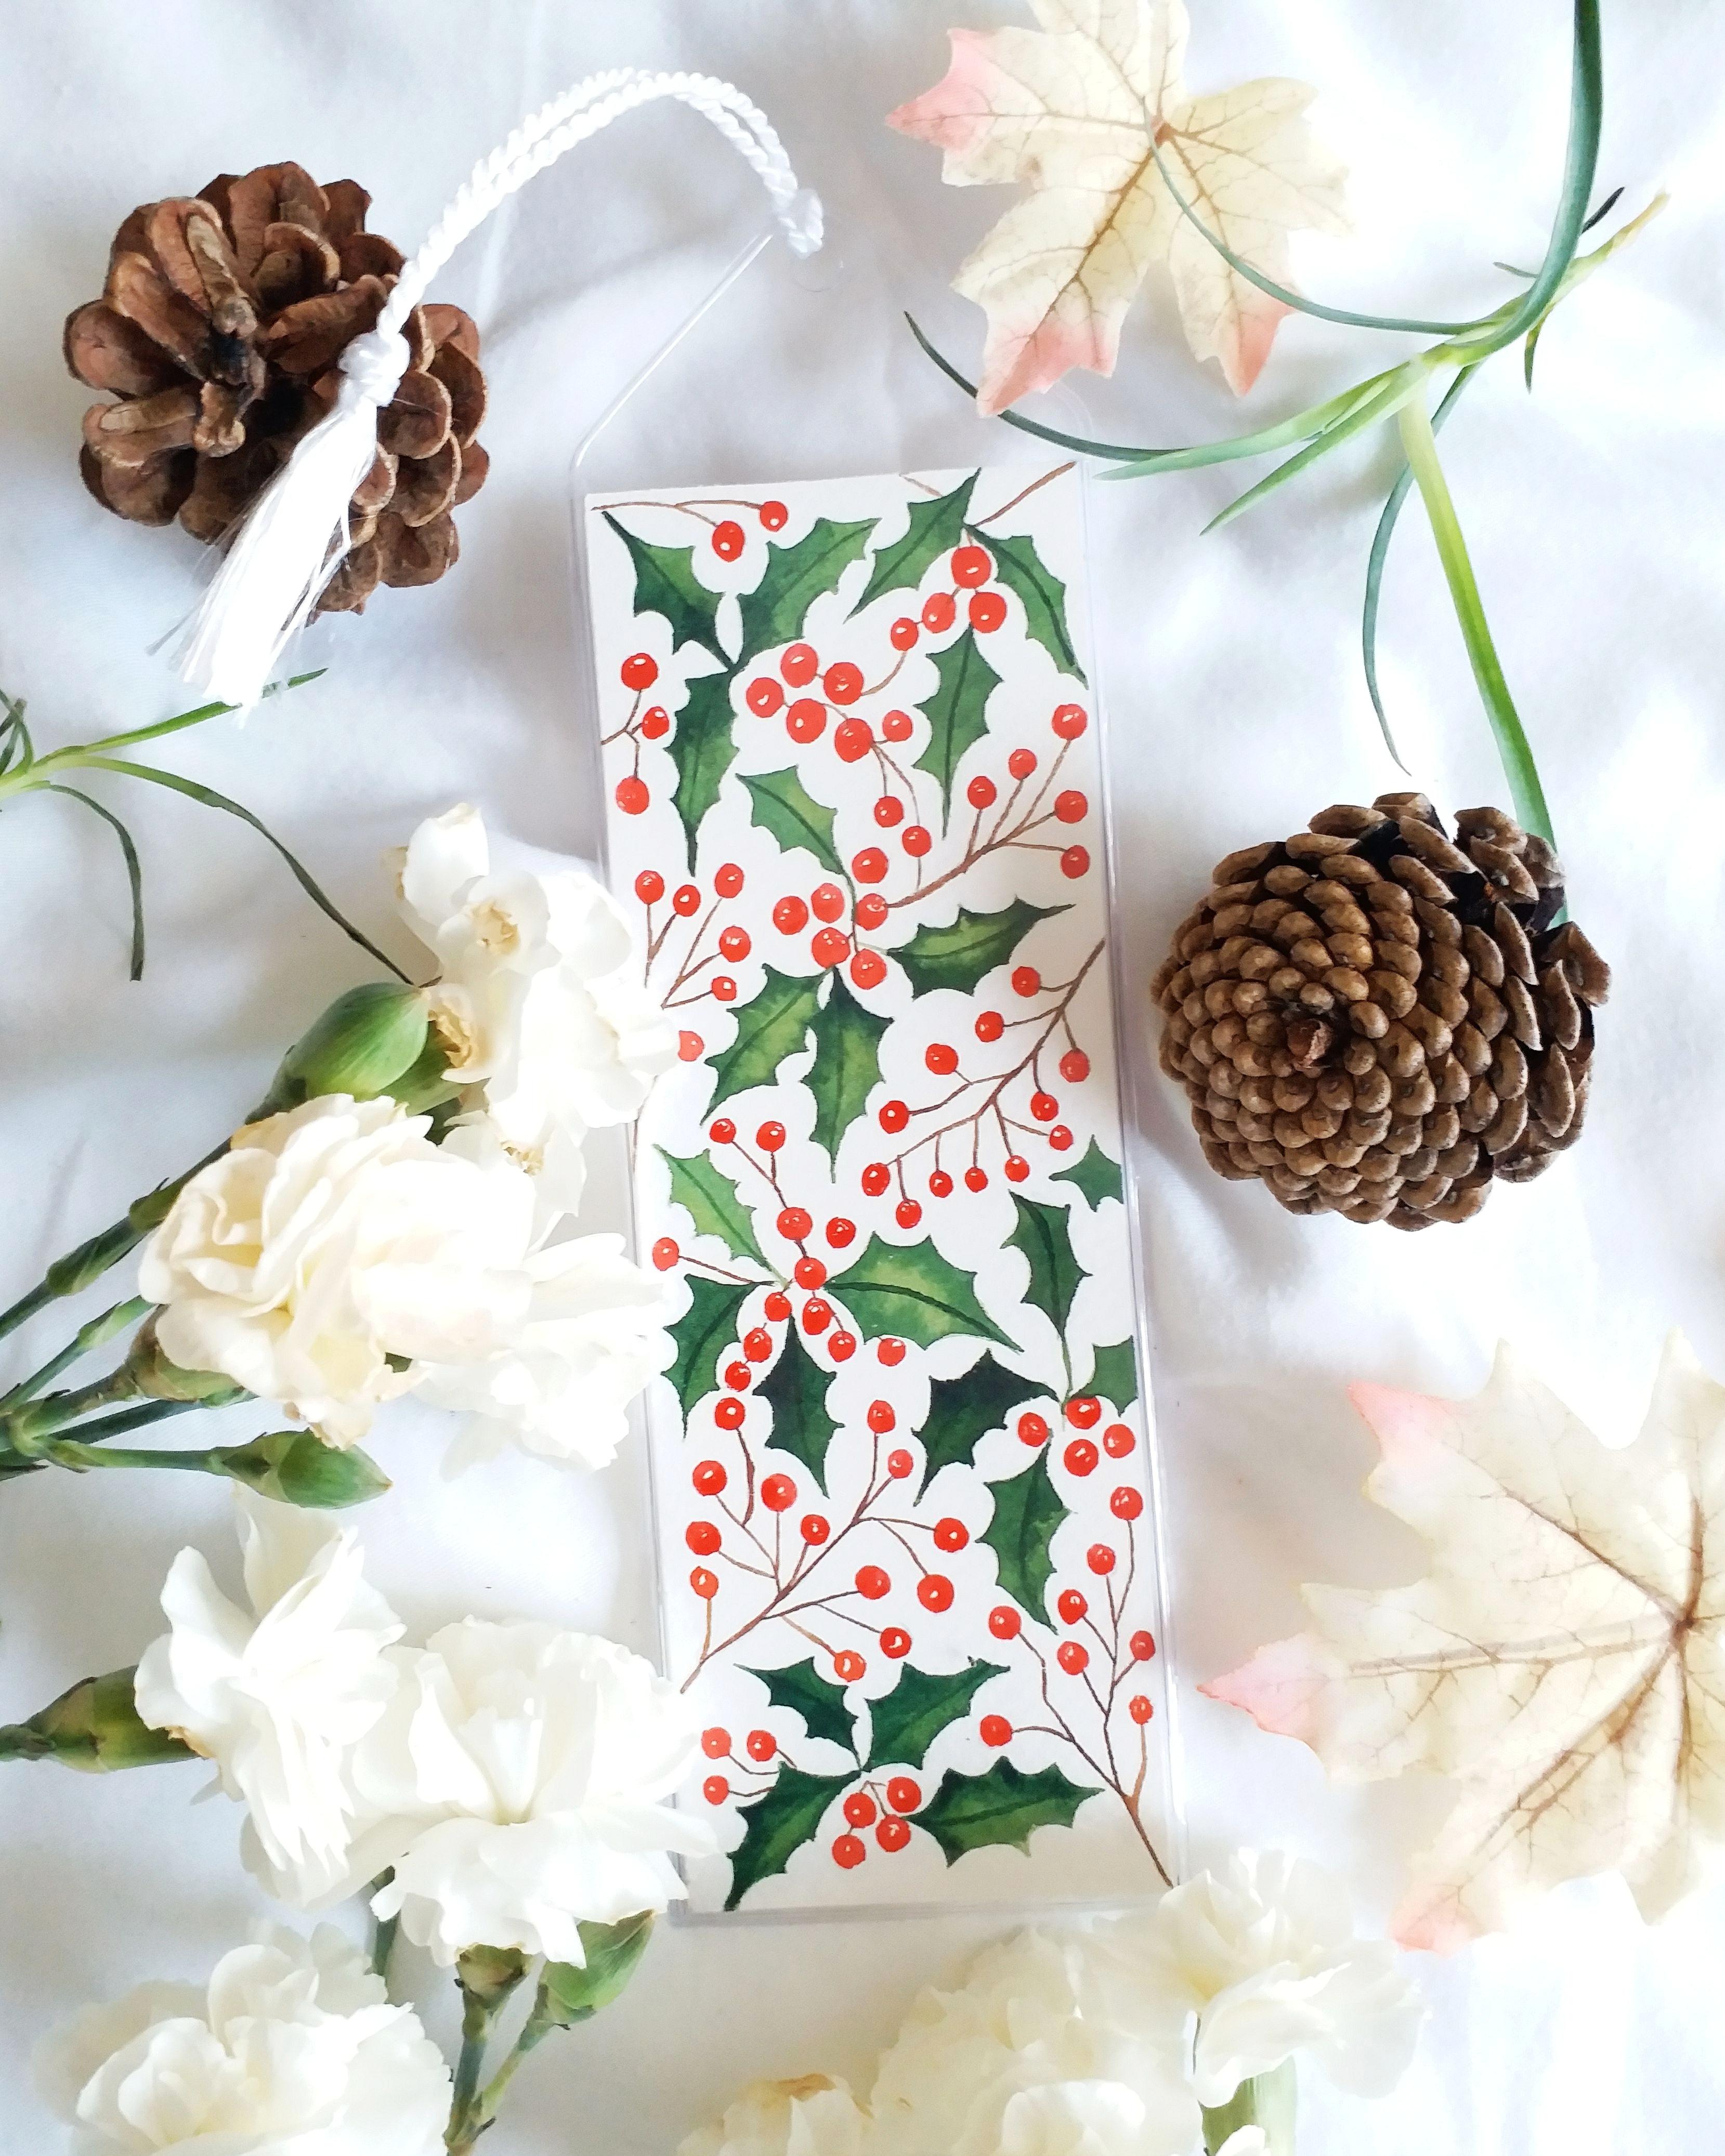
8. 3rd Bookmark: Your Project: What a hard bookmark we make a pact and using holly leaves and beds. I think this is a classic Christmas combination that looks pretty as a bookmark design for this. For months, I would show you a basic sketch, funny moves and the colors needed to make this book. This is our class project, and I'm sure you're excited to try this one out. To draw the holly needs, I will start by drawing a curved line, which will be the center of the leaf. Then I control U shaped coves, connecting each other and forming a tip at the end. Off the knees, I'm making about three U shaped golds. I will then join the tape by drawing same new shape cops on the other side of the Holy Leave. You can repeat this. Leave in different sizes and makeup active, using them for drawing baddies. I'm drawing small clusters off branches and adding ground shapes at the tips of the branches. You can also group two year or four leaves together and add some Berries in the center. In this way, I will start filling up the bookmarks starting from the top and then coming down. You can ensure that you leave consistent gaps when placing your whole leaves and branches off the battles to make the bookmark evenly spaced out and to make it look like a pattern, I would start by drawing from the top left and leaves and Berries alternately. Once you start sketching, it would come naturally to you, and you would fill up the gaps even well . That is pretty much how I would obviously make a sketch and complete the rest of the money . You can use my ready book, Marcus, a reference to make the sketch or try out something fun going off your own ideas to color this bookmark. I've used the exact same sheets off submarine, emerald green, darkening Scarlett and brown that I used to meet the forced to bookmarks. You can paint the holly leaves just the way we painted the researcher leaves and apply the techniques used to paint the Christmas trees. All right, then you can open this year last bookmark
9. Conclusion & Final Thoughts: So here we are with our three adorable Christmas bookmarks. I'm going to put my bookmarks into the sleeps and act tassels to them. If you don't have sleeves and tassels, that's okay. You can simply punch a hole to so a thread and they will look equally pretty. I'm hoping these bookmarks will be a good starting point to make your own designs and patents for the holiday season. Do please let me know in the reviews If you had fun in this class and I can't wait to see your creation If you upload the book muscle Instagram, please tag me and by the league side. And I would love to feature your bookmarks in my stories and feed. Thank you so much for taking my class. I see you again in my next class. Until then, keep creating
 Pooja Kenjale-Umrani, Author of MODERN WATERCOLOR WORKSHOP