Transcripts
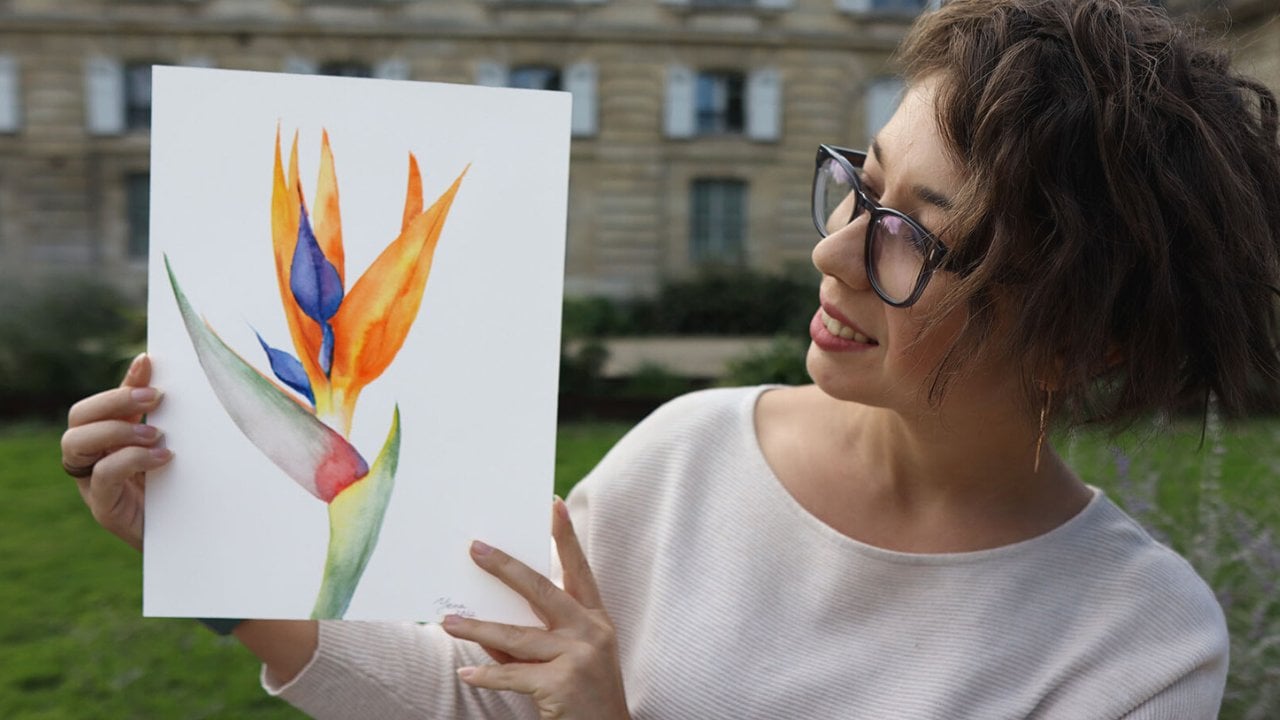
1. Introduction: [MUSIC] Hi there. My name is Cynthia Oswald. I'm an artist and
designer living and working from my home
studio in Phoenixville, Pennsylvania, about 30 minutes
Northwest of Philadelphia. My work is a blend of things, mostly a combination of
passion and skill sets. Currently, I spend my
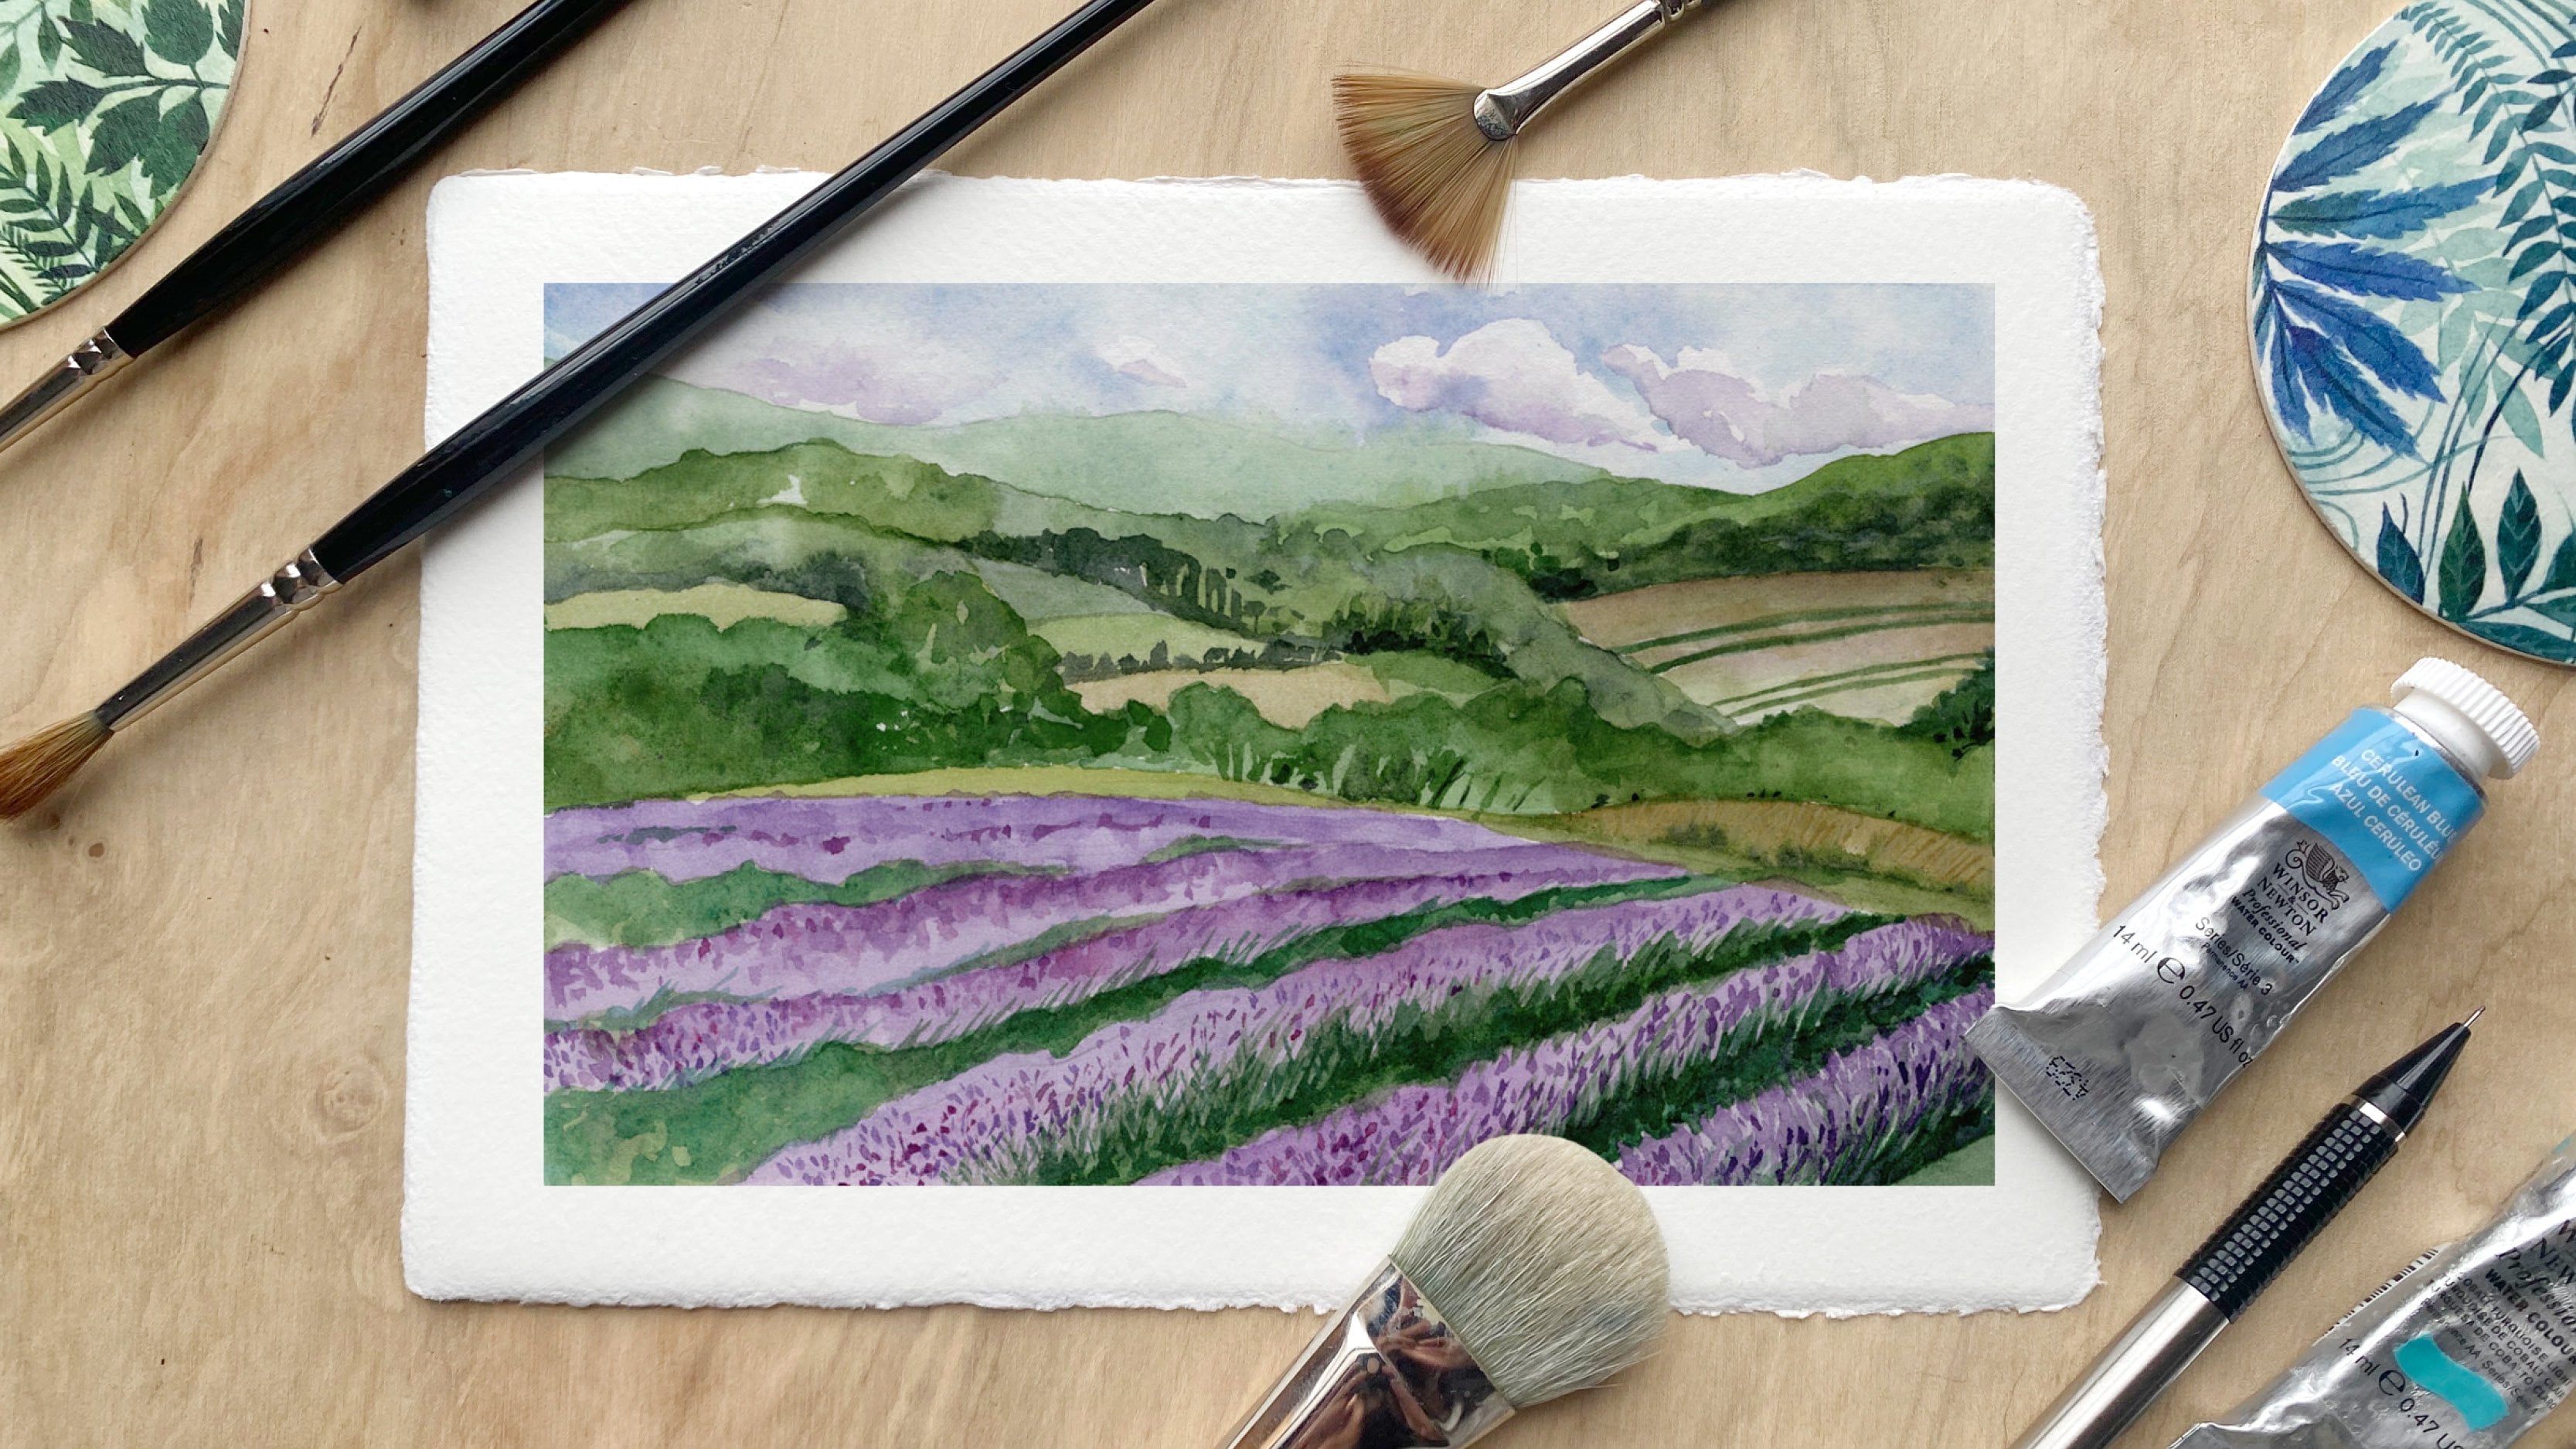
creative time doing botanical and landscape
watercolor paintings and creating surface
designs for the home. I also help clients bring to light their
own creative hopes, goals, and ideas
through branding, print, and web design. My current body of
work involves pulling inspiration from the landscapes that have inspired me the most. I enjoy creating
botanical compositions and then pulling them
apart in Photoshop, this allows me to
naturally blend my love of design and fine art through
creating surface designs. I've been painting
with watercolor for over 20 years now and have participated in jureed art shows locally and nationwide
since 2005. In May of 2020, I received my MFA and
since then I've taught courses at Kutztown
University of Pennsylvania. Today I want to share with
you my watercolor process. Over the last couple of years, I've discovered a process
that enables me to use a few basic design
principles in combination with some references
in mind to create compositions that feel organic and completely unique to me. I want to share that
process with you today. For the class project, we're going to create
a botanical painting. It will include
completing this using your favorite spectrum of colors to create your
very own work of art. For the first step, we're going to gather our
supplies and some inspiration. I'll share with you my favorite materials and how I like to gather
inspiration from nature. Next we'll review how
basic design principles in combination with your
unique preferences can be used to
compose your piece. We'll talk about hierarchy, contrast, repetition, proximity, balance, color, and space and how each will affect the
feeling of your piece. Then we're going to
start sketching out a few thumbnails to begin mapping out a plan
for your project. Next, we'll review the
basic fundamentals of watercolor paint. I'll share some of my favorite
tips and tricks with you. Next, we will put
paint to paper and create your very
own work of art. Finally, we're going
to wrap up by snapping a photo of the piece and sharing it in the
project gallery. This class is for creatives who are looking to
learn a new skill, express themselves through
creating fine art, or just to better understand
watercolor techniques. The skills and
principles reviewed in this course are beneficial
for composing layouts, mastering the watercolor medium, and building competence
as a creative. Students can begin creating
works of art based off of their own unique
sensibilities upon completing this course. All you need to get started
is watercolor paper, a couple of brushes, watercolors, a cup of
water, and a paper towel. [MUSIC] Let's get
started creating. [MUSIC]
2. Class Project: [MUSIC] For the class project, we are creating a watercolor
painting inspired by nature. I chose this project
as it allows the artist's unique
preference and style to come to life
in the end result. It allows us to break
away from copying exact compositions and to free our mind to use our
intuition while we're painting. By integrating basic
design principles with your unique preferences will unlock your ability to
paint using intuition. Put on some music, that just helps get you
in that flow state. Then when you're stuck
in the messy middle, keep in mind that the basic
design principles that we're reviewing will help to give you insight
for your next move. When I first created a watercolor composition using
this idea and technique, I actually ended up cropping
about half of it out. Don't be afraid to
explore this and really push the boundaries
of what this could be. Realize that maybe
your first one isn't going to be
exactly as you want, but it's helping you move into this meditative flow state. I found this process
through collecting ideas and inspiration
over the years. One day it just had to
come out and when it did, it felt so freeing. My goal is that you also get that experience in
creating this work. If leaf formations
don't inspire you feel free to use anything from
nature that lights you up. I chose leaves because
it allows me to play with the value in a
very monochromatic way. You could do that
with any reference. Let's gather our supplies,
references and sketches. Then we'll review
some design thinking and watercolor techniques. We'll start putting
paint to paper. When you're finished
with this project, you'll snap a quick photo using your phone or camera and share
it to the project gallery. [MUSIC] If you share it
on social media or use the hashtag watercolor by design so we can
show you some love. Let's get started by gathering our supplies and inspiration.
3. Gathering Supplies & Inspiration: For the very first
step, you're going to gather some supplies
and inspiration. You'll need scrap
paper and pencil. We'll be creating a few
thumbnail sketches as a warm-up. If you like the circular format, you'll want to compass
or you can use a small plate or a bowl. The brushes that
we're going to use during this course are a mop brush for washes and
round brushes for details. You can use a variation
of these two or add in some other brushes to help you achieve the look and
feel you were going for. You'll also need a
watercolor set and a palette if you're
using watercolor tubes. I use Winsor & Newton
professional grade watercolors. I want you to choose
a color range to work within so that the final result is somewhat monochromatic. The reason for this
is just to get you comfortable with the medium, focus on creating
space through values, and to explore the composition,
having some constraints. Then you're going to
need watercolor paper. I use a hot press
watercolor paper. I also recommend making sure you have a paper towel to
dab your brush on, and you could also use a sponge. A lot of you will use
sponges to pull paint from the paper if
they've put it on there, and they don't like
the way it looks. You can also use a
paper towel for this. That's what I like to use, but it really just is
a personal preference, so maybe having both
around is good idea. This class was born out
of years of observation. My guess is that YouTube
have been observing the natural world and gathering imagery that inspires you. I have always been fascinated by the negative space and
patterns found in nature. Over the years,
these observations have left a lasting imprint. I thought it might be
difficult to explain its view, but it turns out I've been
capturing photographs and videos of these
inspirations for years now. That said, the very
first exercise I would recommend is to sketch leaves and plant
life from your mind. See what comes
naturally to you first. That's how the majority of
my pieces are created now. If it feels unnatural, then you can grab some flowers or greenery in a local store. Reference botany books to understand plant anatomy or look through your own photo archives to see what kind of
greenery you can find. Maybe you can reference your wedding florals or a
friend's wedding florals, or maybe you have images
from your own garden. Lastly, you can always explore purchasing dry plants
for inspiration. Next up, we're going to review
design principles and how you can apply them to
create a composition.
4. Design Principles: Next we'll review how basic design principles
in combination with your unique preferences
can be used to compose your piece. As an artist and designer, it's important for
me to understand the difference between the two. Design serves a very specific
purpose and therefore, the principles can be used to
achieve a particular goal. Art is a means of
self-expression and doesn't necessarily need to
have a goal attached to it. When working with clients, I'd like to say more of
them and less of me, I don't want to see
myself in the end result. When I'm creating fine art, it's more about an intuitive
process of self-expression. As a designer, I can't
help but see how these practices
have influenced my decision-making when it
comes to making art. That's what I want
to share with you. Hierarchy. What's the most important
aspect of your piece? Maybe it's not
something that you actually know right away, but when you're working, it's something that
could be revealed. Intentional scale,
or density detail, and overall prominence
play a role in determining where the
focal point will be. It's a handy tool to keep in mind when
sketching your piece. Contrast. Adding a spectrum of values places emphasis or a de-emphasis in specific areas. Contrast is an excellent
compositional tool. It can be used in combination
with other techniques to create a pathway for the viewer to move
through the piece. By using a more
monochromatic palette, we are using contrasts
in lights and darks, but it also applies to
other contrasting elements such as sharpness or
painterly techniques, details, or obstruction. Repetition. Repeating elements, style preferences, colors, etc. can provide uniformity,
or in this case, can reveal your style. Recognizing and
repeating patterns in your work is a great way to enhance your signature
style as well as lean into what's
working for you. Proximity. In design, proximity is used to create organization and
cohesion within a space. When it comes to fine art
and using your intuition, proximity can be used
to create friction, breathing room, consistency, or some combination
of the three. Balance is also a
tool that can be used to create a sense
of friction or ease. When something doesn't
feel quite right, it creates discomfort
that can be intentional or you
could choose to create balanced to
comfort the viewer. Color can evoke certain
emotions and express values. Warm colors create a different
feeling from cool colors. Complimentary colors can create balance or contrast when
placed next to one another, or cancel each other
out when combined. Color can add depth
and lack of color, it makes it feel flat. Both can be intentional choices. Space, like balance
and proximity, are important to keep in mind
for compositional purposes. By creating space, you're giving the eye
a moment to breathe. By lack of space, you create a lot of friction. If you've created
compositions in the past, take a look at your own
work and define how these play a role in the
overall look and feel. In what ways could you play with these ideas to create a
specific feeling in your work? Let's take action. Consider how you can
apply these principles to create or evoke a
feeling in your work. Create a few thumbnail sketches with these principles in mind. Grab a pencil and a little
piece of scrap paper and explore each one
of these ideas in combination with
the references that you've gathered and see what kind of compositions
you can create. Get a little thumbnail
that you're pretty excited by and that's
when you know, you're ready to dive into creating a composition
in watercolor. Next step we're going to
review watercolor techniques.
5. Putting Paint to Paper: Part 1: In this class I'm
going to review setting up your
paper, your palate. Why we are using each of the brushes and some basic
watercolor techniques? While I walk you through
my own watercolor process. First, let's clear
off our workspace. Watercolor paper can
easily absorb pigments, so you want to make sure you're working on a clean surface. Grab your materials. The basics are brushes, paint, paper, water, and a paper towel. Download my full
list of supplies using the link in
the class resources. In this demo I'm using arches, a 140 pounds hot press
watercolor paper. I prefer to use a
watercolor block as it allows me to paint from the couch [LAUGHTER] or in plain air while keeping
the paper taut. I like hot press
because it scans well, and since I use a lot of my original art for
surface design, it translates well
in the computer. Cold press also has a
lot of fun benefits. One of the interesting things
about cold press is how it gathers pigment within
the texture on the paper. I encourage you to
explore both so you have a sense for what you enjoy working with and what
feels natural to you. You can choose a
circular composition or any shape you'd like. But for this demo, I'm going to use a circle. To create a perfect circle, I like to use a compass. When using a compass, decide on the size of the circle and then measure
half the diameter. That's the size that your
compass should be set at. Make sure you measure
a center point, then create your circle. You can use your
sketch to reference a composition if you choose
or you can dive right in. I also understand
the desire to sketch out your composition
directly on the paper. Go right ahead. There
are no rules here. This is about doing what
feels right for you. You can use a kneaded
eraser to remove some of the pencil marks after you've already
painted on it. For the purpose of this class, you could also use a plate or a bowl to outline
the parameter. When I do a sketch
on watercolor paper, I do it lightly and only outline the fields
of different values. So I have a sense of
the general shapes, but I reserve the details
for the paint itself. If you love your pencil marks, consider placing them down very intentionally and including them as part of your final work. Next, we're going to
prepare your palate. For the purpose of this class, we're using a limited palette, but that said, we're still using every
color of the rainbow. I use tubes of Winsor and Newton professional
grade watercolor. I don't clean my palette
in-between each use as the pigment is
still good after it dries and it goes a long way. If you are preparing
a new palette, I recommend buying
a basic set of Winsor and Newton
watercolor, it's 12 or more. Then grab a few extra colors in the spectrum you
prefer to work within. I'm using every color of
the rainbow in this piece, primarily focusing on
blues, greens, and yellows. Choose one main
color and then lean on both sides of that
color on the color wheel. I'm also using some
combination of Windsor red, burnt sienna, raw umber, and French ultramarine
blue to create shadows. For this exercise, we're
going to get started by using the mop brush to demonstrate the
wet-on-wet technique. The first thing we're
going to do is wet our brush and without
any pigments, start adding it to the paper. You want to cover the entire
surface of the paper. If you want to keep
an area a true white, do not add water to that area. You can also use a
masking fluid to preserve any areas that you
wish to remain untouched. It's not something
I use or love, but I would recommend
exploring it. It's definitely a
personal preference. The idea with the
wet-on-wet technique or wet brush on wet paper is to create washes or large areas of color that blend perfectly. The other amazing
thing about wet-on-wet is how you can use
different pigment by dipping your brush into
the pigment and then onto the paper and watching
it naturally spread. One of the reasons
my favorite brush is a round brush is because of
the versatility they have. You can use one brush to get a range of details
in the painting. Large round brushes
have a tiny tip, but also they have the ability
to hold a lot of water. You can prepare a wash using
a round brush as well. If you were only going
to invest in one brush, I would tell you to grab a
size 14 or so round brush. The larger the brush,
the more water it holds. The larger the surface area
that you need to paint, the larger the brush
you will need. Depending on the
size of your washes that determines how large
a brush you will need. Imagine you are
painting a sky on a large sheet of
watercolor paper. You may need a
much larger brush. Looking back at your sketch, determine if there are areas of the page that should
remain white, where the color might
work nicely in a rich, dense level of color, and how you might play with creating atmosphere
through variations in your wash. Keep in mind
how color contrast, balance, and space
might play into the way you create your
foundation for this piece. Essentially, that's
what we're creating. We've covered a lot of ground. Let's recap quickly what
we've covered in this lesson. By now, you should
have an understanding of how to prepare your paper, which colors to use, an understanding on
how mop brushes, and round brushes interact
with the pigment and paper. You'll also be ready to create washes using the
wet-on-wet technique. Next up, we'll review
wet-on-dry, dry-on-dry, and how we can utilize
the design principles we've reviewed to influence
our final composition.
6. Putting Paint to Paper: Part 2: In this final lesson I'm
going to show you how you use we- on-dry and
dry-on-dry techniques, and I'll walk you
through how I made compositional decisions
as we finish our pieces. If you haven't let your wash dry absolutely go ahead
and do that now. Give the paper about 20
minutes to dry between creating the wash and getting
started with the details. You could also use
a hair dryer if you would rather just
keep moving forward. The wet-on-dry technique
or wet brush on dry paper is how you start to add in
detail and create clean lines. If the paper is
still wet it will bleed creating a
softness to the edges. Maybe you want to create a softer level of
detail as well, you could place that on the paper while
it's still drying. If you wanted to create
a softer level of detail in-between the crisp
lines and the washes, don't let the paper dry fully and place a few lines
on to test it out. When you're ready to
add fine lines and details you'll want the paper
to be dry or mostly dry. Understanding how the
paper dries and how the pigment reacts at each
level between wet and dry will help you create the details and the
painterly effects that you desire to see. Personally I think
from the ground up and typically start with my washes and build on details from there. I will go in and add
additional washes throughout the process especially when I want to build on color
and create depth. I'm going to start by working on my mid level details or the items that are like
a mid-level priority. I do this because I don't want them to be
the focal point per say, but they can help me lay out the general page allowing
me to consider hierarchy, space, proximity, and balance. I'm also constantly doing with hands in each of my pieces. I create one element
and then I looked the whole composition in its entirety to
create balance by juxtaposing another element that is nearly equal in scale. In this instance the
eigen that offsets my first botanical element
is opposite in contrast. This helps to create the
illusion of depth in my piece. Everything is not on
the same plane per say. Take note of how I create another wash bleeding away
from the botanical element. This allows me to create a soft edge on the
outside while maintaining a hard edge on the inside
closest to the botanical piece. You just want to keep
in mind that each time you do a wash
like this one, you'll need to allow
it to dry before creating crisp detail
in that location, so work around the page
back and forth per say allowing drying time
in-between each move. As you can see I'm still
using the large round brush. I wanted you to get a
sense for the detail that is possible while
using this brush. I'm going to switch to a
smaller round brush next, I desire for my work to
feel organic and balanced. I want them to feel
meditative yet have a decorative element in a
sense of celebrating beauty. There are dance between
wild and orderly. They may be saying something
about who I'm in real life. Let's say, I like to create variation in the elements
through scale, shape, and subtle shifts in color
while also balancing everything so it feels intentional, meditative,
and decorative. My decisions are based
out of this desire. What do you wish to
explore through yours? That's something you want
to keep in mind as you're making decisions for
this composition, and while you're
thinking through how the design principles can be utilized to make
decisions in your pieces. If you'd like to create a lot of fine detail by using
negative space, consider using a masking fluid. You can paint with the
fluid and then it blocks out the area you wish
to preserve the paper, then you can paint your
wash directly over it. When it dries, you can rub the mask off and the
paper will be preserved. After my first couple
of objects feel balanced and are creating
a space that I like, I start adding in
variations in scale. I end up making at
least one object as the largest or in this
case the longest item. Most of the time when
that happens I don't create an equal on
the opposing side, allowing that larger
either to have a greater level of
importance to hierarchy. Also to ensure not everything
is calculated and there are some irregularities giving
that wild organic feeling, maybe there's another
unique element smaller on the opposite side of the piece that helps to balance the overall composition but
doesn't look calculated. Next, I'll work in
some smaller scale repeating elements
that are balanced. Once I have a few repeating
botanical elements going at one time I start to feel
friction like the messy middle. The proximity of each element starts to interact
with the next one, and when something
is in balanced it becomes really obvious. I then repeat the process
creating space and depth through the
filling white space and working in shadows. You want to make sure
you have clean water and then you have a paper
towel with you at all times. You'll notice that I'm
often dabbing my brush on the paper towel in the water onto the
ballot and back again. The amount of water you allow
on the brush while you pool pigment from the palette and when you place
it on the paper, it dictates how dense
the pigment will be and how much
control you will have. Having a paper towel
handy can help you monitor that control
by releasing some water before
you place it on the paper or just to test out
the density of the pigment. You can always add water into the palette to loosen the
colors before you start. I like to dab the paint with the water and then dip
back and forth between colors to get the
right combination of colors for each element. When layering paint
to create detail I'm thinking about adding less
water with each layer, getting more pigment
in the top layer. In some instances,
you may even use dry-on-dry or dry brush on dry paper to create
very fun rich detail. Even with dry brush
on dry paper, you'll use a little tiny bit of water to loosen the pigment. I like to think of dry-on-dry
as opaque where wet-on-dry is a little transparent and wet-on-wet is
extremely transparent. I want to take a minute
to talk about color. I could use one color; literally one tube to paint
for this entire piece. I'm just adding water to
create shades of that color, but instead I'm using
all the colors. Adding hints of blue to the
greens creates a cool green, adding yellows brings
out the warms. The blend of these colors feels more true to
the natural world. When you're looking
at plants in nature, there are so many
variations of green. I'm attempting to
capture the essence of the natural world
and it feels right to me to use every color even when I'm working
mathematically. If you're just getting
started with watercolor, you may try to use one 2-butene. This way you can truly play with the tactility
of the medium. I find dry-on-dry or
as less water with rich pigment as something that
I like to work up towards. I'll work around the piece constantly building
the composition, then as I feel like it's
starting to fall flat I'll add in shadows and solidify light areas to ensure
that the piece has depth. Often I'll paint
a leaf formation, and then after it
dries I'll go back in and add more detail. Sometimes I'll wait
for it to dry twice or more and just keep
adding layers. I just realized you won't get
more detail when it's wet. The more wet the brush,
the less control. If you dislike some of
the detail you created, one of the best ways to resolve
it is by adding water to the area and working back
into it with a gouache. If you end up adding
water to an area by mistake simply dab it
with a clean paper towel, and once it dries go
back over the area you disrupted to add
the detail back in. As you can see, I
use a paper towel quite often in my
painting process. One of the last things
I want to share with you is about
making mistakes. This project really allows us
to celebrate our mistakes. If something feels wrong, consider what we discussed. Is hierarchy or lack thereof
making it feel unbalanced? Is the contrast creating depth
in the way you envisioned? Are you combining too
many styles or are you repeating yourself references
so the work feels like you? Is there too much or too
little friction due to the proximity or the
relationship between elements? Does the piece feel
balanced overall? Are you using the colors
or values to your benefit? What is the space or lack thereof saying about your piece? If something feels
like a mistake, consider how these
basic design ideas can be applied to
resolve the issue. In terms of real mistakes with the watercolor
medium itself; well, there is a way to move the
paint once you place it down, you just need to make
sure the paint stays wet. Simply dilute a mark with pure water if it isn't
what you wanted while it's still wet and then pull it up using a clean paper
towel or a sponge. Don't make the mistake
of using a portion of your paper towel that
has pigment on it, that can become
disastrous quickly. Make sure to break at
a place that makes sense after you've
completed a wash, or after you've
finished painting an object in its entirety. Once the pigment drys it
does leave an impression, but don't let that scare you. The point of this project
is to help you harness your intuition when it comes
to creative self-expression. We all have unique
preferences and creating space for them to come alive is a beautiful thing. That said, trust your natural instincts
and when all those fails to run through the design principles to
figure out your next move. I can't wait to see
what you create. Let's recap quickly what
we've covered in this lesson. We discussed wet brush on
dry paper or wet-on-dry. We also discussed dry-on-dry
or dry brush on dry paper. We also went over some key
questions to ask relating to the design principles that will help you when you're
feeling a little stuck. We talked about the dance of working around the
piece in terms of size variations
as well as adding washes and details as you
continue to build up a piece. Next up we'll take a look
at the finished work, recap what we've learned
and the general process, then we'll snap [MUSIC]
a photo of the piece and share it in the
project gallery.
7. Conclusion: [MUSIC] Since there's
so much dancing back and forth with this piece, it can often be oriented in
a number of different ways. See which way you prefer now
that your piece is complete. Let's wrap up by snapping a photo and sharing it
in the project gallery. Try positioning
your artwork nearby a window using natural light and capture it with your phone. Once you have an image,
you're happy with, post it in the project gallery. If you share it on social media, use the hashtag
watercolor by design, so we can follow along with you. Today, we looked at gathering
inspiration from nature. Applying design principles
to create compositions, creating quick thumbnail
sketches, preparing paper, or pallets, creating washes, using the wet on wet technique. Balancing our compositions
by creating a rhythm, adding details and layers by
using wet-on-dry technique, utilizing both the mop
brush and the round brush, as well as other countless
tips and tricks. Thanks for joining me today, it's been so fun to share
this process with you. My hope is that it opens up a
new way for you to practice self-expression and
creates an awareness of your natural instincts. I also hope that you
feel empowered to move through the messy
middle now that you have a collection of
design principles you can apply when you aren't sure what
your next move is. Most of all, I hope you had fun and learned and new
techniques in the process.
 Cynthia Oswald, Artist & Designer