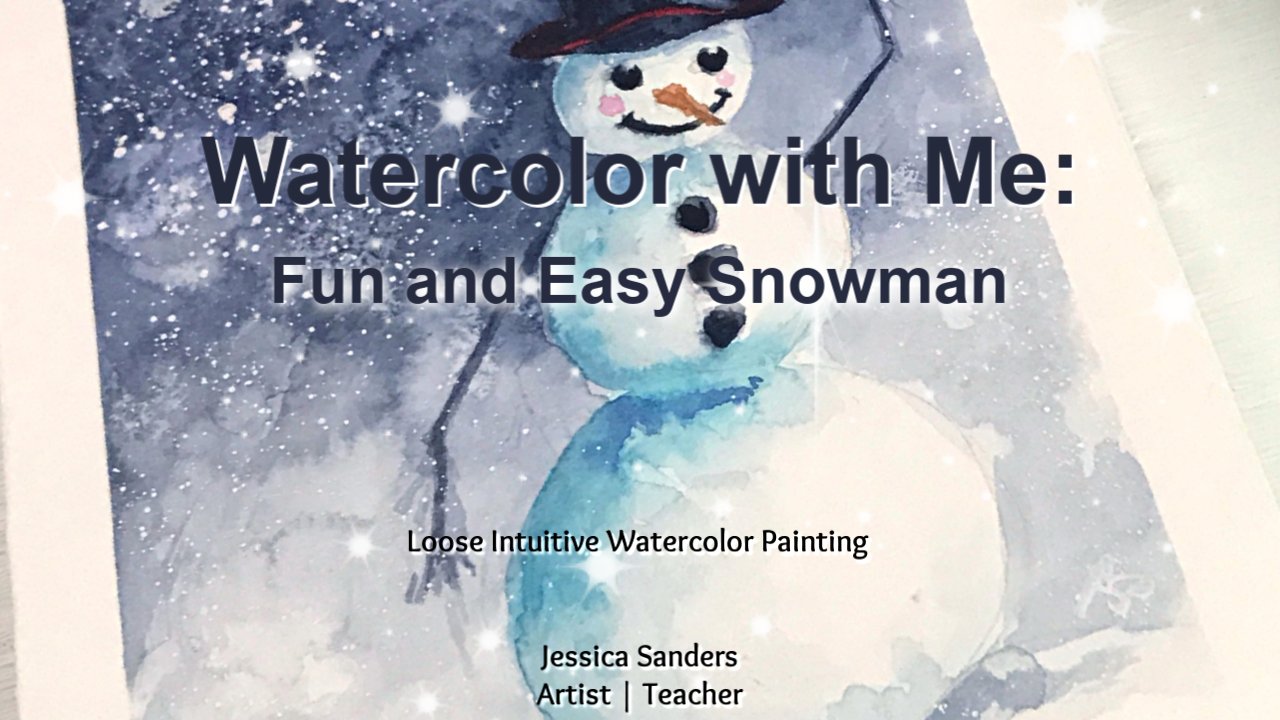
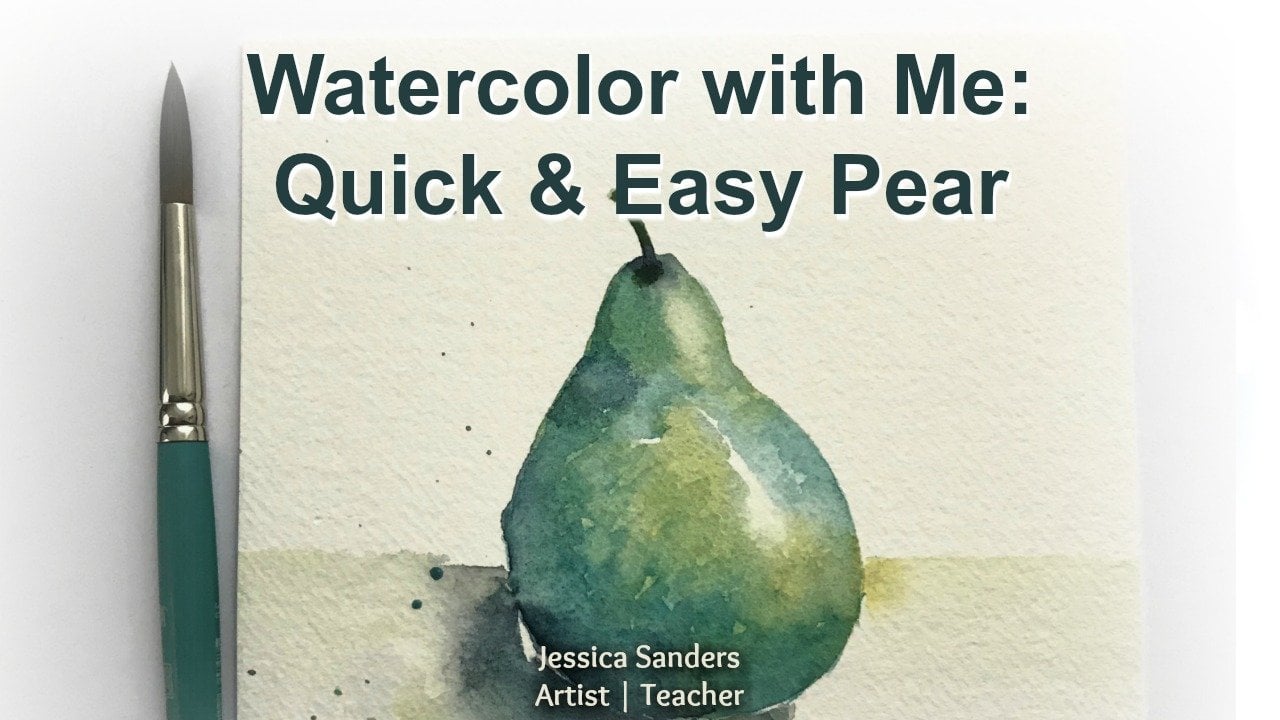
Transcripts
1. Welcome!: Hello. Welcome to my sculpture class. I'm Jessica Sanders. Color me creative art dot com. I'm so happy you're here. So today I would like to share with you a minute class that I've been working on. I'm creating a series of watercolor basics classes. There really bite size classes around 15 to 20 minutes long, and they teach one specific skill or technique related to our color. They're perfect for beginners or, if you really want to practice specific skills, so I hope you'll join me for this. Siri's fourth this class, the 1st 1 in the series. I'm talking to you about water color consistency, about mixing your water with your paint to get a thick, a medium and a thin mixture, and how to how to recognize that on the palate and how to recognize it on your paper. And we will be hitting on subjects such as value and opacity and transparency. And so come along. And let's get started with this simple and quick class for mixing water with your water color paint
2. Supplies: for this class. It's really simple for the supplies. You only need a palette. Watercolor paper washi tape is optional is just for fun. You need your water color paint. You need a brush. Any brush you have that works for, watercolor will do and you need water and a paper towel. Let's get started.
3. Water + Watercolor Paint: Let's create three different consistencies of pain, the consistency of your water color. And when I say the consistency of your watercolor, what I mean is the thickness, or how much water you add to your water color pigment makes a huge difference when you're painting with water color. It's an important skill to learn whether you're going to paint a loose style watercolor or whether you're going to paint a more realistic style of watercolor. It's very important to know how much water you add to your pain and how that affects your pain, but we're not going to measure. But we're going toe learn by experience how the water effects are watercolor paint. So let's get started for self. I'm going to use a very dark sort of Prussian blue color, and I've got my brush wit and added a little bit of water to in my pan. And now I'm just picking it up and I'm putting you here on my palette. I'm gonna pick up more. I need more, I think more size better. Okay, so when I first picked this up, I see that it really doesn't move at all. It doesn't really float together could see how it has, like lots of little lines in there and everything. And so I consider this to be a little bit too thick. So what I'm going to do is just dip the tip of my brush just the tip into the water to absorb a little bit of water. I don't want to pick up very much, because again, I want this to be a very thick consistency. We're gonna do a thick a medium and a thin, and so I don't want this to be too thin. But of course, if I got a tooth in, I could just pick up more pigment from my palate to make it a little bit. Still, I feel it needs a little bit more just again. Tap into the water, pick up a little bit more. I'm going to back for more pigment. Okay, now really like this really nice, deep value. And if you notice you can't see through this not very well at all. It's very thick. It's ink, like some people describe. It is ink like consistency. Really nice thick mixture, probably about his dark of a mixture, as you can get with your paint So now to make my medium, make sure I'm just gonna pick up a little bit of this and put it here. I don't need to go back to my pan because I already have this thick mixture and I can just pick up a little bit more here and make a little puddle. And again, I'm just going to pick up a little bit A look at this cool swirl like that. So I'm just going to again pick up a little bit more water. My, my brushes. I've laid all this pigment down on my palette, so I brush this sort of dry and thirsty a little bit, so I'm just gonna tap in again. Just the tip. I enjoyed seeing that move in the water, but by tapping in just the tip, I picked up a little bit more water, but not a lot. And this gives me much more control over how much water I'm adding to my pigment. I think I need more. So I'm going for a somewhere like a midtown. So you have your darkest arts, your lightest lights. And somewhere in the middle is this color that's called a midtown. And that's what I'm going for here. So for me, the mid tone or the middle thickness of water color, it still looks quite dark, But you can see through it. I'm beginning to get there. I'm getting there. I'm kind of liking where this is right now. Maybe just a little bit more water will do it. Yeah, I think so. So if you notice already in your palate, you could see through this a little bit more than you can see through this one. It's a little bit more loose. It flows a little bit more than this one does, but you can't see through it like it's not completely transparent, not completely see through. It's still fairly dark looking on my palette, but when I get it on my paper, you'll see that it is very close to what I would consider a midtown. So now, to make my lightest value because I'm doing a dark medium and a light, I'm gonna pick up some of this medium. There's no need to go back to here. I've already added water here and made this medium. It's quicker to pick it from here and then just add a little bit more water. So this time I'm gonna I'm going to just dip my brush all the way in and added quite a lot of water because I want this to be really nice and thin and very watering very transparent . So you can see I've dipped my brush in my water several times. And now I have a nice big puddle of this sort of more transparent, you can see just doesn't have the depth of color of either of these has a really light, soft color. So really depends on what you're going for. When you're painting, you can get such a range of values. It's just crazy. I just love it. Okay, so let's try it on paper. That way we know you can see you know what our values look like on paper and how they behave if you'll notice is I'm going through this demonstration. I tend to interchange the words consistency, value the thickness of the paint. To me, those are all very connected ideas. So did not add more water to my brush. I did have some paint from here, and I kind of wish I had dried off my rush for so I'm gonna add a little bit more pigment back in here because I brought this really thin mixture into this one, and it's ended out. That's what happens with watercolor if you have it on your brush. So now I have this thick mixture. Let's lay down correct tingle and just see how this looks. So when I look at the summit paper, I think I could go even a tiny bit darker. So I'm just going to pick up a little bit more of that pigment and put it here as I want this darkest, deepest color that I can get are I rather the darkest, deepest value that I can get with this color. I think that's it. I like it. I love this color. I chose this color because I think it's very easy to see the value change in this color. So that's that's It's very dramatic because it's such a deep, dark color, but any of your colors you can do this with. So now what I've done is I've cleaned off my brush because I want to keep these completely discreet right now. So I've cleaned off my rush and now I'm tapping off to get excess water off of my brush. I don't want to add any water to my middle consistency. For the purposes of doing this practice, I want to be able to see what I've got with this mixture and how it looks and how it looks on paper. So let's find out. Here we go. We're looking for a midtown. We're looking for somewhere in between the middle somewhere in the middle of the darkest pigment, darkest color I can get with this and a really light version not white, but a light version. So again, I'm cleaning my brush. I think I think we're doing pretty good here. This is also going to dry a little bit lighter. These particular watercolors don't drive much lighter, but they do dry a little bit lighter. That is sort of a trade of water car. So I think we're doing really well. That looks like a good midtown to me somewhere is going to be halfway about halfway in between these two colors. Now, this is the third consistency or value the lightest one. We have the lights when we've mixed, but not the lightest one you could get. So I think that is a nice light. It could be lighter. I want to be light but still be full of color. So that's it's kind of where we are with that. So now I have three values of paint. I also have three different Oh, pay cities or transparency. Ease. O pe city is how much you cannot see through it, and transparency is how much you can see through it. So I have three different transparency. XYZ. Usually what we talk about in water color are usually the way I think of it, So this is very opaque because I cannot see the paper through it. I don't see light coming back through the paper on this one. This is somewhere in the middle. It's a little bit more opaque, but you can't see a lot of light coming through. It's a little bit more transparent than this, because you can see there is a little bit of of lightness, but not much. And then this one is very transparent. You could see through it really nicely now, depending on the kind of water colors you have, that's the transparency and opacity is going to vary. Some watercolors, arm or opaque in nature than others. So that's just something you have to learn as you go. You have to learn your paints. So let's do sort of a dark to white gradations of color. I want to show you that you can get so many values in between. Like, this is just dark, medium in light, and it's a great place to start. You can paint anything with the dark, medium and light value, and then the white of your paper literally can paint anything. And it will be a vibrant, beautiful painting that has depth to it, values important to the depth of your painting and so you can pay anything with just three values. So I want to show you that. But I also want to show you that you can get a range of values. So what I've done is I haven't sort of dry brush, and I'm picking up my thick paint. I'm just gonna make a great wash, which I'll talk about in another class. But for this class, I'm not teaching Grady to wash. I just want you to see what it looks like. I think I need that to be even darker so I picked up more paint from my palate, which is wet. So really, this thick consistency could be from your palate. Just But you can't see how thick it is there. Like you can hear on your on your so the thick consistency could be from your pan, But you can't see how thick it is if you don't put it on your palate. That's what I'm trying to say. Okay? So I don't have to keep going back to these puddles. I'm going to start with this one. I clean my brush. I'm just going to go in here and start adding a little bit of water so I can get a nice movement color there pulling this pigment down a little. So this mid tone is probably like right in here, and this one is already here. You can stretch this out to be longer a shorter, but for this purpose is of this glass just gonna make it short, because I want you to see how you can go from really dark to basically the white of your paper. And you have all of these values in between so we can just to smooth gradation and I don't want to get too much water. So I'm tapping off my brush in between when I wash it, I'm just tapping off that little drop. Okay? To me, that's beautiful city, an amazing quality of water color that you don't have to add anything other than water to get such a range of values into creative, very dynamic and beautiful painting. So we've done a very dark, very opaque tone or value of our pigment, our paint. This is by mixing very little water. It still needs to be able to move. We want an ink like consistency to get this really dark color. Then we took the dark color and put it in another section of our palette or just next to it if you want to. And we added more water to get a mid tone. This is a fairly Darkman tone. I think I probably could have added a little bit more water and gotten a little bit a lighter of a mid tone. But that's okay. This is practice, right? But it is still in between the darkest and the light, the dark and the light, the dark in the light in the middle. Okay, So this is our mid tone, more water Mawr movement and mawr transparency, which you can see both in your palette when you mix it with water and on the paper. And then our third value or consistency of paint was a thin mixture of water with paint, mostly water, very little pit, very little paint or pigment, and you can see through it much more. It's a much lighter and much more transparent than either of these. And then, of course, you can see the transition from the very darkest arc all the way to basically the white of your paper, the do good and cheap. So let's talk about your project.
4. Project & Thank You!: So now that you've gone through the lesson, I would love to see you create a project from this. Now, this doesn't have to be a finished painting. The idea for this class is to practice your skills for watercolor to improve and toe, learn and explore watercolor and watercolor painting. So what I would really like for you to do is to create a chart similar to the one that I made with this around. I've been doing other things, but I would love to see you do is to create a chart where you wouldn't take at least six of your paints. It could be more could be less, but six is a good round. Remember that to create different values of your pain, we're going to create the thickest a medium and the thin consistency paint, which will give you the different values of your color and then try. Just try this. Grady in wash. I didn't really explain very much how to create a great unwashed. That's another mini class that will be recording. But, um, just try it and see how it works out for you and let me know how it goes. So I look forward to seeing your charts in the project section. And also, I really welcome your questions. Just leave it in discussion below. I'm listing, and I will answer to the best of my ability. All right, so thank you so much for joining me. I'm so glad you're here, and I'll see you in the discussion below.
5. Bonus: Sample Project Speed Paint: right skill shares. I thought you would like to see my practice. Peace as I was doing it. I spent up this video a lot, as you can tell, but I took the time to try out six different colors, just like I asked you to do for your project. So I thought you might like to see it. I created three swatches of each color plus ingredient. So I did the dark, the medium and the light to create different values. Different transparencies and different thicknesses of the water color paint just to test them out. Every paint, even every color within your paint palette, is different. So it would be great, actually, to do all of your colors. I have other. Um, I have sketchbooks and all kinds of things where I've tried out my different colors to see how they look. You learned so much about your paints. I really encourage you to take the time to swatch your paints out. I think you'll find that you actually enjoy the process. Don't take it too seriously. Just have fun with it and just see what happens. Just explore. All right. Thank you so much for watching. I hope you'll join me for another class. Thank you, but by
 Jessica Sanders, Artist | Designer