Transcripts
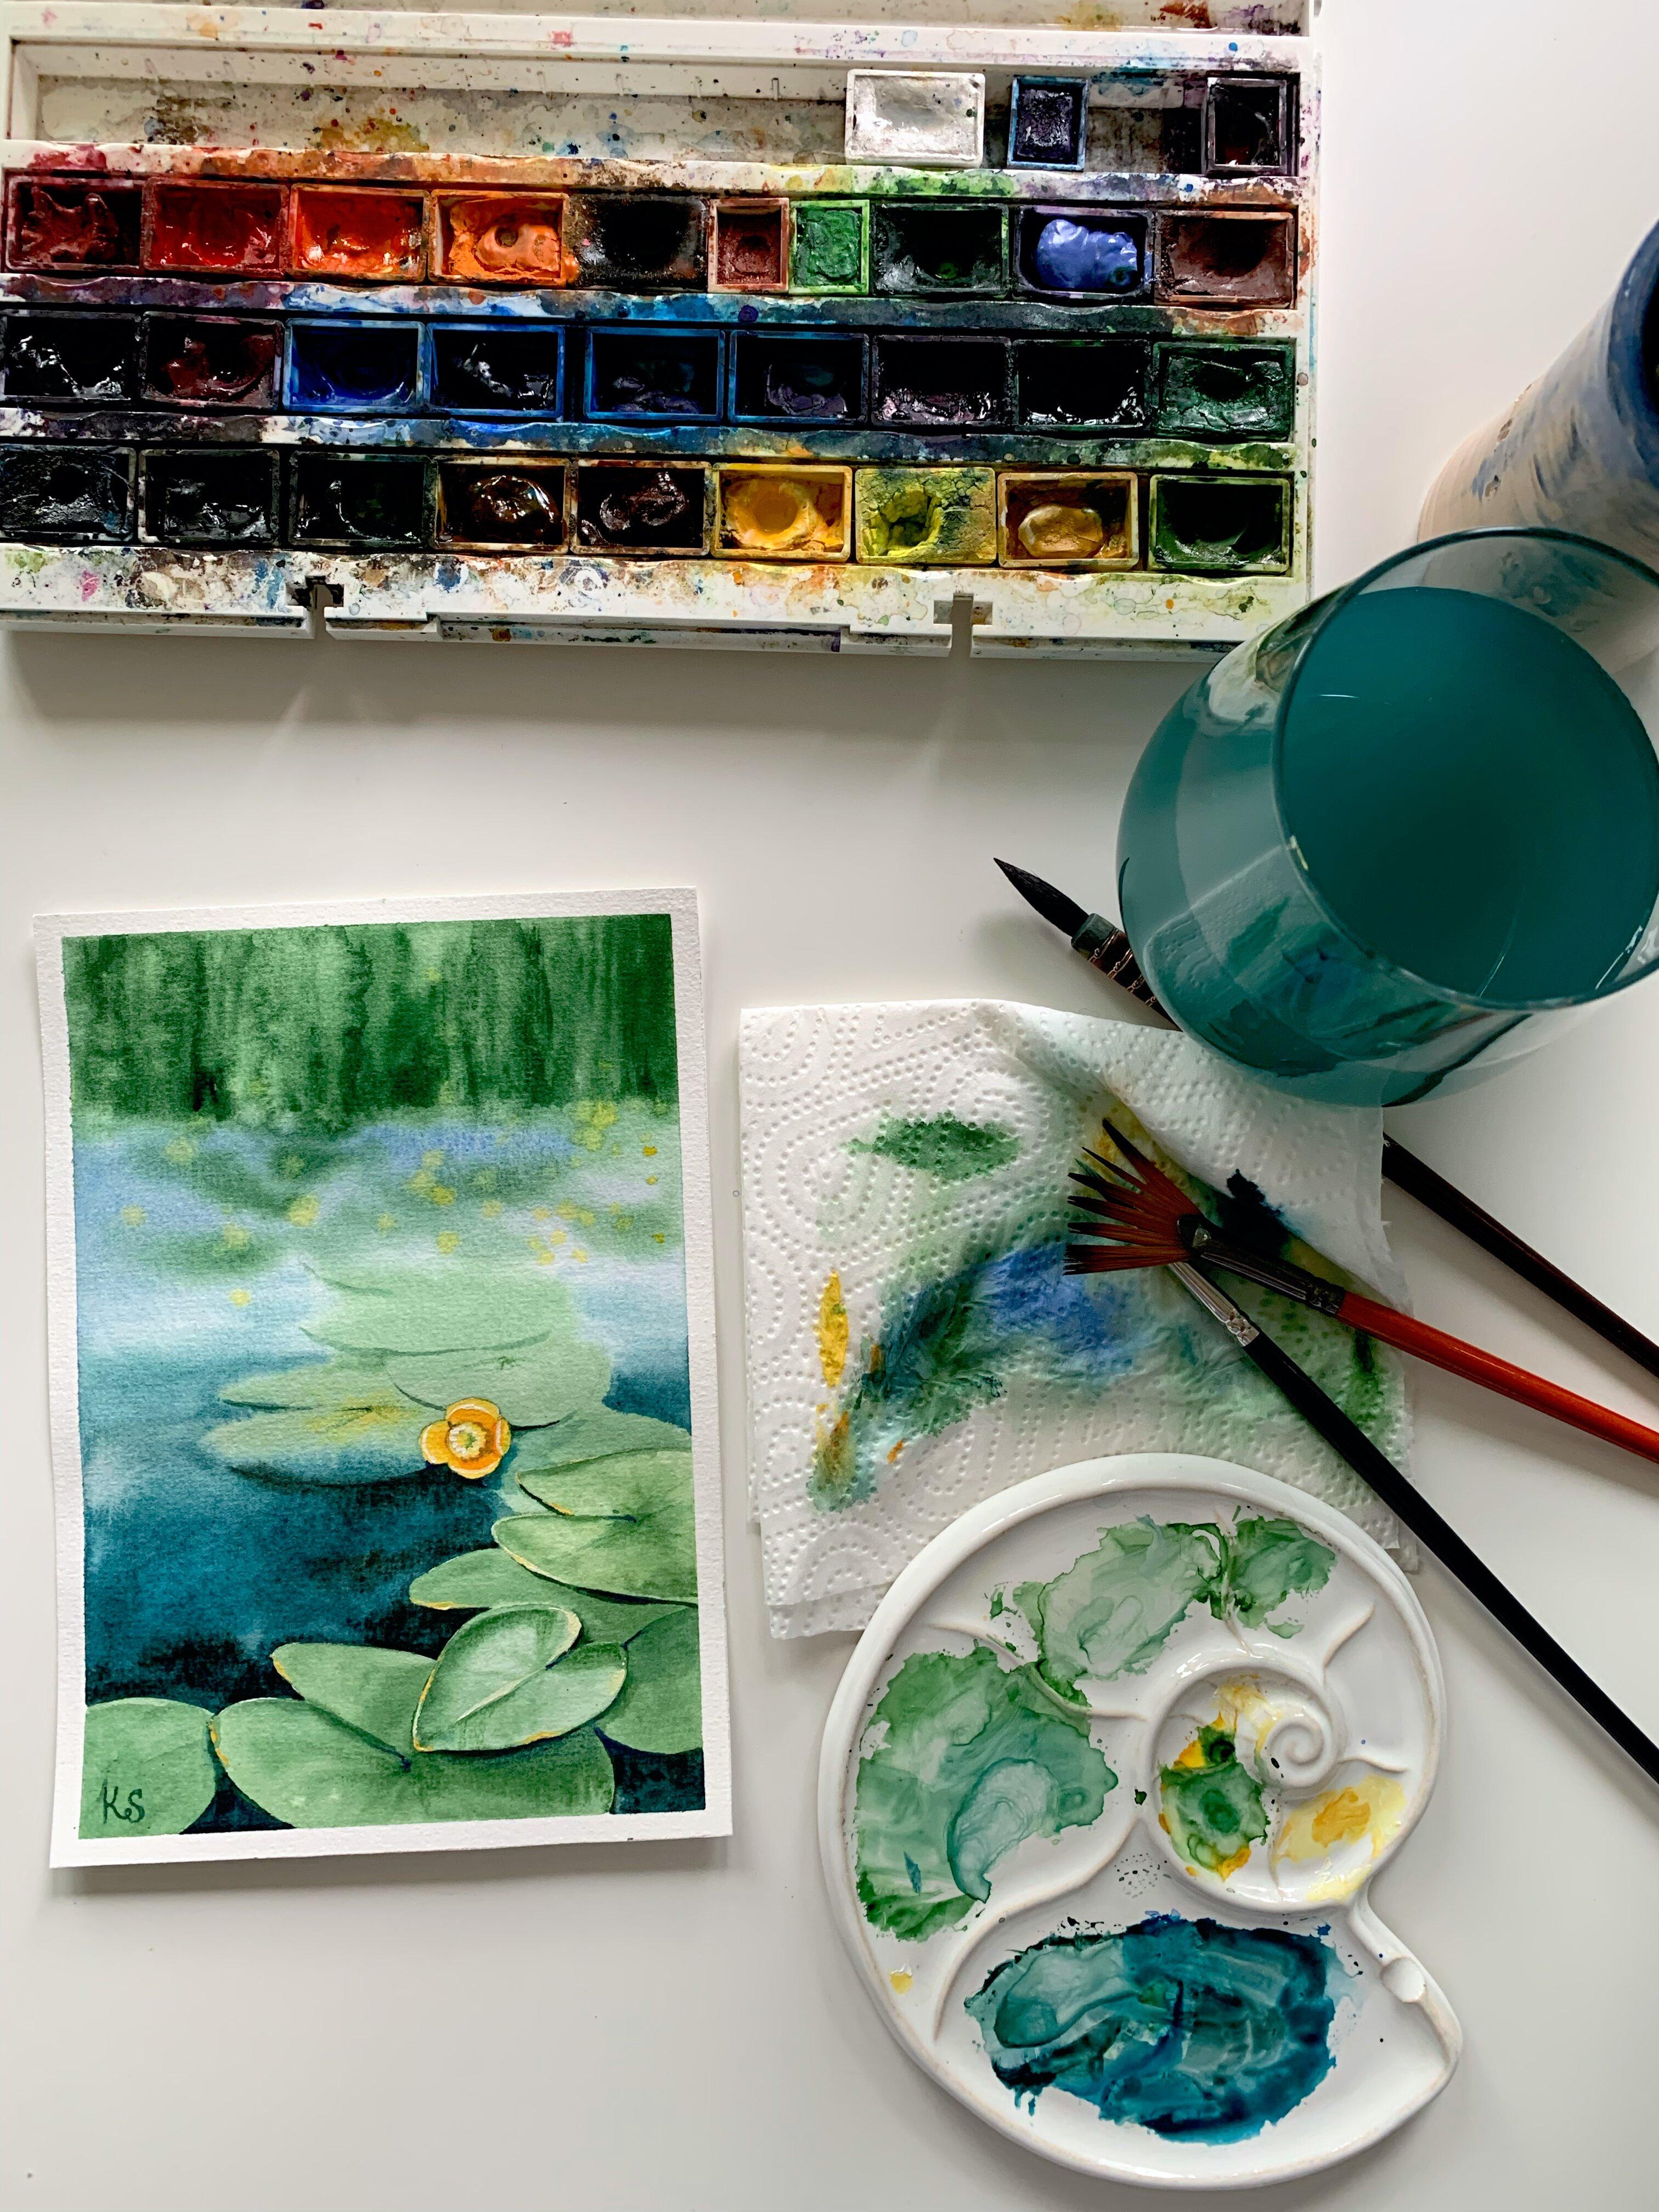
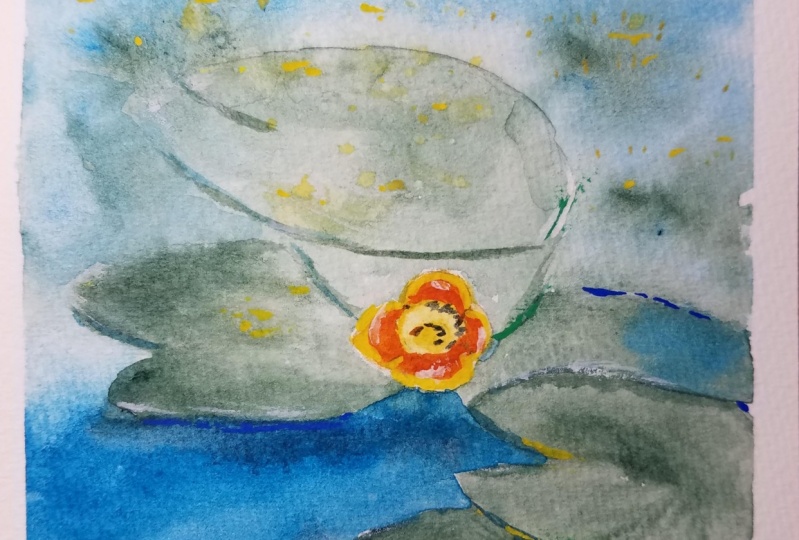
1. Introduction: Hi guys, my name is Kate and I had been painting with watercolor for six years. You can now more about my creativity on my Instagram page. This is my nickname and it'll be really glad you to subscribe here every day I show life of an artist and write posts about water column. And today I have prepaid new watercolor lesson. We will paint water lilies. In this lesson, you'll learn how to create your own references. How to draw complex objects. How to work in a wet-on-wet technique. How to bend blurry background. How to focus the viewer's attention on the desired object. Also, you will deepen your knowledge of color contrast. And you learn how to quickly paint a lot of small details. Also, you will know how to create for them and how to paint highlights with white gouache. Let's get started.
2. Step 1: reference: Hi guys. And this is slightly unusual video because at the beginning, I want to tell you about creating your own references, which you can use for painting a picture in the future. If you don't need oil, you are not interested in this information. Feel free to skip this step and move on to the next video. If you want to make your own reference, then you need the camera. Either. You should always keep camera with you. You don't need professional equipment and camera in your phone will be okay. It is important to, when you see something interesting or inspiring, you would be able to capture it. Next while taking a picture, you need to ask yourself the following questions. First, what is the main subject in the picture that attracts my attention? The answer to this question will help you to determine the main object in the fourth and fills the enthalpy texture on which you will focus the viewer's attention. Next question, how can I position the subject in the shot so that the compensation will look the most harmonious. Tried to take several shots, subject in the center, bottom right, top-left, and so on. Look for the best shot with the best compensation. And the last question, is there the contrast in the picture? Without contrast, your reference will look boring and it will be difficult to make picture using either. Look for any contrast, contrast of color, contrast of tone, contrast between shadows and lights, contrast of textures, and so on. So you took your father and your reference is almost straighten. It remains on the two, indeed, it in any 40 data. Thanks to various filters and color correction, you can make a lot of analytical works arrived on your phone. My blank different filters. You can better understand what exactly needs to be emphasized in your future big challenge. So I hope that these new block was helpful for you. And let's start painting.
3. Step 2: pencil drawing: I start to read the pencil drawings. First, I draw the horizon line in the background. This is the border between the reads and the water. Now I move on to drawing the water lily. In order to depict any object, it must be broken into simple geometric shapes. For example, a square, a circle, a triangle, and normal and so on. First, I draw the center of the water lily. This is a circle inside this circle and there is another small circle that separates the statements. Now I draw four petals, this as semi ovals that overlap one another. I tried to depict as main knowledge leaves, as they can see in the foreground. This will help create realistic picture. Labor ground doesn't need to be drawn into pale as we will learn it, the shape of the leaves often resembles an oval or heart. It is important to draw, including those leaves that lived law and a partially hidden from our view. So we will call on with the volume and density of leaves on the water.
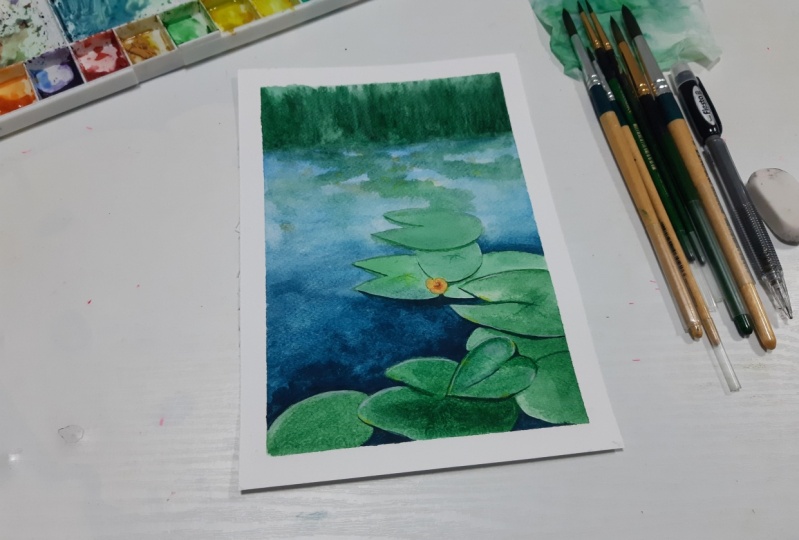
4. Step 3: background: Now we will start painting with watercolor. To make it easy to work with watercolor, you need to soak it a little. I dropped some clean water into the pants that I will use. I will paint the first layer of the peak to using wet-on-wet technique. To do this, I wet all paper with clean water except space with the water lily and leaves in the foreground, due to the fact that the paper stays dry in the place where the water lily and leaves after own, the band will not flow. Then there is a very important property of watercolor, spreads only where the paper is wet. You can use this technique later if you need to keep an object wide. Thanks to this technique, we will focus the viewer's attention in the foreground and the background. I start painting the reads. To do this, I'd take green color and make vertical strokes to better convey the character of the vertical stems of the reads. I use more saturated green collar where I see shadows. In this way, we create the ballroom in the background. Now, I will paint what am I take cobalt and cover the entire space, remove water. Note that I tried to keep a Beliefs white even in the background. Now I returned to the reads again. I take a saturated green and repeat the vertical strokes in the background again. Since you paint in wet-on-wet technique, the cholera spreads quickly and the painting seems doll, so don't be afraid to, it's saturated spots of color a second or even thought time, if you don't have enough contrast with the rest of the green paint on the brush. I band the leaves on the water due to the fact that the paper is wet, the leaves spread Alito and the background becomes blurred. This will help us focus of the viewers attention on the water lily. While the paper is wet, we need to finish painting the water. If you look at their operands, you will see that the water in the foreground is very dark, almost black. So I take a deep blue and mix it with Amber. I get a deep, dark blue shape with which I paint water to the level of a water lily. To accentuate the contrast between the dark water and the leaves in the foreground. I deepen the color of the water even more. I take as much pigment as possible to smoothly mix dark color with a light color of the water in the background. I take a clean wet brush and help to these two layers blend. Don't forget about the right side of the picture. Now I mix the NBA and blue QALY gain and paint shadows on the border of the leaves and water. We have painted the water. Let's get back to small details in the foreground. First, I want to spend a lot of blurry water lilies. To do this. I spray yellow paint in the background due to the fact that the paper is still wet, the yellow color spreads out gently. To create the same effect in the reads. I wash the brush and paint vertical lines with a clean, wet brush. The clean water pushes the pigment out of the paper and we get a painterly effect of light stamps to give the background from lightening too much, I will add some vertical green strokes again. And now I'm drying everything with the hairdryer.
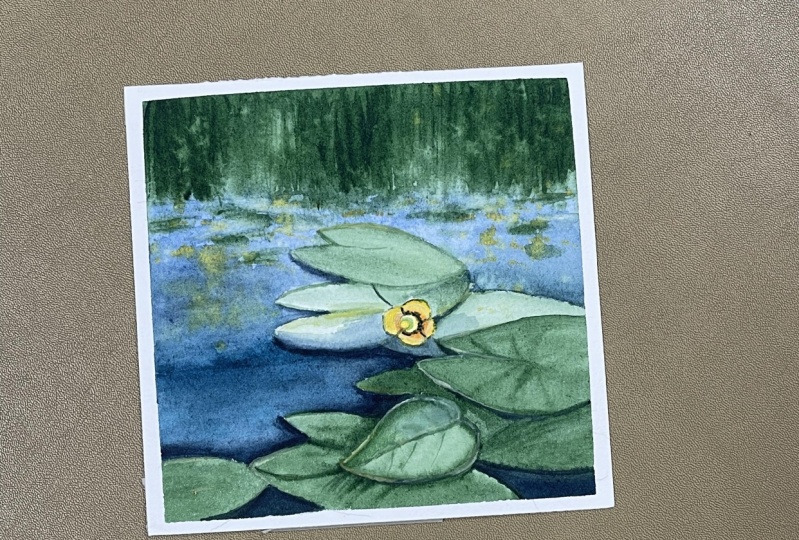
5. Step 4: foreground: Now let's start to bend the power ground. We will bend it using dry technique so it will not mix with the background. In this way, we can create clear boundaries. I start painting the water lily to ask, I paint over it using yellow. Then with a clean, slightly wet brush, I remove the band along the border of the small circle. Now I add orange color where I see the shadow inside the water lily leaf node that there must be a yellow layer between the orange and the green leaves. Only then this transition will give warning. I add a yellow green color inside this small circle. At this stage, it is important to look at the reference. The more differentiates you see, the more peak to peak tree you get. A mixture of orange and cobalt will give me a grade column. I will use to emphasize the shadows inside the water lily. We can move on to painting the leaves. Here, I will work in mixed technique, wet and dry. First, I wet some of the leaves with water them. The important thing here is the amount of leaves real, the reach you can work at the same time. For me, it is optimal to work with three or four leaves at a time. Now I take green and paint over the leaves. And they take into account where a leaf is located. If the leaf lies at the bottom, then it will be slightly darker due to the fact that it is in the shadow. If the leaf lies on the top level, then I take the lighter green column. This iteration of green is controlled by the amount of water you add. Also now I am adding structured this leaves and paint veins. Now I mix the bright blue color with amber to get a dark blue column. With this shape, I paint over two areas with water in the foreground. This column of water should be the richest. Mdps. Know that they have left the main leaf white. I want to focus your attention here. First, I band over the entire leaf, read the light green color. While the paper is still wet, I begin to bend the structure of the leaf with a darker paint. While they sleep dries, I will paint another one. Now I use two brushes. One brush with green paint. With this brush, I add column and the other brush is clean and duet with this brush, I blur the border between the paint and the previous layer. The most important thing that will give me a picture volume is the shadows. I take a deep dark green color and paint small lines under the leaves. Look carefully at the reference and paint all the shadows that you can see. And note that the shadow is an event somewhere the line becomes thicker and somewhere it turns into air, very thin and barely visible line. The shadows to a less contrasting in the background. So I use a light green color. Let's go back to painting the structure of the leaf in the foreground. Again, use the brush with color and the second clean wet brush. Now it is important to look at the reference and see those spots that need to be darkened. Alito a. Constantly check the painting against the default and gradually add the column. I want to increase the shadow between the water lily and the water to create the maximum contrast in color and tone.
6. Step 5: highlights : The last step is white highlights. White-collar can look two contrasting in our picture. So I mix whitewash with the yellow column. Using this light yellow color, I add some highlights to the statements. And on the border between the petals of the water lily and the background. Then I add small yellow spots of paint along the border of the leaves. I will also add a small yellow spots to add picture. Sec. Thank you for watching my lesson. I really appreciate this. Thrust me as a teacher. Don't forget to subscribe to my Skillshare count here every month. I make knew what the coalescence also, I will be really glad to see your paintings in student's project section. I hope to see you soon. Bye.
 Ekaterina Azeeva, watercolor artist