Transcripts
1. Welcome: It's that time of
the year again. Christmas is around the corner. Christians call the four weeks before Christmas
the Advent time. Originally, advent
means arrival, and it's a time of
reflection where we take moments to look back on the year and find some peace. And an Advent calendar counts the days 1-24 till Christmas. And nowadays, it's
popular around the world, independent from any religion. In this class, we are going
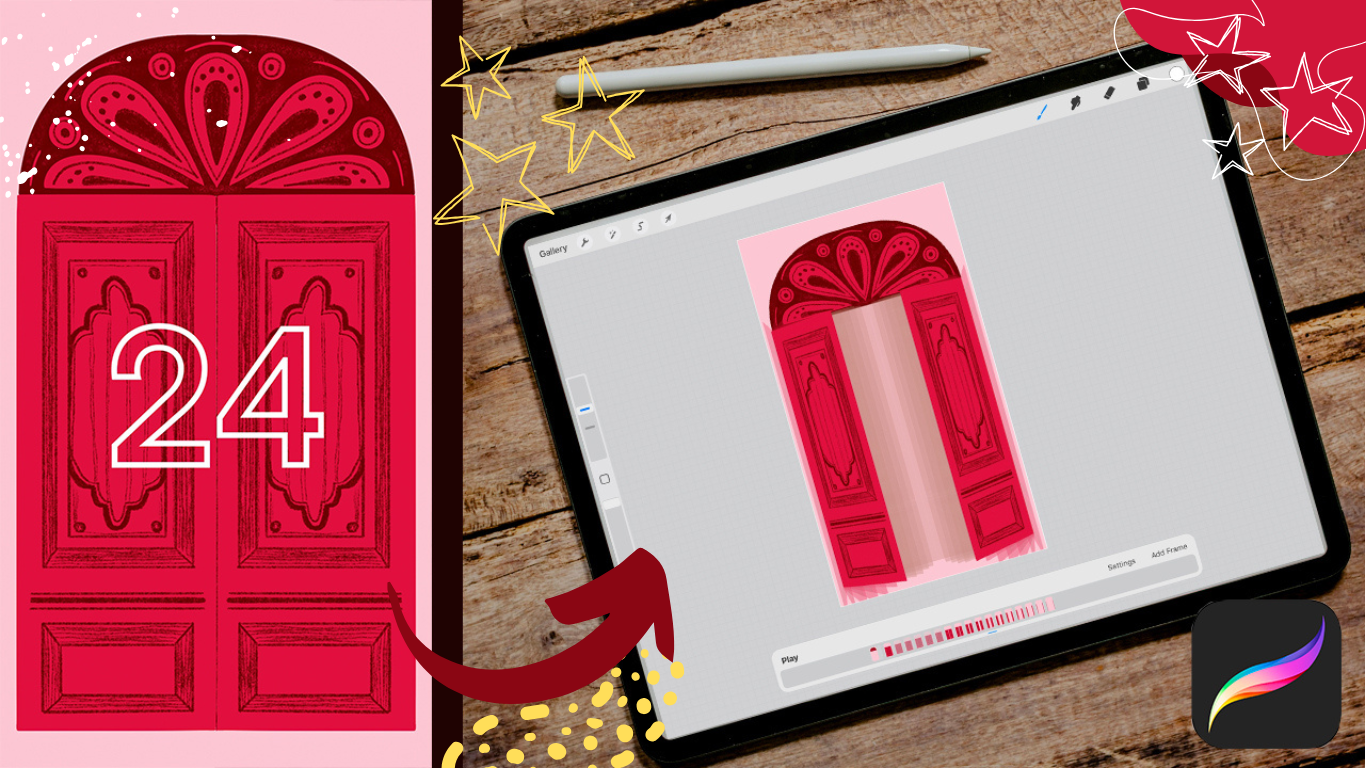
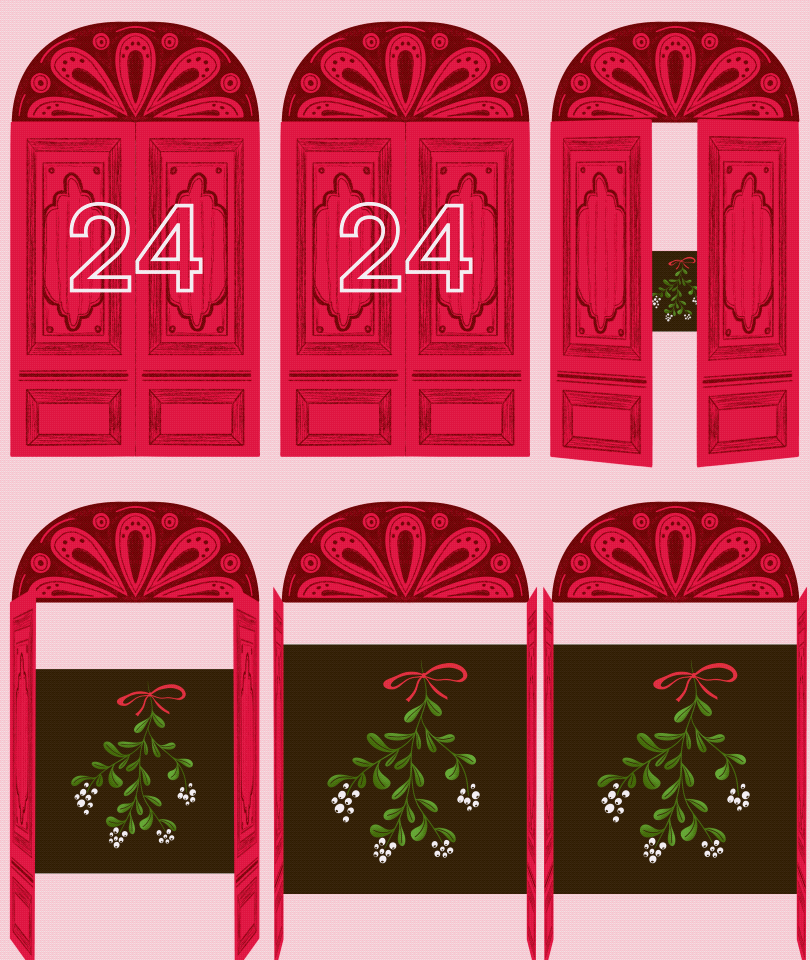
to create an animation from an opening door that reveals a small
festive illustration. You can use this
technique to open 24 different doors and post
them on your social media. I will do exactly this, and I hope you will join my personal Instagram challenge to spread a festive atmosphere. In this class, you
will learn to use Procreate's assisted drawing
and the animation assist. It is for intermediate to
advanced procreate users, as I don't teach you any
Procreate basics here. If needed, please check out my other beginner
friendly classes first. We are going to
draw and animate in the Procreate app,
not Procreate dreams. So you will need an iPad with the Procreate app and a stylus. Okay, let's jump right
in. See you in class.
2. Your Project: Your project in this
class is a video with your animated door that reveals any picture
you'd like to show. Please share your
work in the gallery. Additionally, if you like, join me on Instagram
where I'm going to post a real every day from the
first to 24th of December.
3. Setup & Sketching: And before we start
with the drawing, we have to plan our reel a bit. So this is my Instagram, and you have to think about
when you create the reel, how it will look
like in your feet. So here is the general feed, and you have the
square format preview. And here in the reels, you have the whole thing. So that's not the problem. The problem is here, how it
looks like on that feed. Okay, let's go to Procreate. Let's create a new Canvas. That is in the
format 1080 by 1920. So this is the normal format
for a real or a story, also. You can share it
also in the stories. Then click Create. I use an sRGB color mode, by the way, which is perfect
for Instagram reels. Okay, and set this square
preview from the feed, we have to think about that. And let's fill color in
this canvas and then click the Transform tool and then click on the blue dot
here in the corner and release this
little bound icon and click 1080 by 1080 and
you have this square format. And now I shift
it till it snaps. No, I don't have
the snapping on. Turn on the snapping. And you can shift it till
it's centered. Okay. The yellow lines here and there. So it's perfectly in the middle. And this is how the preview appears in
your Instagram feed. So just as a little guide, I turn off the opacity very low. Create another layer. And I use for my door, I'd like to use a bright red. So I thought about to make the background
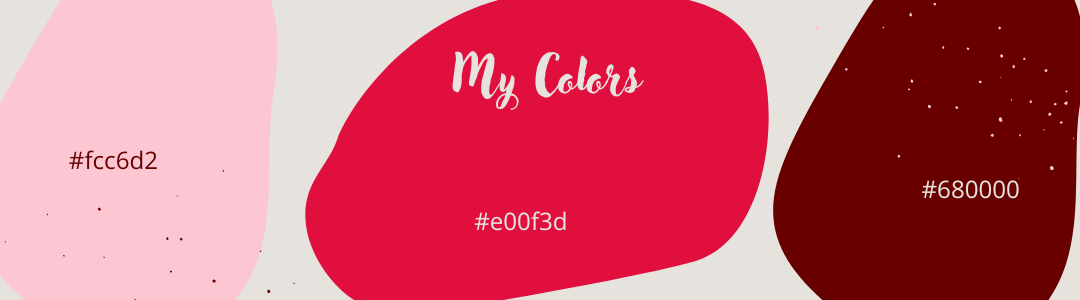
in this pink color, and the door should be
in this bright red. And the details I create
with this dark red, I link you all my colors
below this video, and you can use the same
colors if you like. Okay, we have the background, and I make my sketching
with this dark red. And for that, I'd like
to use the six B pencil. This is my go to brush for nearly every
illustration I do. I love it because
it's so versatile. Okay, and I'd like
to make a door. So the head, a round head of the door and 2 doors
that open in this way. Make a rough sketch. So here is the the
top, make it round. And then the door, not till the very bottom, because it's better for
the animation later on. So then you can see how the
door swings to the side. Okay, in that way. So in the feet, you
can see this tile, and you can also later on, you can also add the number here in the middle so that you
see it on your feed. But that doesn't
matter at this moment. Okay, that's my rough sketch, and now I'd like to refine it. Let's turn on the Drawing Guide. Edit Drawing Guide. Symmetry. Okay. And it's
the vertical symmetry. Click done. I speed my
sketching process up for you. I'm sure you can do
it without my help. If you need some inspiration, you can click my
Pinterest board, which I've linked you
below this video. So that's my rough sketch. And let's meet in the next
class to illustrate the thing.
4. Illustration: So let's reduce the opacity
of the sketching layer. 37% and I turn it to multiply
and leave it on the top, so I can always see it. We can delete this rough sketch
in the middle and create an other layer and
I shift it behind the sketching so I can
always see my sketch. For the illustration
and the animation, it is important to draw the top part in one group and then one
door in another group. Okay, let's start
with this top part. And as said, I'd like to have my door in this
bright red color. But to create a
contrast, the top, the background of the top, I'd like to have
in this dark red. And I also use the drawing
assist for the top. I turn it on here. And to make the
process a bit quicker, I use the studio pen. So normally I would draw it with the six B pencil and color
the parts in with the pencil. But for that video, I'd like to choose the
studio pen and drop the color in to make it quicker. Okay. Let's start
with this line. Okay, I think it's good. Okay. Then I create a layer
on top to make the details. And I also use the
drawing assist in that and go to my bright red. And I draw these drops. There's no need to draw exact from the sketching layer,
but it's up to you. And depends on your
drawing style. Refine these corners and edges a bit. And here the tips,
make it nice. And the dots in between. No need to make them perfect
and in the same size. And I think I'd like to make some stripes here. On the top. Now I'd like to erase some parts herein
to make more details. You could also go back to the star red
and draw the color in, but to use less layers, I'd like to erase
parts from that and let the dark red from the
background shine through it. I'd like to erase with
the six B pencil. And I think, make
it a bit smaller. I'd like to have a line here in. And with that pencil,
with that brush, I don't like to make it
perfect in that way. So I leave the line as it is without any
assisted strawing. You can turn off the
sketching layer for a moment to see if
you like that part. I also simply erase a circle
here and a dot in the middle. And also here, I
think I like it. And for more interest, you can go back to the
brush and this red color, and I go to the six B pencil and make some shadows herein to make it a bit dirty
or used the door. Make it more interesting in that way and bring in some texture. But you don't have to do this
if you don't like. Okay. Good. And I'd like to group that
two layers for the top, create another layer and
shift it behind that top. And now let's draw the
door, one side of the door only in the same way with the studio pen and turn on
the sketching layer again. But not the drawing assist. It's important to draw one side on one
layer or one group. The group is important,
but more later on. And the details, I make it in the way from the
top, but sidewise, so the bright red door and the details with the dark
red. I go to my dark red, and I create another
layer on top of that door and go to
my six B pencil. I think it's too thick. It's better. I use 30% size, if you'd like to make
it in the same way. I speed the rest of the
illustration up for you. Do it in your style. Okay. Let's group the two door layers together and then
duplicate the door, go to the move tool and
flip it horizontally, make sure your snapping tool
and your magnetics are on, and now you can shift
it to this side till it snaps here in the middle and
you see this yellow line. Okay. That's it. We can turn off
this drawing guide, so the line in the
middle is vanished. And that's the left. I tip left door, and here is the right. It doesn't matter, but
only for my organization. So and I see, there are some little white
spots in the middle, and I correct it
on the right side. So I go to the studio pen and the bright red and
correct that a bit. Just a bit. Okay. And I go to the Dak red layer, and I make it clipping mask. I clip it to the
door and go back to the dark red that
layer, dark red layer, and I go to the six B
pencil and also make a little line here on the edge of the door. So I think it's nicer when you see that edge in the middle. On the closed door. Okay, it's nice so now. Okay, we are done with
the illustration. One thing. I have it
too much on the top, and there is more
space on the bottom. So I'd like to mark
all three groups, the move tool, and I shift it a bit bit down. Okay. That's it. So it's nice so now. And you can see here on the
bottom, this rectangle. How it will appear on
your Instagram feed, you will see that parts. I think it's nice when
you put in a number here in the middle and
it's a nice preview. So shift it back to the
bottom and turn it off. Let's meet in the next video where we learn about
the animation.
5. Animation: Let's start the animation. Under this little wrench icon, under Canvas, you find
the animation assist. Turn it on, and this little timeline
pops up on the bottom, where you can find all of
your layers and groups. Let's go to the layers. We don't need the
sketch anymore, so you can delete it or
turn it off, leave it off. And it's important that you shift this top group
to the very bottom. Then you can go down to this timeline and click
on the very first frame. For now, this background
option is important, so you can turn it on and
now you have this top group always on your background, you don't need to animate this part because
it's always there. You only want to
animate the two doors. And these two doors, left and right, group
it to one group. And now you have a
single frame for the two doors down here
in your frames menu. Every time you add a new
layer or a group of layer, another frame appears
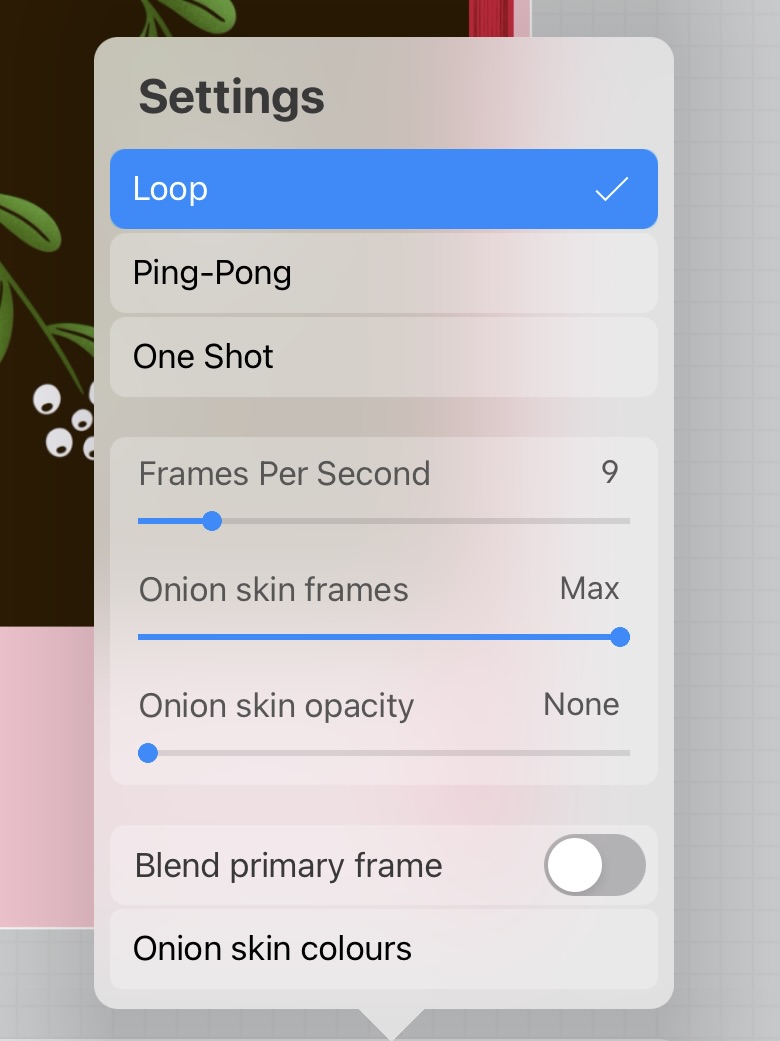
down in your frames menu. Let's look at the different
settings down here. You can choose loop, which means that your video
plays in an endless loop. Ping Pong means that it plays
forward and then backwards. And one shot plays your animation one
time, and it's done. For our animation, the one
shot option is perfect. Frames per second affects
the speed of your animation, and we can play with that later. With the two onion
skins options, you can choose how much and
how strong you would like to see all your single frames and groups during your
animation process. You can play around with that. Let's do the animation now. On this first frame, the door should be closed and every further frame should
open the door a bit more. I select this last frame, which is the top frame
in our layers menu. I will delete now the
right side of the door, transform the left side, and then copy it
also to the right. Here you can choose distort. Turn off the magnetics to make
the transformation easier, and now you can simply
drag it a bit here in the middle and push the two
corners a tiny little bit. That's enough. You
can copy it now. Choose the transform tool
again and flip horizontal. Make sure to turn on
the magnetics again, then you can shift it
perfectly to the right side. The first tiny step is done. Now let's do it. I would say about ten more times and shift the door a tiny little
bit more in every frame. Make sure you turn on and off your magnetics
if needed or not. I speed my process up for you. I think we are done.
Let's test it out. I think I add one
more frame and simply flip the both door sides
in the other direction. Flip horizontal and
shift it to the outside. And also on the left side. I like it. You can go now again
to the settings and play around with the
amount of frames per second. The lower the number, the slower the animation. I select ten. Yes, that's perfect. In the next video, we are going to add a picture that appears when
the door opens.
6. Add a Picture: Now that the door
animation is done, let's add an illustration that appears when
the door opens. Let's go to add, insert a photo. I have created this
mistletoe illustration which I'd like to add now. At the moment, it's
on a separate frame. We have to add it to the
first group of doors, shifted it in this group
and to the bottom. So it's behind the
both door sides. Transform and move it a bit. I'd like to reduce the
opacity of the onions kins now to have a clearer idea
of the finished picture. And now let's add a copy
of that illustration to every doors group and reduce the size every
time a bit more. So the door will open, and at the same time,
the illustration gets bigger and bigger. Okay, we are done. In the next video, we
will add a number to the door and do some more
finishing settings.
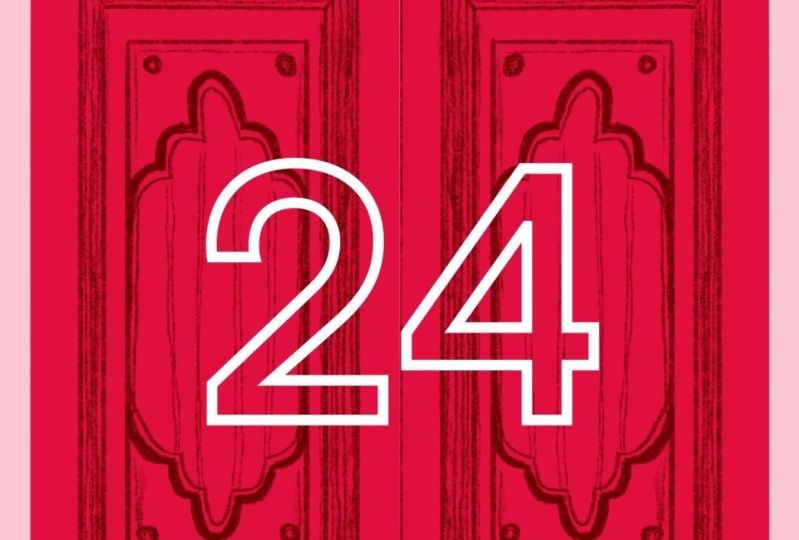
7. Finishing Touches & Export: Let's add a number to the door. Open the group with
the closed door, select the left group and
select the color of the number. I choose a pure white. Then go to add text,
write a number. Choose your font
and make it big. I choose a bold font and
select the outline option. You can play around here
with your favorite style, or you can write the
number by yourself. Once again, let's check the preview for the
Instagram feed. I shift the number so it's
centered in this square. Let's test it again. It's good, but I think the appearance of the
number is too short. You can go to the frame options, and here you have
the hold duration. This simply copies your layer, so it appears longer. The higher the number, the more copies you have. If you like, you can also
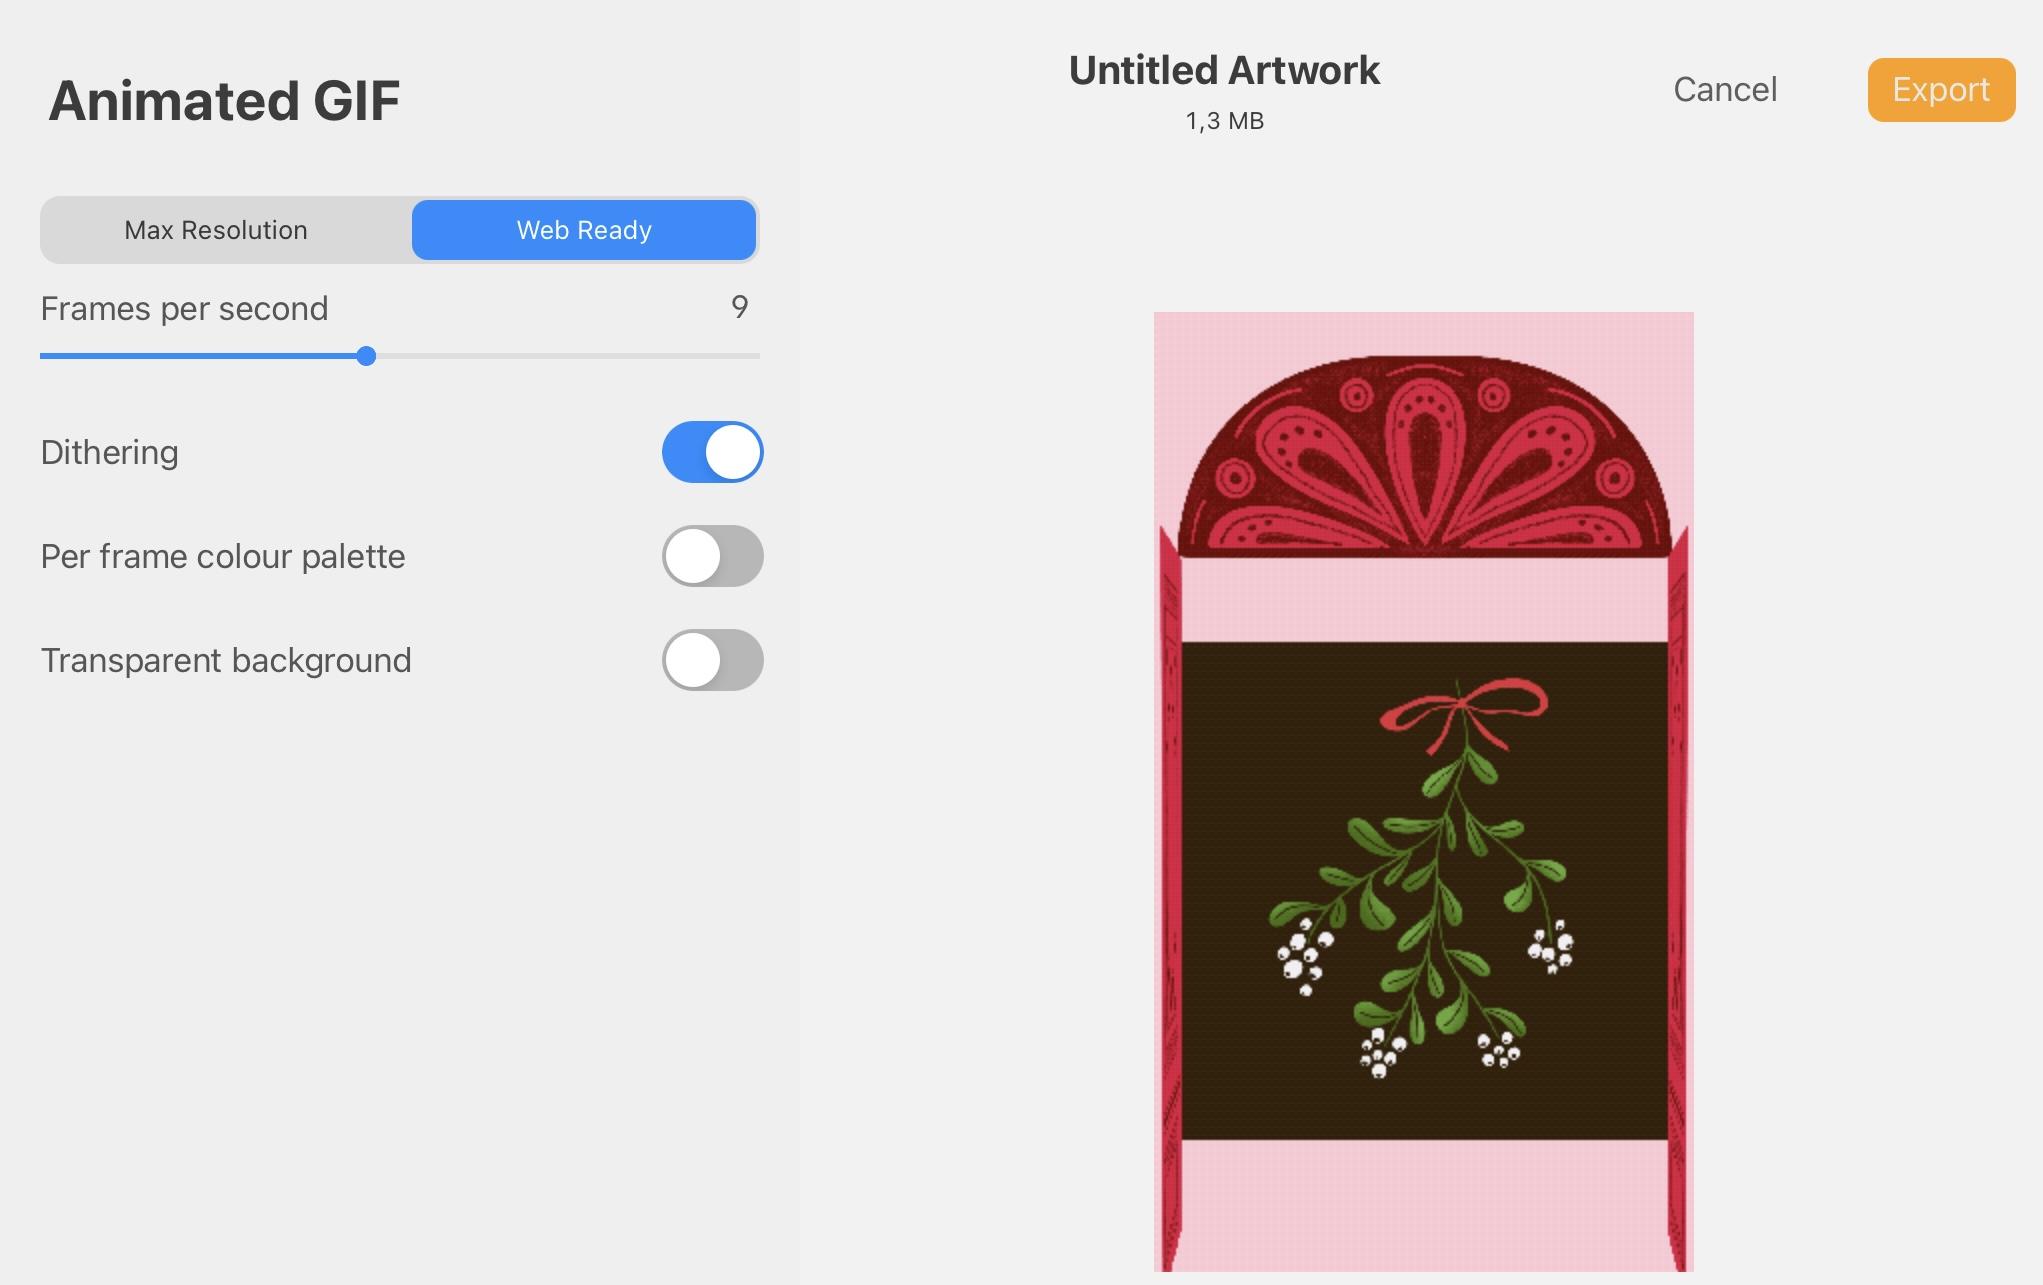
hold the duration of the last frame. Test it. Yes. Now it's good. Time to export our animation. Go to share and here you
have different options. You can choose animated MP4. And here you have, once again, the option to increase or decrease the number
of frames per second. You can play again with that
here and then simply click Export and save it wherever you would like
to have it. That's it.
8. Thank You: Thank you so much for
watching my class. I hope you've created a nice animation of
your opening door. Please let me see it, whether it's in the
gallery or on Instagram, and feel free to tag me. I'm going to share your
creations in my stories. Don't forget to count the days. Have a nice advent season, and even nicer
Christmas days. Bye.
 Nicole Gabriel, Procreate Artist