Transcripts
1. Introduction: Hello and welcome to the course. My name is Richard Anderson and I am your instructor. This course is for beginner voice actors looking to break into the industry and make a living from their voice. Having worked of Grammy Award winners and nominees heavyweight world champions of the world such as Evander Holyfield on top 40 artists, as well as produced invoiced, hundreds of shows and adverts, ed or national and local television and radio. I'm sure that I can help you in this course will help you find your unique voice will help you create your own adverts. So podcast we'll show you how to make a living from your voice and more. Let's get started and move onto introductions.
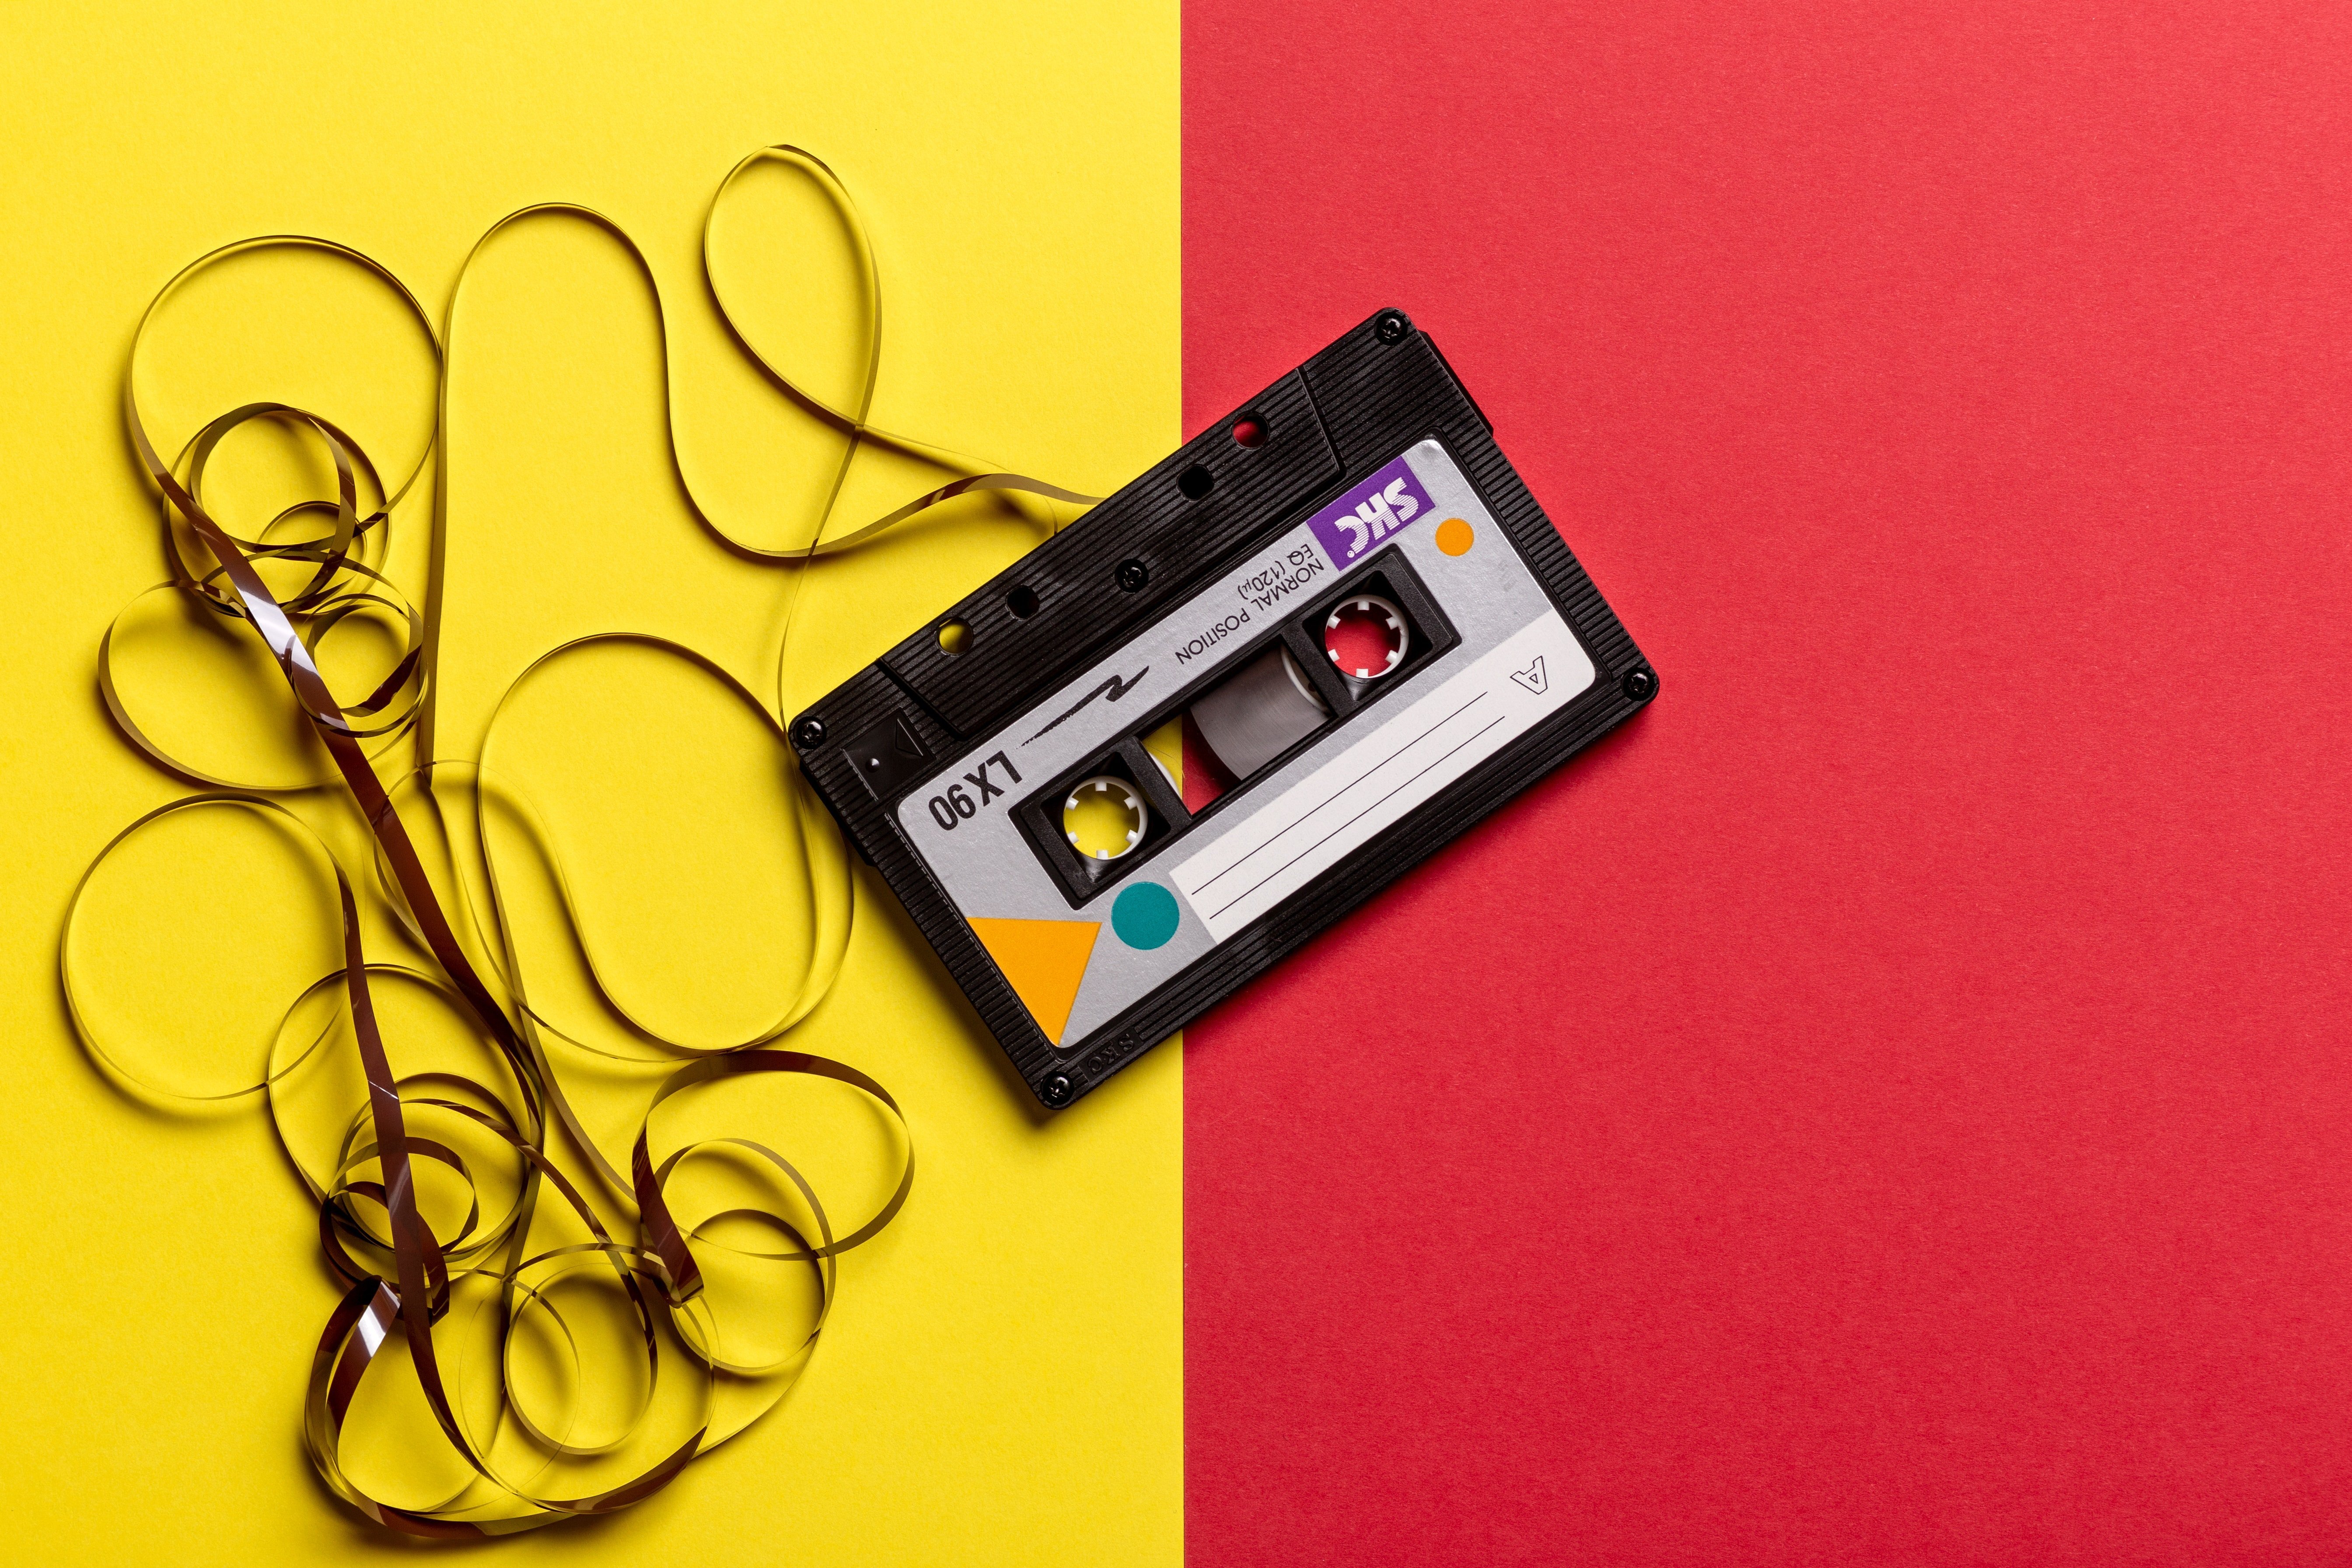
2. How Find The Right Equipment: in this section will look at what it means to find the right equipment. Now finding the right equipment makes or breaks your voice over, so it's extremely important to ensure that this move is done. Rights. Well, now look at what equipment you'll need to ensure that your voice always effortlessly done. These are not exhaustive or exclusive. However, you should look for a particular sound quality. Now. There is a difference between what good audio quality and bad audio quality sounds like. And again, there's voice quality that people are willing to pay for on voice quality that they simply would know so again. Towards the end, we'll look at what good quick equipment sounds like versus which ones or not. So the first thing to look out as we look at the right equipment is waltz definitely need a microphone, so the microphone should ideally be a USB microphone. There's a reason for that. It plugs directly into a computer without an analog cable or a mic jack. What this means is that the audio is clean onda the difference between the do it between the two, as you usually find there's a lot off background noise when it's when it's the other kind. So it's is quite important, and it usually does phase out a lot of noise. You'll hear it's extremely clean as the audio is cleaned as it goes through the USB cable, you'll also need to find a quiet space. You don't actually need a studio to record. Contrary to popular belief, however, you should record in a quiet place. There's no that doesn't have any background noise. This is usually a place that carpeted. Ideally, we also want places with lots of furniture as avoids possible echoes. So it should be a place sense. Got lots of things going on inside it as well. Another thing to look for is a gay. No requirement, but it would really help. I'm using them right now, which is a pair of headphones. You can use this to monitor the audio that you do record. A good pair of headphones can go a long way, as there may be things that you never actually notice originally until you finish recording and then you have to start all over again. Where is if you had a pair of headphones? You could monitor that. You can also use a Paris speakers in front of you, but I do find that good pair of headphones certainly does go a very, very long way. You might also decide that you'd want a pop filter. What the pop filter does is it prevents that pop sound, which can be annoying for the audience. What will do just now is I'm actually using a pop filter, so what I'll do is I'll take it off so you just see you see what I mean? So here's an example of me speaking with the pop filter. And here's an example of me speaking without when you hear the pop sound that goes in the microphone, it can be extremely annoying. It pops away as you start talking. Where is with the pope filter? There isn't any sound. Did you notice? I just put it back on. That's because I'm using a pop fielder. You'll also need some editing software. It doesn't necessarily need to be paid for. Also, as there is free, open source software like audacity that's available online. So that's an opportunity that you might be looking to explore. Another very popular one is Adobe Audition and again very, very popular Adobe Audition CC. I actually really enjoy using it myself, but we'll get into that in just a moment. That's all you need. So once you've got those five things in particular, that's all that you really need. You'll just need a microphone, a quiet space, a pair of headphones, pop filter or a windshield. Ideally, it's not essential, but it is ideal because it really does help you or those you have to curb all the world's as you speak a good bit of editing software, and that's all you'll need. So there are some example bits of equipment that you might feel more comfortable using, and these are quite popular within the voiceover community. So these are the ones that are popular on the market. And of course, there are always cheaper alternatives. More expensive doesn't always mean better. A good pair of headphones thes do not have to be any particular brand, but you should be looking for the audio to be as lifelike. It's possible. What I mean by that is, if you do grab a pair of you know in ear microphones, which you sort of put in your ears, you'll notice that it can have a bit of a tinny sound, and that sound is non reflective off true life. So if they were playing live, it wouldn't particularly sound like that. So what you want is a pair of over here over here. Headphones lying times out of 10. Most of them will be okay. It doesn't have to be any specific brand now. These are the recommended ones that are on the market. You've got the roads, microphone, the blue yeti on a zoom Mike. I actually have both a zoo mike and a blue Yeti microphone myself. Personally, however, the roads microphone is also a good one on the market. However again, these are not exhaustive, and these are not the only microphones that you can use for voice overs. But there is a particular standard that you'd be looking for, and that's something that will be exploring in just a moment. When we look at good audio quality versus bad ones, another thing to get your hands on is a pop filter. As you can see, it looks exactly like the one indicated the round circle. That's actually what I'm using just now, and what you heard earlier makes a big difference to the audio and eliminates that pop sound the windshield as well. If you are ever outside and if you were, for instance, doing a voice reading outside so it might be good to have a windshield to avoid all the wind going in the microphone because it will pick it out. The editing software that's most popular in the market is audacity, which is what I'm actually using today. And you've also got audition Adobe Audition, which again and very popular both of them are very good. And it's depending on what you're looking to do with it. If you are just looking to record your voice, I would certainly go for audacity. However, there is a lot more functionality I find with audition, however, the functionality that is in audition, you do normally find an audacity, so I would say it's down to personal choice. So what we'll do is in the next section will be looking at what good audio quality versus bad ones sound like. Ah would like G to take one bit of information home with you today before we move on to the next section, which is that the right equipment is essential, and I'll just repeat that once more. The right equipment is essential. It does make or break the voice recording. We'll find out more in the next clip.
3. Good Audio and Bad Audio: we're now going to listen to two bits of audio. Now this is actually going to be a very, very short section falling on from finding the right equipment. And what will be looking at here is a blue Yeti microphone, which is the microphone that I'm currently using versus my computer's in built microphone. And I'd like you to pay attention and see if you can spot the difference between the two bits off audio. So what we'll do now is I'll be playing the first clip, followed by the second clip. See if you could notice anything different. This is a recording from a recording device. This is a recording from a recording device. Did you notice anything different now? I'll play it one small just so you can hear. This is a recording from a recording device. This is a recording from a recording device. That's the difference between good audio quality and bad audio quality. As you could hear in the first microphone, it was very clear, very well spoken, and in the 2nd 1 the audio is quite distorted. Which one would you pay for? I'll let you think about that as we head into the next section
4. How to Read and Write a Script Intro: in this section will look at hell to both read and write a script. We'll cover what it means to look a script when it sent to you and determine what your next steps are. When I had my first script sent to me had quite the overwhelming feeling because it was all about what the client wanted and the way they envisioned it. That's what mattered. Let's start our next chapter. Help with scripts. Think about how you would do over script that was sent to you and be sure to take notes.
5. How to Write A Script: hello and welcome to the next section. Help with scripts. Now the are both reading and writing scripts is an art which can, and it's a skill which can be learned and perfected. So what we'll do now is will be exploring how to both read and write a voice script. And that's for whatever the purpose that it's full. When you receive a script to read, it could be interpreted so many ways. So it's important. Ensure that you and your prospective client of both happy you can also find certain words work better for you than others. So it's important to communicate that if the buyers looking to buy your voice, it's quite important to keep them in the loop. So they're exactly what's going on and why you might have changed certain words at the same time if you were to write your own script. The right combination of words can leave a very lasting impression, so it's important to get it right. So to write a script, you'll need to establish the type of script that you want to create. So think about the music that will go along with your voice if there is any the voice artists that you're use or whether it's going to be yourself. You'll also need to think about the genre of the voice artist, for example, of a fun and energetic. Or do they have a particular accent you want to come across? Are they authoritative, male, female and so on? It's also important to remember that punctuation matters. You'll need to remember that in a script, every space, every capital letter, every full stop, every comma matters. For example, in this statement, a call was parked in the driveway or it could read a call. I was parked in the driveway or it could read. The call was parked in the driveway. Alternatively, the car was parked in the driveway. As you can see, there were very different ways of saying the same sentence. What mattered There was the punctuation marks, the comma to separate the words or the dots just to show that there was a long pause before the next word was said. It makes a dramatic difference to the tone of the voice and instructions that the voice actor or you yourself will follow. You can also add notes to ensure that the expressions of that captured also. So that might be. If there's a happy tone, you might just write quote unquote happy zone or excited tone. So in the example of the car, a car was parked in the driveway. Or it could have been set in a really sad way. Call was parked in the driveway. That's it. Get writing in the next section will look at how to read a script.
6. How to Read A Script: in this section will explore the arts off reading a script. The technique for reading a script will be very similar to writing one. The most important thing to remember is how it is to be said so as previously. The main thing here is to take it no off any punctuation is which you may wish to add direction, arrows or underlines to mark emphasis on words known as marking scripts. You may wish to add your own full stops or punctuation marks in there. You should also take note of any additional notes that have been asked like a happy tone or sad tone. Or you may wish to add the's yourself just to sort of emphasize what is that you want to come across in the voice. So particularly when you're reading it, you should also take note of that when you're reading the script. You should also practice how you imagine the voiceover to sound so you can even imagine music in your head whilst you're reading the script. So you know exactly what the buyers after. Sometimes you can pick up a page, and it will just make sense when you've put some music behind it, so that can also be from an online site. So you might just wish to play that in the background or, you know, play it on any divorce device that you have available and just listen to the music. And also imagine your voice over that music and just let it flow from there. It will come to you. But the longer you listen to that music, just to remember that there are multiple interpretations. So you should go for what you feel. The buyer is truly after, or particularly what they actually after. I would also suggest recording your lines multiple times, as that allows yourself and the bars ever choice of the best ones. For example, Jeff bought a car. Jeff bought a car. Jeff bought a car. Jeff bought a car. I have. This is practice to include a number of the same lines as I know that sometimes the buyer my actually decide that he likes the first way I said it as opposed to the third Way. So that might be for a number of reasons. I might have linked the words together as Jeff bore car, but you might have actually wanted as Jeff bought a car, all he might have wanted as Jeff boards a call, and that allows the buyer to have a choice so he or she can decide what she feels is best that sits. And that is the art off reading a script. Now I do have a few example scripts for you here. So there is some example scripts, which have also been marked. I'll put the three up on the screen in this particular one, and I hope you can read my handwriting. It reads. It was the evening. I just I didn't know what to do or say I just I just couldn't Did you notice the notes on there? There was. It was the evening followed by a series of dots. I just instructions to cry, just followed by. Didn't know what to do, will say I just I just And that was a good example. Off marking a script. In our second example, this is another common way of marking a script using directional arrows. Welcome to your favorite day. Everything you need in one place. I'll say that again, following the direction they're ours. Welcome to your favorite day. Everything you need in one place. Our third example ways It was a snowy day. Everything was white. They had never been a snowy a day. I'll say that again. It was a snowy day. Everything was white. There had never been a snow your day. Those are three examples of marking a script. Remember, add your own notes and take no off any requests from the buyer.
7. Find Your Unique Voice: the next section is all about how you confined your unique voice. What most people don't realize is that their voice is truly unique. Every voice sounds different. What that means in practice is, although each voice readings may have a similar feel. Every voice artists offer something new with different strengths. This may be Iraq's, and the fact that you sound like a regular person or even the way you tell a story will now explore what this means in further detail. Think about what makes your voice unique.
8. How to Find Your Unique Voice: Well, now look at what it means to find your unique voice. Finding your uniqueness very, very important. See, finding your uniqueness is key to building your reputation and genre and also attracting buyers of the voice work. It really helps to build a reputation where if someone wants a certain type of scripts read from you, for example fine or overly authoritative than exactly who to ask for your accent may also play a part here as it helps the storytelling. Well, now, look at how you confined your you your own unique voice. Now the best way to find your unique voice is to listen to radio and TV shows and copy their voices. See, see which ones you can actually imitate and which ones you can just Yet, as you listen out to these, it will actually show you what you're good at and what you know. The best thing you can do is to keep practicing at this, as it will help to sort of train your voice and how people sound in real world situations, or how adverts are animated characters sound. You should also record yourself and listen to the way you speak and Yes, everyone is critical off their own voice should also ensure that you think correctly in a chair, ensuring you have the right posture. This really helped to ensure that your voice is clear. Another tip is drink water and also keep one new and do your best to avoid fizzy drinks or snacks. Sorely foods as it can really make your throat feel very Flemmi and unclear. So when you're speaking, you'll find yourself saying quite a lot. And the last day of device is to practice, practice and practice. I have a few example strips, which I'd like you to try, So these will help you to find your voice. Try reading these out loud. So the statement is you're listening to Chris Evans. I wanted to try that with their happy tone with a smile and authority of stone to try frowning. I'll give you a moment to do that, and I'll give an example. This is a happy time, and I'm smiling. You're listening to Chris Evans. You're listening to Chris Evans. This is an authoritative tone, and I'm frowning. You're listening to Chris Evans. You're listening to Chris Evans. I'll give you a moment to do that before we move on to the next point. Did you get to try it? It just goes to show you that your expressions make a big difference in how it's done. My bowel movements of the second point when you need a moment, Don't forget support or you can rewind. If you want to listen to it a bit more in this one, we're going to look at our second example. I wanted to try this with a sad tone. Really feel the emotion and a happy tone. It's a smile as you read. This is the statement. The farm aboard Two chickens from the store. Well, first, try this in a sad tone. So really feel the emotion. The farmer bought two chickens from the store. This is a happy tone. Smile As you read, a farmer bought two chickens from the store. If you need to to have a try, why not pulls this now? Hope it was OK. Will now move on to the third statement. I want you to try this one in a natural voice backed surprise and raise your eyebrows that you read it. It should be conversational, so in your natural voice is the 3rd 1 And the statement is I just couldn't imagine what I saw when I looked at the sky to give this a try. Now it should sound something like this or in your own natural voice His mine. I just couldn't imagine what I saw when I looked to the sky. You have a try? You can pause the video if you need more time. How was that for year? So these are some examples of different scripts with different emotions. Remember, what the buyer is looking for is your uniqueness. Find yours.
9. Recording and editing Intro: in this section will explore recording and editing. This can feel like a daunting task if you're not familiar with the editing software or had the opportunity to see of the voiceovers inaction, even then, recording the first time can be a very unique experience. Well, look at this step by step as to how you can record it. Edit good audio any time, anywhere. Take notes as we uncover how to record and edit.
10. How to Record and Edit: right, so next will explore how to record and edit now. Earlier, we talked about microphones, along with recording and editing software, So now we're going to explore this and how you can recording at it. So that's what we're all here for and will be finding out how you could do it in your own time and with your own bit of kit. So the first thing is to ensure that you actually do have a microphone and a computer for recording and editing and also sending. You should also bear in mind that the preferred is toe. Have an external microphone being that the one on your computer isn't always that great, and now you might have some special computer, and if you're able to do that is great. But nine times out of 10 you may need to buy an external condenser microphone ideally, and so that you can send that to a potential buyer. Or, you know, if it's a radio station, TV station or whatever is so that you can record and edit and send off this voice reading. It's also important to note that before you record, you should also try to ensure that you throw it is clear and surely have had plenty of water to drink and breathe from your diaphragm as opposed to your chest. This ensures these feet quite clearly. He's also ensure that you're in a room with ideally, no echo and ideally, somewhere we're furniture and lots of carpets. If you could have padded walls all the better. You don't particularly need a recording studio, but you do need somewhere that can ideally condense the sound as much as possible. You should also check that the settings of correct on your editing software before sending anywhere as well the preferred method. And it's a method that I often do is I was record three versions of the same script, so if they asked me to say Car three times, for example, is I would send car, car, car it also send call car car as well as car call, call or also ensure that there's no background noise, something that can happen when you're purporting recording professional voiceovers is there's some background noise you don't even realize is there, which is why it's always good to have a pair of headphones to monitor the background noise . Also now the preferred former for sending is usually MP three or wave, and there's a preferred one out of the two, which will be getting into as we go into the editing software. So in the next clip will be exploring, recording and editing in a live setting. So we'll be looking at how you can actually edit the preferred software if there is any. But again, it's not an exhaustive list. And as mentioned earlier, you don't particularly have to go for any particular bit of editing software. However, it is important just from a your perspective, to know that it does have the functionality to edit, so enables you to do the editing adds. As with much simplicity is possible. That's quite a an important one. So what we do is in the next clip, I'll be loading up my preferred bay of software again. It for me. It's always between Adobe Adobe Audition and also audacity in this case will be using audacity in just showing you how to record a clip revolt you don't need and save it. So will be in three simple steps just so you can get going. Of course, if you want to do anything more fancy than that. The software can do that, however, again for the purpose off sending it, you know, recording it down, getting it sent and over to the buyer as soon as possible. I'll show you the simplest method for doing that, so we'll be back in the next clip.
11. How to Record and edit (basic) in Audacity: so, ideally, you would already have the software installed. In this case, I would recommend audacity because it's free. However, of course you are welcome to anybody of editing software. But if you are using audacity like I'm using in this example, it might be a great place to learn. Andi follow along just so that you couldn't actually used the editing software and get your voice overs sent over to wherever it needs to get to. So the first thing is, you just need to understand lay out what you're looking at here is where the way for more go. So the way for meaning the recording that will go right in the middle here, as we press record. Just so you know you're looking at in the top corner there, you've got pause just the same as on a tape or CD player or whatever other recording device that you might use or even on your standard recording software. So you've got pause, play, stop, skip to the start, skip to the end, and then you've got record, which is that big red circle. Those are the main options that you'll need. Everything else you can see. There's a little microphone there, which just shows the microphone recording level. So whether that's gonna be high or low depends on the settings that you need your playback , which is again high and low there, minuses and plus. And then the most important thing I would say is, Just remember that you've selected the microphone that you'll be using. In my case, I'm using a blue Yeti microphone, so it's the 2nd 1 in my option. So I've clicked. That ensured it's done. And then I've also got to ensure that I'm recording in stereo as opposed to moan. Oh, the reason being is that on some, when you do record, it can happen at times. The only appears in one year, so it might only appear on the left ear or in the right ear once you're actually listening to the audio. So I would always recommend recording in stereo to ensure that that doesn't become an issue on from there. Of course, you can see that there's the starting in selection, so that's just the timer showing you how long has passed, particularly during the playback. And then there's a timer on going there. More important, what's recording and playback on. And what you should remember is that most recordings take place in a saying or 44 100 here , and that will be also be important if you use any other editing software. Just remember that you should also have that preset there. It's usually already there, but it's a 44 100 just in case you're ever looking for it. So what I'll do now is I'll be hitting the record button and then I'll be a recording. A voice over the voice over will be completely made up, but it's just to give you an example off how to record. So what I'll be doing is I'll be pressing the big red button and then you'll be seeing the way form appear. This is a recording from a voice over artist. I'm going to delete everything after what I just said to stop it, you press the stop button or of course, you compress space because I know exactly what it looked like. I can just select everything I didn't need by simply using my mouth's. And then I drag it all the way across and then again, I can just press delete or else on the keyboard, or else, like impress, edits and then deletes there, and that gets rid of what I don't need. Now again, it's important to note that its own is destructive, meaning that any changes are permanent and cannot be reversed unless you press, edit and undo delete. So that brings it back. However, you might have been in a situation where you've already gone too far along, and by that I mean, you've deleted this. Then you've also deleted this, so that's permanent, and that cannot be undone. Unless you do that. However, it can get a bit messy if you've already gone quite far along in the process and you've made a few undo deletes, and you know you've already made some changes. So in order to restore it back, you're gonna have to undo delete a few times when you're in the situation. You can refer back to this video, and it might make a bit more sense view at that point. However, the important thing to note is that any changes are permanent unless you compress undo deletes at that point. So that's how you record and edit again. If you did want to take it out. Then you can select what you want, edit and delete, and that deletes that from there. Leaving just the audio that you wanted to hear in the clip for quite happy with the volume settings you can do from there is ensure that you've going to file exports. You can then export as MP three or wave. I will always go for MP three being from the radio background we used to export his wave. However, the file is bigger. So that means that when you store it on your hard drive, it will take up more space on your hard drive than you would like. So the preferred method, because the difference was seen wave and MP three is negligible to the human ear. It would be preferred to go for the MP three format. However, you are always welcome to export it as a wave. But I would always personally recommend going for MP three. So exporters MP three, as in this example from there, you can write in a name in this case, I'm going to write test three. I'm going to ensure that the presets are there and I'm clicking joint stereo That's two preferred 14 Audacity. If you are using that's and safe from there, it might ask you the artist's name. I've written Tom and Jerry as an example. Of course, you may wish to feel that any new may wish not to. That's absolutely fine, if you do, and absolutely fine. If you don't as long as it's called the file name. That's absolutely all that we need to know. From there you can click OK, it will then begin exporting and that's you. And that's how you record and edit in audacity.
12. Recap Intro: Congratulations. You've made it to the end of the course. Will now have a recap on everything we've learned during this course.
13. Recap and Conclusion: So congratulations. You've made it to the end of the course, and we're going to do a quick recap on what we've learned today. So it's important point number one to find the right recording equipment without the right recording equipment. Your audio will not be audio that people are willing to pay for that. That's quite important. You've also learned how to read or create your own script, ensuring that you mark down how you want it to be said, or how you want to say it, taking notes of any pauses or commerce anything that can indicate towards how you want the script to be read. We've also taught you how to find your unique voice as your uniqueness is your strength. That's exactly what people are looking for. They're looking for your uniqueness. What makes you special is your accent is the way that you read a script is your natural nous. That's what they're looking for is the voices that you can imitate. That's what the buyer is looking for. There are also another point. Also, notice is keeping your voice clear before any readings are done, So sit up straight. Avoid any snacks, oily food drink plenty of water to avoid that. Whilst you're having to read, it can also help, because often when your voice is all really, it really is just annoying. So it is a really, really good idea to ensure that you've drunk plenty of water, and you've given yourself the time to enjoy the experience and share that experience with your listeners. During this course, you've also learned how to record your voice, making sure it's in a quiet place, editing out any silences where necessary as well, and editing out any words that you didn't want in and remember. Let the world know who you are. You are a voice actor. You are the one that sits so leave you with a few closing words just now. Just before we finish our course, which is from Nike, you got to remember, just do it. And in my closing word, I'd like to say I do this myself every morning when I get up every single morning just before a gap, I remind myself I'm the best at what I do, and I'd like you to remind yourself the same thing. So every morning before you get up, remind yourself I'm the best at what I do. I am the best at what I do. Thank you for joining us on this course and all the best with your voice work.
 Richard Andersone l Finance, Author, Voice Over, Finance Expert