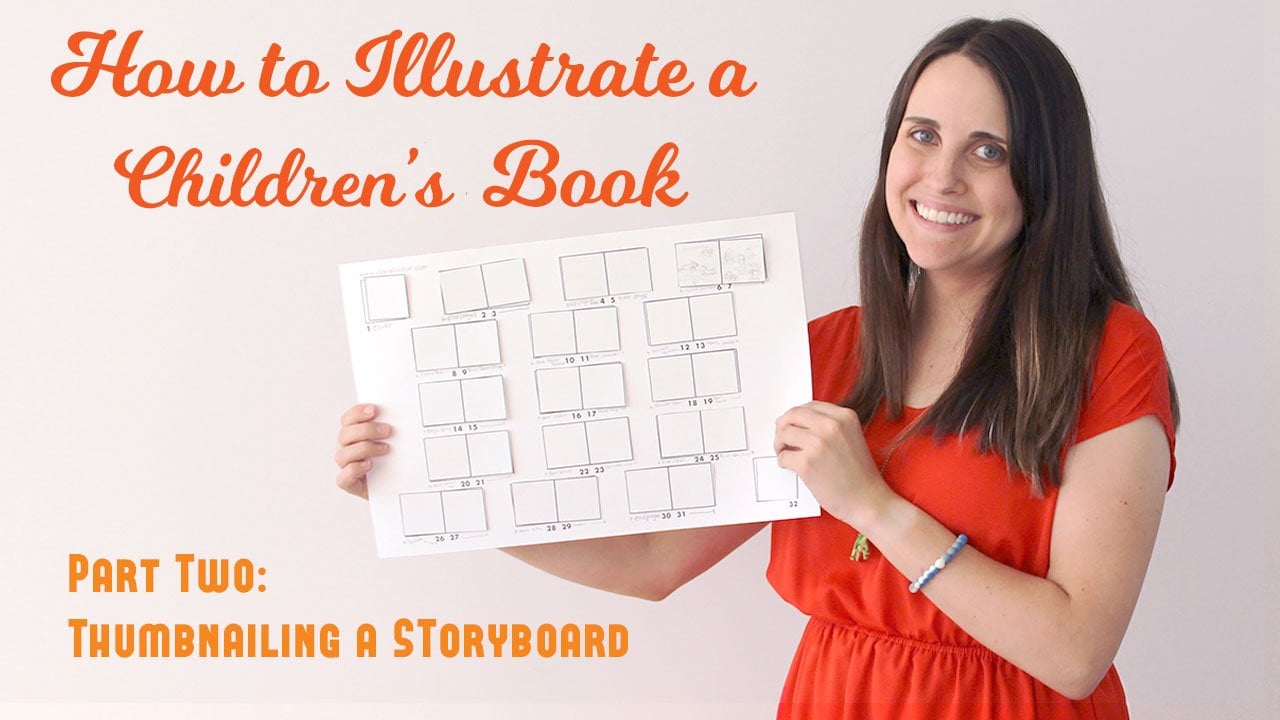
Transcripts
1. Intro: Hello, and welcome to
my skill share class. If you don't know me,
my name is Sammy Clark, and I am a children's
book Illustrator. I've been sharing my work
online for the past ten years. But within the past two years, I've had the opportunity of
illustrating a few books, including my own book that
I've written and illustrated, Lucy A Possum in the case
of the missing Vase. This is a graphic novel. One thing about graphic
novels is that they are all about sequential
story telling. Today, I'm going to
teach you how to create sequential
art to tell a story, whether that's in
a graphic novel or in a picture book context. By the end of this video, you will have learned how
to take a manuscript, break it down into
individual pages, how you'll split it up
to do the illustrations. What kind of illustrations to start with and what to end with? I'll talk you through
creative ways of tackling when you have a lot
of dialogue to work with, when you're illustrating,
or when your characters themselves are telling a story and they're having
an imaginary moment. How do you illustrate that? We also go over
things like pacing, setting the tone for
the story, and more. So if that sounds good to you, we'll go ahead and get started.
2. Choosing what to draw and dividing the manuscript: Figured out what script or manuscript you're going to be working with for your story. You'll need to determine whether or not
you're going to tell the story in the format of a graphic novel or
a picture book. So a graphic novel
like the one that I've created is
more like a movie. You'll be portraying all
of the spoken dialogue and anything that in a novel would have been
a written description. So if the novel was going to say a single tear
ran down her cheek, then you'll need to actually
draw that if you want that portrayed in the story
because typically, graphic novels are not narrated, but they are just drawn out scenes with written
dialogue in the images. You may choose to
have some moments of narration over scenes. In which case for my book, I changed the format a
little bit for that. If you're going with more
of a picture book format, The picture book I think
is more like a slide show. Depending on the
story, it may be all narration with no dialogue, and you will have to be more selective
with what you draw. You'll have to choose
what is important. Looking at your text, what is the most important
moment here or if it's not that serious and
you're not really getting a message across so much as
just telling a fun story, maybe you choose what
would add humor. I'll show you an example here. In the first example, we have here is the
text is very simple. It just says Lucy
cleaned her room. And it's just showing exactly what it says.
She's cleaning her room. But we could make it a little bit more interesting
if the story allows for this kind of
humor and have it say Lucy cleaned her room, but we see her
actually just shoving everything in her closet and
trying to get it to close. That'll be something
that you can consider as you read over the
story that you're working with as to which
direction you go with. So in terms of how you decide what you want to draw
from your manuscript, I think it's great to start out by splitting it into pages. Now, you may have more or
less freedom with this, again, depending on if you're limited in the amount of
pages that you can do. But we will just get started
with a quick example here. Okay, as an example, we're going to be working
with the text from the tale of Peter Rabbit
by Beatrix Potter. This story is in
the public domain, and if you want to practice
with something like this, that might be a really
good place to start. So when thinking
about page breaks, there are a bunch of different
ways that you could go. I do think that it's
somewhat intuitive, but it's also going to depend on what the tone
of your story is. So I'm going to show you how
I might break this up into multiple pages and two
different ways to do it. One to create more attention and one to keep things a
little bit more calm. So we have once upon a time, there were four little
rabbits and their names were flops Mopsy,
Cottontail and Peter. I think that makes sense
to have that be the par. The break between the
pages in a spread. So for the next page we have they lived with
their mother in a sand bank underneath the
root of a very big fir tree. Now, my dears, said old
miss Rabbit one morning. You may go into the
fields or down the lane, but don't go into Mr.
McGregor's garden. Your father had an
accident there. He was put into a pie
by misses McGregor. There's a few different
ways that we could do this. I think that we could
actually modify this and stop it here and have this be the hard page break. Now, obviously,
you'd have to change around some grammar and
make it a dot dot dot. I could end with don't go
into Mr. McGregor's garden. Then the reader thankful,
why wouldn't I do that? Why shouldn't they do that
and then they flip the page. Then you would have your
father had an accident there. He was put in a Pi
by misses McGregor. Then I would do our dash line. Then this would be the
break in a spread. On the left page, we would have your father had
an accident there. He was put in a pi
by misses McGregor. You can have an
illustration of the Pi. Then now run along children and don't get into
mischief. I'm going out. For me, that would be
on the right page. Okay. Then old misses Rabbit took a basket in her umbrella and went through the
wood to the bakers. She bought a loaf of brown
bread and five current buns. Flopsympsy and
cottontail who were good little bunnies went down the lane together blackberries. So I would take this
whole section and have it as two vignette illustrations,
two spot illustrations. So one little oval kind of composition of
misses Rabbit shopping, and then another one of
flopsympsy and cottontail going together the blackberries those could both be
on the same page. Which then put emphasis.
There's our split. Then that puts emphasis on, but Peter, who was very naughty, ran straight away to Mr. McGregor's garden and
squeezed under the gate. Again, we have a sense of what's going to happen to
him. So we turn the page. That is my first thought as
to how I would break it up. Again, the dash lines are representing the page break
in the middle of a spread, two open pages, and then the solid line is where you would be flipping or
turning the page. Alternatively, it might be even more tense if you put this page break after your father
had an accident there, and then it becomes
even more scary, which I feel like is
so much more scary than any children's
text today would be. But anyway, this is what
we're working with. Those are two different
ways that you could do it. If you didn't want to make any kind of
tension here at all, let's just go back
to how it was. Okay. Let's see. If you didn't want to make
any kind of tention at all, we could do they lived
with their mother in a sand bank under the root
of a very big fir tree. Now, my dear, said, old
misses Rabbit one morning, you may go into the
field or down the lane, but don't go into Mr.
McGregor's garden. Your father had an
accident there and he was put into a pie by
misses McGregor. Okay. So we would just
split it there then. On the first page, you have the introduction
of the characters, you would have the
introduction of their home, and then you would have this
warning from their mother. Followed by her telling
them to go run along. It just doesn't put
quite as much emphasis on the whole father accident, Mr. McGregor, the
Pi, all of that. It lets that be more of just like we're
passing over this. It happened and moving on. So depending on which direction you'd like to go with the story, how dramatic you want it to feel that just kind of
gives you an example of how the page breaks can have a big part in portraying
the mood that you want.
3. The first illustration in the book: Okay. Now, I'm going to show you some examples from my book. You will have to
pardon the sounds of the city in the background. There's nothing I
can do about it. But I thought that we
would just flip to the beginning of Lucy
Possum in the case of the missing face so that I can show you that when you're
starting your story, it's really important to
begin it with the setting. It doesn't have to be
done in this exact way, but it just lets your
reader know where you are. So if you can think
through a number of movies where as it's starting, it's like drone
footage into a city or it's showing the
person sitting at a desk and then it zooms out and it's like
their place of work. So it gives you an idea
of where it's starting. What the environment is like. It's also important to show
your character's face, not to have their back to the
reader as the first thing. Just lets them get
connected right from the very beginning and know
where everything is starting. As your story progresses, you might find that you need to signal to the reader that
they're at a new place, especially with a graphic novel, if it's not a story where
you're saying Okay. And then she went to work,
then you have to show that. So in this case, a
few pieces later when it's the morning
and she's going to work. I have this illustration of the Hollow tribune
with the name down there so that people get an
idea of where she is now.
4. Moving characters: This next note is about overall composition
and book formatting, depending on who your readers
are, this may be different. But if you have English speaking readers who are reading from left to right, you always want your
characters when traveling to be moving to the
right from the left. Otherwise, it just feels like
they're going backwards, and I'll insert what
that looks like. You can see here the difference and how it feels and
how it makes you feel like you need to circle back to the previous page when you
see her moving towards it. When thinking about
your characters traveling on or off the page, you can place them either closer to the middle
or closer to the edge. If this were a whole page spread issue were
closer to the edge, it creates just a little
bit more tension. If they're over here,
it makes it feel more like a pause before
they're actually exiting. I'll give you an example of that from another
book that I illustrated. This book is by Lena Lu, but I illustrated
it and it's spin off of the three
little pigs. Okay. So here we have one of the
little pigs and his house has just been destroyed and we have him leaping off the page. And that's just like
an extreme example of if you want it to feel even more like this is a page turner or it's a
very dramatic moment. If you have your character only partially on the page still, it just creates a little
bit more interest and helps tell the
story in that way.
5. Pacing: That actually has
to do with pacing, and there's going to
be times when you're going to want your story to feel more slow and calm and others when you're going
to want to speed it up. So here's an example of when I kind of just took
it slow and I almost thought of this as if I was
making a log of Lucy for YouTube and you have
B roll and you have the little footage of her making her tea and
things like that. So she's making her tea, she's just gotten home after
being out with Rubert. So she's making her tea, she's getting in
her cozy pajamas and her teas ready,
she's pouring the tea. Is very self explanatory here, she's writing a letter, which
is important to the story. And then she is falling
asleep on the couch. So because I did all of these little moments,
that are mundane, it makes it just
feel a little bit slower and it's a good
breathing spot for the story, and it might not be
suitable for all audiences, but I do think that
it works for this to have some more tense, exciting spots and then have things slow
down a little bit. Alternatively, if you
want to speed things up, Again, this is with
a graphic novel, but you can apply it, however you see fit
to a picture book. But what I've done
here is I have stopped having spaces in
between all of the images. So this is a chase scene. I could have taken it
even further and had no spaces here and here,
no horizontal spaces. But it just makes it
move a little faster as you're looking
through and also there's no dialogue
on these pages. And then when you think about trying to show
surprise or emotion. Just remember that
you can create those things by
cropping in further. So here, this is Harriet, and she is up at the top
of the stairs looking back and all of the stairs of perspective
is leading to her. It just creates a moment. And then we see her eyes of
clothes and it's cropped in. It just all makes it feel a little bit more
rushed and high stakes. Okay. Another way that you can show
speed with your characters, and this is something that's
done in Holly Hobby puddle, she does it two and Ellis by Hillary Knight illustrated
by Hillary Knight is showing your character in multiple spots within
the same illustration. Here, Lucy frantically
knocking on all of these walls because she's
looking for something, and I decided that the best way to show
that would be to have her altogether and one thing she's moving around
really fast doing that. Here is an amazing
example of how Hillary Knight has shown chaos, could be considered speed in
some of these illustrations here by having repetition
of the same scene, but something different
is happening in each one. And you can see
here that Elise is just exacerbating this guy. And a lot of the illustrations in the story are like that. She's a chaotic character. Okay. But I do recommend Ls definitely
if you are interested in seeing more about storytelling because they do a
really good job, especially with a limited
amount of characters. There's also really
good examples of this in Tutin puddle, again, where we have him getting fed up with watching TV and he decides to go outside. You can have a lot of
things happen on one page, even if you're working
with a picture book and not a graphic novel. We still have the
opportunity for that. Another great page. Again, here. Okay. Also, something that is just a side note that
I chose to do is whenever it is nighttime or my characters are in
an underground context, I make the background black. So here she's just gone
underground to the rabbits home, and so I'm having the
background fade to black. So happening pages with
a black background, for me, it was a
way to show, okay, it's nighttime without
having to show like a sun in the moon every every
time, it was a new day. I think that that just
kind of adds to helping your reader know where your character is and
what time of day it is.
6. Illustrating with Dialogue: Okay. When your characters are doing more typical dialogue, which is what a lot
of my story is. It can be really
challenging to make it feel interesting and makes sense, but you just don't want to have talking heads the whole time. It's hard to avoid that on
some pages, it just happens, especially in a book like
this where it's 200 pages. But what we have here is
we have three characters, we have Lucy, Rupert, the Raccoon, and
Quin McCallister, and they're all having this
conversation in Quinn's shop. And what we have here is I have Lucy speaking towards Quinn. Now, on the previous page, we already established
that Lucy and Rupert are here and Quinn is on the other
side of a table. So I want to keep
that consistent. Now, one way that you
can change it up is by having I'm going
to say the camera. I mean, really, it's
just your drawing, but if you think about
it like a movie shot, having the camera
face one character, and then the others
back and forth. But you want to make
sure that you keep your backgrounds
consistent with where the characters are and that
you never really switch them. So we wouldn't want
to all of a sudden be viewing Quinn and Lucy and
Rupert from this side. I you could do that
if you want to, but I think it gets a little bit confusing for the reader, if suddenly he's
on the other side. Now, what I do to get
around that, though, to make it a little bit
more interesting is to film almost take
the shot from over the shoulder at a
three quarter angle. That gets all of them
together and it's just a little bit more interesting than having them in profile
the whole time. Another way to do that, just to make it a little
more interesting is to have one of the characters speaking and if there's
another just listening, here we have Lucy and she's cropped out of the
panel a little bit, or we have Rupert blurry
in the background. Another way to
keep your dialogue interesting and also
keep your characters moving through the
story is to think about how conversations
happen in real life. So this is an example
here of Lucy and Rupert, they're having the conversation
in Rupert's house. But as they're having
the conversation, they're cleaning up breakfast, they're doing the dishes, Rupert is looking at his watch, checking the time, Lucy's
looking around. Okay. They continue to talk
as he's handing her a jacket and they're
going to Quinn's shop. So it gets them from one location to
another in the story, which needs to happen. But it does it in more of like a natural and organic
way rather than them sitting at
the kitchen table for that entire conversation, and then all of a
sudden they show up in Quinn's shop. Okay.
7. Depicting imaginary scenes: So you can see that
from my graphic novel, I went with a grid like system for how I was
going to lay of panels. This is pretty typical for
graphic novels and comics. But I needed a way to
differentiate when the characters themselves were narrating a story or
imagining something. Here we have an
example of Rupert telling Lucy about when
he worked in archaeology. Lucy is daydreaming about it, and so she has this
thought bubble with this image of him
of what it was like, which is very romanticized. And as he continues
to tell a story, I use more of the kind of amorphic organic shapes to display what he's talking about. And then Lucy starts
telling a story. So it kind of cuts back from like things in the
mind and imagine and stories that the
characters were telling to the actual dialogue
between the characters. Okay. Another example that's a little bit more on the
narration side is here, this little old rabbit
is telling Lucy a story. She begins her story, and what I decided to do because this was a really major part of the book was to make
these full page spreads. So it was very
immersive and it has her narration
displayed over it more in a picture book format. Okay. Here is a great example of showing her imaginary stuff. So we have all these
little creatures, creatures, children. We have all of these other little imaginary
characters in Pink, which is similar to what I
did here where Lucy here. Lucy is talking to
her imaginary self in a fake interview situation
with a fake detective hat on. So that was another way that I kind of portrayed her talking to herself without it looking like they were
actually two of her. We're talking about
portraying a flashback or a memory or something
that they're imagining. Like I said, I chose to do this organic blobby shape
for all of those moments. But you can do this
with a color change. You think about in a movie, maybe there's a new
filter over the film, and everything has a
different hue to it, or maybe the audio has been changed and it sounds
like they're underwater, or the imagery is
blurry and dreamlike. You just have to think
about how you can do that with the medium
that you're working in.
8. The last illustration in your book: Okay. So we talked about
this start a book. I'm going to show you from
Holly Hobbies Teuton puddle, an example of how to
start and finish a book. So when we talked
about starting it, we talked about
setting the scene, and that's exactly
what she's done. She's given you the setting. We're at Woodcock Pocket,
which is their home. And the book finishes After a number of things happen
back at Woodcock pocket, the characters are reunited
and it's snowing again. What this does when you
have a character start and stop in the start and end
in the same location, it gives the reader just
a sense of completion and cozy happiness that
everything came full circle and the
character is safe and sound. So that's probably a
really successful way to do a picture book in a
shorter format like this, especially if you
plan on it being a standalone thing or
if just that story, that portion of their
lives has been wrapped up. This is a gorgeous book of
the Snow White and Rose red, the illustrations
by Barbara Cooney, and I wanted to show this one because this is kind
of an example of when a book or when a story is leaving room
for possibilities. Now, I'm not saying
that this actually became a series or anything, but what they've done
so in this case, the book is starting at
their little cottage. But at the end of the book, It is finishing at the castle. Both the sisters
have been married, their mother is
with them and they get to live in this
beautiful castle. What this is doing is although it's not in the
original setting, it's showing the progression
of the characters that they've made it to
some new station in life. Maybe they've moved
to a new place. They've made new friends, but it's still showing
this happy scene that yes, the story could be
complete as it is, but it also gives
you a notion of, I wonder what their life is
going to be like from now on. If you want your
story to be a series, that's also a really
great way to go. Okay. Alternatively, if you want your book to end on
more of a cliff hanger, because in my circumstance, this is just part one,
Volume one of the story. I've done it as a cliff hanger and I don't
want to tell you what happens, but basically, Lucy does not finish
the story back in her cozy little home,
like it started. It ends with a cliff hanger. There's not really resolution, there's something more and you just have to
find out what it is. Those are some options of
how you can finish a story.
9. Conclusion: So now that we're finished, I hope that you will either use your own text or find a text
like Peter Rabbit and do some practicing and create at least four consecutive pages of illustrations that
help to tell that story. I really hope you enjoy taking this class and please share your finished
product with me and the rest of the classmates
right here on Skillshare. You can also tag me on Instagram
if you're sharing there. I would love to see
what you've made. If you're looking to get work in children's book illustration, it's going to be
really important that your portfolio shows
that you can tell a story with your art rather than just having
standalone pieces. I hope that you enjoyed this
class and found it helpful.
 Sammie Clark, Illustrator